
'97 Camaro L67 top swap


Thread Starter
|
Newbie
Joined: Oct 2018
Posts: 4
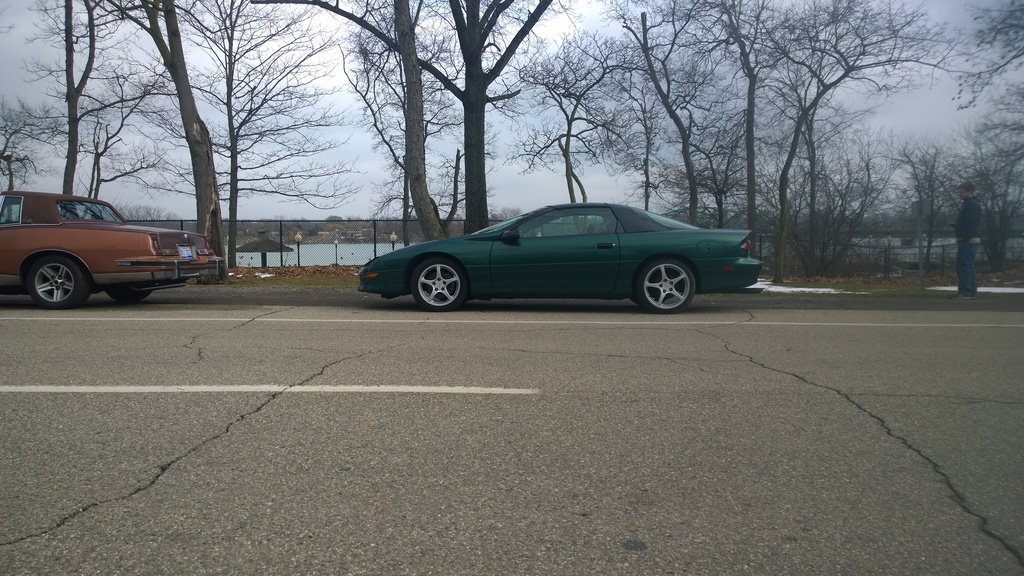
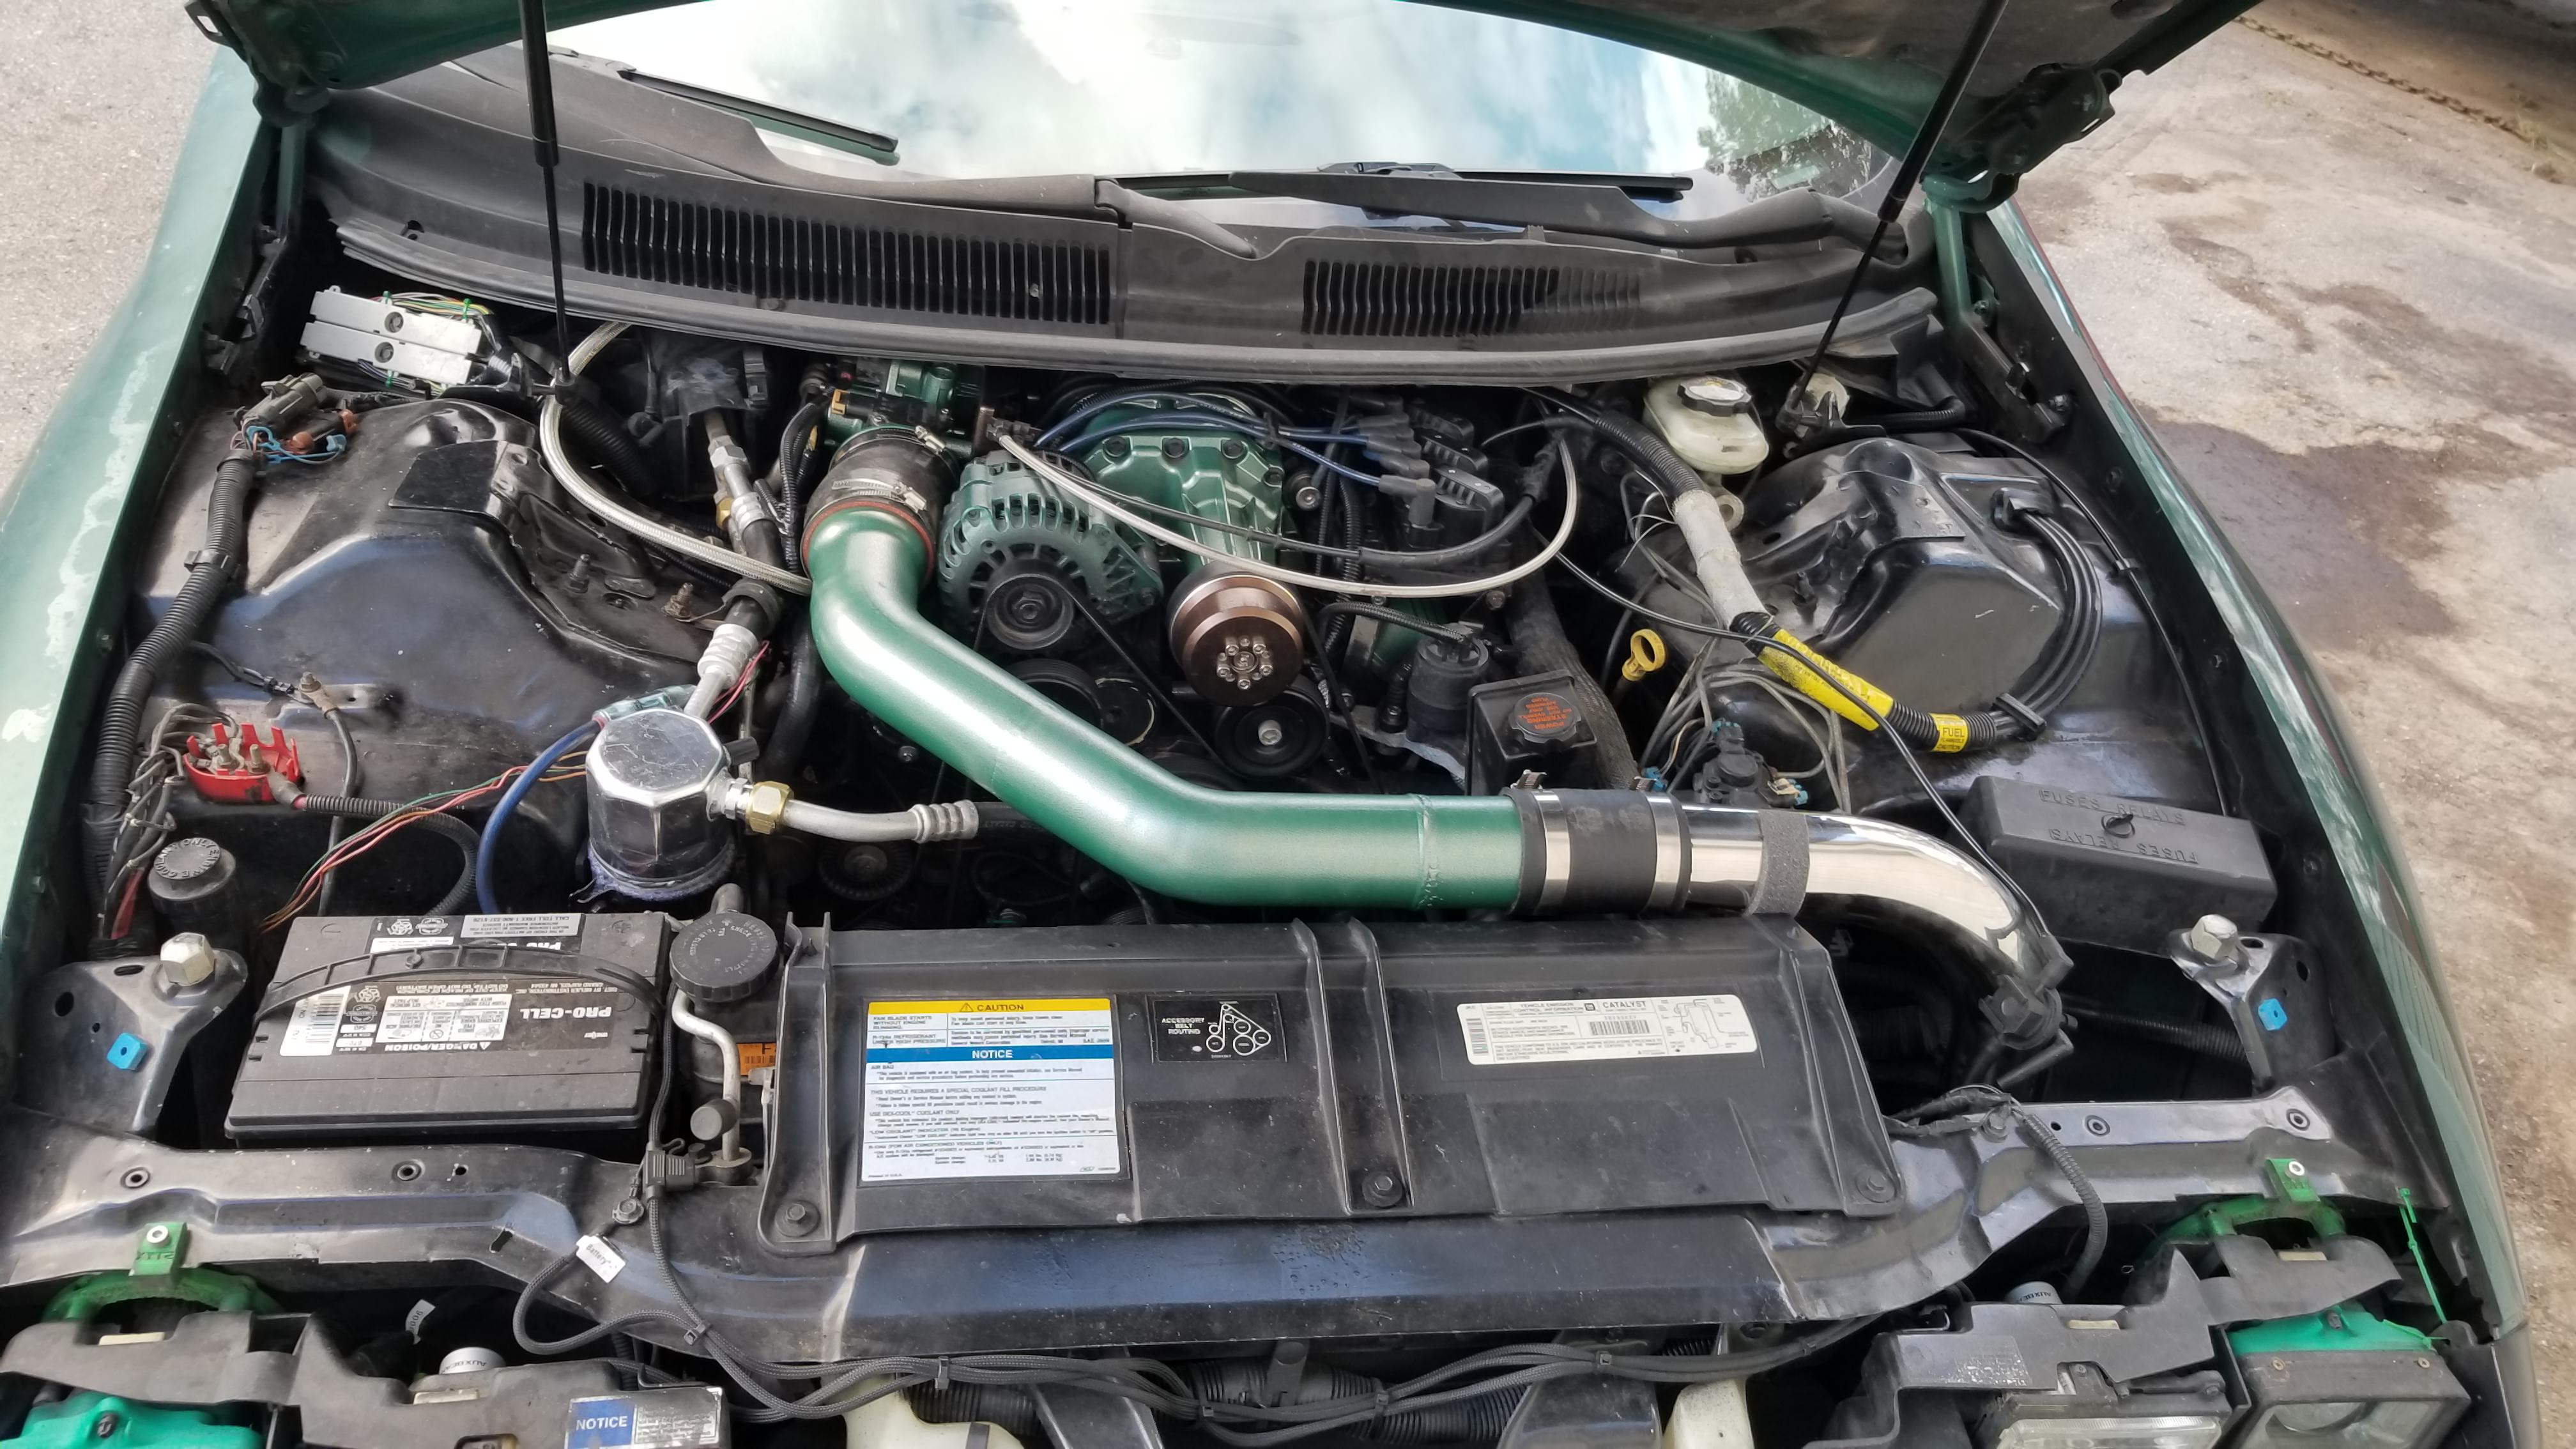
I got bored two weeks ago and decided to top swap my 3800 camaro. It's about 95% done, have a few little things to finish up yet but I got it tuned and took it for a shakedown run last night to make sure everything is working.
Long story short: L67 top swap, kept everything functional, the EGR, EVAP, BCS, A/C, etc. Car is a manual with T-tops, my summer DD. I've retrofitted D2S 3.0 square HID housings with the help of my 3D printer, '98+ brake upgrade, modified the '97 wiper arms to accept a traditional J-hook wipers, and a few other little things.
I have my own TIG and other fabrication tools, as well as the donor motor, so the cost for me to do this was ~$350 total. Most of that was new gaskets. Raw material for the blower case modifications came from a local metals recycler for about $10 total. The supercharger came from a '97 Bonneville SSEi, I used a 4.0" ZZP offset pulley to start with, added one idler to the belt routing and changed the belt path to get as much wrap as possible. Existing mods that were left untouched are headers, Intense S1X NA cam, Blue LS valve springs and LS style retainers, roller timing set, and maintained the fenderwell intake. Torque arm is divorced from the transmission tail housing.
But enough of that, some pics!


https://imgur.com/Z4K4FUH
https://imgur.com/APoBJZb
Long story short: L67 top swap, kept everything functional, the EGR, EVAP, BCS, A/C, etc. Car is a manual with T-tops, my summer DD. I've retrofitted D2S 3.0 square HID housings with the help of my 3D printer, '98+ brake upgrade, modified the '97 wiper arms to accept a traditional J-hook wipers, and a few other little things.
I have my own TIG and other fabrication tools, as well as the donor motor, so the cost for me to do this was ~$350 total. Most of that was new gaskets. Raw material for the blower case modifications came from a local metals recycler for about $10 total. The supercharger came from a '97 Bonneville SSEi, I used a 4.0" ZZP offset pulley to start with, added one idler to the belt routing and changed the belt path to get as much wrap as possible. Existing mods that were left untouched are headers, Intense S1X NA cam, Blue LS valve springs and LS style retainers, roller timing set, and maintained the fenderwell intake. Torque arm is divorced from the transmission tail housing.
But enough of that, some pics!
https://imgur.com/Z4K4FUH
https://imgur.com/APoBJZb

Fourth Generation Moderator
October 2009 ROTM
October 2009 ROTM
iTrader: (1)
Joined: Nov 2007
Posts: 10,561
From: Eastern PA,
ROTM Winner's Club
Well Done, any more details you can remember. We have not had a member complete this before. Any idea on HP?
If its tuned why is the check engine lite on?
If its tuned why is the check engine lite on?
Thread Starter
|
Newbie
Joined: Oct 2018
Posts: 4
I will admit, with as much information as I was able to find about this swap, what is out there was obliterated when photobucket broke the internet. All I had to go by were some vague descriptions of the supercharger welding and some general notes on fitment.
As far as power, with a 4" pulley I'm probably not making much, if any, more power than a stock L67. I'm planning on getting it to the local track yet this year for a test and tune. stock I ran 16.1 @ 88, intake, cam, headers got me to 15.3 @ 90. The car feels way faster now. If I can figure out how to launch it I should be in the low 14's I think.
Check engine light is on because I don't have the EVAP lines and vent/purge connected yet. I am waiting on the 3D printer to make mounts for them in a spot that doesn't look cobbled together.
I'll go down the list of what I had to do to pull this off.
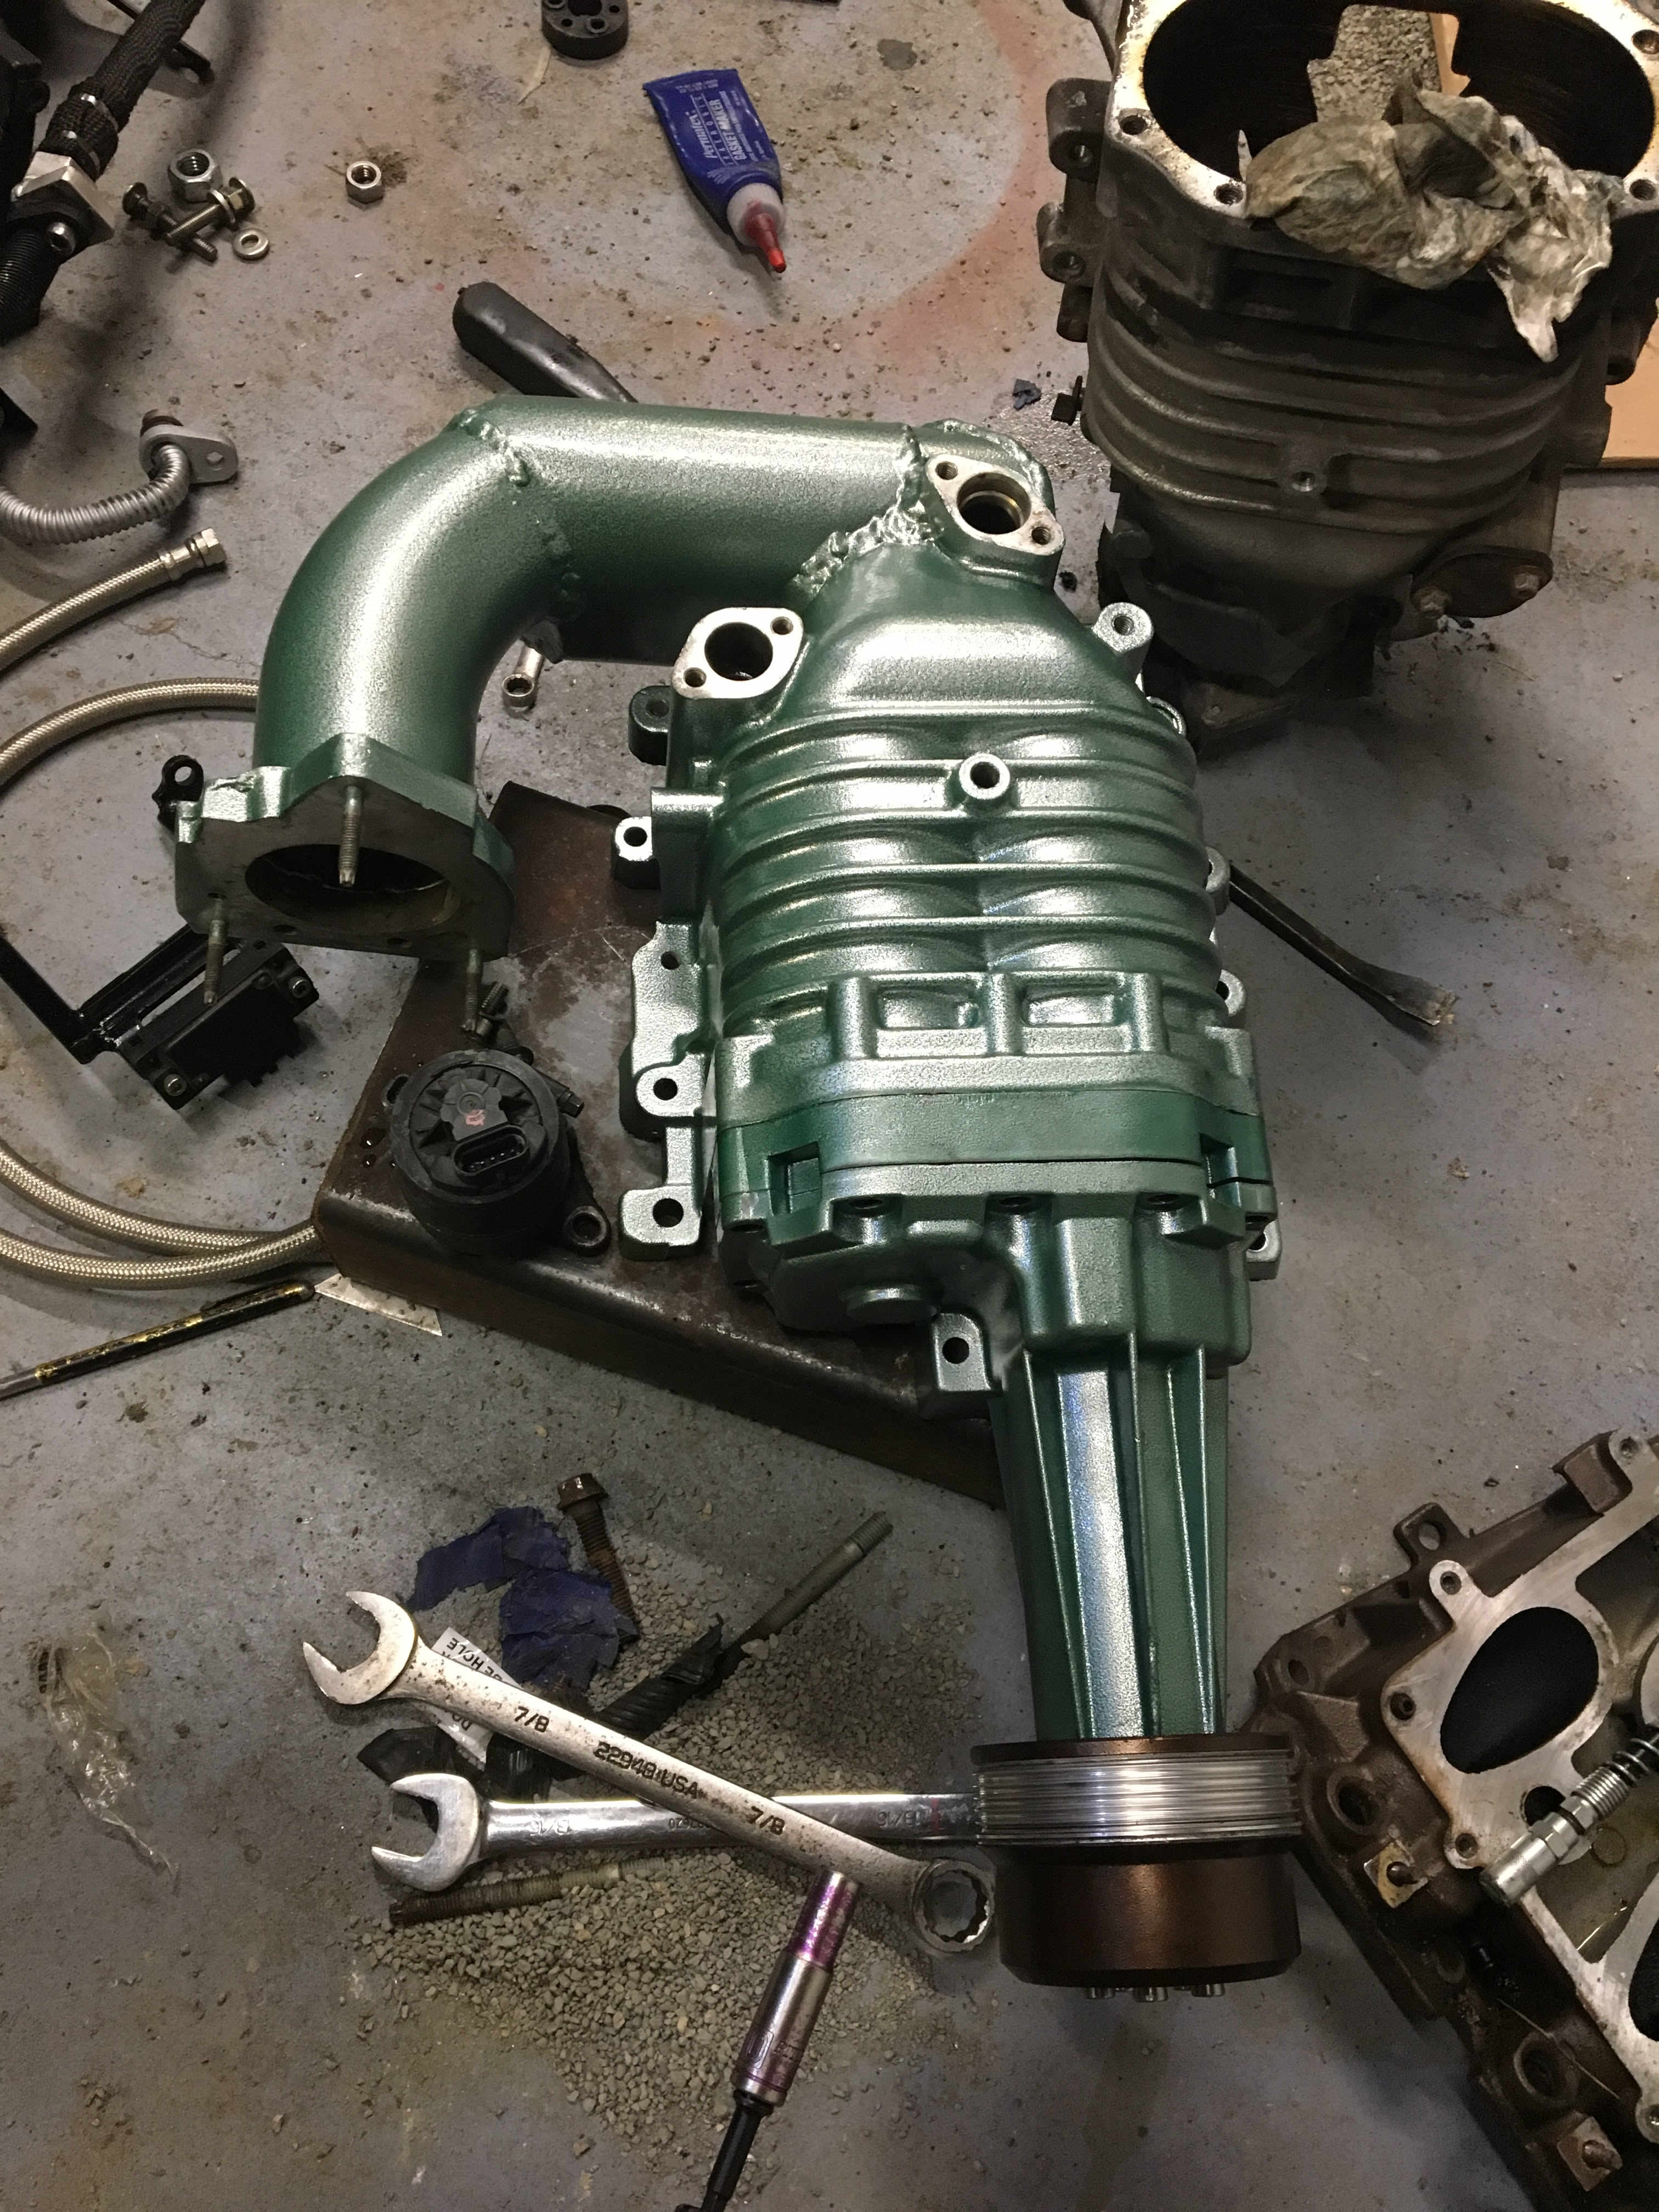
1. Supercharger case modification - there's enough meat in the side of the case to work what looks like a 90 degree fit into a tight radius smooth elbow inside. That way you can get around the stock L67 fuel rail. But you need to quickly transition to a typical mandrel bend to clearance the A/C lines. Note that the gen 3 case is very thick in that inside corner, transistioning from about 1/2" thick to a solid 1" at the bottom and if your TIG is underpowered you'll have to braze there. Note that in order to clearance the firewall the blower case cannot extent beyond the LIM back edge at any point. Also note that these modifications mean that the EGR and coolant provisions in the LIM need to be blocked off, and inside the blower case the PCV provision needs to be blocked off because it needs to draw air from between the MAS and the throttle plate.

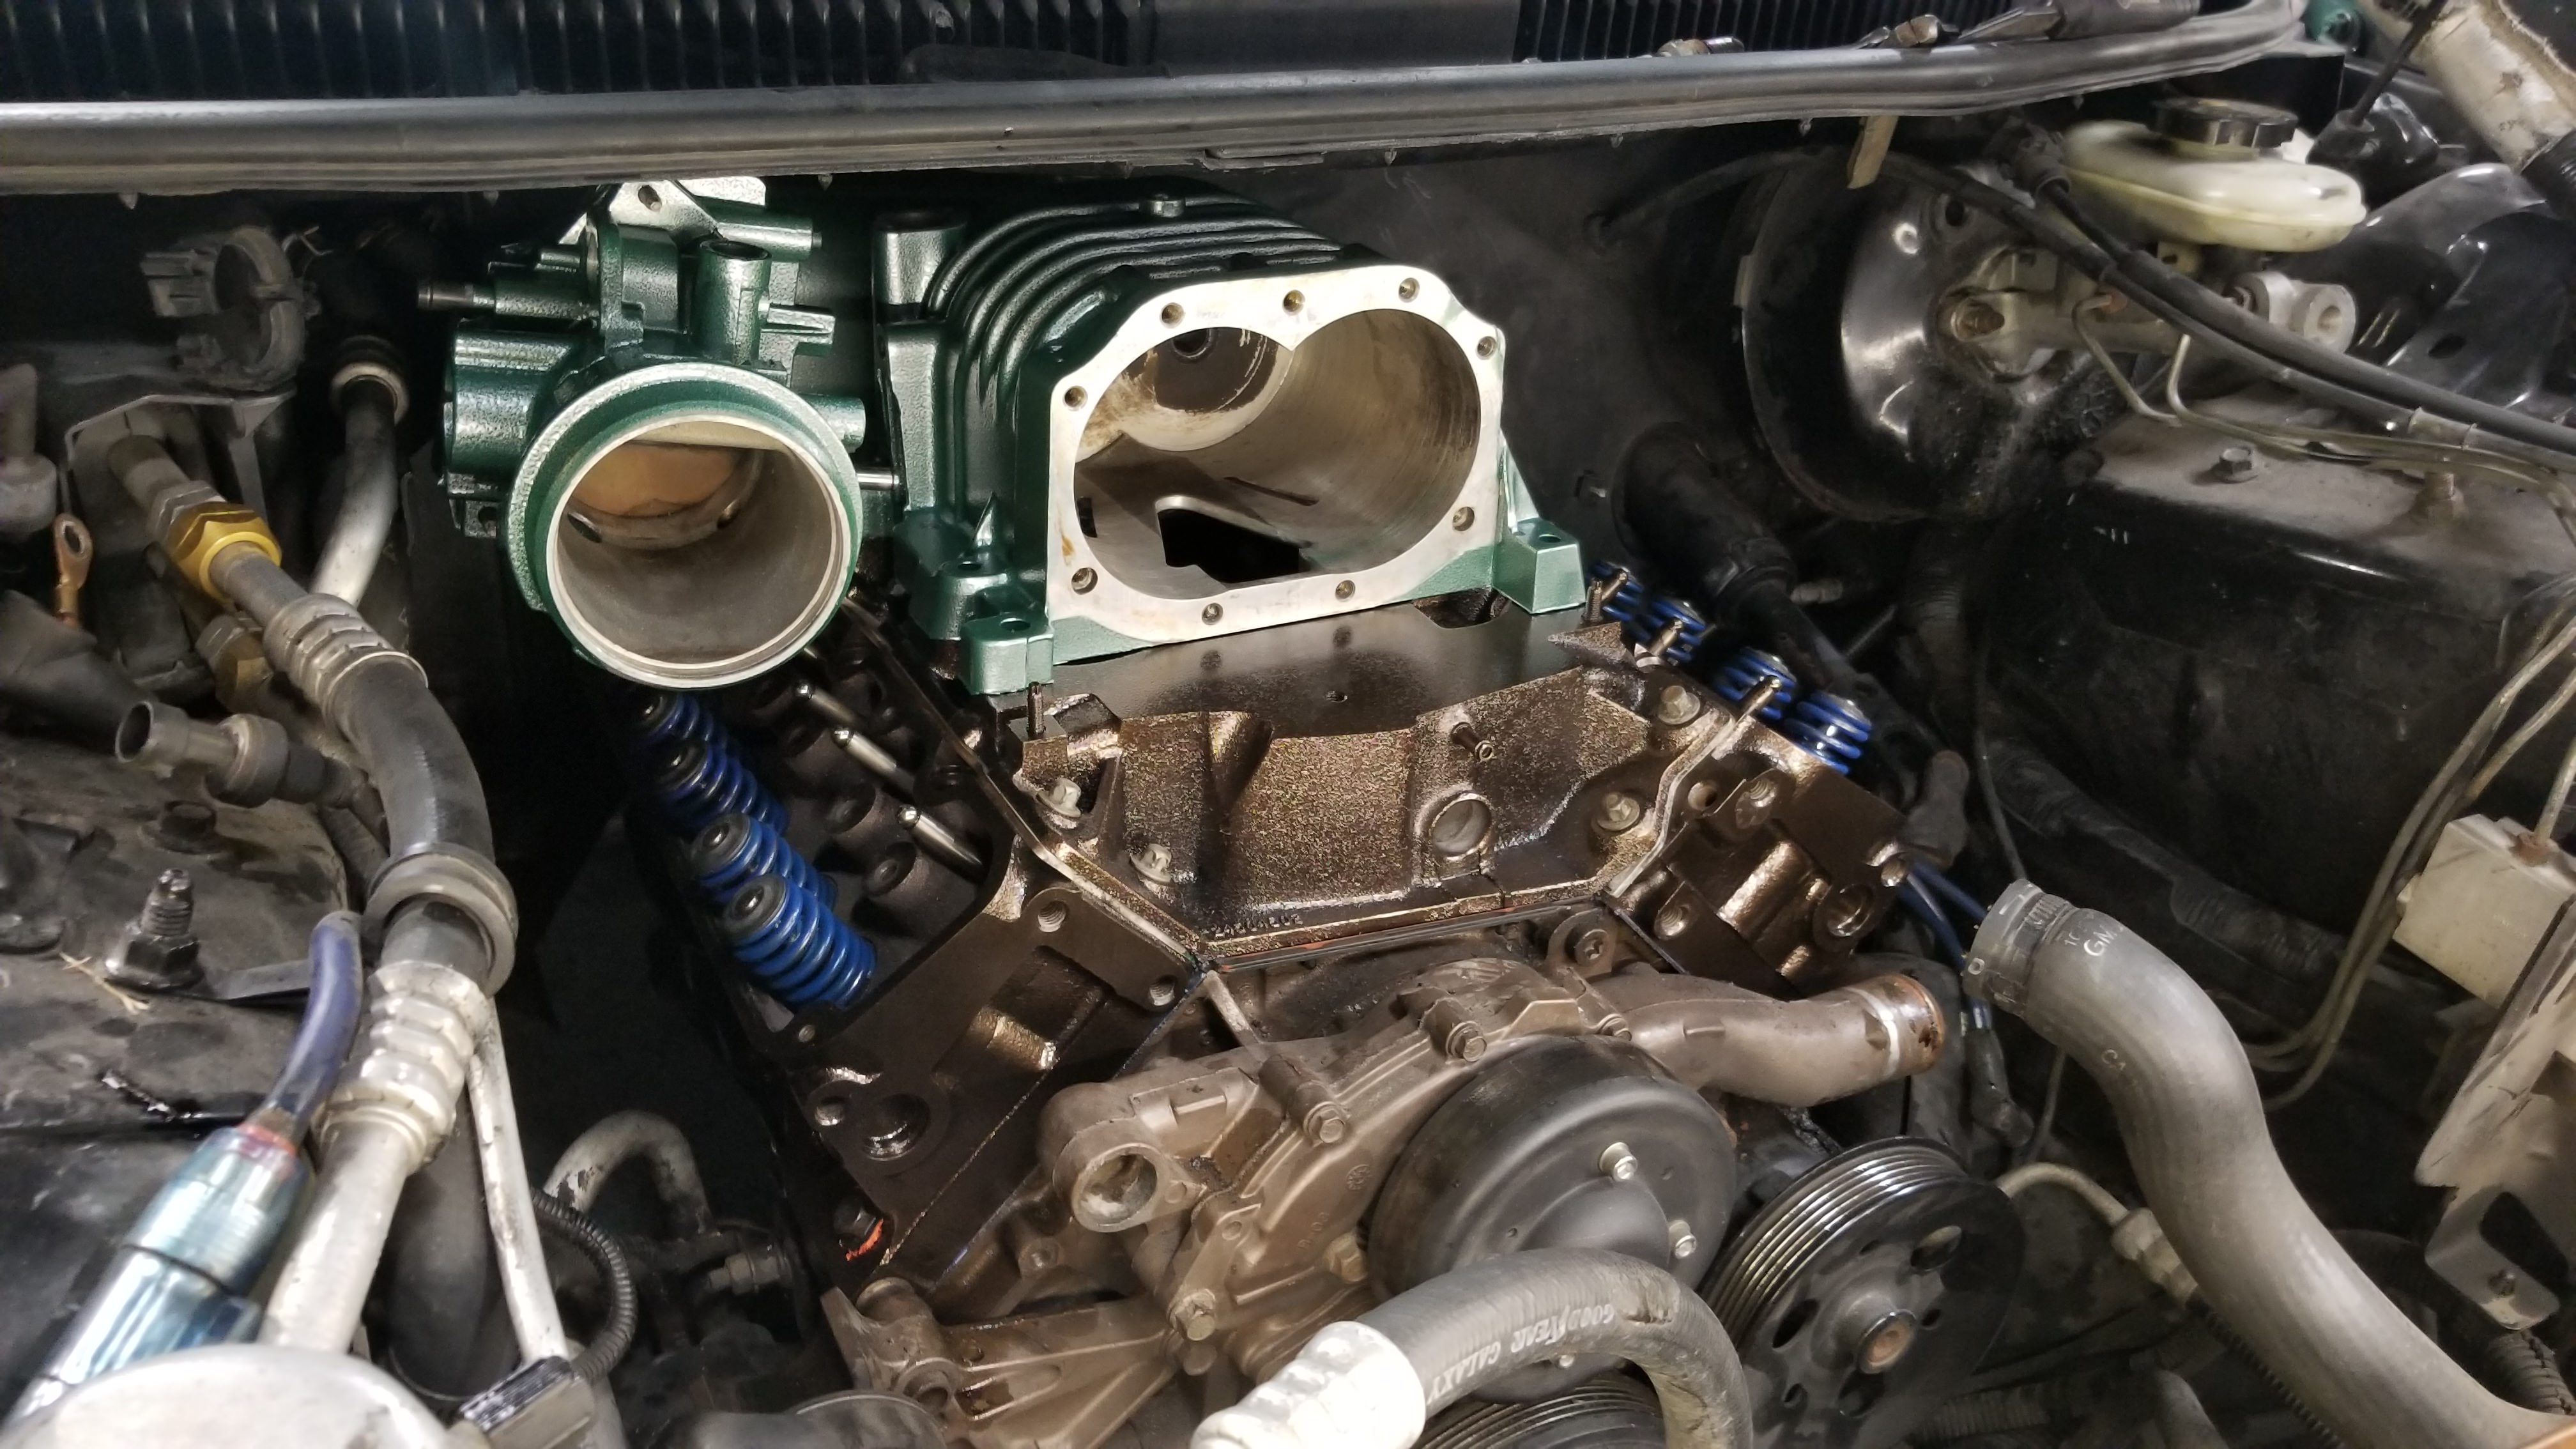
2. Throttle body placement depends on if you have DBW or cable. I wanted to keep the A/C, and I don't have DBW. On the passenger side of the cowl there's a bump up of about 1/2" extra vertical clearance, which is enough to squeeze the throttle body in there between the A/C lines and the fuel rail, in my case I mounted it withing 1/8" clearance to the rail. The other limiting factor is the alternator. The throttle body needs to be angled on two axis so the TPS clears the A/C lines and the inlet doesn't point straight into the alternator and is high enough to clear the heater hoses. I wanted to keep the TB as close to stock distance from the blower as possible as in past builds I've had weird tuning/idle issues with a remote mounted throttle body.

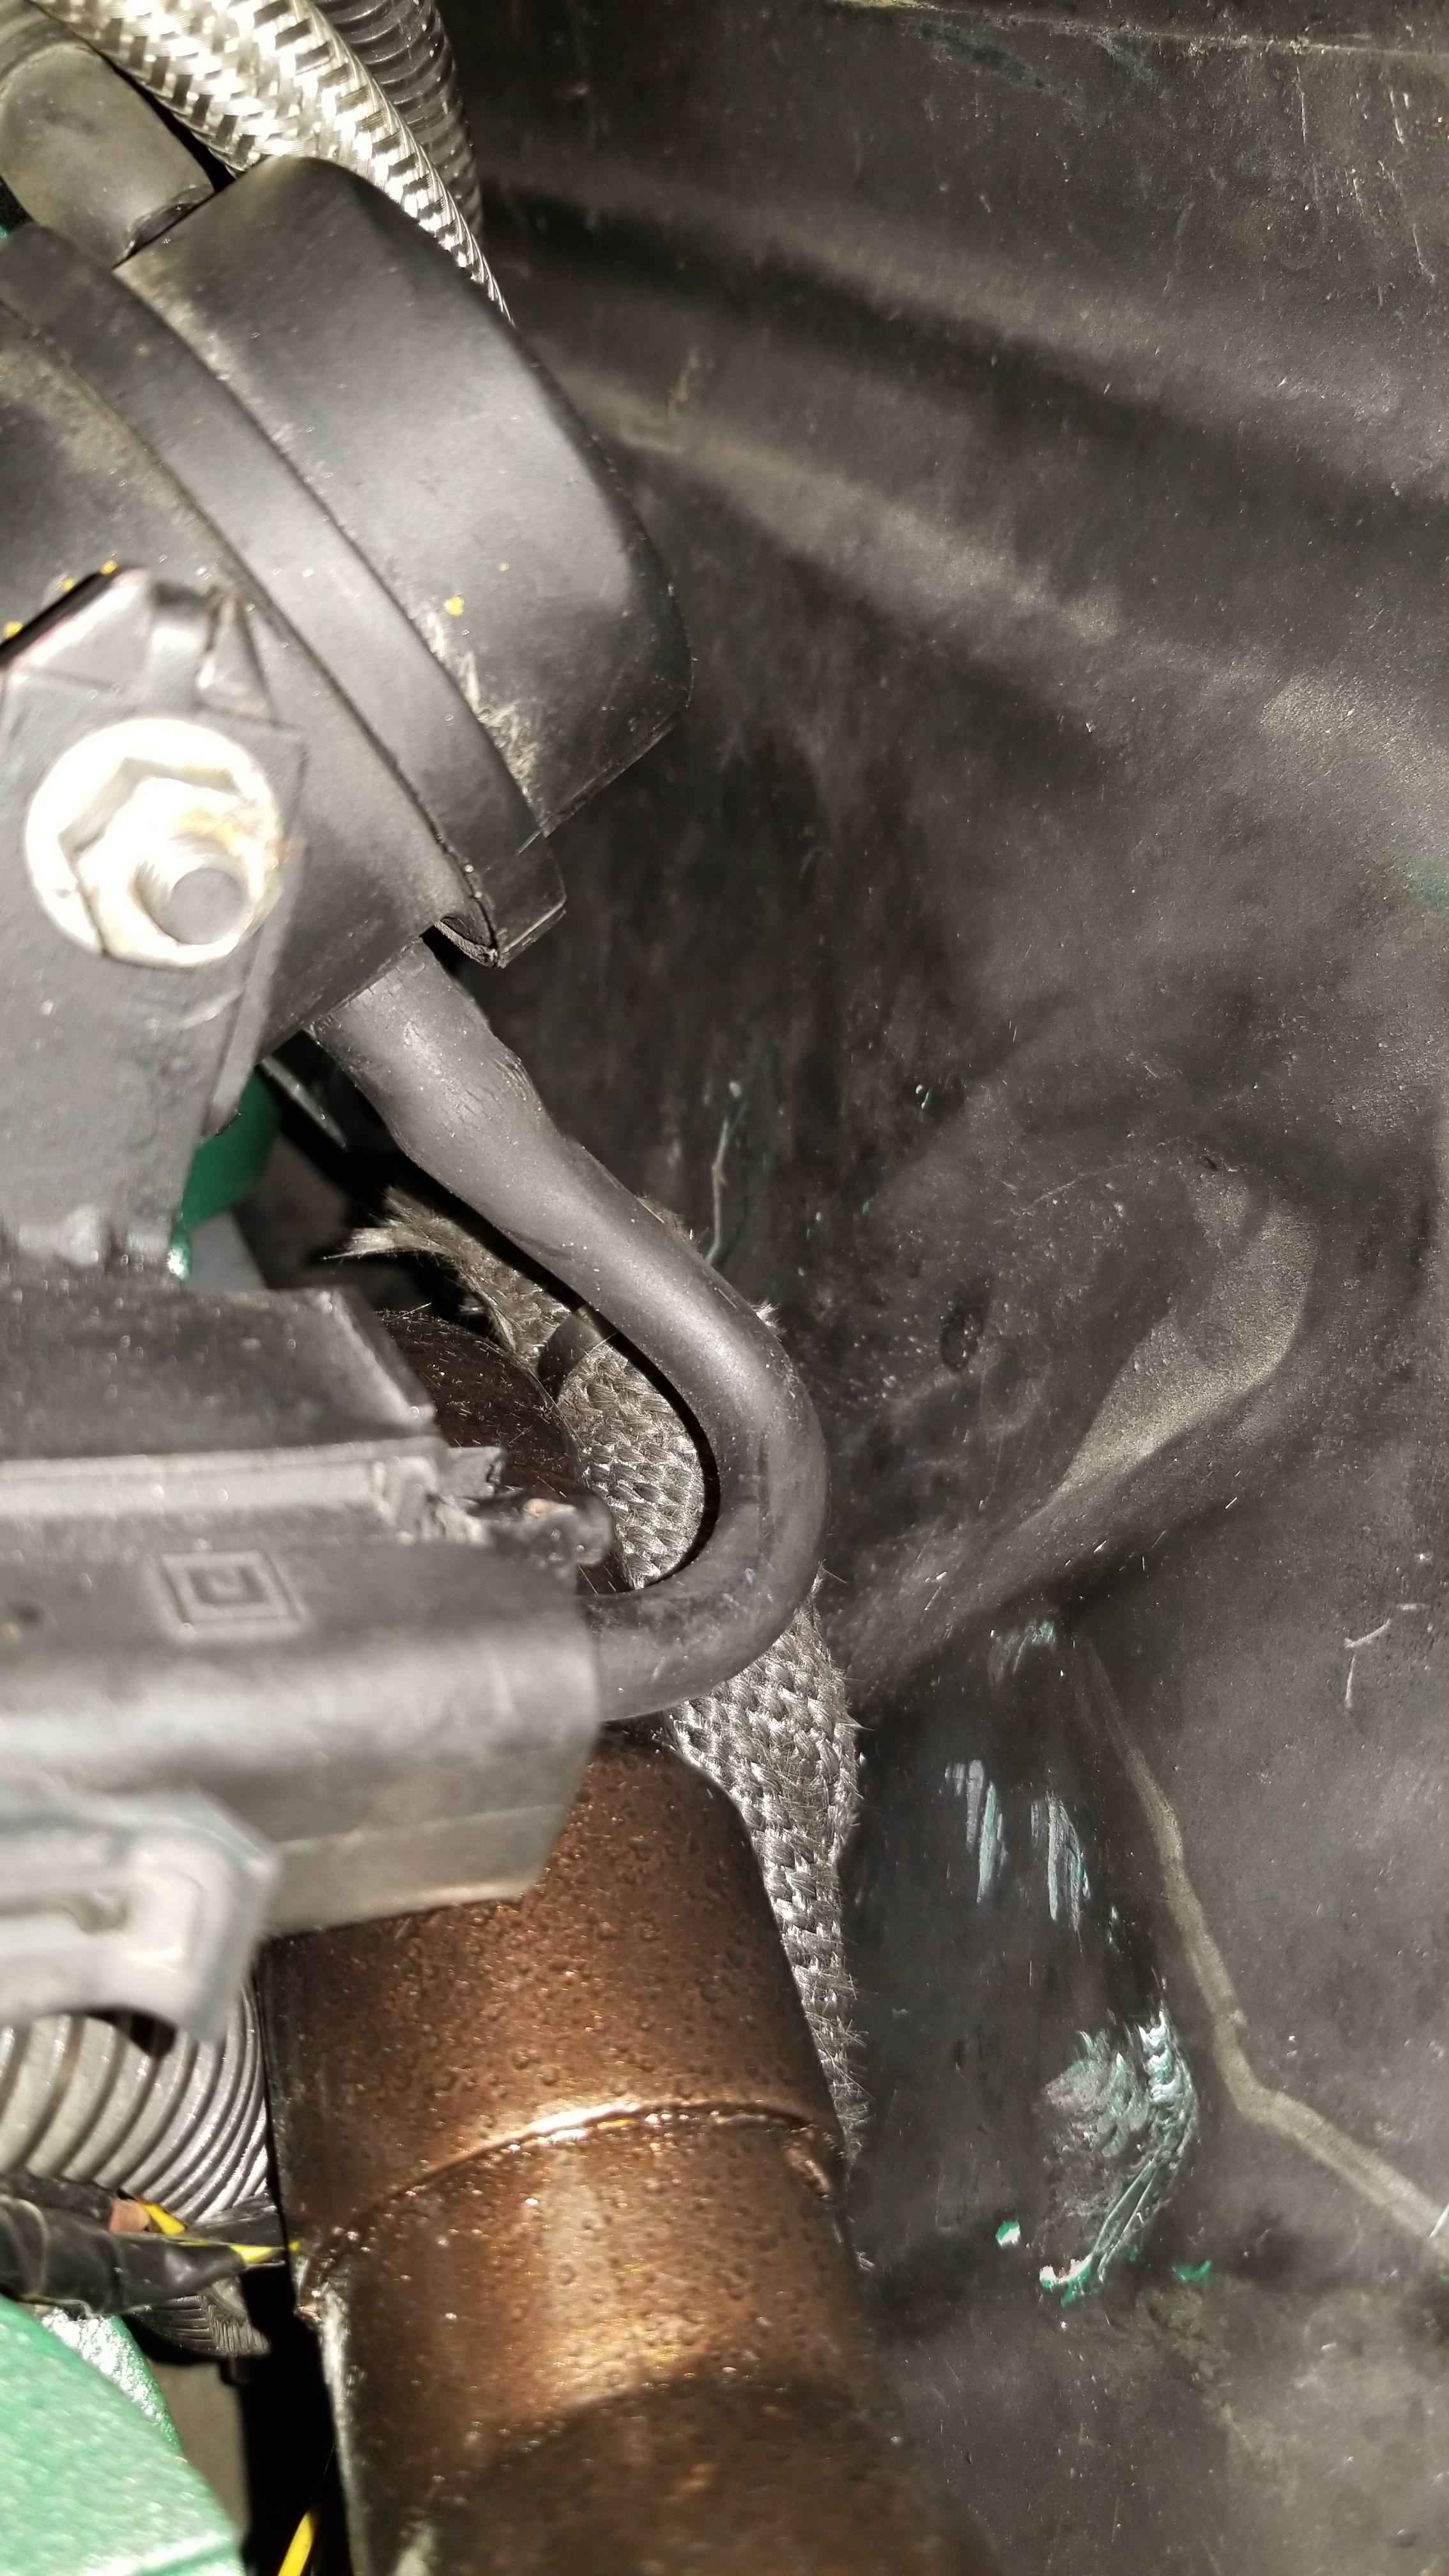
3. Firewall fit to L67 LIM is too tight, on mine it was about 1/4" interference with the very back bottom corner of the LIM. The firewall needs to be hammered in to provide clearance to the LIM. I also found later on that, due to EGR tube routing I needed to clearance another spot right behind the valve cover where the thermostat outlet and EGR tube are close to the firewall. Obviously there might be another way to route the EGR and thermostat outlet, but that's just what I ended up with:


4. EGR, ICM and coils, fuel rail connections. I turned the EGR tube down and away from the manifold, and re-routed it along the side of the motor just above the header flange. I used stainless steel tubing and high-temperature compression x pipe fittings to relocate it to the side of the blower case. There is not enough room to utilize the stock L67 inlet port, perhaps if you machined a 90 degree adapter block and came at it from a different angle you might be able to. The EGR tubing is 16mm tubing - close enough that you can make a 5/8 hole and tubing work. I got the parts for this from McMaster, stainless tubing and 800F yor-lock fittings, cost about $40. The ICM had to be relocated forward of the oil fill which had to be moved from the passenger side to the drivers side. Fuel rail inlet and outlet simply bent to point to the drivers side.

5. thermostat cover. I elected to cut the base flange off a spare L67 thermostat housing. I used a 1" diameter copper pipe elbow, rolled a bead on it, and press-fit it to the aluminum housing. Then I prepped and brazed the copper to aluminum joint. The interface with the radiator hose is a 1" to 1.25" adapter with a bead rolled on it so the hose can grip.


6. PCV system. The PCV valve is integrated in the blower case, and needs no modification. The other side of the PCV system was blocked off during the case modifications. I traced that PCV channel through the blower case to find a good spot to add a fitting to use braided line to relocate it to the port on the throttle body (which draws air from between the throttle plate and the MAS, not on the vacuum side!)

7: Wire harness & PCM. While you can 'get away' with leaving the harness stock, it's going to be pinched between the LIM and the firewall. Eventually that will lead to broken wires or shorts. At the very least I recommend re-routing the wires for the fuel injectors, ICM, MAP, EVAP, IAT, crank & cam, oil pressure sender through the front of the motor. There is enough slack in these wires to separate them from the bundle that goes down and behind the motor. This will allow you to have the rear bundle pass down the passenger side, maintaining that block clip, then further down along the trans bellhousing on the drivers side and avoid the pinch point. The wires in the bundle are generally not tangled bad enough to warrant significant headache. You can maintain your '97 PCM if you tune with DHP. DHP is capable of making the changes needed to allow the use of the 2-bar MAP sensor, all O2 sensors, and add the BCS functionally - a lot of mis-information out there on the W-body sites about top swapping and what to do about the MAP sensor and tuning, etc. Basically all you have to do is add a switched +12v wire to the BCS and a wire from there to PCM C1-23. I elected to change out my '97 PCM for the '98+ PCM as it's overall a better unit, and has less issues with tuning. I had to completely re-pin the PCM connectors, the only major functionality changes between the '97 and the '98+ are one less O2 sensor, and there are several functions in the '97 BCS that are moved to the PCM (Security control over the fuel pump, VATS, fuel guage, etc.) When changing to the '98 PCM you leave those pins empty.

8: Accessories, assembly, etc.. I kept all the Camaro front end brackets, etc. Everything else just assembles as you'd expect. This is where I'd recommend dropping the motor at least 6 inches to be able to fit your hands in there to assemble everything. Better yet, if you have a lift and can just drop the entire cradle... This is a good time to change things like spark plugs (L67 plugs at the very least, NA plugs are too hot of a heat range),wire set, etc. The radiator hose is from a '05 Bonneville GXP, it's the really long hose, I can't recall if it's the upper or lower. I had to cut one end to line up with the outlet, then cut and rotate the other end to connect to the radiator. I used a 1.25" diameter copper tube with a bead rolled on the ends to splice the two pieces together.
9. Belt drive - You can get away with several belt options. None of them are going to have very good belt wrap, and will likely slip:

I added one idler pulley, changed the belt path, and increased the size of the tensioner and idler pulleys to be able to use a standard size, readily available 136" belt from a Duramax:

10. throttle cable. The '97 Camaro cable won't work. There is too much slack in the line, and the fittings don't quite fit the L67 throttle body bracket. You have two options: Grab a W-body throttle cable and drill out the firewall hole to fit it, or custom make one. I chose to custom make mine. OE cables are a 1.5mm diameter, 7x7 strand arrangement. Factory cables are constructed of end stops, the inner cable, the outer cable shield, and the plastic shield clips. I sourced parts from Venhill USA (motorcycle cable supplies) and McMaster. Cost just under $50. I used the braided stainless 8mm outer cable from Venhill with the straight short 8mm ferrules. The cable and end stops came from McMaster. I used a 1/16" (2mm) diameter 7x19 strand cable for easier flexibility. The gas pedal side I used the plastics from the Camaro throttle cable, drilled out to 5/16 for the 8mm ferrule for the Vehnill braided shield, then glued and (hand) press fit. The end stop is the McMaster compression ball with shank end fitting, which is nearly identical size to the OE end stop. The throttle body side is the Grand Prix plastics because the Camaro plastics don't clip into the L67 throttle body bracket. The end stop I had to basically mock everything up on-car to get the length right, then I drilled a hole in the side of an un-threaded spacer, 3/16 OD sized for a #2 screw, and pulled the wire through the hole and out the side. Everything is made from stainless. To 'cut' the wire rope I hit it with the TIG; it prevents the wire from fraying and made things a hell of a lot easier to assemble. Once I had everything mocked up I used the TIG to make the joint permanent.

10. Intake ducting. I tried to keep this simple. I'm using a 3.5" diameter offset coupler on the throttle body, then used a 3" steel tubing to complete the path to the air filter, which is located down inside the fender.
As far as power, with a 4" pulley I'm probably not making much, if any, more power than a stock L67. I'm planning on getting it to the local track yet this year for a test and tune. stock I ran 16.1 @ 88, intake, cam, headers got me to 15.3 @ 90. The car feels way faster now. If I can figure out how to launch it I should be in the low 14's I think.
Check engine light is on because I don't have the EVAP lines and vent/purge connected yet. I am waiting on the 3D printer to make mounts for them in a spot that doesn't look cobbled together.
I'll go down the list of what I had to do to pull this off.
1. Supercharger case modification - there's enough meat in the side of the case to work what looks like a 90 degree fit into a tight radius smooth elbow inside. That way you can get around the stock L67 fuel rail. But you need to quickly transition to a typical mandrel bend to clearance the A/C lines. Note that the gen 3 case is very thick in that inside corner, transistioning from about 1/2" thick to a solid 1" at the bottom and if your TIG is underpowered you'll have to braze there. Note that in order to clearance the firewall the blower case cannot extent beyond the LIM back edge at any point. Also note that these modifications mean that the EGR and coolant provisions in the LIM need to be blocked off, and inside the blower case the PCV provision needs to be blocked off because it needs to draw air from between the MAS and the throttle plate.
2. Throttle body placement depends on if you have DBW or cable. I wanted to keep the A/C, and I don't have DBW. On the passenger side of the cowl there's a bump up of about 1/2" extra vertical clearance, which is enough to squeeze the throttle body in there between the A/C lines and the fuel rail, in my case I mounted it withing 1/8" clearance to the rail. The other limiting factor is the alternator. The throttle body needs to be angled on two axis so the TPS clears the A/C lines and the inlet doesn't point straight into the alternator and is high enough to clear the heater hoses. I wanted to keep the TB as close to stock distance from the blower as possible as in past builds I've had weird tuning/idle issues with a remote mounted throttle body.
3. Firewall fit to L67 LIM is too tight, on mine it was about 1/4" interference with the very back bottom corner of the LIM. The firewall needs to be hammered in to provide clearance to the LIM. I also found later on that, due to EGR tube routing I needed to clearance another spot right behind the valve cover where the thermostat outlet and EGR tube are close to the firewall. Obviously there might be another way to route the EGR and thermostat outlet, but that's just what I ended up with:
4. EGR, ICM and coils, fuel rail connections. I turned the EGR tube down and away from the manifold, and re-routed it along the side of the motor just above the header flange. I used stainless steel tubing and high-temperature compression x pipe fittings to relocate it to the side of the blower case. There is not enough room to utilize the stock L67 inlet port, perhaps if you machined a 90 degree adapter block and came at it from a different angle you might be able to. The EGR tubing is 16mm tubing - close enough that you can make a 5/8 hole and tubing work. I got the parts for this from McMaster, stainless tubing and 800F yor-lock fittings, cost about $40. The ICM had to be relocated forward of the oil fill which had to be moved from the passenger side to the drivers side. Fuel rail inlet and outlet simply bent to point to the drivers side.
5. thermostat cover. I elected to cut the base flange off a spare L67 thermostat housing. I used a 1" diameter copper pipe elbow, rolled a bead on it, and press-fit it to the aluminum housing. Then I prepped and brazed the copper to aluminum joint. The interface with the radiator hose is a 1" to 1.25" adapter with a bead rolled on it so the hose can grip.
6. PCV system. The PCV valve is integrated in the blower case, and needs no modification. The other side of the PCV system was blocked off during the case modifications. I traced that PCV channel through the blower case to find a good spot to add a fitting to use braided line to relocate it to the port on the throttle body (which draws air from between the throttle plate and the MAS, not on the vacuum side!)
7: Wire harness & PCM. While you can 'get away' with leaving the harness stock, it's going to be pinched between the LIM and the firewall. Eventually that will lead to broken wires or shorts. At the very least I recommend re-routing the wires for the fuel injectors, ICM, MAP, EVAP, IAT, crank & cam, oil pressure sender through the front of the motor. There is enough slack in these wires to separate them from the bundle that goes down and behind the motor. This will allow you to have the rear bundle pass down the passenger side, maintaining that block clip, then further down along the trans bellhousing on the drivers side and avoid the pinch point. The wires in the bundle are generally not tangled bad enough to warrant significant headache. You can maintain your '97 PCM if you tune with DHP. DHP is capable of making the changes needed to allow the use of the 2-bar MAP sensor, all O2 sensors, and add the BCS functionally - a lot of mis-information out there on the W-body sites about top swapping and what to do about the MAP sensor and tuning, etc. Basically all you have to do is add a switched +12v wire to the BCS and a wire from there to PCM C1-23. I elected to change out my '97 PCM for the '98+ PCM as it's overall a better unit, and has less issues with tuning. I had to completely re-pin the PCM connectors, the only major functionality changes between the '97 and the '98+ are one less O2 sensor, and there are several functions in the '97 BCS that are moved to the PCM (Security control over the fuel pump, VATS, fuel guage, etc.) When changing to the '98 PCM you leave those pins empty.
8: Accessories, assembly, etc.. I kept all the Camaro front end brackets, etc. Everything else just assembles as you'd expect. This is where I'd recommend dropping the motor at least 6 inches to be able to fit your hands in there to assemble everything. Better yet, if you have a lift and can just drop the entire cradle... This is a good time to change things like spark plugs (L67 plugs at the very least, NA plugs are too hot of a heat range),wire set, etc. The radiator hose is from a '05 Bonneville GXP, it's the really long hose, I can't recall if it's the upper or lower. I had to cut one end to line up with the outlet, then cut and rotate the other end to connect to the radiator. I used a 1.25" diameter copper tube with a bead rolled on the ends to splice the two pieces together.
9. Belt drive - You can get away with several belt options. None of them are going to have very good belt wrap, and will likely slip:
I added one idler pulley, changed the belt path, and increased the size of the tensioner and idler pulleys to be able to use a standard size, readily available 136" belt from a Duramax:
10. throttle cable. The '97 Camaro cable won't work. There is too much slack in the line, and the fittings don't quite fit the L67 throttle body bracket. You have two options: Grab a W-body throttle cable and drill out the firewall hole to fit it, or custom make one. I chose to custom make mine. OE cables are a 1.5mm diameter, 7x7 strand arrangement. Factory cables are constructed of end stops, the inner cable, the outer cable shield, and the plastic shield clips. I sourced parts from Venhill USA (motorcycle cable supplies) and McMaster. Cost just under $50. I used the braided stainless 8mm outer cable from Venhill with the straight short 8mm ferrules. The cable and end stops came from McMaster. I used a 1/16" (2mm) diameter 7x19 strand cable for easier flexibility. The gas pedal side I used the plastics from the Camaro throttle cable, drilled out to 5/16 for the 8mm ferrule for the Vehnill braided shield, then glued and (hand) press fit. The end stop is the McMaster compression ball with shank end fitting, which is nearly identical size to the OE end stop. The throttle body side is the Grand Prix plastics because the Camaro plastics don't clip into the L67 throttle body bracket. The end stop I had to basically mock everything up on-car to get the length right, then I drilled a hole in the side of an un-threaded spacer, 3/16 OD sized for a #2 screw, and pulled the wire through the hole and out the side. Everything is made from stainless. To 'cut' the wire rope I hit it with the TIG; it prevents the wire from fraying and made things a hell of a lot easier to assemble. Once I had everything mocked up I used the TIG to make the joint permanent.
10. Intake ducting. I tried to keep this simple. I'm using a 3.5" diameter offset coupler on the throttle body, then used a 3" steel tubing to complete the path to the air filter, which is located down inside the fender.
Fourth Generation Moderator
October 2009 ROTM
October 2009 ROTM
iTrader: (1)
Joined: Nov 2007
Posts: 10,561
From: Eastern PA,
ROTM Winner's Club
Nice write up, Thank you. Please keep use up to date with any changes or new infor.
I only asked about the check engine lite because in most case things like the evap system are programmed to not throw codes. Most tunner strip the PCM down so if the check engine lite is on there is a real problem.
I only asked about the check engine lite because in most case things like the evap system are programmed to not throw codes. Most tunner strip the PCM down so if the check engine lite is on there is a real problem.

Fourth Generation Moderator
October 2009 ROTM
October 2009 ROTM
iTrader: (1)
Joined: Nov 2007
Posts: 10,561
From: Eastern PA,
ROTM Winner's Club
I do remember seeing a thread on another site where the guy used spacer between the K frame and the body to get more clearance, To anyone thinking of this keep the spacers as small as possible as it will mess up your steering angles. Small amount should not matter much. Of course he then lowered the suspension.

Thread Starter
|
Newbie
Joined: Oct 2018
Posts: 4
Got to the track this weekend. It was a bit cold and I don't have drag radials or anything, just run it like I drive it.
14.7 @ 96.4 with an outstanding (...) 2.5s 60'. I was having issues getting traction off the line.
I've got some work I need to do over winter here, then we'll be making some adjustments to the tune, probably time for new tires wider than 245's, etc... I'm hoping to grab a locking rear end (with disc brakes) from the local U-pull and get that along with a lot of much needed suspension work done before I hit up the spring test and tunes.
Thread Starter
|
Newbie
Joined: Oct 2018
Posts: 4
I haven't done a whole lot of new to the car yet this season, managed to get new tires and powder coat updates along the way. Ended up having to shave and relocate the bump stops, fixed a leaking A/C compressor, and fixed a few vacuum leaks. Took the car out to hot rod power tour 2019, did the long haul with a few friends. 3,000 miles in one go, and no issues from the swap. Though, the clutch is not holding up to the power; it started to slip in 4th going through the mountains.


Thread
Thread Starter
Forum
Replies
Last Post

