So here it goes, my project thread (2nd gen)
#151
 06-20-2010, 05:28 AM


The tranny is painted with Duplicolor Engine paint. I belive the color is "cast iron."
I told you it looked like Rhino lining. Oh well. I think trying to blast this stuff of would be more work than its worth, so it will stay that way. I was hopring people would think it was in my grand plan too. Thanks for the complements guys, I will drive it this year.
I told you it looked like Rhino lining. Oh well. I think trying to blast this stuff of would be more work than its worth, so it will stay that way. I was hopring people would think it was in my grand plan too. Thanks for the complements guys, I will drive it this year.
#152
07-06-2010, 07:35 PM
I got the clutch and tranny in today. It took 3+ hours to get the clutch in due to the roller pilot bearing I installed previously. After asking around and a little reading I came to the conclusion that the roller bearing was a no no. As far as I can tell they don't work unless the crank and the inputshaft are dead center or concentric. Getting this thing out was HELL. The old grease trick didn't work so well. The needles inside left enough gap for the grease to shoot out and there was a cap on the end. After completly destroying it, all was good. Just a word of advice to anyone thinking of using these. They are more trouble than there worth. Bronze have been around for ever and are cheap too. Will post pics tomorrow.
P.S. Anyone wanna mail me a 400 driveshaft yoke?
P.S. Anyone wanna mail me a 400 driveshaft yoke?
#153
07-06-2010, 10:31 PM

Join Date: Aug 2008
Location: Portland, Or
Posts: 9,097
I got the clutch and tranny in today. It took 3+ hours to get the clutch in due to the roller pilot bearing I installed previously. After asking around and a little reading I came to the conclusion that the roller bearing was a no no. As far as I can tell they don't work unless the crank and the inputshaft are dead center or concentric. Getting this thing out was HELL. The old grease trick didn't work so well. The needles inside left enough gap for the grease to shoot out and there was a cap on the end. After completly destroying it, all was good. Just a word of advice to anyone thinking of using these. They are more trouble than there worth. Bronze have been around for ever and are cheap too. Will post pics tomorrow.
P.S. Anyone wanna mail me a 400 driveshaft yoke?
P.S. Anyone wanna mail me a 400 driveshaft yoke?
#154
07-08-2010, 07:42 PM
Well today was another one step forward two steps back. I got the crossmember painted and put in. I the started on fixing my harmonic balancer problem that I gave up on a year ago after breaking two installers on it. I think it was Vall who suggested the keyways bunching up. He is the winner. I tore it down and the back one was trashed. Thats when all hell broke loose on me. I didn't have a tool to rotate the motor and forgot to put it at TDC before pulling it apart. Then the gear puller I did have wouldn't grab on the crank gear. Had to run and buy a new one and a pack of keyways. Go back and pull it off. Work my but off getting the chewed up key out. Put the gear on. Now I need to get the crank and cam lined back up. I had to put the balancer back on and use bolts in it and a prybar to roll the motor over. All done now I need to get the cam to move. Not gonna happen by hand. The valves are already adjusted and I have to bust all the polylocks loose to get the cam to spin freely. Pull the balancer back off. Line up the dots and set the hex a just where I want it. Oh crap I didn't drop the front of the oil pan to get the timing cover off. Well the humidity is way to high for all this stuff so I gave up and started tinkering with other stuff. Here are some pics. First the chewed up key.
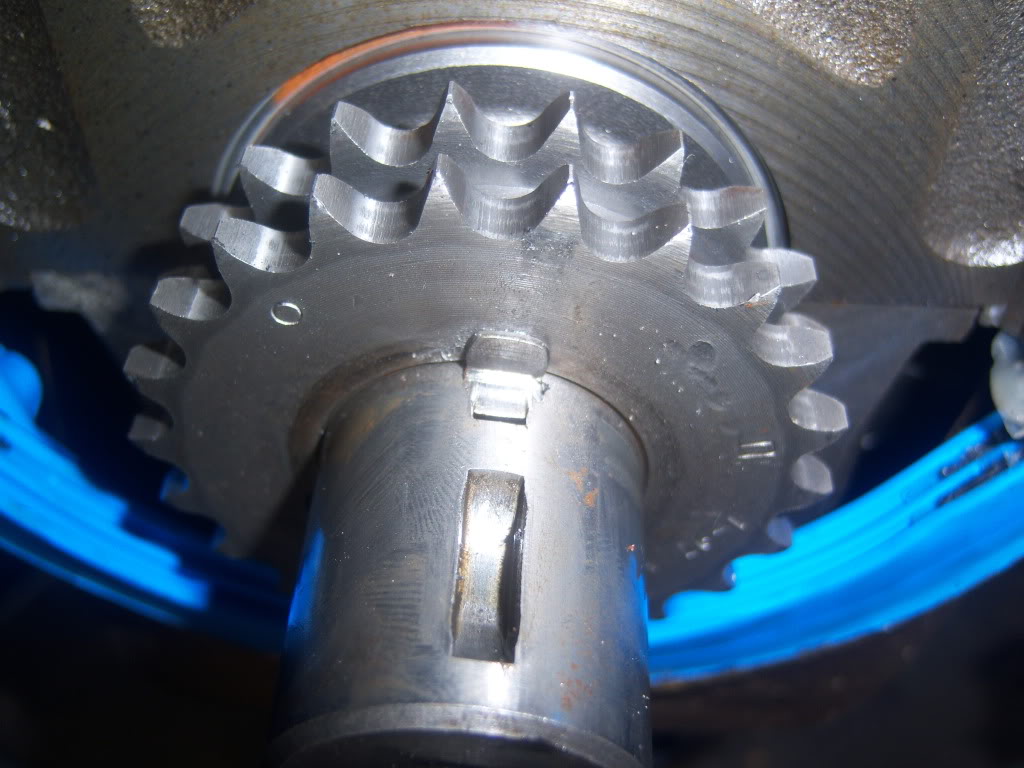
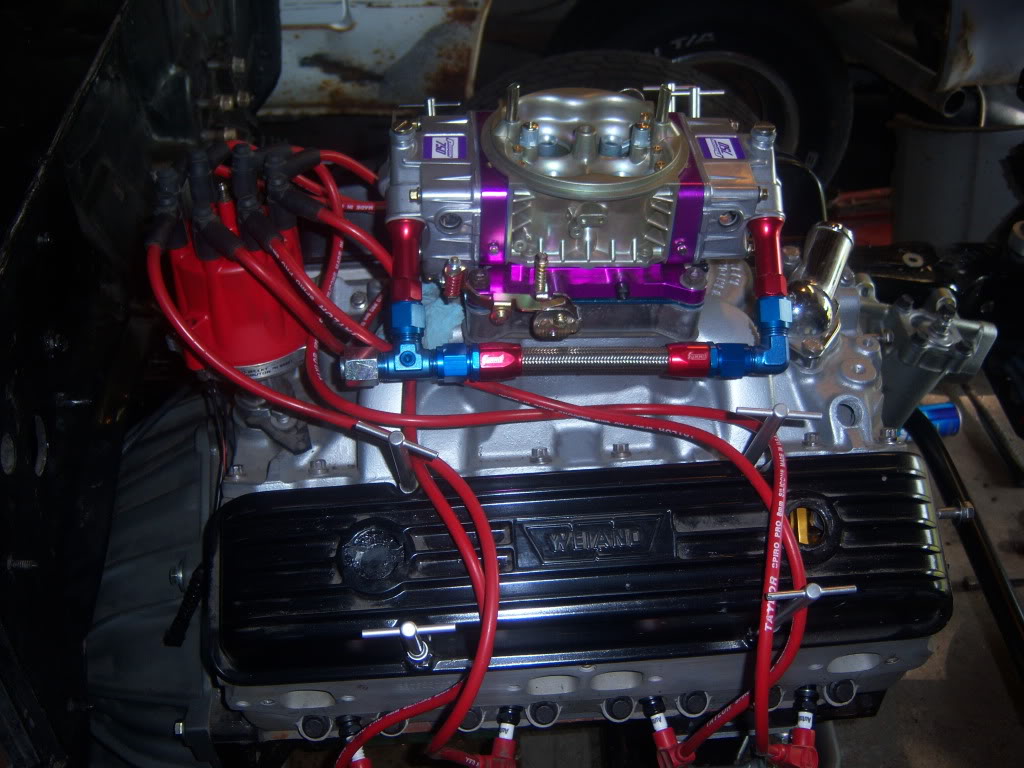
Here are some of the motor.

I still have to remove these braces to get the headers in. I never knew they were there, my other car never had them.
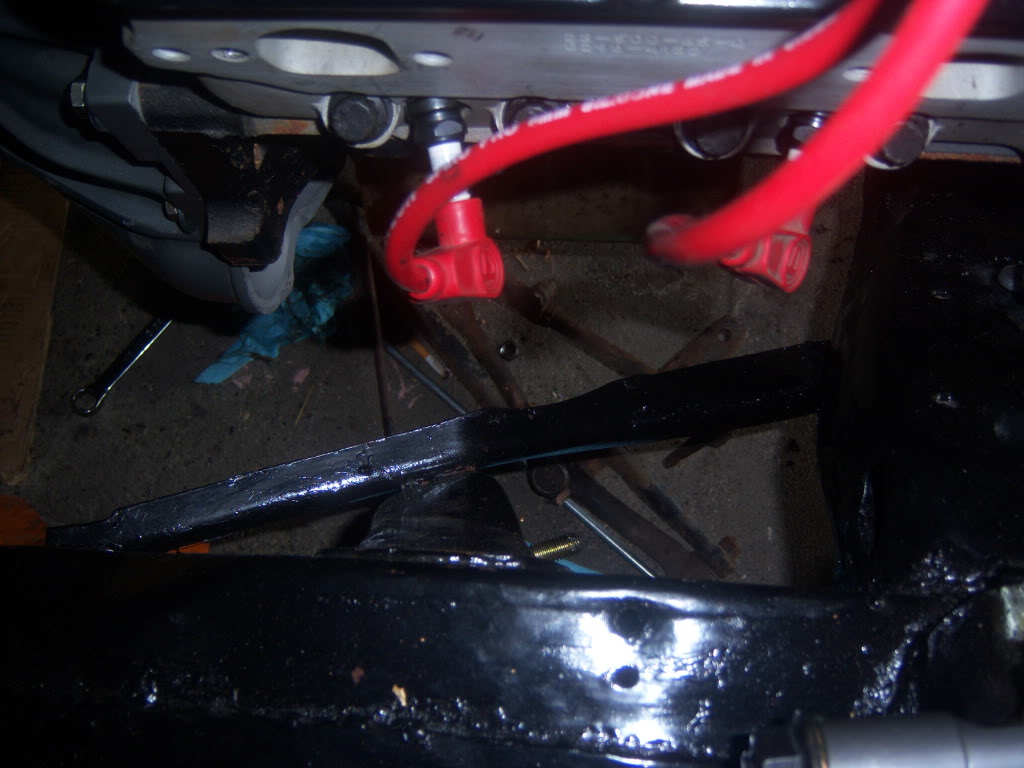
I will certainly need a cowl hood, cause this thing aint fittin.

Here are some of the motor.
I still have to remove these braces to get the headers in. I never knew they were there, my other car never had them.
I will certainly need a cowl hood, cause this thing aint fittin.
#155
07-09-2010, 02:49 PM
Join Date: Aug 2008
Location: Portland, Or
Posts: 9,097
Bummer on the keyway! I know what you mean on the valve tension. Just no way to get things lined up without loosening and losing all the adjustments. More work!
Is that a drop base aircleaner? If not you might clear with one, but heck there's nothing wrong with a cowl hood too!
The engine sure looks great!
Is that a drop base aircleaner? If not you might clear with one, but heck there's nothing wrong with a cowl hood too!
The engine sure looks great!

#158
07-10-2010, 09:14 AM
I could pull the 1" spacer, but I'm gonna use it for a vac source for my brakes. The Eddy intake may have the bolt pattern for a Holly carb. But as most of you probably run into their big f-u was to put the hole for the brake booster right under the rear bowl. Not enough room. With a Eddy carb every thing is fine. They could've moved it down another 3". I could plug it and redrill in down farther on the runner but then I'd have to take the intake off, another step back. The spacer has a spot to drill so thats what is gonna happen.
#159
07-10-2010, 05:19 PM
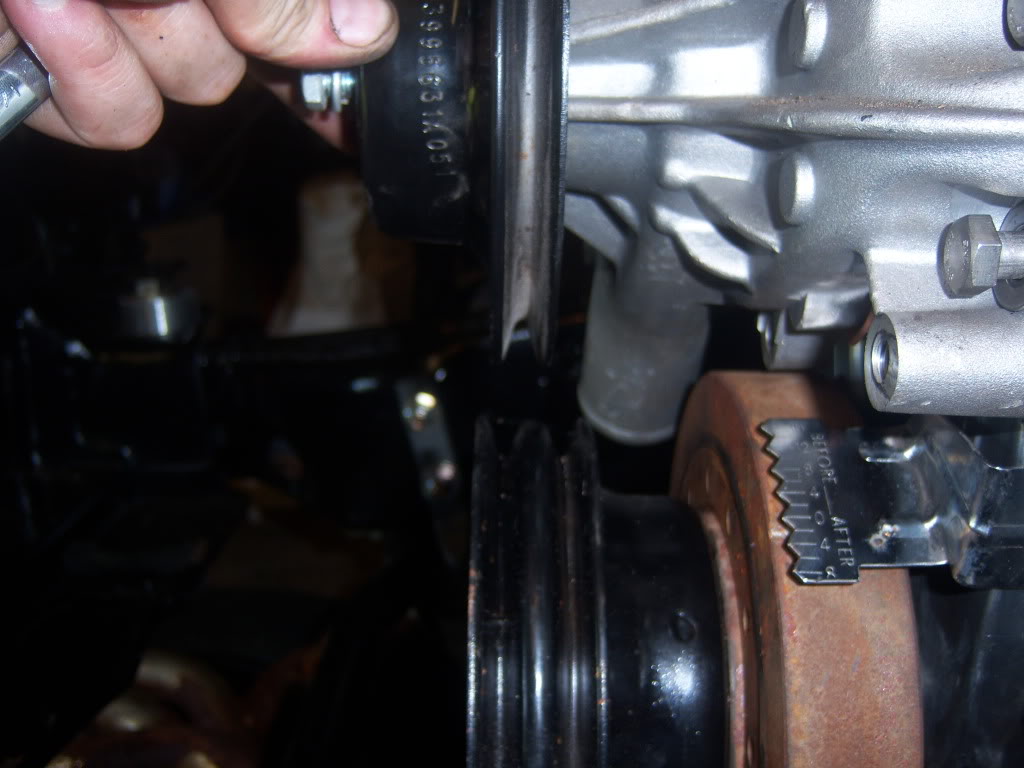
Ok now I just pissed. I went back out to put every thing back together today. Wouldn't you know I still have the same miss alignment on the water pump pulley. I am beginning to think my aftermarket water pump it shorter than a stock one. I will post pics later.
#160
07-11-2010, 01:05 PM
What do you guys think. The pulleys are the same ones I ran on my pick up for years. Should I shim the water pump pulley out? I'm gonna pull the balancer one more time to see if the keys moved again. I did install it with no cover and didn't tear them up. Maybed the crank gear isnt on all the way? It looks like the balancer and the timing tab are cool. It doesn't stick out too far. If it goes back any farther I won't be able to time it.