
So here it goes, my project thread (2nd gen)
#141
 06-15-2010, 06:24 PM


Join Date: Aug 2008
Location: Portland, Or
Posts: 9,097
I started all my fender bolts and then began at the top to take them down until they just touched. Then I ran the bolts that go into the firewall down until they were slightly snug. I checked the door gap at that time and decided how much to shim. After that I checked the top edge to the door to see how much to shim it up.
I finally tightened the bottom without shims to see what happened and it of course pulled up enough to bow the fender out and I had to add shims. Once I got that shimmed I set the hinges in and bolted them, then compressed them down. I laid the hood on top to get an idea of the gap on each side of the fenders and whether it was equal all along the seams on both sides. I had to bolt the header panel in too, to be sure it fit and didn't affect the hood gaps. Lower valance too! All needs to be in there or something will not be able to line up without that piece. A big jigsaw puzzle!
I had to remove and add shims in various locations at almost every spot until by trial and error I got everything lined up. I also had to ream holes and cut and weld the firewall supports as the crap repro fenders had terrible bracket location and didn't even come close to matching. Same with my header panel to fender holes; all off and needed to be reamed. Looks like you've got factory fenders, so you're a step ahead already.
Lastly I bolted all the bumpers, and trim on to ensure nothing rubbed or looked wrong.
Once I got all the shims in and things snugged, then I did final tweaking and tightened it all down for a final check. After that I pulled it all apart one bolt at a time and taped the shim packs together with notes on each to indicate where they came from. I bagged all the parts in ziploc bags with notes inside to indicate what or where they came from.
Took a lot of time and frustration, but in the end it saved a lot of money paying a body shop to do the same. I know they're faster, but I didn't want to blow my budget on something I figured I could eventually muddle through.
One note: I bought a few extra shim packs from my local dealer as I figured I'd never do it with what I took off. I was right; I used up almost all the extras I bought.
Last edited by 1971BB427; 06-15-2010 at 06:27 PM.
#142
06-15-2010, 07:05 PM

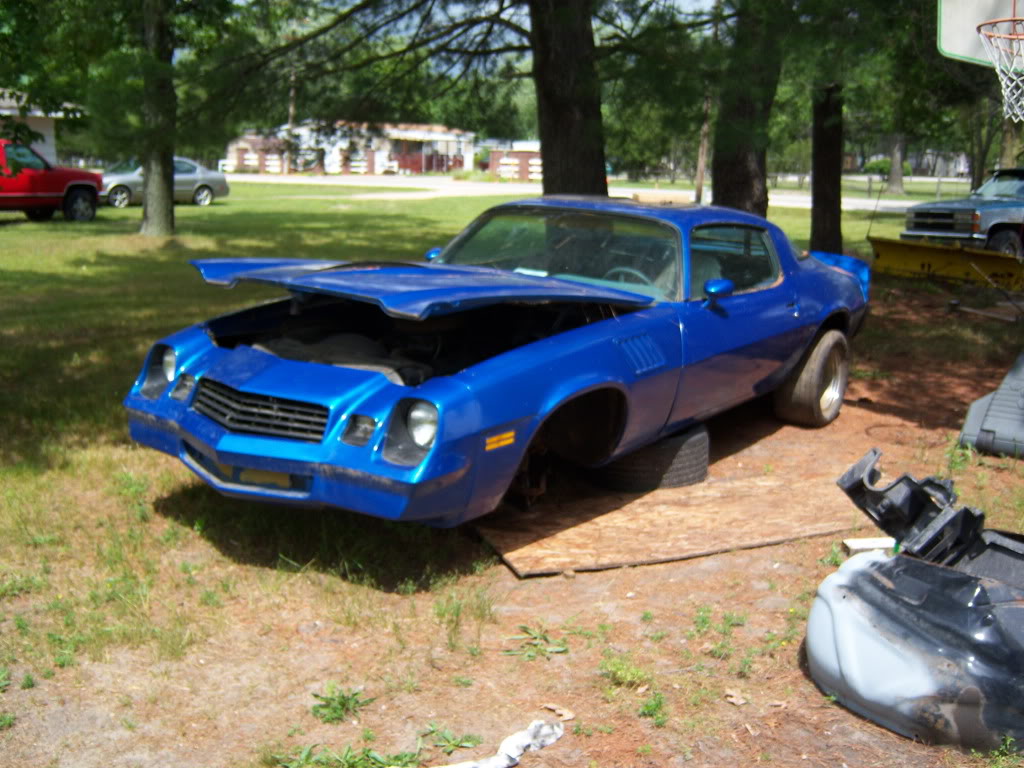
lol I have three shims. Thats all that came with the car. I no it will take time. The humidity is going to break tomorrow afternoon, so I think I'll either pull the support from the 78 or blast the one that came with it. If you look at the pass fender extention in the front pic you can see it took a good smack in the nose. I didn't notice when we were loading up parts. I asked about the nose but he couldn't find it. I guess I know why. I hope that fender isn't tweaked. I havn't done fenders from scratch like this so its a real learning experiance.
#143
06-16-2010, 03:55 PM
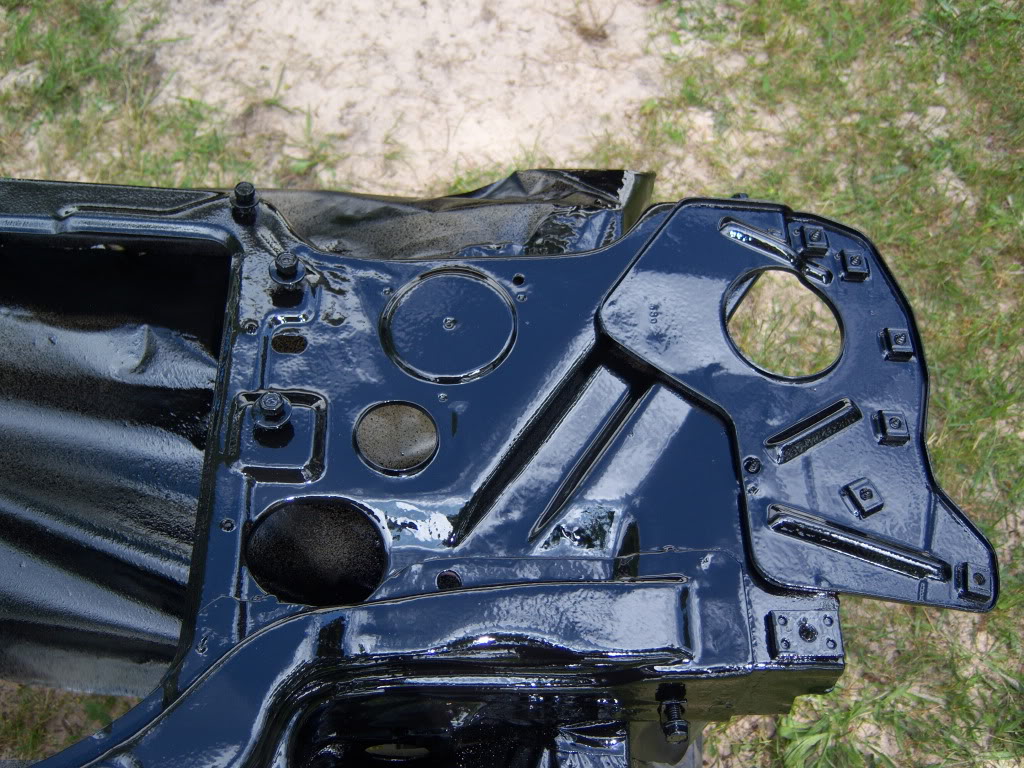
Well as promosed the humidity was 94%. Turned into 100% (rain) for awhile. But I got the core support basted a nd a coat of POR15 on it. Thought I'd give this bad boy a try today.
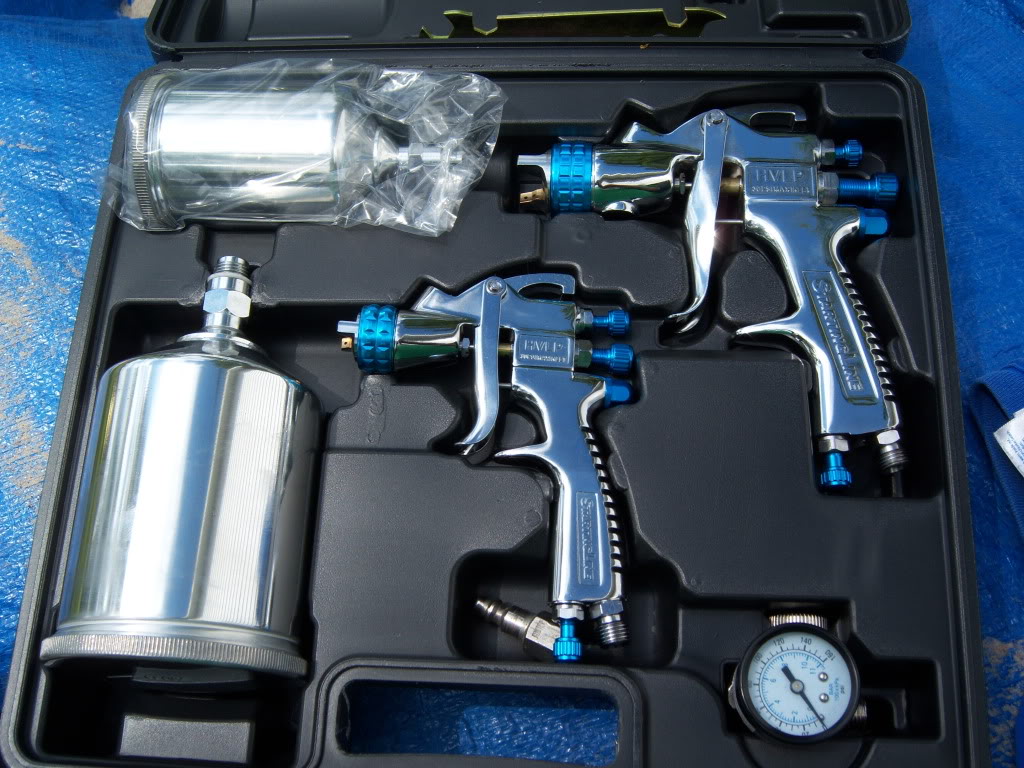
Found out POR15 needs to be thinned at least 1:1 to shoot it. This is with 1.8mm tip. The final product look pretty good.
Her is the 78 sitting on its death bed. Poor car. I feel bad. I'm part it for real now. I still have to inspect the passenger frame rail to see if I can cut it out and sell it. The front sheet metal will be gone soon. Doors are good so I save them.
#144
06-16-2010, 09:41 PM
Join Date: Aug 2008
Location: Portland, Or
Posts: 9,097
Core support looks great! Nice shine on the POR! That fender doesn't look too bad. I'd pull it off and start by having someone hold it vertical with the nose down on a flat smooth surface and pound it out with a hammer until it's flush. You can lay the fender on it's side every so often and tap the wrinkle out to let it continue to allow forward movement. I think you can get it awfully close before you hang it and it wont affect the alignment at all.
#145
06-17-2010, 06:27 AM
Thanks, my hands will be black for days. Its just the fender extention thats bent. I have a couple extra, so its not worth the trouble. Just unbolt it and bolt another one on.
#147
06-17-2010, 06:28 PM
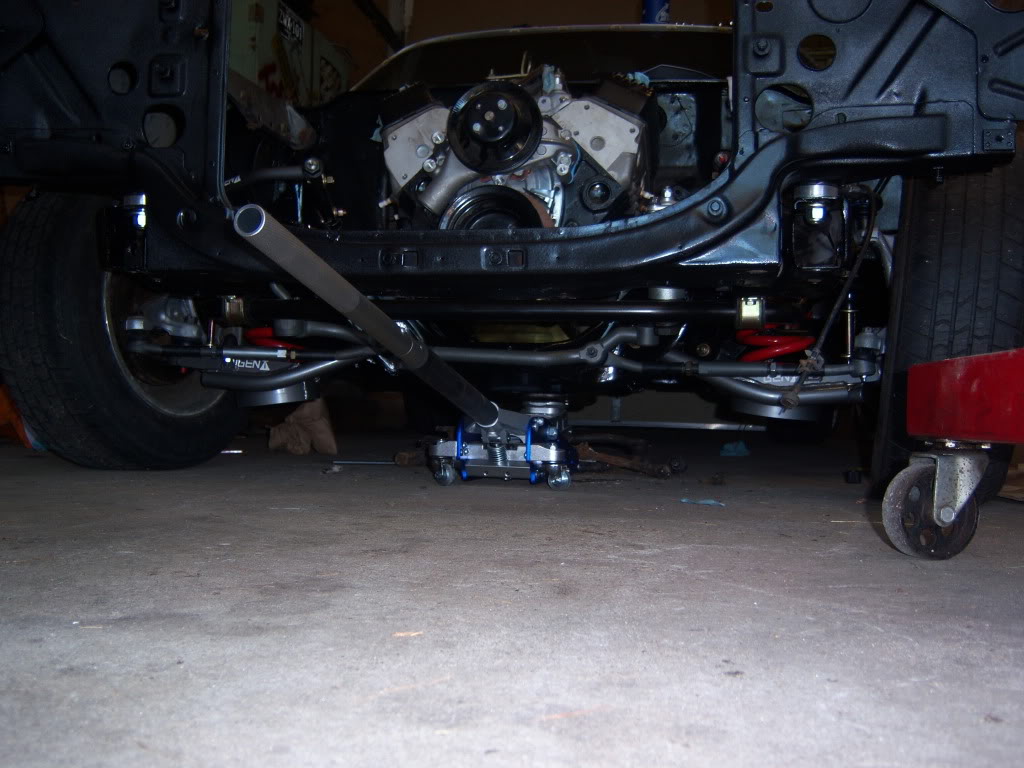
My beautiful black core support looks like crap now. Something happened with the paint. I read on the gallon that if its put on too thick the bubbles can't escape. It has the textur of Rhino Lining. I mean it a dead ringer. But its uniform so I might just leave it. Yeah parts cars are awsome. Mostly because if I don't know where something goes. Got the alignment done on the doors and put the strikers back in. Man they close nice. The core support is in and square for now. The fenders look alot easier to align now. Thanks for the wake up call. I put 320# of blast sand on the sub frame to check the ride height. Fronts are 27' off the floor and the rears are 28". Not bad considering I have 235/70 on the back and some tiny things on the front.


#150
06-19-2010, 10:11 PM
Join Date: Aug 2008
Location: Portland, Or
Posts: 9,097
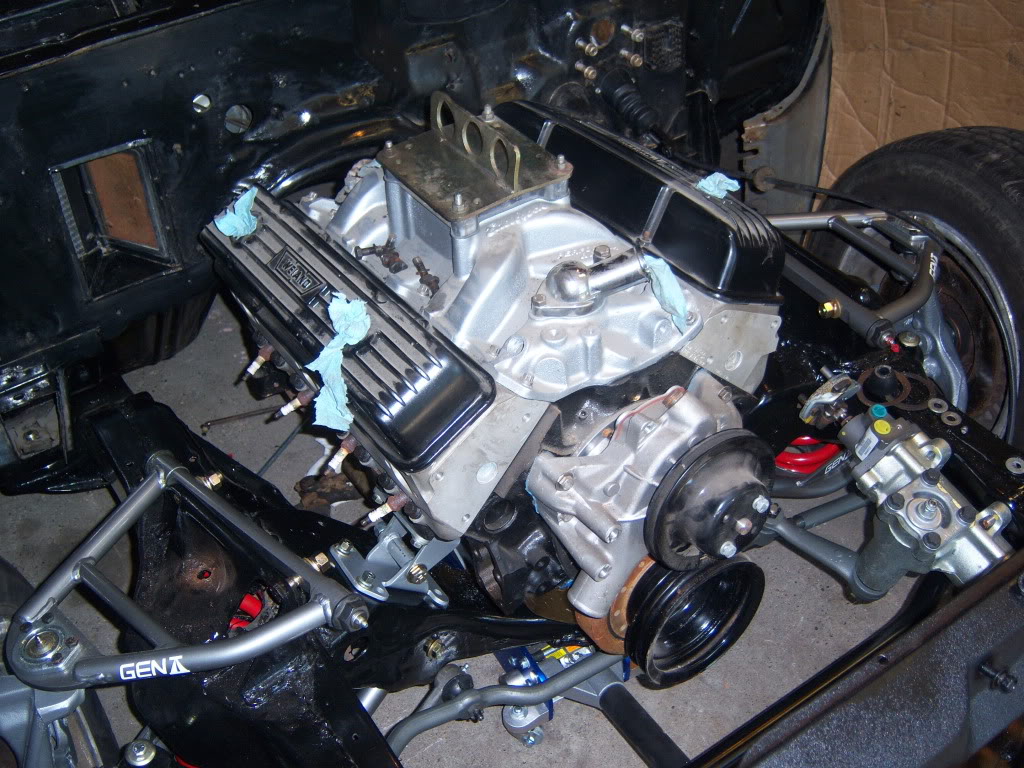
Your car is really coming together! That engine is really nice, and the engine bay is going to look great when it's completed! The "rhino" finish on the core support might even give a nice touch, and most folks will think it was done on purpose!