79 Camaro Project
#641
 03-25-2012, 09:05 PM

Apparently the guy who sld it to me decided that the installation kit could be left out of the deal. I decided to pull everything out of my 81 and install it. So now I'm working on that swap.

#643
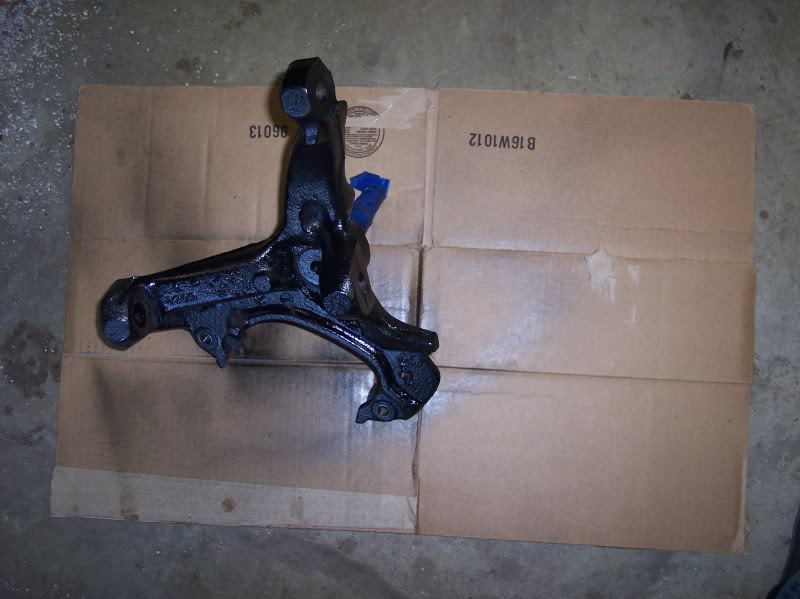
03-25-2012, 11:10 PM

Looks like you could drill the rivets out of the stock one and bolt it to the new one. The rod looks like a challenge, do able but a pain for sure. Have you looked into adding a hydro boost from a Astro van?
#644
03-26-2012, 11:08 AM
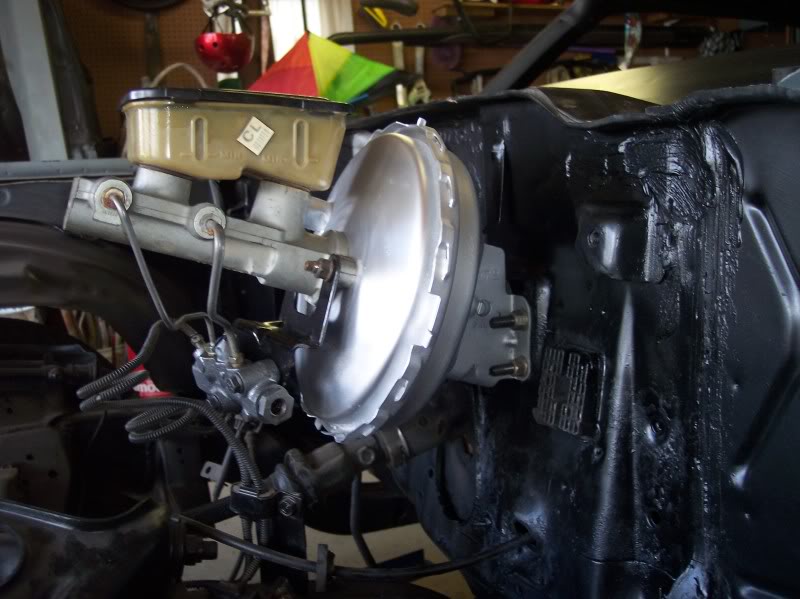
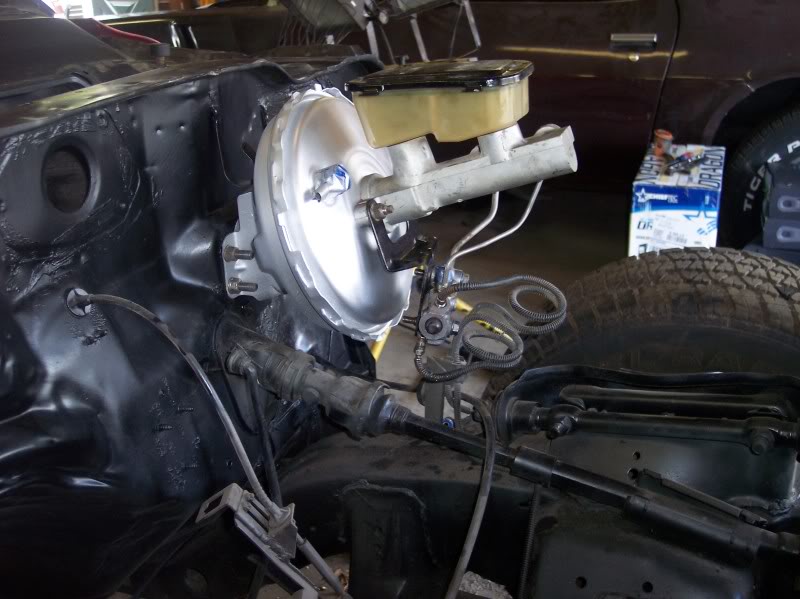
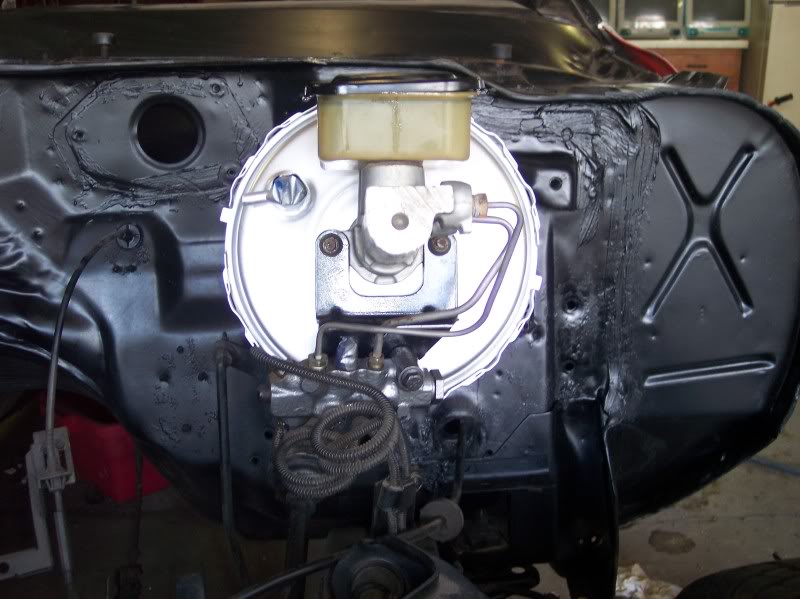
Anyhow, I'm just going to transfer everything over from the 81 to this car. Honestly the reason why is because I painted everything black, and I don't like it like that. lol
I've got the booster to master cylinder hooked up, I took everything apart and wire wheeled everything and primed and painted them, I think it looks pretty good. I'm also working on getting my suspension done and putting the solid engine mounts in.


#646
03-26-2012, 01:30 PM
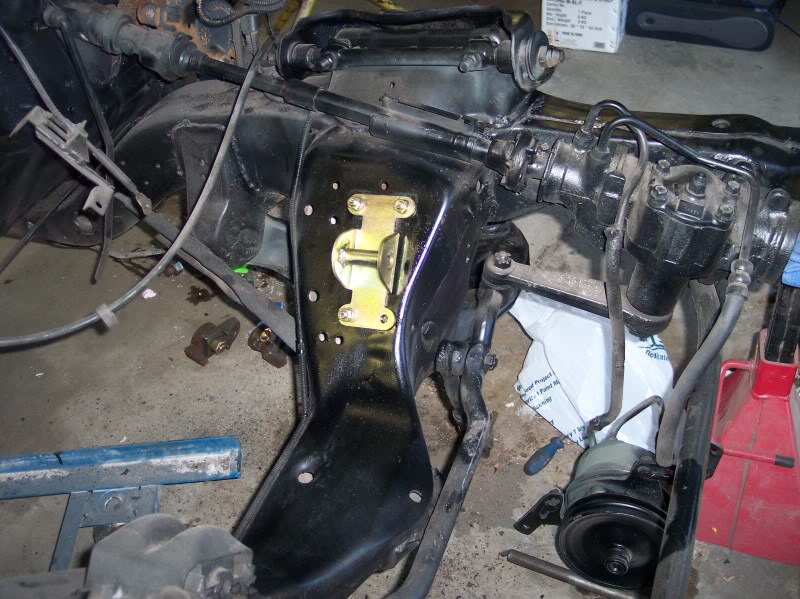
Thank you, I try, I seem to make more sudden bursts of mass production rather than steady progress, but eventually it will get done. Hopefully I can get the motor mount tightened up and the coil spring back in today with the spindle and everything, and maybe even get the stablizer bar installed on the one side. Then get the fender and inner fender off of the other side in preparation for that side. I'll have more pics coming.
#647
03-26-2012, 02:38 PM
looking good steve i think that 81 setup looks really good in there,i like them solid mounts u got the look cool,i know that front suspension is a PITA but it will be worth it in the end.
#648
03-27-2012, 01:31 AM
Some advice for ya Steve. I have the same mounts and they can be a pain to get the bolts through. So what I do is loosen the engine side mount so I can get the bolt through bolt mounts then tighten the block bolts back up.
#649
03-27-2012, 02:54 PM
And I think I'll be pulling the suspension apart yet again, I just noticed that the 81 has new ball joints on it... Might as well swap those around while I'm at it. I'm going to be an old pro at this stuff doing it all over again 6 times! Not to mention, the 81 needs to be drivable, my FIL wants it back, which sucks because I was going to part it all out, he wants to be able to make a drag car out of it. What a mess all of that is.
#650
03-27-2012, 04:25 PM

Hi I have a 10 bolt 8.5 with 3.90's 700R4. I SMOKED THE 383 The builder didn't use the stud kit, oil pump took out 7 & 8 h-beam rods, piston crank o did I mention the block but he used a plastic sleeve for the oil pump. Now after pulled motor & trans, ripped the front off, down to just upper/ lower control arms springs. That will be coming of too as im trying to decide what paint to use, I�m think about the EASTWOOD 2K ceramic gloss black and hit it with a couple coats of clear. Looking if anybody has good luck with it.