
'63 Falcon project


Thread Starter
|
Second Generation Moderator
Feb 2010 ROTM winner
Jan 2013 ROTM winner
Feb 2010 ROTM winner
Jan 2013 ROTM winner
Joined: Aug 2008
Posts: 9,097
From: Portland, Or
ROTM Winner's Club
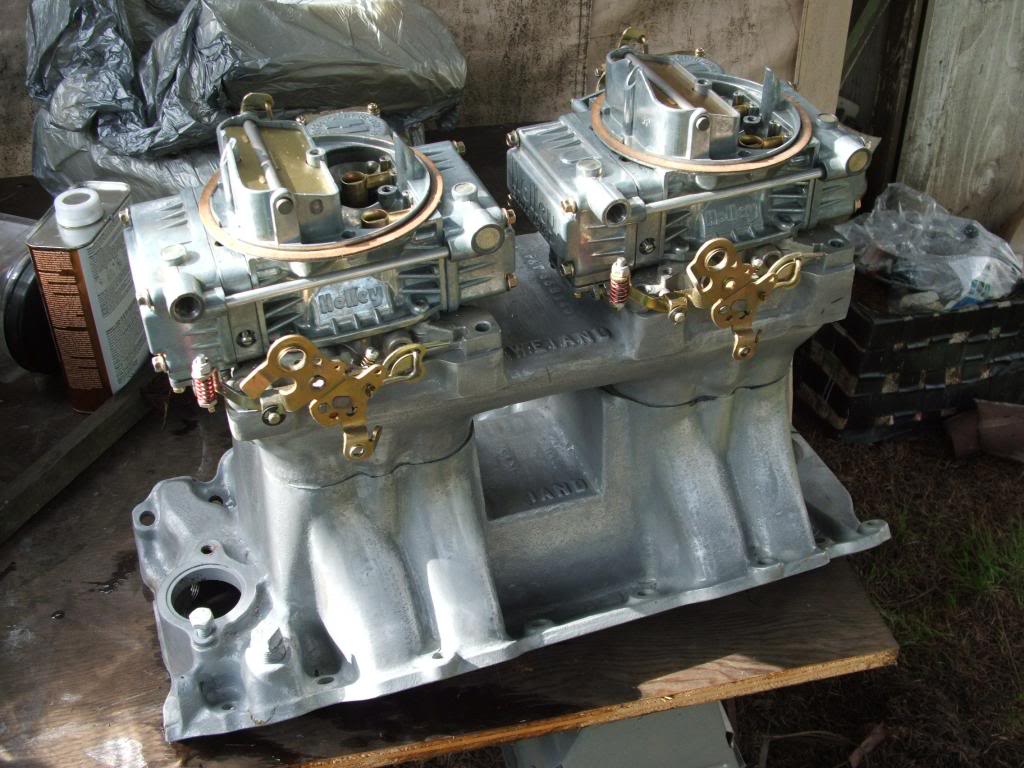
Spent an hour at DMV this morning getting the title transferred, and the original plates changed to permanent Special Interest plates. Pain in the butt, but has to be done. After that I came home and decided to see if the paint on the valve covers and the tunnel ram could be stripped. Stopped and bought some HD Kleen Strip, and it worked great! Most of it came off with the first application, and the rest came off in the 2nd go.
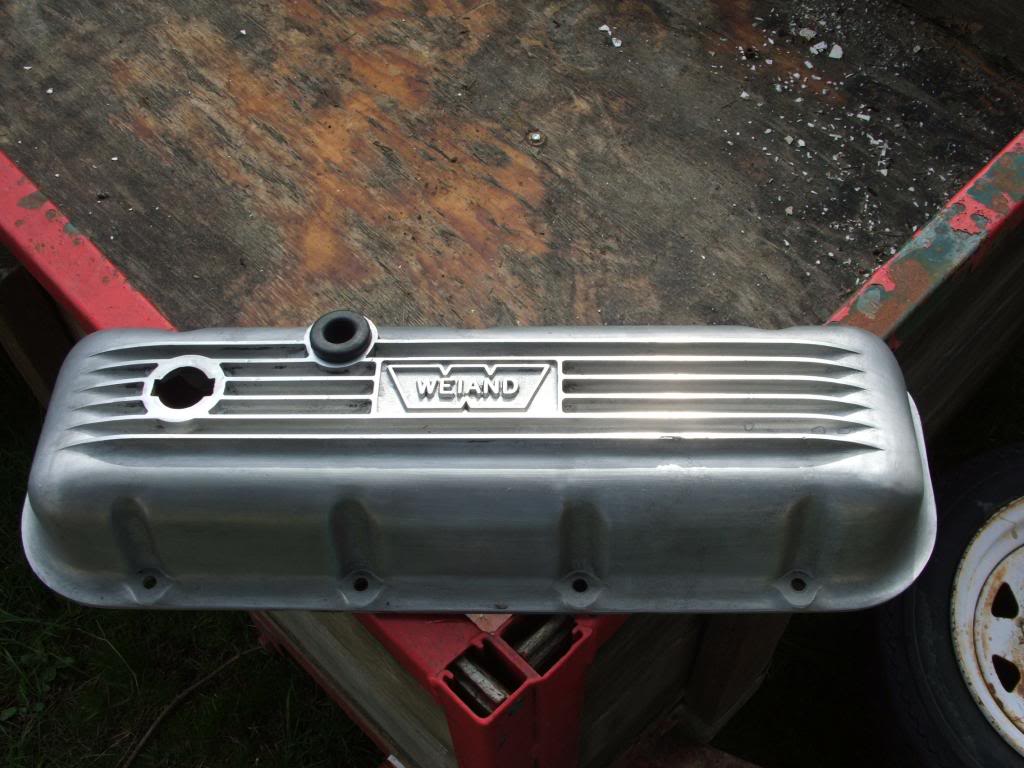
The valve covers were in good shape under the paint, but the tunnel ram was sanded some, so it will need sandblasting, or polishing to look really good. Actually the valve covers could use a machine polish to really shine, but I'm not sure I wont leave them as is, since they have that old school look unpolished.
Checked the spacing on the Weiand tunnel ram to see if I can go inline on the 600 Holleys, and they fit fine!
Gave the valve covers a quick hit with Never Dull, but not much difference:
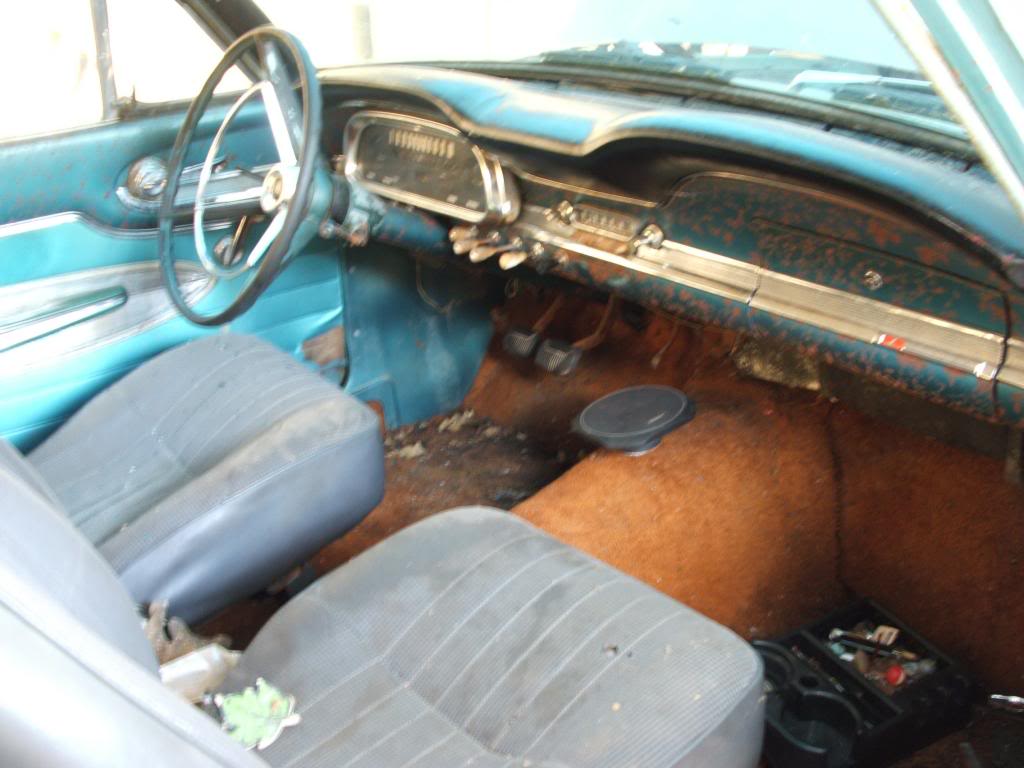
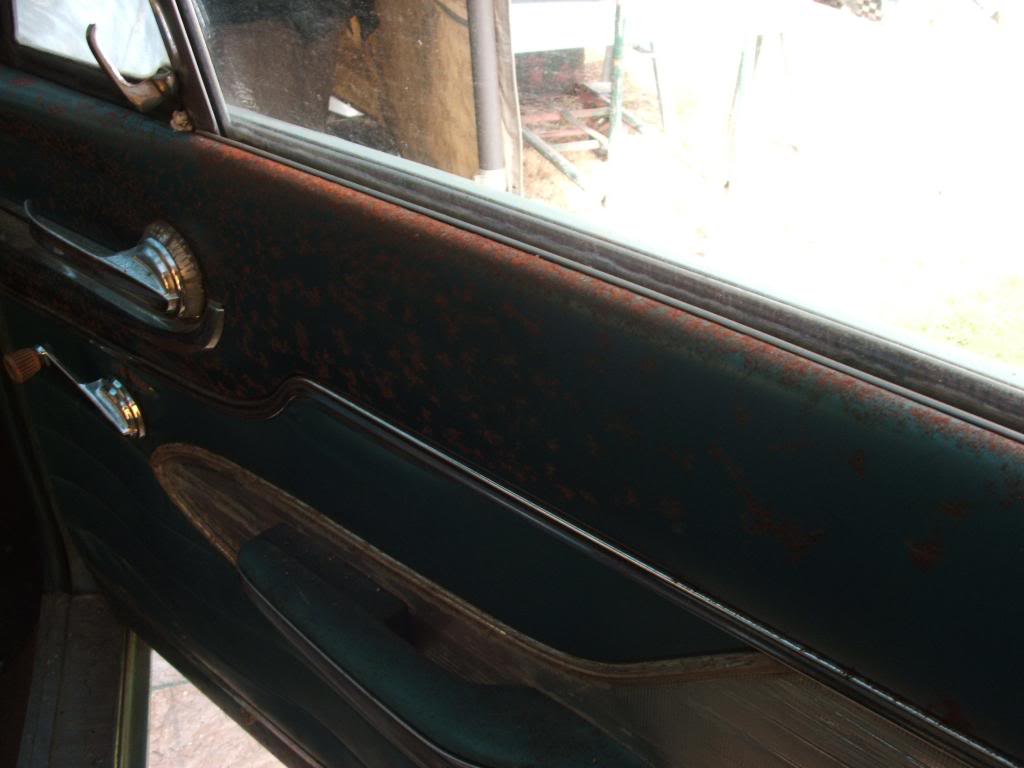
The interior smells like wet dog, and the metal trim on dash and doors has rust freckles from being damp. Need to leave it opened up to air out until I can gut it all! Nice carpet, huh?
The valve covers were in good shape under the paint, but the tunnel ram was sanded some, so it will need sandblasting, or polishing to look really good. Actually the valve covers could use a machine polish to really shine, but I'm not sure I wont leave them as is, since they have that old school look unpolished.
Checked the spacing on the Weiand tunnel ram to see if I can go inline on the 600 Holleys, and they fit fine!
Gave the valve covers a quick hit with Never Dull, but not much difference:
The interior smells like wet dog, and the metal trim on dash and doors has rust freckles from being damp. Need to leave it opened up to air out until I can gut it all! Nice carpet, huh?
Thread Starter
|
Second Generation Moderator
Feb 2010 ROTM winner
Jan 2013 ROTM winner
Feb 2010 ROTM winner
Jan 2013 ROTM winner
Joined: Aug 2008
Posts: 9,097
From: Portland, Or
ROTM Winner's Club
Took the trunk lock to the locksmith to have a key made, and he confirmed I need to also pull one door lock to get a 2nd key for doors and ignition. $30 for each one for them to disassemble and make a pair of keys to match the lock! Guess it's cheaper than all new locks, but I'd rather spend $60 on other places for the car!
Thread Starter
|
Second Generation Moderator
Feb 2010 ROTM winner
Jan 2013 ROTM winner
Feb 2010 ROTM winner
Jan 2013 ROTM winner
Joined: Aug 2008
Posts: 9,097
From: Portland, Or
ROTM Winner's Club
Took the pass. side door lock out and it had a code number, so they knocked off a whopping $5 to make two keys for that. I have keys for everything on the Falcon now, and everything seems to lock and unlock fine.
Going to start stripping the front sheetmetal next, and build the braces that go from the firewall to the frame so I can remove the shock towers and inner fenders.
Going to start stripping the front sheetmetal next, and build the braces that go from the firewall to the frame so I can remove the shock towers and inner fenders.
Thread Starter
|
Second Generation Moderator
Feb 2010 ROTM winner
Jan 2013 ROTM winner
Feb 2010 ROTM winner
Jan 2013 ROTM winner
Joined: Aug 2008
Posts: 9,097
From: Portland, Or
ROTM Winner's Club
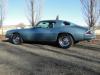
Back out on the Falcon today again. Weather is cooler, but still in the mid 50's, so nice working weather! I did some measuring up for the straight axle, and discovered the stock Econoline springs are too long at 47". They would hang out past the grille in front, and just look weird, so I needed shorter springs.
Quick look on Epay showed numerous trailer springs in the std. 25.25" length, and 1.75" width. I still have the stock 29.5" mainspring from my Austin project, so I did the buy it now of $65 for a pair of the short springs, and I'll change out the mainspring with my 29.5 when they get here. That should make them about perfect length. I got 1750 lb. springs, which will give me 3500 lb. for the pair. After a test drive I'll decide if I need to remove any other leafs to adjust ride or height. I took two out on the Austin to make it ride better.
I also discovered the Econoline straight axle is 3" outside the frame rails at 38" inside, compared to 32" outside to outside on the frame. So I'll need to build a crossmember and brackets to locate the spring perches outside the frame rails and then brace them to the side of the frame.
Ran into a guy at our monthly hotrodder's breakfast who was driving a early Ranchero, and he wants all the front suspension, so I'll take some care removing it, and sell it to recoup some funds. Still need to find a buyer for the drivetrain, for whatever I can get, or take it all to the scrap metal yard.
Thread Starter
|
Second Generation Moderator
Feb 2010 ROTM winner
Jan 2013 ROTM winner
Feb 2010 ROTM winner
Jan 2013 ROTM winner
Joined: Aug 2008
Posts: 9,097
From: Portland, Or
ROTM Winner's Club
Got over to the steel place today, and picked up 1.25", 1.5" round tube, plus 1"x3" square tube. Then when I got home I started disassembling the Falcon. Pain in the rear with all the various bolt points. Unlike a GM where I could take the whole front clip off with about 8 bolts; there must be 18 on each fender of the Falcon! And hidden in every weird place you could imagine, including the interior kick panels!
Got the fenders, hood, and bumper off, and all loaded in the trailer to store.
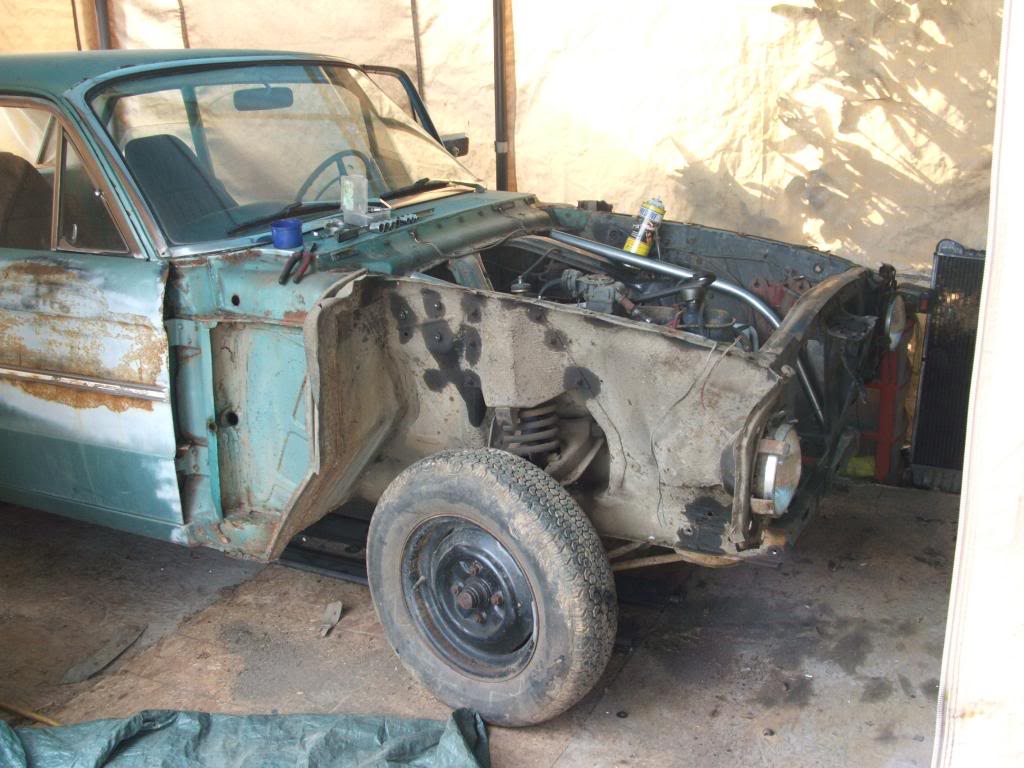

Then got the HF bender out and began making up the supports to go from the firewall to the frame on each side.
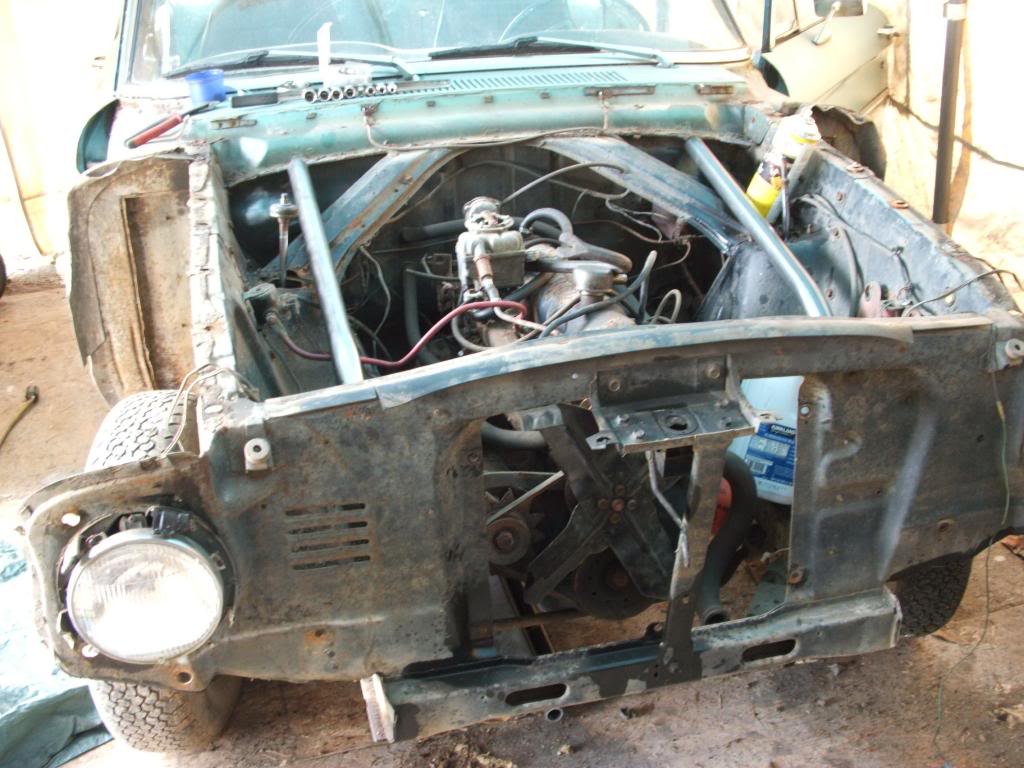

They're just laying in there for now. I need to chop out the shock towers a bit to allow them to set properly, and then trim them to length and weld them to the frame and firewall. Also need to make up some plates to spread the load on the firewall end.
Once the braces are in there solid I will start cutting out the inner fenderwells. Did a little measuring today, and was surprised to find the 454 is almost exactly the same length as the 170ci six! I would hve thought the six would have been longer, and I may have to do some relocating on the radiator, or change to a short water pump to make it fit well and have room for a fan.
Got the fenders, hood, and bumper off, and all loaded in the trailer to store.
Then got the HF bender out and began making up the supports to go from the firewall to the frame on each side.
They're just laying in there for now. I need to chop out the shock towers a bit to allow them to set properly, and then trim them to length and weld them to the frame and firewall. Also need to make up some plates to spread the load on the firewall end.
Once the braces are in there solid I will start cutting out the inner fenderwells. Did a little measuring today, and was surprised to find the 454 is almost exactly the same length as the 170ci six! I would hve thought the six would have been longer, and I may have to do some relocating on the radiator, or change to a short water pump to make it fit well and have room for a fan.
Thread Starter
|
Second Generation Moderator
Feb 2010 ROTM winner
Jan 2013 ROTM winner
Feb 2010 ROTM winner
Jan 2013 ROTM winner
Joined: Aug 2008
Posts: 9,097
From: Portland, Or
ROTM Winner's Club
Postman just dropped off the heims I ordered from QS Components. I got the heims for my ladder bar ends, plus tiny little 10-32 female heims for my carb linkage. With the tiny heims I can build top quality linkage without spending hardly any funds. He sells the tiny heims for just a couple dollars each!
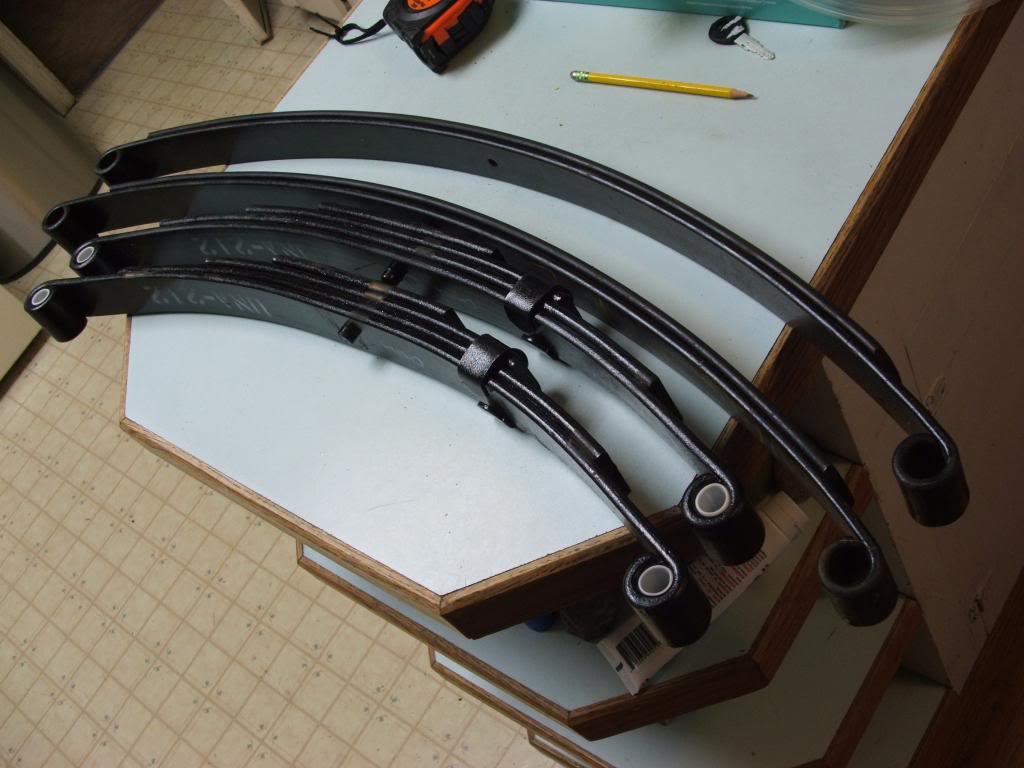
Postman left, and brown truck showed up immediately after! My leaf springs showed up, and those puppies are short! Went out to the garage and grabbed the leftover Speedway springs, and forgot I also had removed one other long leaf! So I'll remove the 25.5 main leaf on these, and install the Speedway main, plus the second leaf. The Speedway main leaf is 31.5" long, so perfect for the Falcon!
The Speedway leafs are thinner, so using both should keep me where I was, and if it's too much I'll start removing shorter leafs until it rides well.
Thread Starter
|
Second Generation Moderator
Feb 2010 ROTM winner
Jan 2013 ROTM winner
Feb 2010 ROTM winner
Jan 2013 ROTM winner
Joined: Aug 2008
Posts: 9,097
From: Portland, Or
ROTM Winner's Club
After a late start (had to do some maintenance on the Burb!) I got the cherry picker set up and dropped the trans and pulled the engine. Then I jacked the frontend up and unbolted all the suspension. Took a torch to the coils to relieve the spring pressure first, which made disassembly easy and less scarey!
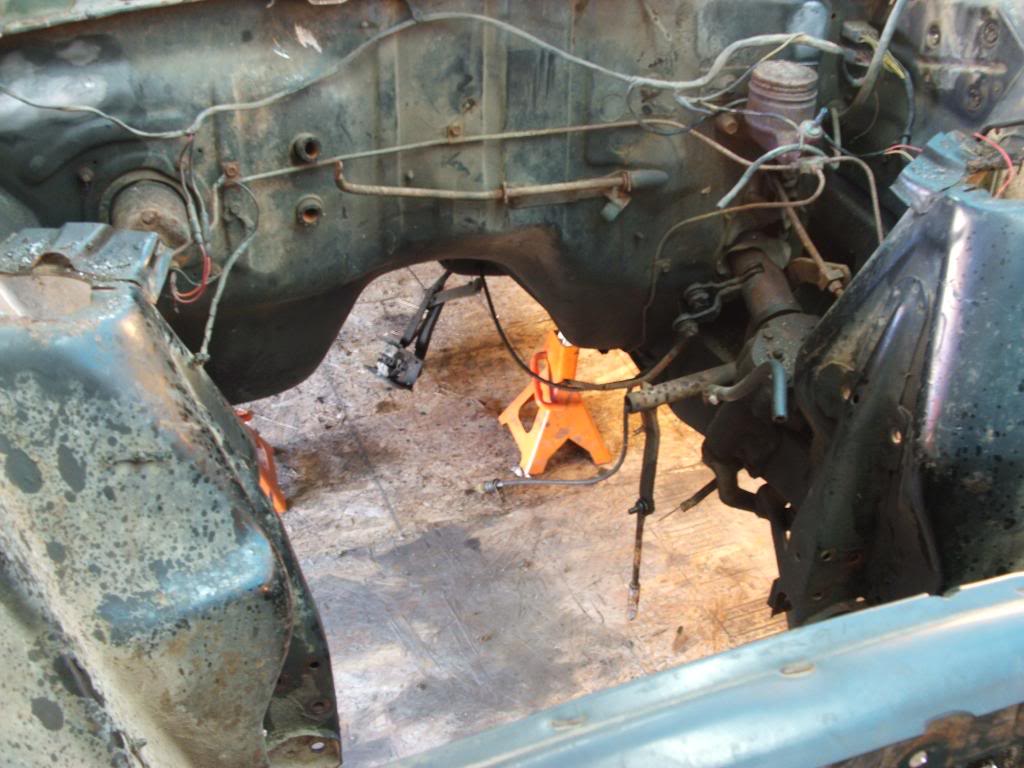
So tomorrow I've got a zillion spot welds to cut and pieces to remove. I tried some today with a unibit, but I'm going to go get a real spotweld cutter tomorrow before trying any more. Once they're all cut out I'll grind and weld all the holes closed before starting any structural or suspension work.
So tomorrow I've got a zillion spot welds to cut and pieces to remove. I tried some today with a unibit, but I'm going to go get a real spotweld cutter tomorrow before trying any more. Once they're all cut out I'll grind and weld all the holes closed before starting any structural or suspension work.
Thread Starter
|
Second Generation Moderator
Feb 2010 ROTM winner
Jan 2013 ROTM winner
Feb 2010 ROTM winner
Jan 2013 ROTM winner
Joined: Aug 2008
Posts: 9,097
From: Portland, Or
ROTM Winner's Club
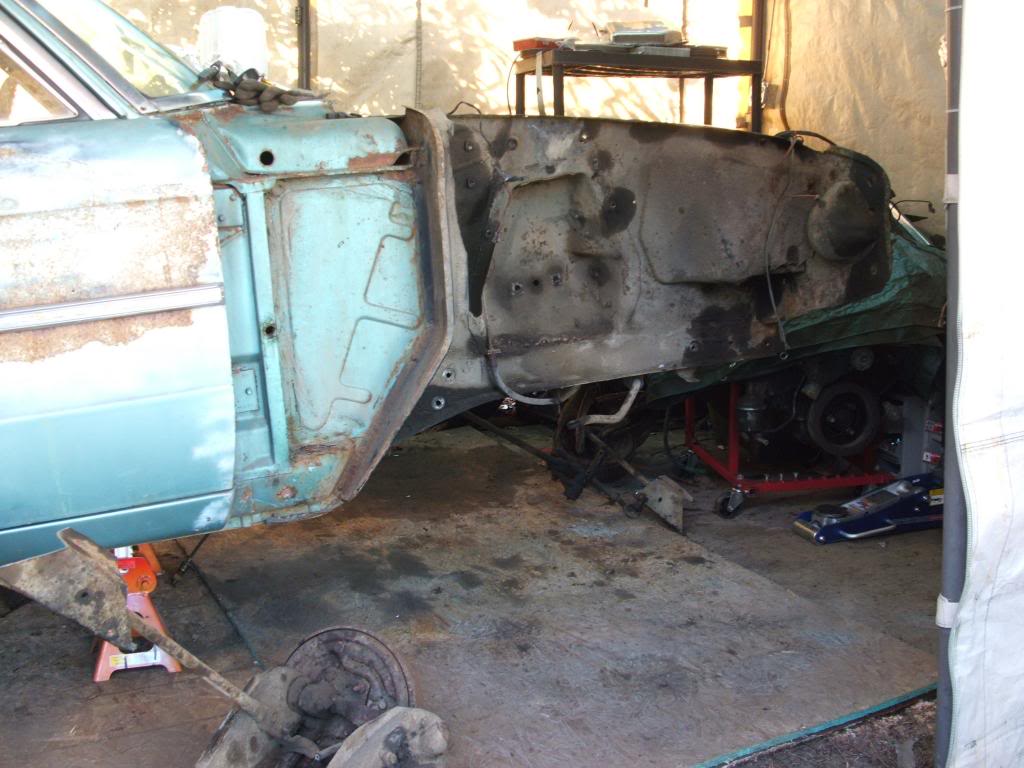
No more inner fenderwells! I am sick of cutting spot welds already! I'm also sick of grinding, cutting, and cleaning too! Getting very close to the end of what needs to come off before starting to put pieces on though! I actually got the braces welded in place, and most everything cut or ground off the front frame stubs. Had to get those braces in before I went too far after cutting the inner fenders out! They replace the inner fenders as support to the frame stubs, along with the box tubing that will plate the whole bottom of the frame.

Tomorrow a bit more cutting and grinding, and then I'll bend and attach the 1"x3" box tube to the bottoms of the frame rails. Might take a little time off to finish getting the Austin ready after that.
Tomorrow a bit more cutting and grinding, and then I'll bend and attach the 1"x3" box tube to the bottoms of the frame rails. Might take a little time off to finish getting the Austin ready after that.