
'63 Falcon project


Thread Starter
|
Second Generation Moderator
Feb 2010 ROTM winner
Jan 2013 ROTM winner
Feb 2010 ROTM winner
Jan 2013 ROTM winner
Joined: Aug 2008
Posts: 9,097
From: Portland, Or
ROTM Winner's Club
I wont mount a radiator until I set the engine and see what I need for clearances. I know it will be farther forward than the stock radiator was. It sat on the engine side of the support, and I'll most likely out the new radiator even or in front of the crossmember.
Thread Starter
|
Second Generation Moderator
Feb 2010 ROTM winner
Jan 2013 ROTM winner
Feb 2010 ROTM winner
Jan 2013 ROTM winner
Joined: Aug 2008
Posts: 9,097
From: Portland, Or
ROTM Winner's Club
I have an engine in my car! It's wooden, and not very fast, but it will let me mockup my steering and headers!
I cut down some cardboard and mounted it with two bolts to the back of the 454. Then traced around it with a pencil, being very careful at the exhaust mating surface to get it very close. Then I took it off and laid my bellhousing over the two holes and marked the bellhousing out, plus the remaining holes.
Before tracing it on the 1/2 plywood I predrilled the bellhousing holes and then drilled them out for 3/8" bolts, so I can mount a bellhousing to the rear to check clearances there also. Then I cut out the cardboard with a razor knife and traced the pattern on two sheets of plywood.

After cutting the plywood out I cut three 2"x6" pieces 22.5" long and used sheetrock screws to attach them at both exhaust surfaces, and the bottom. My grandaughter helped decorate the wood to give it her personal touch!

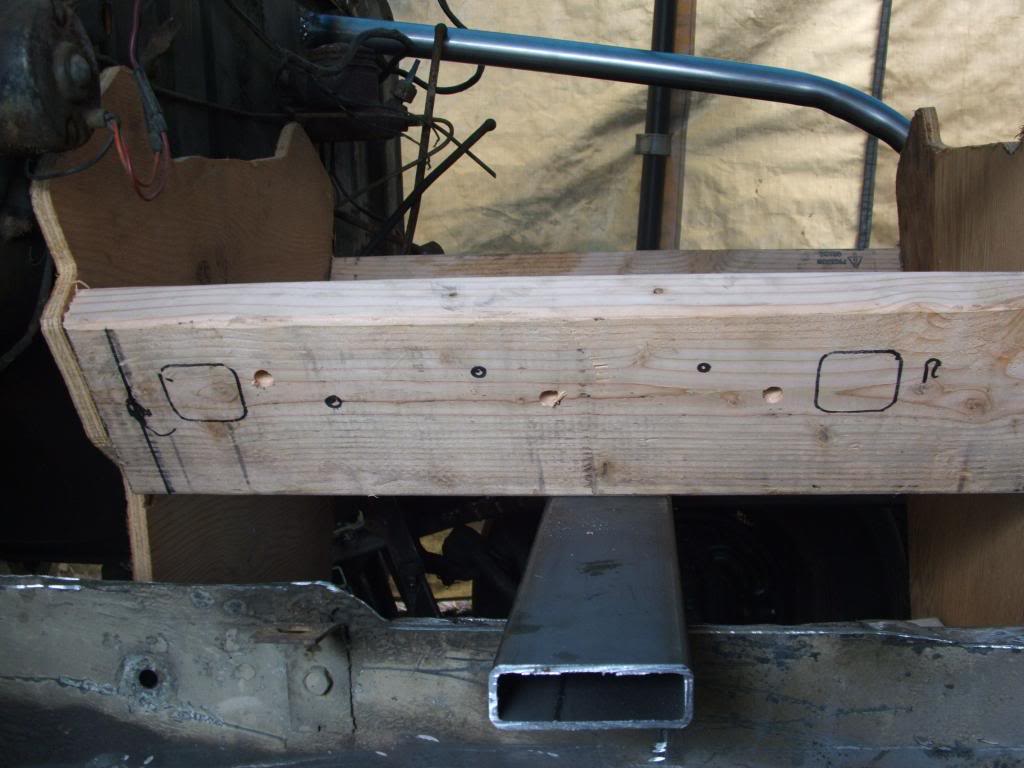
With everything screwed together, I measured the distance from the rear to each exhaust manifold bolt, and then laid an old exhaust gasket on and marked out the holes. I drilled three holes on each side, so I can get the headers secured well. I also cut the intake valley close to actual height after taking these pictures, and added a block of wood inside the ends to allow my intake to sit on the wood engine, and let me see where it will be in relation to the hood, etc.
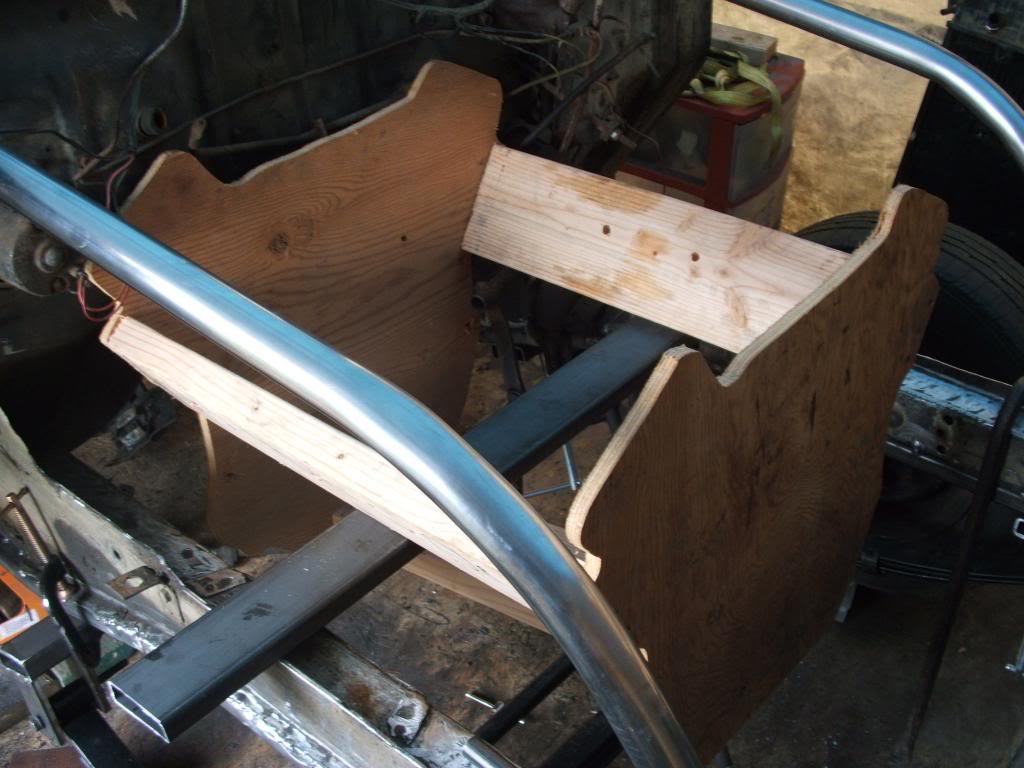
The whole job took me about 20 min. and has the added advantage over a plastic engine of being open on the sides so I can put something through to span the frame rails, and no need to bolt heads on it to see where the headers go, or to see the valve cover interference issues.
I cut down some cardboard and mounted it with two bolts to the back of the 454. Then traced around it with a pencil, being very careful at the exhaust mating surface to get it very close. Then I took it off and laid my bellhousing over the two holes and marked the bellhousing out, plus the remaining holes.
Before tracing it on the 1/2 plywood I predrilled the bellhousing holes and then drilled them out for 3/8" bolts, so I can mount a bellhousing to the rear to check clearances there also. Then I cut out the cardboard with a razor knife and traced the pattern on two sheets of plywood.
After cutting the plywood out I cut three 2"x6" pieces 22.5" long and used sheetrock screws to attach them at both exhaust surfaces, and the bottom. My grandaughter helped decorate the wood to give it her personal touch!
With everything screwed together, I measured the distance from the rear to each exhaust manifold bolt, and then laid an old exhaust gasket on and marked out the holes. I drilled three holes on each side, so I can get the headers secured well. I also cut the intake valley close to actual height after taking these pictures, and added a block of wood inside the ends to allow my intake to sit on the wood engine, and let me see where it will be in relation to the hood, etc.
The whole job took me about 20 min. and has the added advantage over a plastic engine of being open on the sides so I can put something through to span the frame rails, and no need to bolt heads on it to see where the headers go, or to see the valve cover interference issues.

Thread Starter
|
Second Generation Moderator
Feb 2010 ROTM winner
Jan 2013 ROTM winner
Feb 2010 ROTM winner
Jan 2013 ROTM winner
Joined: Aug 2008
Posts: 9,097
From: Portland, Or
ROTM Winner's Club
Thanks! At $400 for a plastic short block to use a few times in mockup, I figured this will save money, and allow me to easily work some things out.
Thread Starter
|
Second Generation Moderator
Feb 2010 ROTM winner
Jan 2013 ROTM winner
Feb 2010 ROTM winner
Jan 2013 ROTM winner
Joined: Aug 2008
Posts: 9,097
From: Portland, Or
ROTM Winner's Club
You mean the rare V2x6 that Ford built accidentally while trying to figure out how to replace the flathead V8? 