
'63 Falcon project


Thread Starter
|
Second Generation Moderator
Feb 2010 ROTM winner
Jan 2013 ROTM winner
Feb 2010 ROTM winner
Jan 2013 ROTM winner
Joined: Aug 2008
Posts: 9,097
From: Portland, Or
ROTM Winner's Club
You haven't lived until you've been to PT. There are cars that show up there and I never see them again at any other event! Some of them are full on race cars driven in!
Thread Starter
|
Second Generation Moderator
Feb 2010 ROTM winner
Jan 2013 ROTM winner
Feb 2010 ROTM winner
Jan 2013 ROTM winner
Joined: Aug 2008
Posts: 9,097
From: Portland, Or
ROTM Winner's Club
Decided to get some little things done, but then I just kept rolling!
Was draining the engine oil when I noticed I had marked out the front axle for holes, but never drilled it! So got the holesaw out and punched a bunch of pilot holes, and then 7/8" holes. With a lot of Rapid Tap on the holesaw I got all 11 holes with one saw and still sharp!

After that I got the gilmer belts system out and mocked it up. Anybody ever tells you they're a bolt on, don't believe them! Had to cut 1/2" off the back of the alternator pulley to get enough accept a nut. Then had to space out the water pump pulley to line up with the crank. It was too short for a short pump, and too long with a long pump. I ordered it for a short pump, but no go. And factory alternator mounts wont work either, as the belt isn't long enough. Fortunately I had a swap meet $5 alternator close mount, so after fabbing a brace, and making some long bolts out of allthread 3/8" I got it fitted. Works great now, and plenty of adjustment.

Then I kicked back and did some cleaning and painted the front floors. I think my camera was high on paint fumes; it didn't focus!
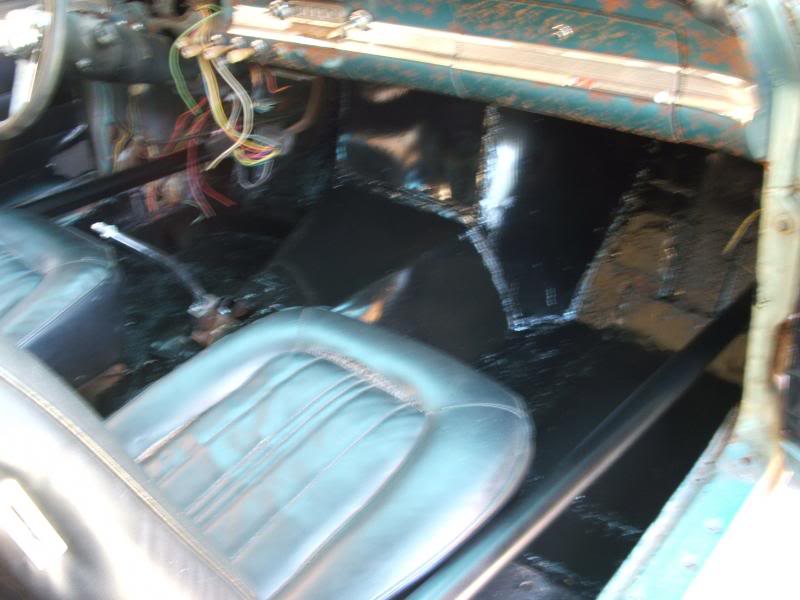
Ordered a new black headliner today off Epay too. Found a bargain at $49.
Last edited by 1971BB427; May 9, 2013 at 07:05 PM.


Thread Starter
|
Second Generation Moderator
Feb 2010 ROTM winner
Jan 2013 ROTM winner
Feb 2010 ROTM winner
Jan 2013 ROTM winner
Joined: Aug 2008
Posts: 9,097
From: Portland, Or
ROTM Winner's Club
Thanks Chuck! Another Epay find that said "used" but it wasn't. Someone tried to install it and decided it wasn't a direct bolt in, so they sent it back. I got it for $50, in the box!
Thread Starter
|
Second Generation Moderator
Feb 2010 ROTM winner
Jan 2013 ROTM winner
Feb 2010 ROTM winner
Jan 2013 ROTM winner
Joined: Aug 2008
Posts: 9,097
From: Portland, Or
ROTM Winner's Club
The regular Ebay price is about $120 for new, but they come up as like new used occasionally. Not a bad price, but as I mentioned you'll need a new alternator mount to get the alternator in close to work with the 39"-40" belt they have.

Thread Starter
|
Second Generation Moderator
Feb 2010 ROTM winner
Jan 2013 ROTM winner
Feb 2010 ROTM winner
Jan 2013 ROTM winner
Joined: Aug 2008
Posts: 9,097
From: Portland, Or
ROTM Winner's Club
Your's looks like it's good where it is, so might be an easy swap for your engine.
Thread Starter
|
Second Generation Moderator
Feb 2010 ROTM winner
Jan 2013 ROTM winner
Feb 2010 ROTM winner
Jan 2013 ROTM winner
Joined: Aug 2008
Posts: 9,097
From: Portland, Or
ROTM Winner's Club
Had to make a small repair to the Austin today, so didn't get much done on the Falcon. Also had to clean the Austin for tomorrow's big cruise, and get a valve stem replaced.
After fixing the Austin I had a little time, so I worked on the intake and carbs for the Falcon. Made up 1/4" aluminum rod linkage with heim ends. Used 10-32 heims, so I had to work the ends of the rods down and thread them 10-32 to fit. Then I fitted the butterfly scoop and made up an offset rod from the same stock to connect to the butterflies so they'll open with the throttle also.
Had a weird problem putting the carbs on when I tightened them down and the linkage froze up! Loosened them and they were fine, but tighten and they stuck solid. Finally turned the tunnel ram around and saw the primary shaft's end clip was just sitting on the intake, and needed a relief cut to clear. Quick hit with the die grinder made it clear and all was well.
Got a scotchbrite and knocked the new off the scoop also. Just way too shiney, so a little scuffing all over made it much more presentable. Ran out of time, so I couldn't build up the fuel lines also. That will have to wait for another day.
Thread Starter
|
Second Generation Moderator
Feb 2010 ROTM winner
Jan 2013 ROTM winner
Feb 2010 ROTM winner
Jan 2013 ROTM winner
Joined: Aug 2008
Posts: 9,097
From: Portland, Or
ROTM Winner's Club
Loooong day today! Crazy weather too! One minute sunny and warm, then blowing like crazy and the canopy shaking like it was headed for Oz! Rainy sometimes, and just a blustery day.
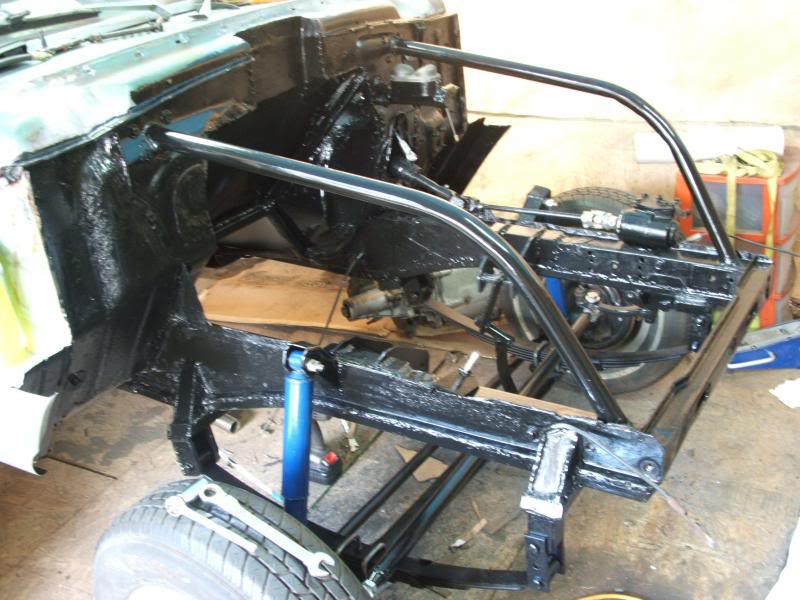
Pulled the 454 this morning, and started grinding all the metalwork. Then I cut out part of my new floor on the driver's side of the trans tunnel to give me more room for the gas pedal. I just got too carried away making it, and didn't leave myself as much room as I needed to comfortably fit a pedal in there.
After getting it cut out and rebuilt, I glassed the welds after grinding, and then caulked everything. I finished by giving it all a good coat of rustoleum black paint. I painted up the brackets, Z bar, and the altenator also, so they're ready to go.
Tomorrow I'll start tearing the engine down and see how the cylinders and bearings look. If it's all good, then I'll begin putting all the new parts and pieces on the 454 to make it a bit quicker.

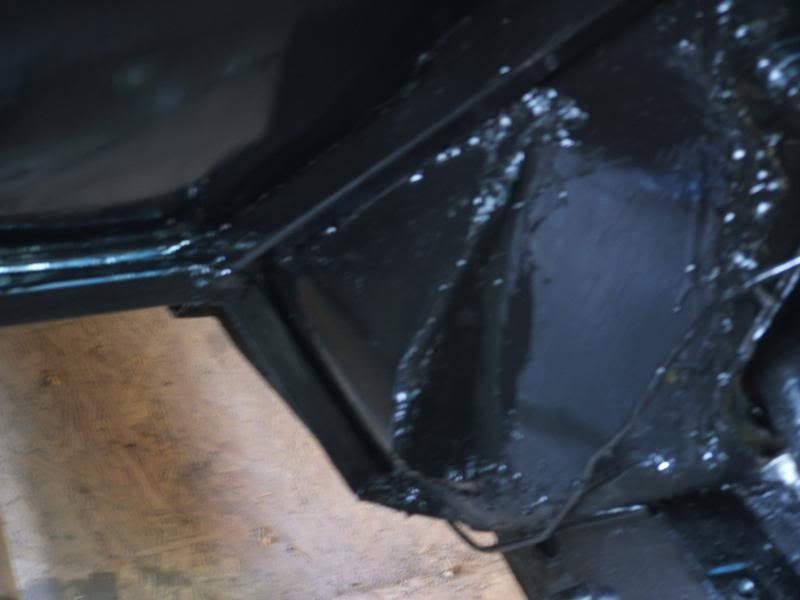
Here's my little insert I built for my right foot to have room!
