So here it goes, my project thread (2nd gen)

#362
 06-26-2011, 10:07 PM

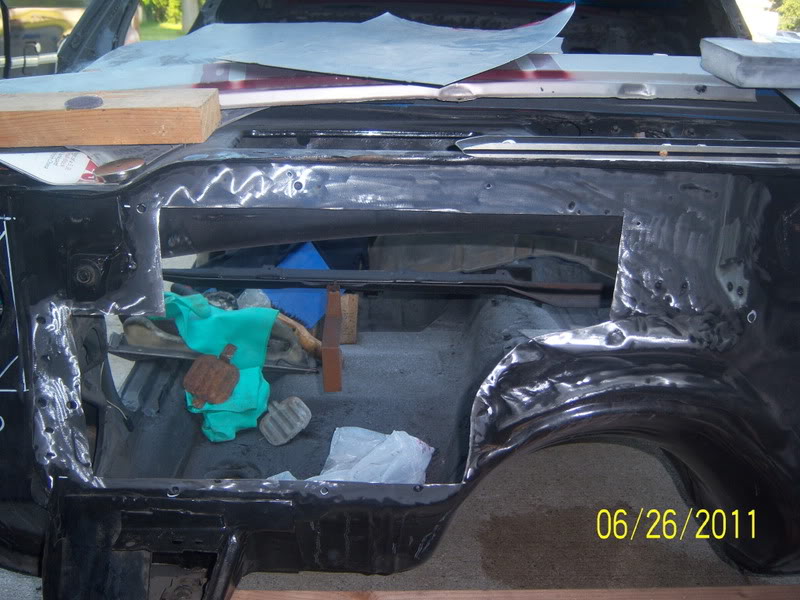
Well I'm no welder thats for sure. I got the patch in and the requisite 10,000 tack welds. It took three hours to weld it and I was NOT proud of my work. I'm a bit of a perfectionist. This is bugging me even though I covered it with the biggest glob of filler I ever mixed up, which I'm waiting for it to dry right now. I mixed the filler with a light amount of hardener to give me plenty of time to work it. The down side is with the temps in the low 70s, its gonna take all night to harden.
Well I'm back to the grind, pun not intended.
Well I'm back to the grind, pun not intended.
#364
06-27-2011, 02:59 AM
Here is the break down of my night. The first pic is of my layout. I took a small level and a paint marker and drew the lines on where my cuts would be. The diagonal lines are for you guys to see what I removed.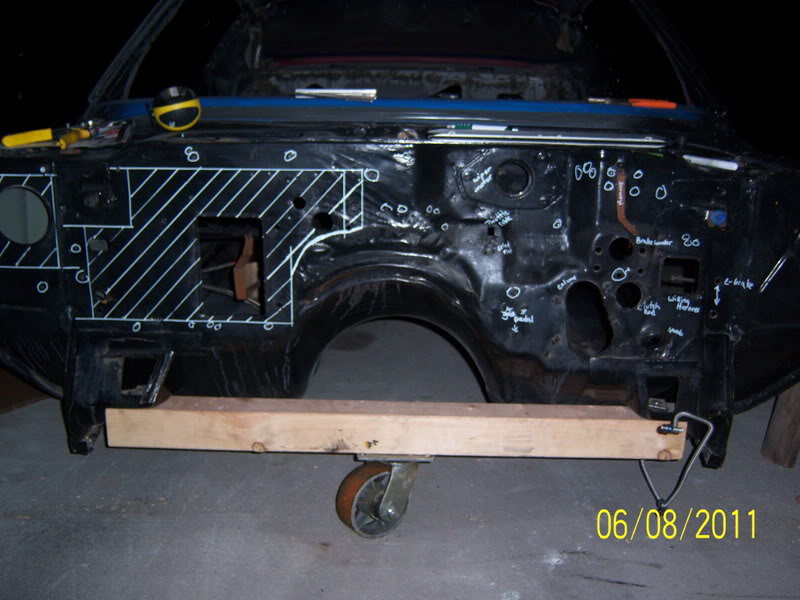
I took that peice and traced it out on a piece of 18g sheetmetal. All I could get at Lowes was two short pieces that I welded together.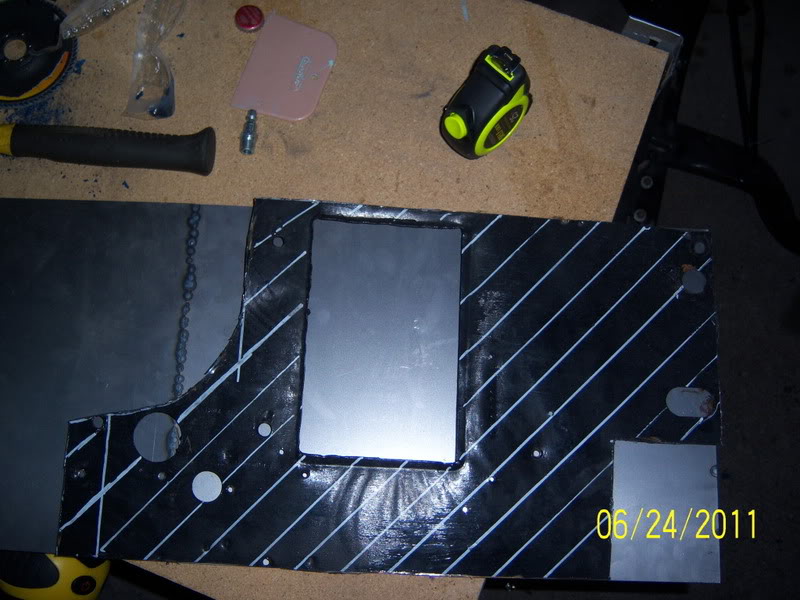
I scrounged up every magnet in the garage to hold this in place to check the fit.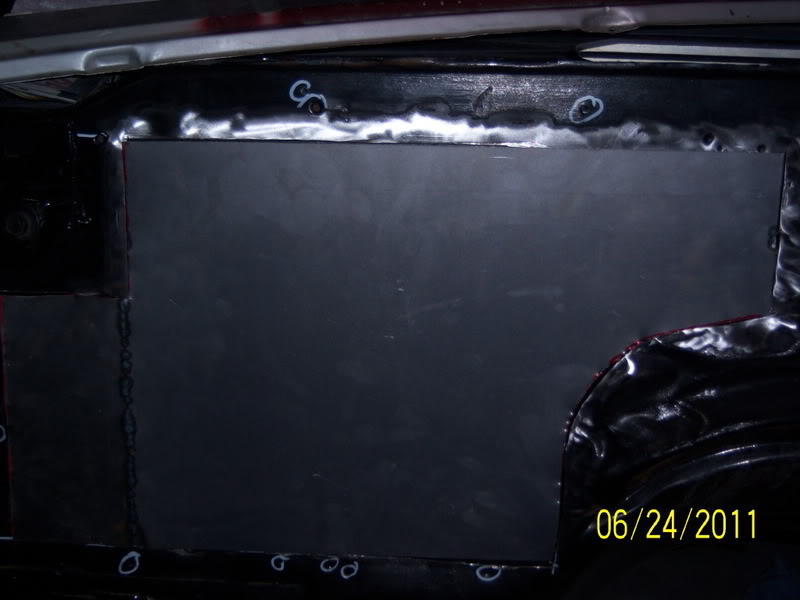
I then used a short piece of angle to use as a flat edge and smack it flat with a hammer. I don't have body tools so I improvised with my go to ball peen that has served me for 15 yrs.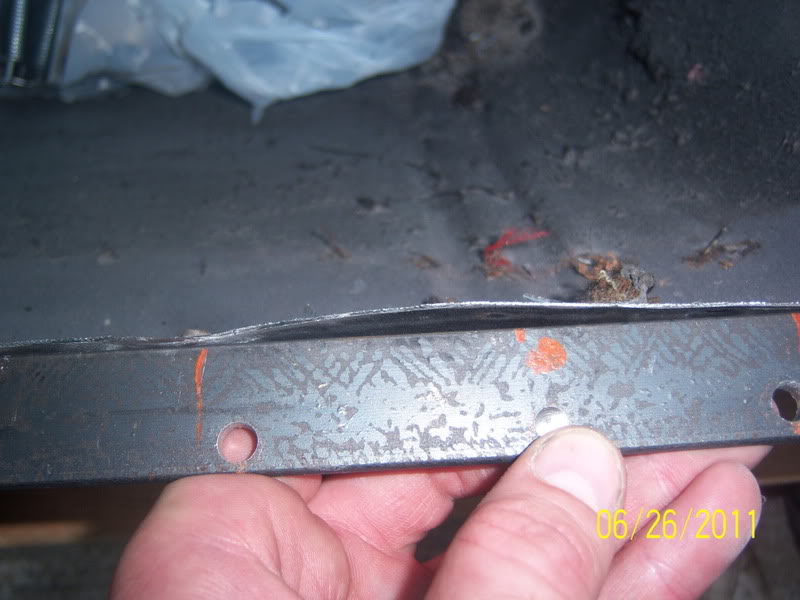
#365
06-27-2011, 03:13 AM
Then I had at it with a 80g flap on my 4" grinder, removing all that POR 15 crap the PO left me.
Now I busted out the welder. I don't have any pics of the 2 million spot welds sorry. Everyone has read or seen how to weld on body panels, I hope. Got it finally. It took a while but I was trying to keeps my little boys from watching and keep them from riding their bikes in the road. It was a real chore to stay focused on both.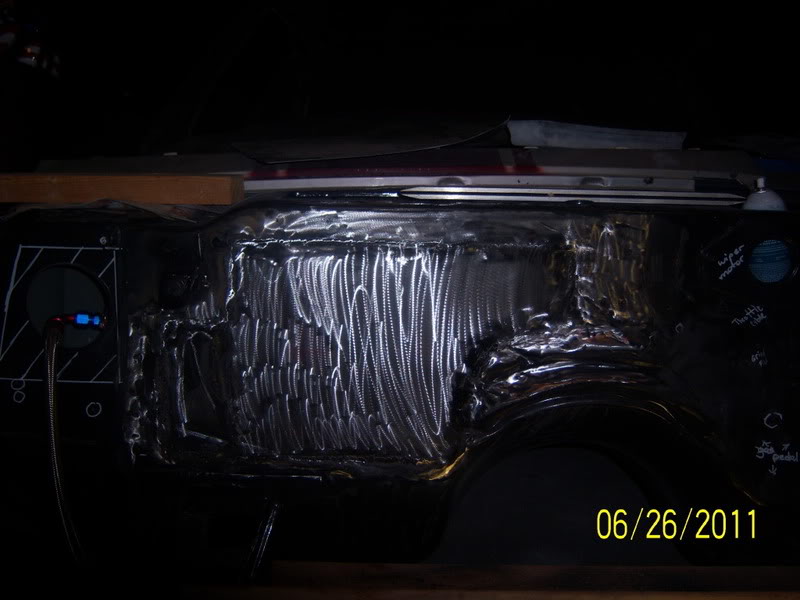
I scuffed it with a 2" 60g on my angle grinder. This is to give the filler a tooth to grab on to.
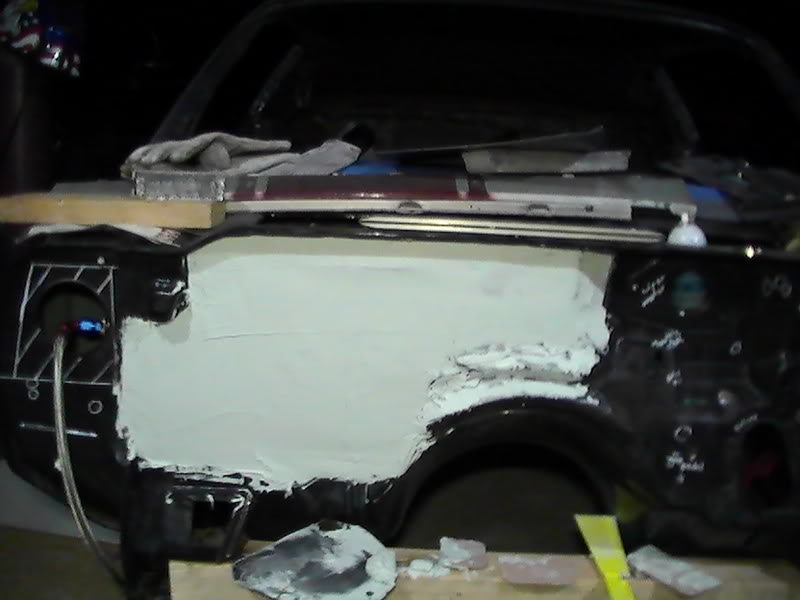
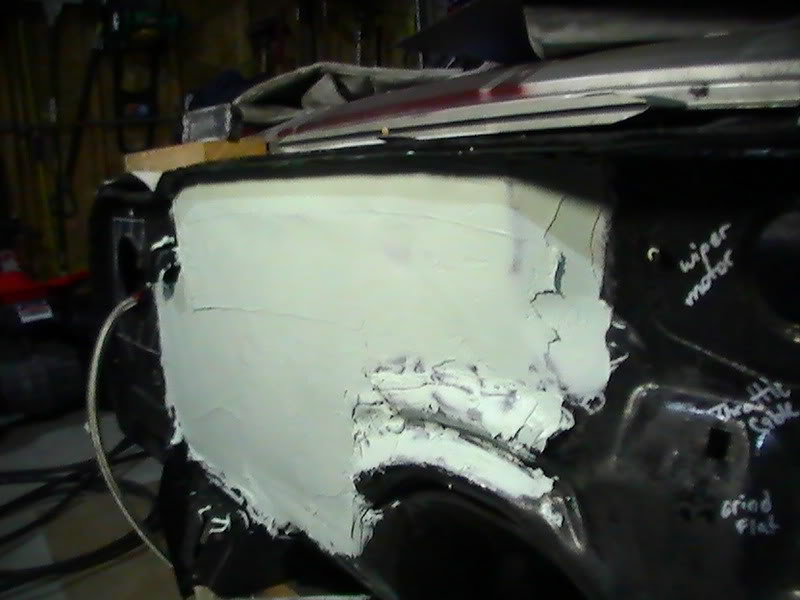
Filler part one. This was a heavy coat. Nothing crazy, its not more than a 1/8" anywhere. That is important. I'm not into Bondo Mobiles.
Once the filler was setting up, not quite hard but stiff. I used a rasp for drywall to speed things up. It peeled off the ridges left from the bondo spreader and leveled it out a bit.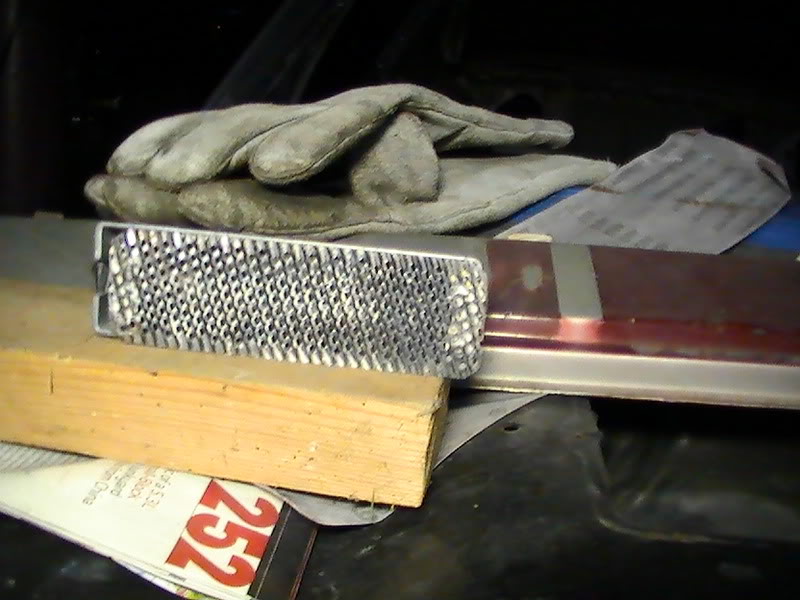
Now I busted out the welder. I don't have any pics of the 2 million spot welds sorry. Everyone has read or seen how to weld on body panels, I hope. Got it finally. It took a while but I was trying to keeps my little boys from watching and keep them from riding their bikes in the road. It was a real chore to stay focused on both.
I scuffed it with a 2" 60g on my angle grinder. This is to give the filler a tooth to grab on to.
Filler part one. This was a heavy coat. Nothing crazy, its not more than a 1/8" anywhere. That is important. I'm not into Bondo Mobiles.
Once the filler was setting up, not quite hard but stiff. I used a rasp for drywall to speed things up. It peeled off the ridges left from the bondo spreader and leveled it out a bit.
#366
06-27-2011, 03:24 AM
The key to blending things out in my book is to bring the filler way past the edge of where you did work. 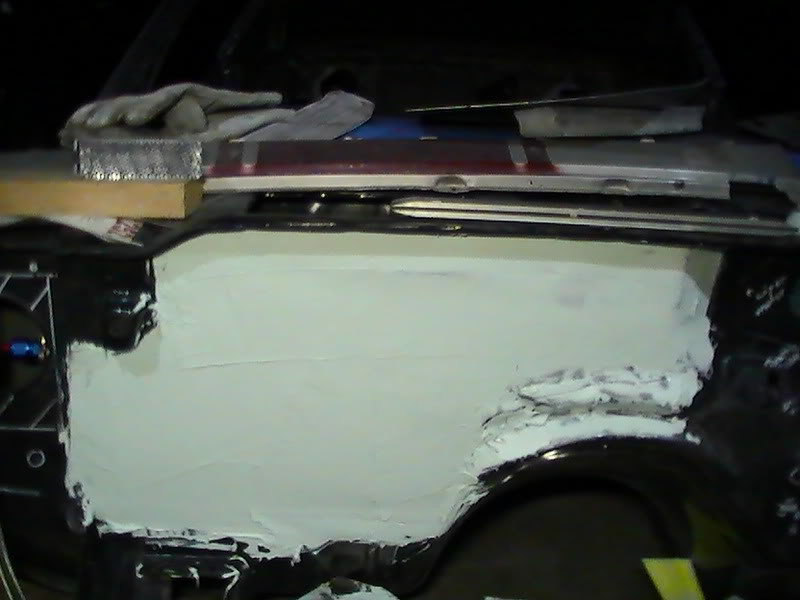
Here is my first coat blocked down. Notice the high spots where I gave up on grinding the welds down? I wish I had gone farther, but hind sight is always 20/20.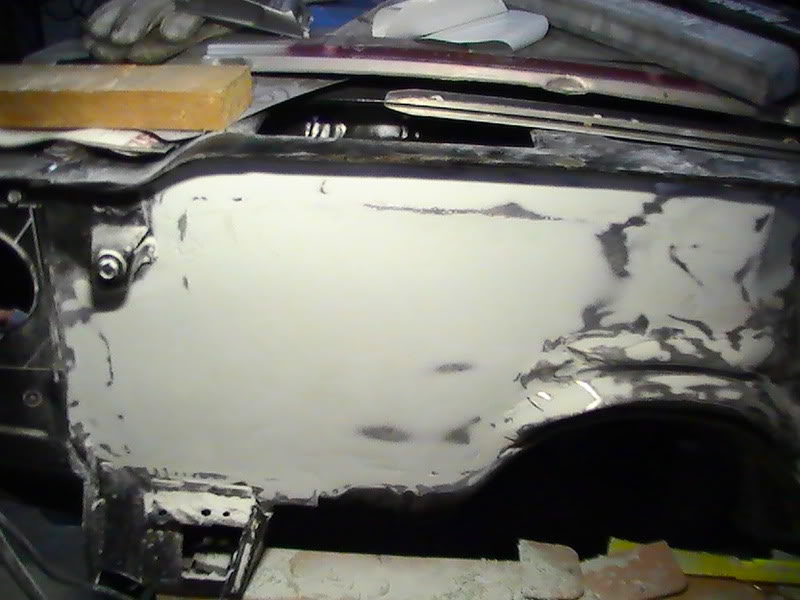
I didn't want to completely remove the wrinkles on the trans tunnel but did smooth them some. I know there is a hard edge in the pic but I have added two more coats and sanded them both since this pic. Believe me, there won't be any areas where you can see filler. I will feather the snot out of it.
I have most of this done right now and left it with glazing putty on it for the night. Tomorrow will be a final block with 240 and shooting some primer. Lets hope I'm as good as I think I am.
#367
06-27-2011, 10:02 AM

Join Date: Aug 2008
Location: Portland, Or
Posts: 9,097
Looks great, but since you've got more filler panels and welding to do I'm not sure you should be applying filler yet. The heat might affect the exisiting filler and make it let go later.
#369
06-27-2011, 12:39 PM

im new to this forum and so far i really like what your doing to your car especially the firewall taking note that way when i start to work on my car the process will go faster
#370
06-29-2011, 01:10 AM
Welcome to the forum. I got the first coat of epoxy on today. No pics though, both cameras had dead batteries. Smooth indeed. Not perfect, but real close. That weld I talked about earlier is still haunting me. I'll block it down and add glaze. Hopefully I can make it go away.