79 Camaro Project
#161
 04-15-2010, 05:07 PM

That is what I have read, but I have heard of people doing it and it working out. Probably not worth the risk, the cam isn't really the expensive part, unless you go roller, and with that, everything should be expensive.
#162
04-15-2010, 05:17 PM

Join Date: Aug 2008
Location: Portland, Or
Posts: 9,097
I've heard people say they replaced their lifters and it worked too. I've never yet heard them say it was thousands of miles ago that they did it. Only time will tell.
I have dropped in 1-2 lifters on an old engine just to get it back running good when one or two collapsed.
I have dropped in 1-2 lifters on an old engine just to get it back running good when one or two collapsed.
#163
04-15-2010, 05:55 PM
That is what I am afraid of, the thousands of miles thing, I've never heard that either. What I can do, is call comp cams, they can re harden it or whatever for cheap I guess too, from what I have read.
#164
04-15-2010, 06:09 PM
Join Date: Aug 2008
Location: Portland, Or
Posts: 9,097
It's not the temper, it's the wear. And I doubt they can reharden one for what Summit sells the whole darn kit, lifters and cam. Just figure out what specs you want and then match it with the Summit kit. It's cheap peace of mind at only $101.
This one would be a good mild cam:
http://www.summitracing.com/parts/SUM-K1102/
This one would be a better street/strip cam:
http://www.summitracing.com/parts/SUM-K1105/
This one would be my favorite:
http://www.summitracing.com/parts/SUM-K1104/
This one would be a good mild cam:
http://www.summitracing.com/parts/SUM-K1102/
This one would be a better street/strip cam:
http://www.summitracing.com/parts/SUM-K1105/
This one would be my favorite:
http://www.summitracing.com/parts/SUM-K1104/
#165
04-15-2010, 10:13 PM
It's not the temper, it's the wear. And I doubt they can reharden one for what Summit sells the whole darn kit, lifters and cam. Just figure out what specs you want and then match it with the Summit kit. It's cheap peace of mind at only $101.
This one would be a good mild cam:
http://www.summitracing.com/parts/SUM-K1102/
This one would be a better street/strip cam:
http://www.summitracing.com/parts/SUM-K1105/
This one would be my favorite:
http://www.summitracing.com/parts/SUM-K1104/
This one would be a good mild cam:
http://www.summitracing.com/parts/SUM-K1102/
This one would be a better street/strip cam:
http://www.summitracing.com/parts/SUM-K1105/
This one would be my favorite:
http://www.summitracing.com/parts/SUM-K1104/
#166
04-15-2010, 10:15 PM
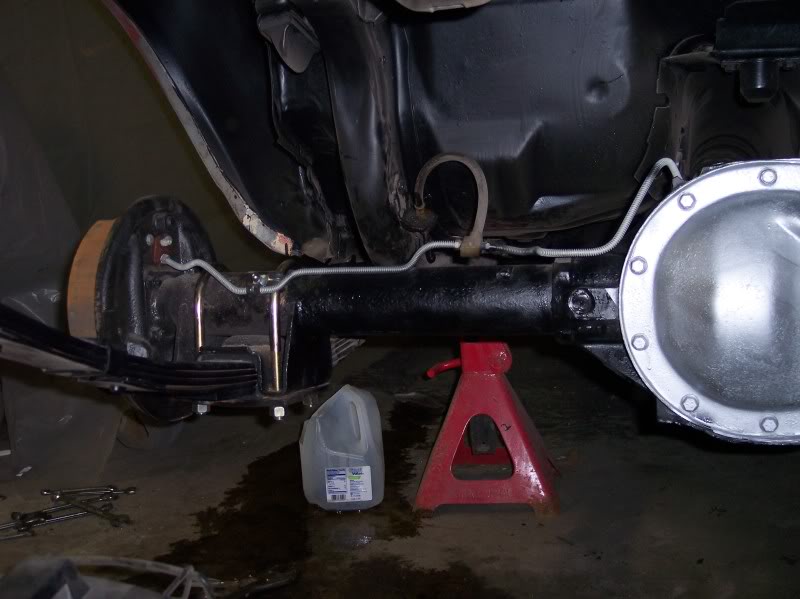
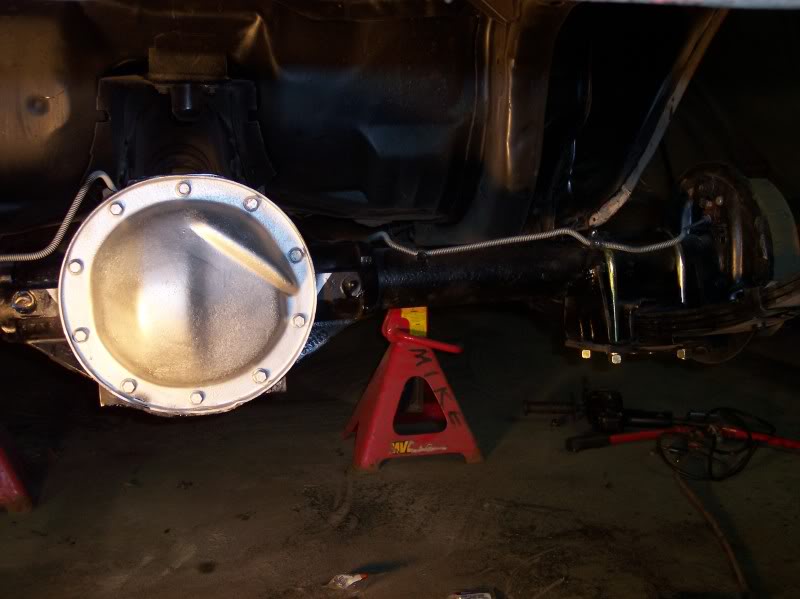
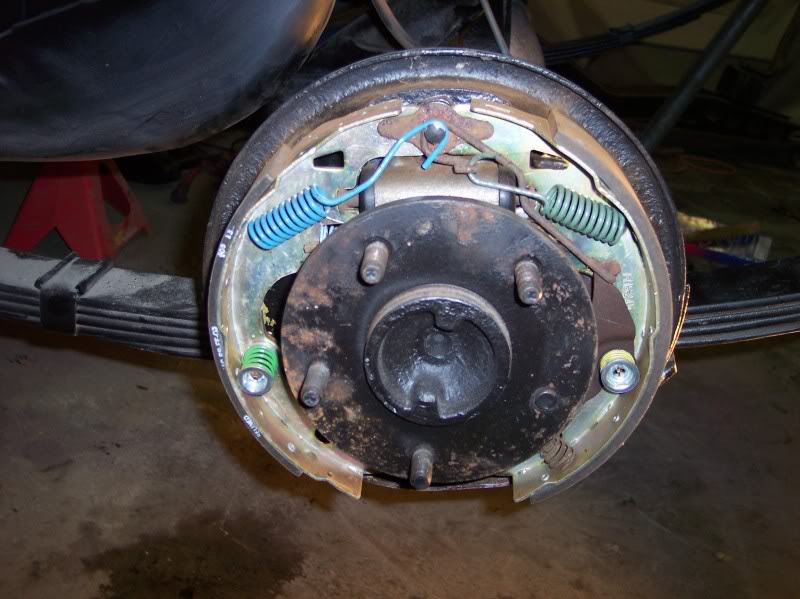
Went out tonight and spent some time finishing up the rear end swap. I would have been happy to have just bolted the rear into my father in laws car and been done with it. But I went ahead and started on the one in mine too while I was at it. I needed to drill out the holes in the spring perches and the plates because the U-Bolts that I found were 1/2" diameter instead of 7/16". Lucky enough I had a drill bit. It literally only had to be drilled probably less than a 1/16" larger. But I ultimately ended up getting them both in, and brakes connected. They will both still need to be bled though, my car lost a lot of fluid. I don't care though because I hosed the fitting and the line is old, so I'll just end up putting a new one in soon, and at that rate, it would be a good time to just keep going on the brakes and do the front lines, calipers, rotors, and pads.
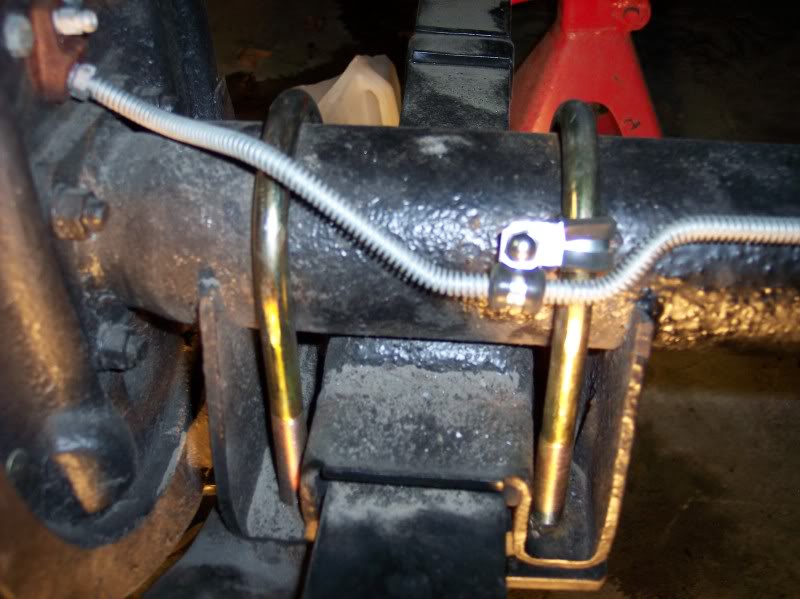
I had to chisel off the brake line hold down tab on each side to get the other U-Bolt in, and this is my solution to securing the line. I could probably use another something closer to the diff housing, I am pretty sure they make a sort of hose clamp that you can put a screw in...

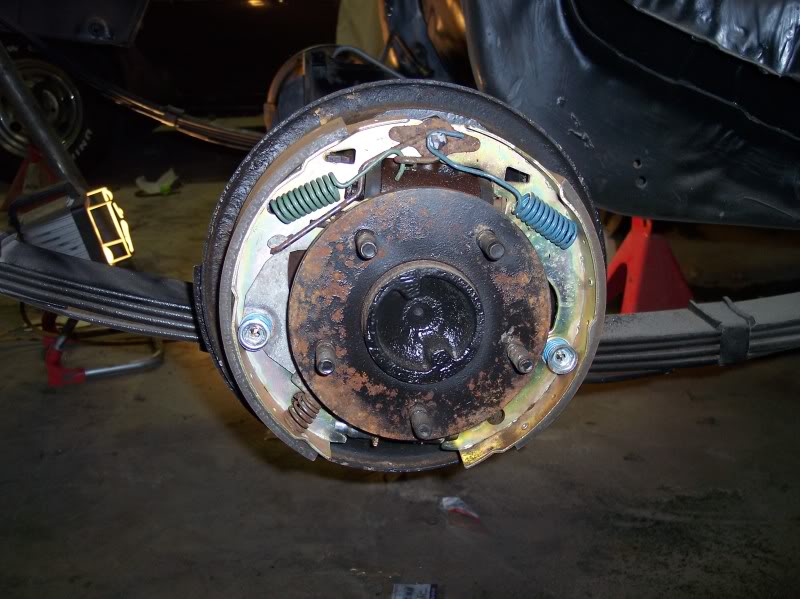
It would appear that the new rear end comes with new brakes. And, the axles look suspiciously new too.
All in all, I am very happy with what I got done today. This weekend we are going hiking, and sometime I have to sandblast a wrought iron bench for a $150, which should do my brake project and complete all that stuff. My father in law got the spot welds drilled out of the panel that goes under the rear seat, so hopefully the welding will get underway. It will be nice to finish the POR15 on the inside, start the sound deadening and begin to look into the wiring harnesses. I have a buddy who owns a stereo shop who will prewire for me so it is done right. Yesterday, my father in law brought over a silver fender from a lexus to show me the color, both me and the wife are thinking a bit darker though. But it was close. I'll get a pic tomorrow in the sun.
I had to chisel off the brake line hold down tab on each side to get the other U-Bolt in, and this is my solution to securing the line. I could probably use another something closer to the diff housing, I am pretty sure they make a sort of hose clamp that you can put a screw in...
It would appear that the new rear end comes with new brakes. And, the axles look suspiciously new too.
All in all, I am very happy with what I got done today. This weekend we are going hiking, and sometime I have to sandblast a wrought iron bench for a $150, which should do my brake project and complete all that stuff. My father in law got the spot welds drilled out of the panel that goes under the rear seat, so hopefully the welding will get underway. It will be nice to finish the POR15 on the inside, start the sound deadening and begin to look into the wiring harnesses. I have a buddy who owns a stereo shop who will prewire for me so it is done right. Yesterday, my father in law brought over a silver fender from a lexus to show me the color, both me and the wife are thinking a bit darker though. But it was close. I'll get a pic tomorrow in the sun.
#167
04-15-2010, 11:02 PM
Join Date: Aug 2008
Location: Portland, Or
Posts: 9,097
The brake lines and supports look great! As long as you've got the lines open, you should really replace the flexible line from the frame to the rear axle. It's probably 30 yrs. old, and will start cracking.
#168
04-16-2010, 06:30 AM
The thing about that other car, it was complete, and cheap, it has new brakes, and everything for mine that I needed. I was going to buy it for my car, and part the rest out, but my father in law saw it and could not resist. I'll have to keep my eyes open for another one, that or just keep finding things on the cheap.
Last edited by ATM; 04-16-2010 at 07:12 AM.
#169
04-16-2010, 05:30 PM
Picked up some carpet for the car today, new in the box, and a headers back exhaust system, also new in the box, without mufflers, I just need to see if it is for offset or straight through or what though.
I also came home for lunch today and sandblasted my brake drums and driveshaft and painted them up, then had to shower to return to work. At least I can get the car back on the ground now, Although, I may just leave it in the air and blast my wheels next and get them all primed and painted the same colors, two of them are blue...
I also came home for lunch today and sandblasted my brake drums and driveshaft and painted them up, then had to shower to return to work. At least I can get the car back on the ground now, Although, I may just leave it in the air and blast my wheels next and get them all primed and painted the same colors, two of them are blue...
#170
04-20-2010, 09:35 PM
I have a total of 6 hours today spent sandblasting alot of misc pieces, and my rims. Alot of issues with the sandblaster failing to work properly, a couple of blowouts, a valve actually wore through the side, the sandblasting hose is seriously thin on the walls, these things are definately not made to last forever, although, I don't see how they could puking sand at high pressure indefinately.
Here is alot of the smaller parts I wanted to blast, I am sure that a ton more will turn up as I go, I plan on finding or making a sandblasting cabinet towards the end so I hope that I can just get through this.
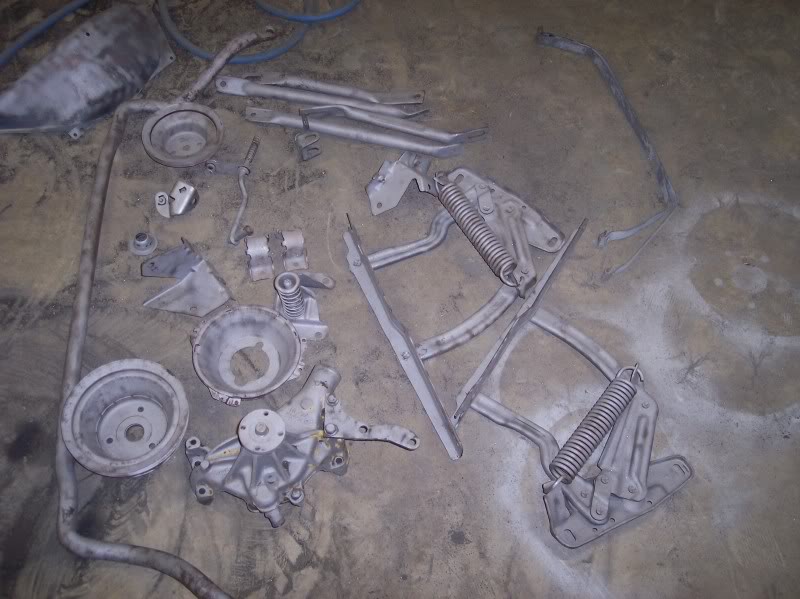
No idea what this is:
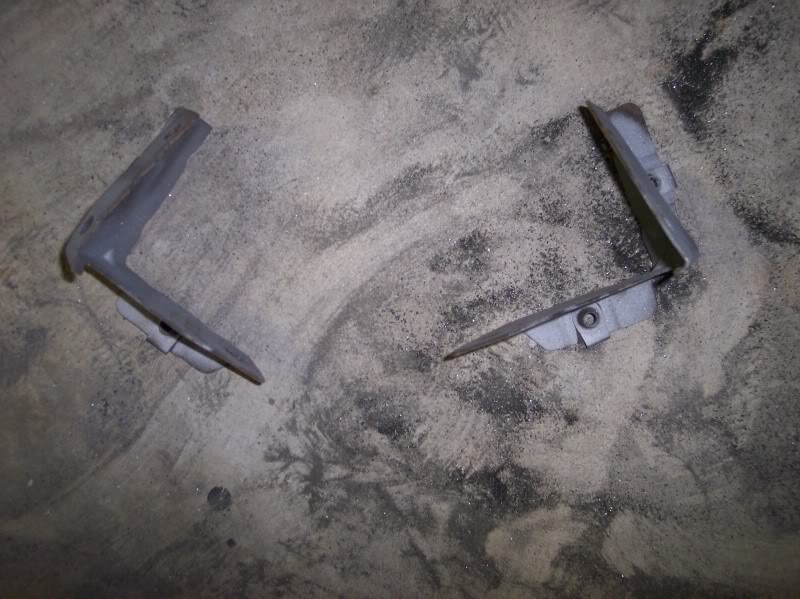
Nor what these are...
Here is a rim primed with flat black, I'll paint them later on once everything is closer to done. I also am putting the trim rings and the center caps away. I'll need to find some new center caps one day, a couple are broken, and they are all different kinds. .
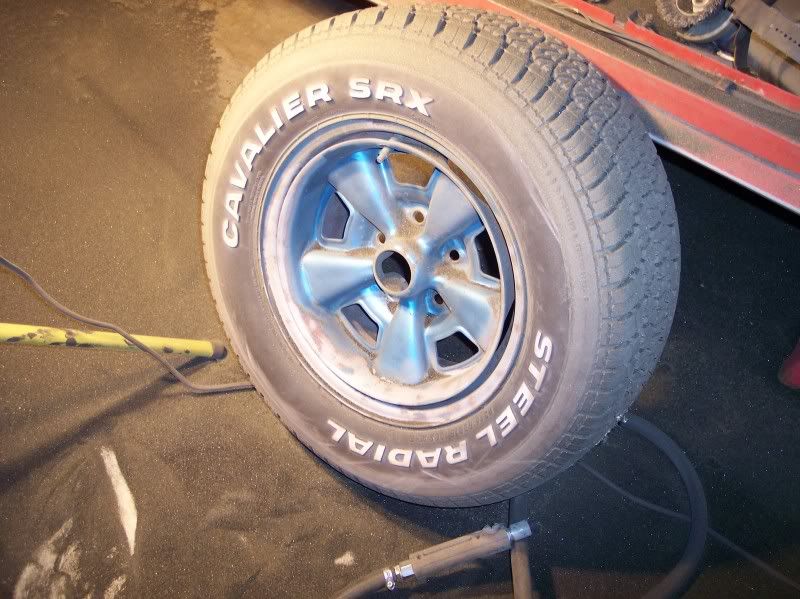
Just for kicks, here is a tire in the beginning stages of sandblasting.
As of right now, I have 1/2 of the inside of one fender, and an inner fender well and the big stuff is done. I also have a double cast iron glider bench coming to blast, that will fund my brake project I hope, new calipers, rotors, stainless lines, brake pads, and a 20' roll of brake line and fittings, I will make my own.
Here is alot of the smaller parts I wanted to blast, I am sure that a ton more will turn up as I go, I plan on finding or making a sandblasting cabinet towards the end so I hope that I can just get through this.
No idea what this is:
Nor what these are...
Here is a rim primed with flat black, I'll paint them later on once everything is closer to done. I also am putting the trim rings and the center caps away. I'll need to find some new center caps one day, a couple are broken, and they are all different kinds. .
Just for kicks, here is a tire in the beginning stages of sandblasting.
As of right now, I have 1/2 of the inside of one fender, and an inner fender well and the big stuff is done. I also have a double cast iron glider bench coming to blast, that will fund my brake project I hope, new calipers, rotors, stainless lines, brake pads, and a 20' roll of brake line and fittings, I will make my own.
Last edited by ATM; 04-20-2010 at 11:15 PM.