Chaotic's Progress Thread

Thread Tools
 
Search this Thread
 
  #611  
Old 03-28-2012, 07:21 AM
Chaotic94's Avatar
September 2011 ROTM
ROTM Winner's Club
Thread Starter
Join Date: May 2010
Location: Missouri
Posts: 3,402
Default

They're 8000k 35watt. The marker lights are pure white switchback led bulbs
 
  #612  
Old 03-28-2012, 07:59 AM
MKCoconuts's Avatar
4th Gear Member
Join Date: Oct 2011
Location: PA
Posts: 2,553
Default

Damn those are bright.
 
  #613  
Old 03-28-2012, 08:47 AM
bdMoron's Avatar
Newbie
Join Date: Mar 2012
Posts: 4
Default

I really like this car man. You did a great job and attention to detail is very on point!

Im about to do that LED interior swap and im looking to get HIDs aswell. What housings did you use?

Thanks and keep up the good work
 
  #614  
Old 03-28-2012, 11:05 AM
Chaotic94's Avatar
September 2011 ROTM
ROTM Winner's Club
Thread Starter
Join Date: May 2010
Location: Missouri
Posts: 3,402
Default

I broke the bulbs out of my factory housings and used high heat silicon to hold the new HID's in the factory housing. The fog light housing are factory as well. Also if you're doing an LED interior swap, check out my write up. It's a step by step with a ton of pictures included!

https://camaroforums.com/forum/93-02...A%2A%2A-59143/
 
  #615  
Old 03-28-2012, 11:23 AM
bdMoron's Avatar
Newbie
Join Date: Mar 2012
Posts: 4
Default

Originally Posted by Chaotic94
I broke the bulbs out of my factory housings and used high heat silicon to hold the new HID's in the factory housing. The fog light housing are factory as well. Also if you're doing an LED interior swap, check out my write up. It's a step by step with a ton of pictures included!

https://camaroforums.com/forum/93-02...A%2A%2A-59143/
Thats not a bad idea, i might have to do it that way.

Also that is a nice write up. I just bookmarked it so when i get around to doing it
I can just check it out. Thanks
 
  #616  
Old 03-28-2012, 12:11 PM
Chaotic94's Avatar
September 2011 ROTM
ROTM Winner's Club
Thread Starter
Join Date: May 2010
Location: Missouri
Posts: 3,402
Default

No problem man. If you need any tips while doing your LED swap, feel free to PM me or post in either of my threads
 
  #617  
Old 03-28-2012, 04:03 PM
Chaotic94's Avatar
September 2011 ROTM
ROTM Winner's Club
Thread Starter
Join Date: May 2010
Location: Missouri
Posts: 3,402
Default

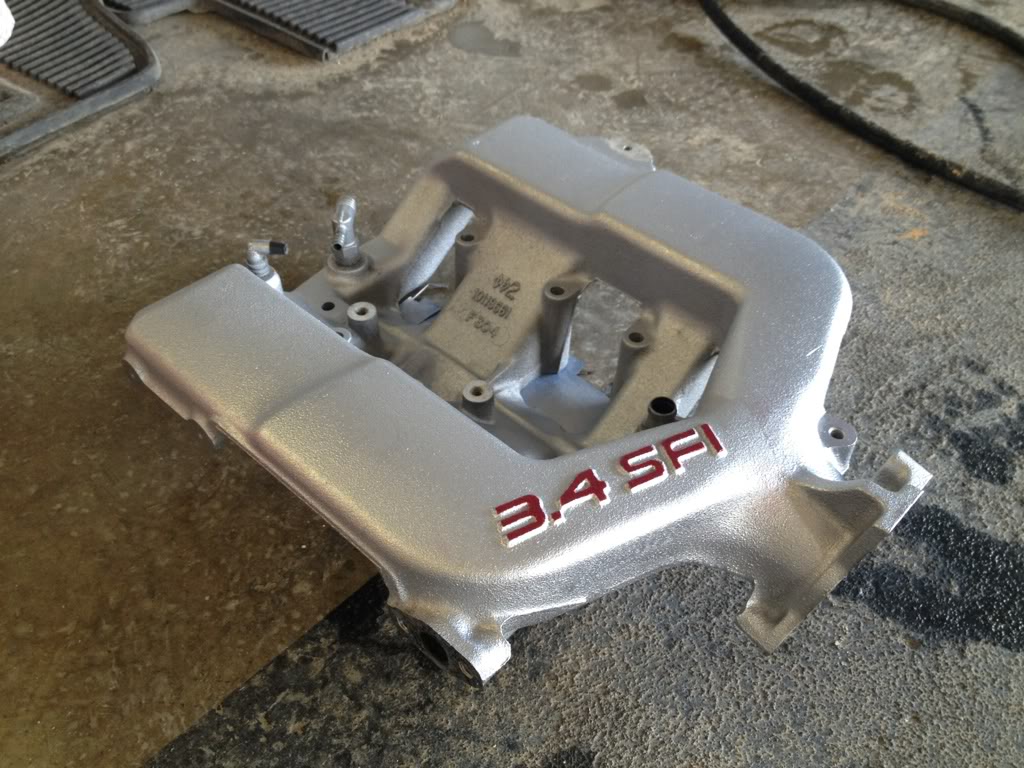
New intake is painted and ready to go in!!!

Name:  73d20997.jpg
Views: 11
Size:  149.8 KB
 
  #618  
Old 03-28-2012, 04:18 PM
Camaro 69's Avatar
Senior Moderator
January 2010 ROTM Winner
Join Date: Oct 2007
Location: The 'Burbs of Chicago
Posts: 18,306
Default

Ooh, that looks perty! Now don't forget, make sure you torque the TB down using a breaker bar with a 3' long pipe extension!
 
  #619  
Old 03-28-2012, 05:56 PM
Chaotic94's Avatar
September 2011 ROTM
ROTM Winner's Club
Thread Starter
Join Date: May 2010
Location: Missouri
Posts: 3,402
Default

Yeah buddy!!! That's actually what I used to crack it lmao
 
  #620  
Old 03-28-2012, 11:10 PM
Chaotic94's Avatar
September 2011 ROTM
ROTM Winner's Club
Thread Starter
Join Date: May 2010
Location: Missouri
Posts: 3,402
Default

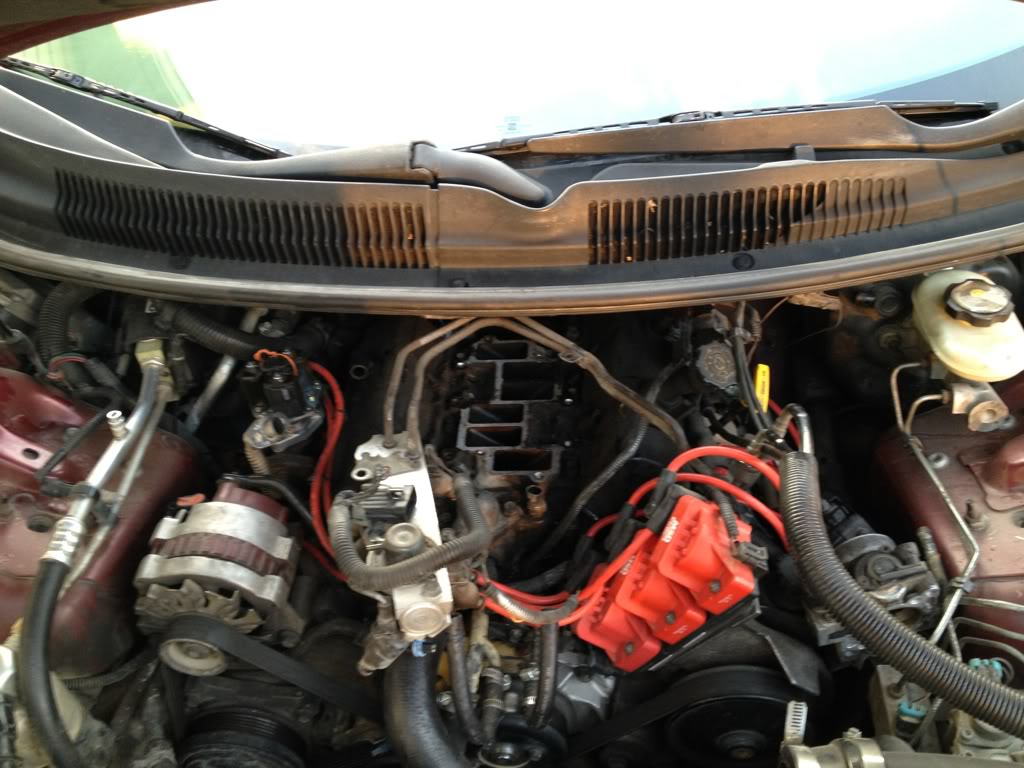
Out with the old!!!

Name:  71396c08.jpg
Views: 11
Size:  112.3 KB

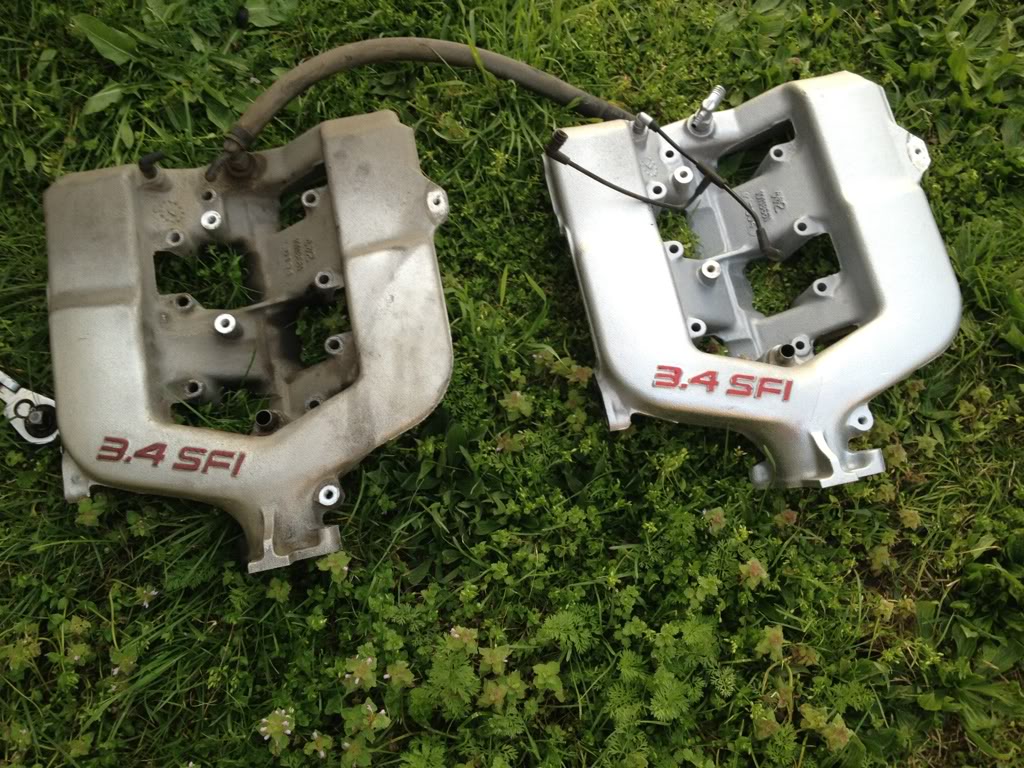
Old VS New. New is fresh and with NO cracks lol

Name:  9aa7056f.jpg
Views: 11
Size:  194.1 KB


Quick Reply: Chaotic's Progress Thread


All times are GMT -5. The time now is 08:13 PM.