93 Camaro Build thread *LOTS OF PICS*

Thread Tools
 
Search this Thread
 
  #21  
Old 07-09-2010, 05:09 AM
94Rockin3.4's Avatar
In the Staging Lanes
Join Date: Mar 2010
Posts: 65
Default

wow nice job man
 
  #22  
Old 07-09-2010, 01:02 PM
Chaotic94's Avatar
September 2011 ROTM
ROTM Winner's Club
Join Date: May 2010
Location: Missouri
Posts: 3,402
Default

Originally Posted by Socom
Oh ok that would be easy to do. The headlights have their own + and - separate from the halos + and -. So you would just splice the headlights into the factory harness and then run wires from the halos to the switch.
Thanks Alot!
 
  #23  
Old 07-09-2010, 01:04 PM
Socom's Avatar
November 2010 ROTM
October 2011 ROTM
ROTM Winner's Club
Thread Starter
Join Date: Jan 2010
Location: Maryland
Posts: 1,104
Default

Originally Posted by Chaotic94
Thanks Alot!
Yep no problem.

Originally Posted by 94Rockin3.4
wow nice job man
Thanks
 
  #24  
Old 07-13-2010, 12:38 AM
Socom's Avatar
November 2010 ROTM
October 2011 ROTM
ROTM Winner's Club
Thread Starter
Join Date: Jan 2010
Location: Maryland
Posts: 1,104
Default

Quick update, installed new freeze plugs. Custom pistons will be here tomorrow.

Name:  freezeplugs.jpg
Views: 686
Size:  23.3 KB
 
  #25  
Old 07-14-2010, 11:40 PM
Socom's Avatar
November 2010 ROTM
October 2011 ROTM
ROTM Winner's Club
Thread Starter
Join Date: Jan 2010
Location: Maryland
Posts: 1,104
Default

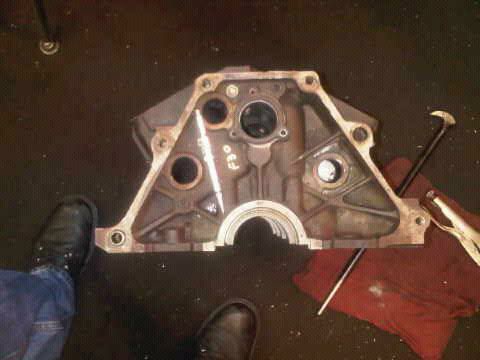
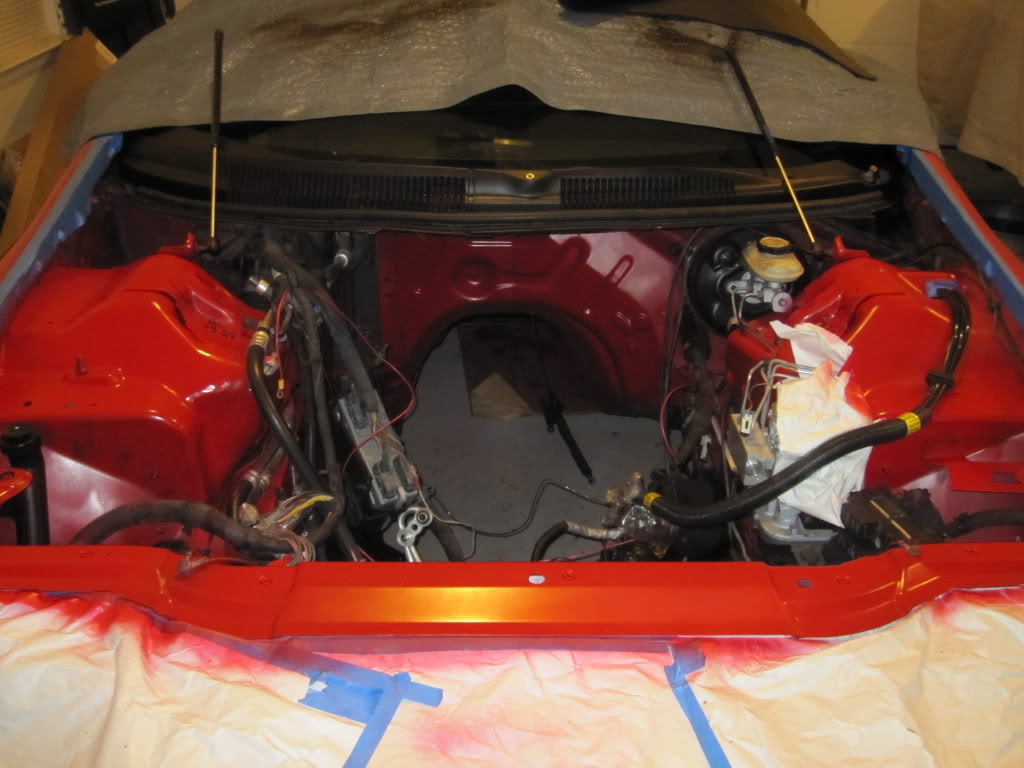
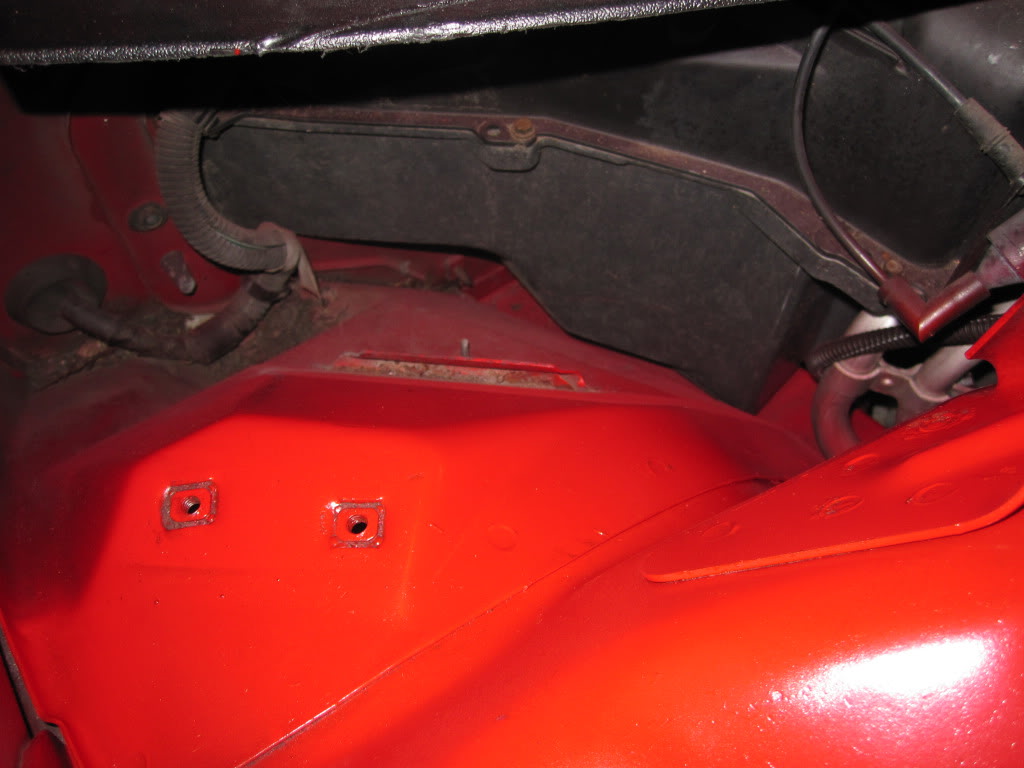
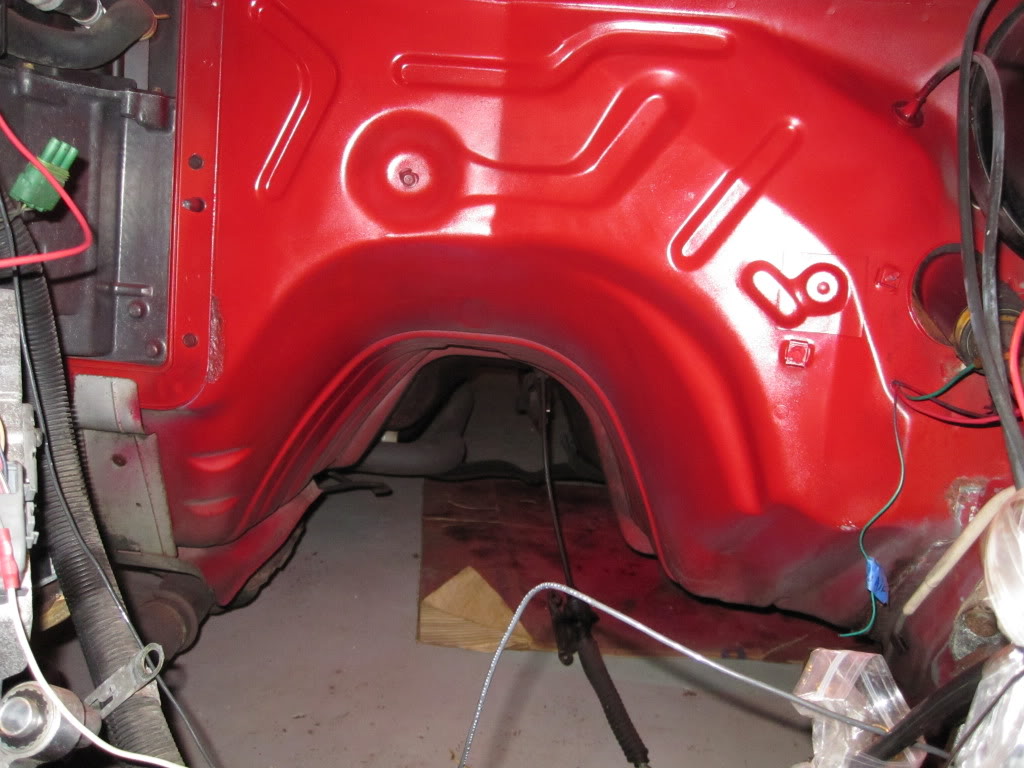
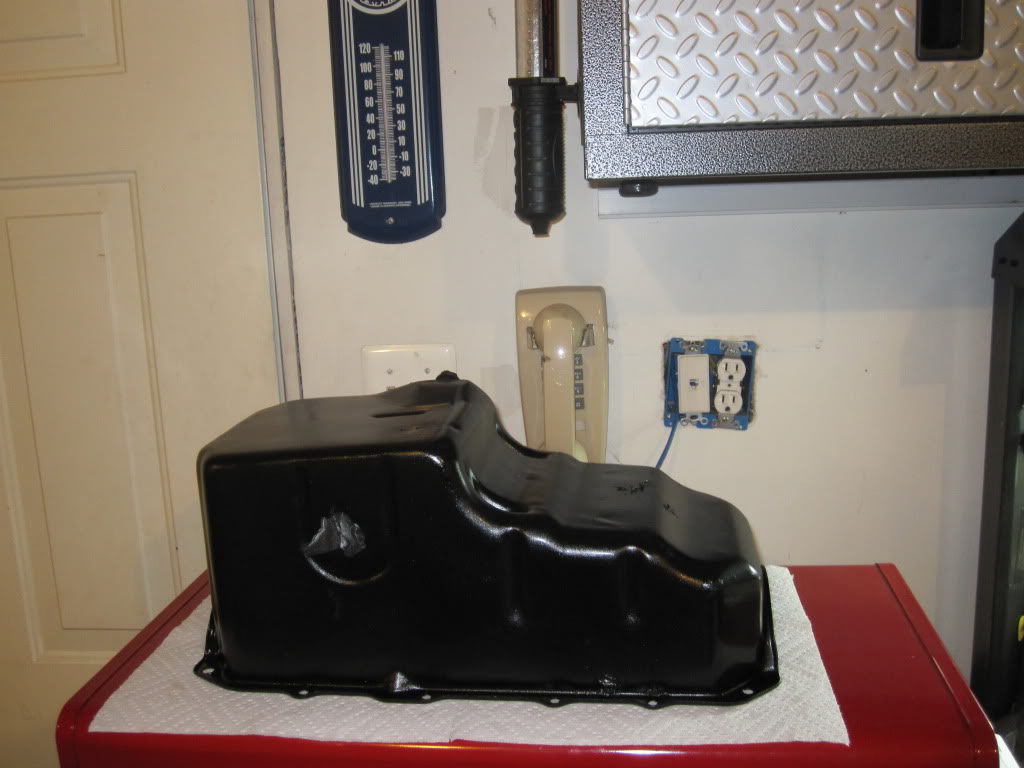
Update time! Got my engine compartment painted, probably will do more later. Also got my oil pan painted!

Pics:
Name:  IMG_0367.jpg
Views: 550
Size:  104.9 KB

Name:  IMG_0368.jpg
Views: 519
Size:  102.3 KB

Name:  IMG_0372.jpg
Views: 487
Size:  99.0 KB[

Name:  IMG_0369.jpg
Views: 418
Size:  134.6 KB

Name:  IMG_0373.jpg
Views: 498
Size:  97.9 KB

Enjoy Motor should be back this weekend so stay tuned!
 

Last edited by Socom; 07-15-2010 at 02:56 AM.
  #26  
Old 07-15-2010, 10:26 AM
RedKnight's Avatar
2nd Gear member
Join Date: Sep 2009
Location: Missouri
Posts: 423
Default

Looking good! Having the inside of the engine bay the same gloss as the exterior really makes a difference. Mine is shot in gloss, too, and was glad with how it came out.
 
  #27  
Old 07-16-2010, 02:25 AM
Socom's Avatar
November 2010 ROTM
October 2011 ROTM
ROTM Winner's Club
Thread Starter
Join Date: Jan 2010
Location: Maryland
Posts: 1,104
Default

I certainly agree with you. Painting it just makes it look so much better than it did and it will really show once the car is back together.
 
  #28  
Old 07-19-2010, 01:00 PM
Socom's Avatar
November 2010 ROTM
October 2011 ROTM
ROTM Winner's Club
Thread Starter
Join Date: Jan 2010
Location: Maryland
Posts: 1,104
Default

Update coming shortly, Just got done port and polishing my upper+lower manifold + throttle body. Just gotta go take some pics.
 
  #29  
Old 07-20-2010, 02:59 PM
mrfreez's Avatar
2nd Gear member
Join Date: May 2009
Posts: 528
Default

Wow, very nice! I would like more info on the supercharger. I am changing my rear end for a posi, getting a 1pc driveshaft, and getting another 3.4L engine and building it and boring it like you are doing. Here's my build thread: https://camaroforums.com/forum/93-02-v6-tech-14/my-95-camaro-3-4-build-thread-53442/
 
  #30  
Old 07-21-2010, 12:44 AM
Socom's Avatar
November 2010 ROTM
October 2011 ROTM
ROTM Winner's Club
Thread Starter
Join Date: Jan 2010
Location: Maryland
Posts: 1,104
Default

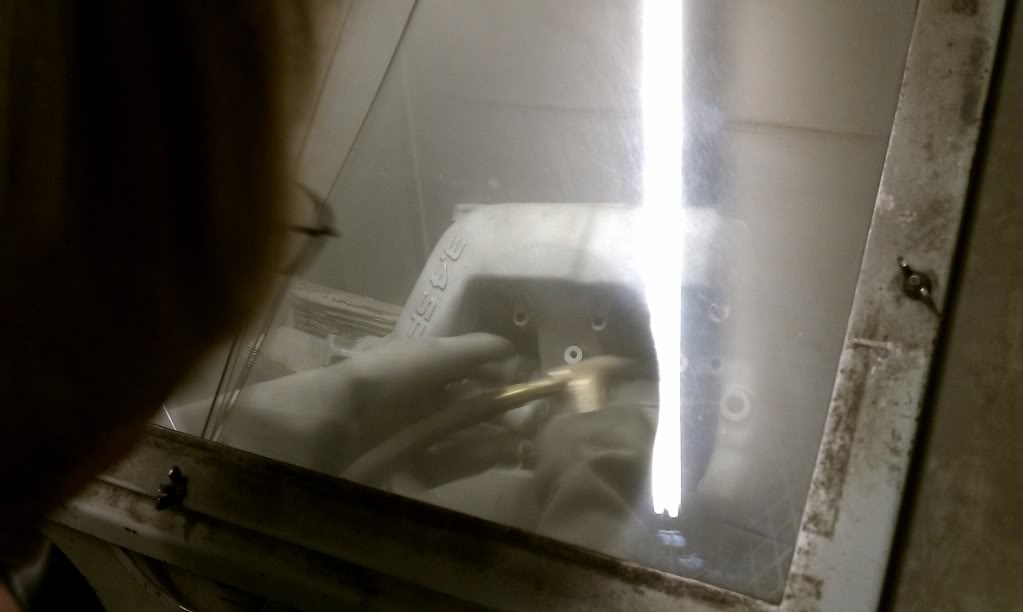
Update time! Pics of the U/L intake manifold in the sand blaster, you can see my home done P&P job in the pic

Name:  IMAG0062.jpg
Views: 475
Size:  52.5 KB

Name:  IMAG0061.jpg
Views: 487
Size:  38.5 KB

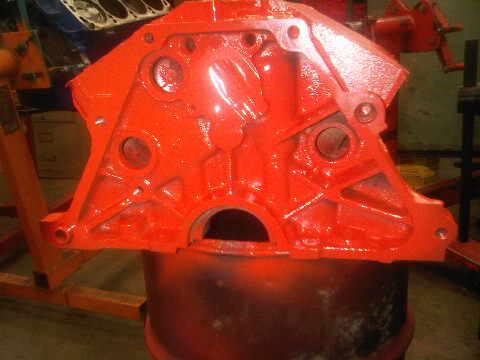
Also, painted my block chevy orange
Name:  IMG00229-20100720-1736.jpg
Views: 450
Size:  20.1 KB


Quick Reply: 93 Camaro Build thread *LOTS OF PICS*


All times are GMT -5. The time now is 08:15 AM.