
1996 Camaro Z28 Project Thread


Thread Starter
|
May 2013 ROTM
Joined: May 2009
Posts: 1,671
From: Farmington Hills, MI
ROTM Winner's Club
So I've hit a bit of a snag with the oil pressure sending unit. Turns out that the pigtail I got is for 1 wire/1 prong, but I need 1 wire/3 prongs. Seems rather strange to me that the sending unit would have 3 prongs, but only take a reading from one of them.


Senior Moderator
January 2010 ROTM Winner
January 2010 ROTM Winner
Joined: Oct 2007
Posts: 18,306
From: The 'Burbs of Chicago

That would be a "multi-use" oil pressure switch you have then. 3rd gens, and some other vehicles had 2 additional pass-through wires (power in, power out) that worked as a secondary power supply to the fuel pump, where as long as there was oil pressure, the pump would keep running in case there was a fuel pump relay failure. 4th gen's don't have that feature, hence only one wire just for the gauge, instead of three.
Last edited by Camaro 69; Oct 23, 2012 at 05:22 PM.
Thread Starter
|
May 2013 ROTM
Joined: May 2009
Posts: 1,671
From: Farmington Hills, MI
ROTM Winner's Club
After fiddling for 20 minutes, I managed to get the pins out of the connectors and make one useful pigtail out of the two. Now the frustrating part is trying to splice it back into the harness. There is literally less than two inches of wire coming out of the harness that I can work with, and it's all the way to the firewall. I fought with that for almost 45 minutes tonight, without success. I'm using this kind of splice:
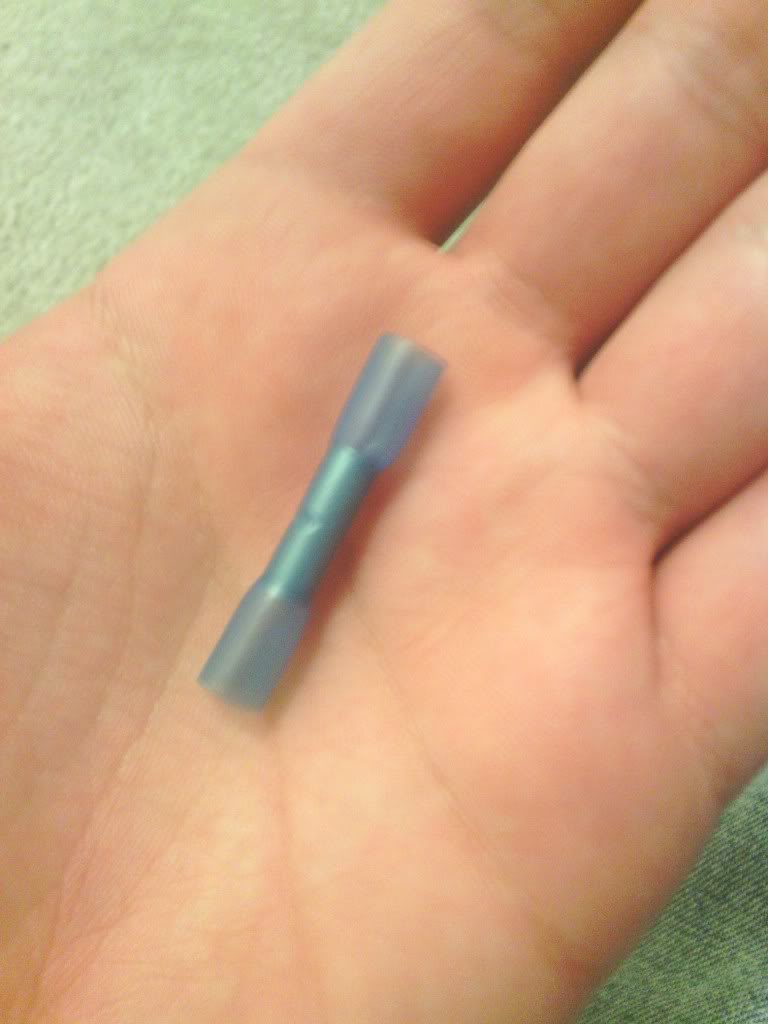
Getting that onto the tiny wire sticking out has been next to impossible. The couple of times I had it on there and tried pinching it down with the needlenose pliers, the wire immediately just slipped right back out. With where the wire is located, it's next to impossible for me to get both hands, a needlenose pliers, and light into that small area, while still being able to actually see what I'm doing.
Getting that onto the tiny wire sticking out has been next to impossible. The couple of times I had it on there and tried pinching it down with the needlenose pliers, the wire immediately just slipped right back out. With where the wire is located, it's next to impossible for me to get both hands, a needlenose pliers, and light into that small area, while still being able to actually see what I'm doing.

In the Staging Lanes
Joined: Oct 2011
Posts: 84
My advice would be to get some solder, heat shrink, and another piece of wire.
Do this, extend the first wire, put heat shrink over the connection, then solder the second wire to the extension you just made and put heat shrink over that. It will be the best, most reliable connection, resistant to weather and you can yank on it pretty hard without failure
Do this, extend the first wire, put heat shrink over the connection, then solder the second wire to the extension you just made and put heat shrink over that. It will be the best, most reliable connection, resistant to weather and you can yank on it pretty hard without failure
Thread Starter
|
May 2013 ROTM
Joined: May 2009
Posts: 1,671
From: Farmington Hills, MI
ROTM Winner's Club
My advice would be to get some solder, heat shrink, and another piece of wire.
[IMG]http://i1269.photobucket.com/albums/jj583/ellswortha101/IMG_0426.jpg[/IMG
Do this, extend the first wire, put heat shrink over the connection, then solder the second wire to the extension you just made and put heat shrink over that. It will be the best, most reliable connection, resistant to weather and you can yank on it pretty hard without failure
Senior Moderator
January 2010 ROTM Winner
January 2010 ROTM Winner
Joined: Oct 2007
Posts: 18,306
From: The 'Burbs of Chicago
You're making this more difficult than it has to be.
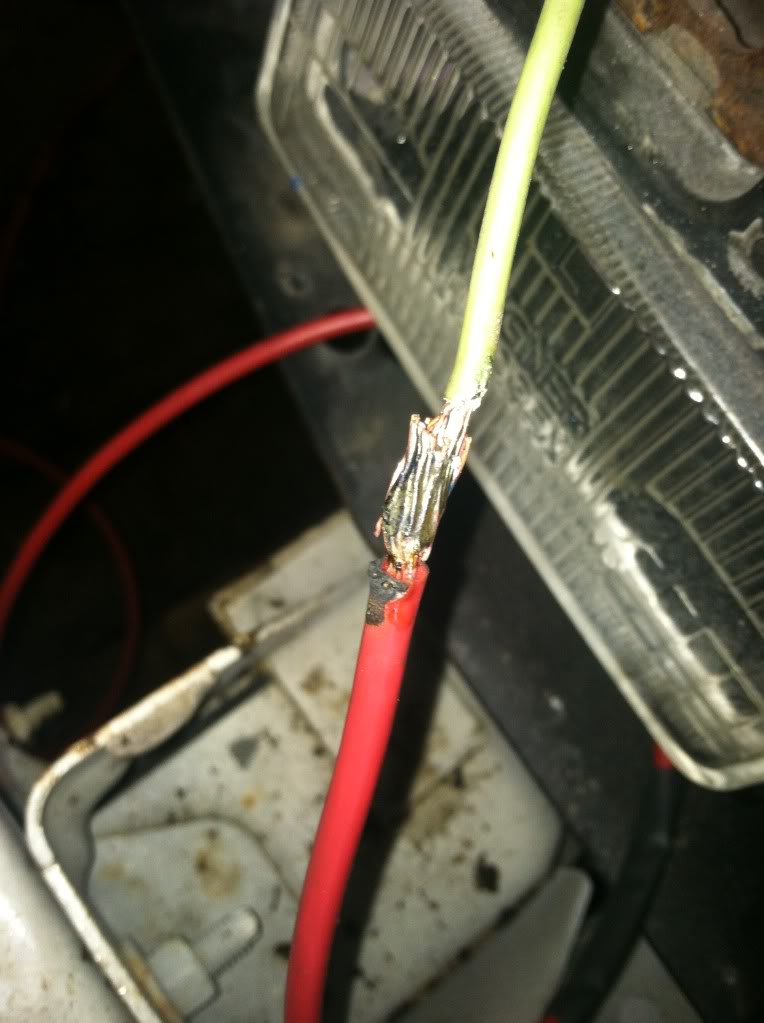
Take note of the coloring of the wire. Trace the harness that wire goes into up higher to where it's more accessible in the engine compartment. Cut an opening in the harness wrap, find that wire, and pull it out of the harness. Now you can splice that wire with ease, then reattach it to the harness with zip strips, and tape up the cut opening.
Take note of the coloring of the wire. Trace the harness that wire goes into up higher to where it's more accessible in the engine compartment. Cut an opening in the harness wrap, find that wire, and pull it out of the harness. Now you can splice that wire with ease, then reattach it to the harness with zip strips, and tape up the cut opening.