
Rear Wheel Bearing Replacement Write Up


This write up mainly focuses on the removal and installation of the wheel bearing and wheel seal found in the GM 7.5 10 bolt on F-bodies, BUT should apply to most, if not all, c-clip retained axles.
I.E. Dana 35, Chrysler 8.25/9.25, GM Corporate 8.5/8.6 10 bolt, GM 12 bolt, Ford 7.5/8.8, as well as others.
I tried to provide as accurate of description as I could to doing this job as well as pictures. If you need/want a specific picture of doing something, I will gladly get one.
Parts you'll need (some parts apply to GM 7.5 only):
Wheel bearing Part # 5707
Wheel seal Part # 8660S
2 quarts of your preferred gear oil
LS additive if needed
Gasket maker or axle housing cover gasket
Blue loctite
Grease
If needed, the repair bearing is Part # RP-5707
Tools (N/R = Not required, but suggested):
Slide Hammer....This can be rented from your local auto parts store, it's not cheap, but do remember you get the deposit back with the return. If you know the employees well enough, they may just let you borrow without a deposit.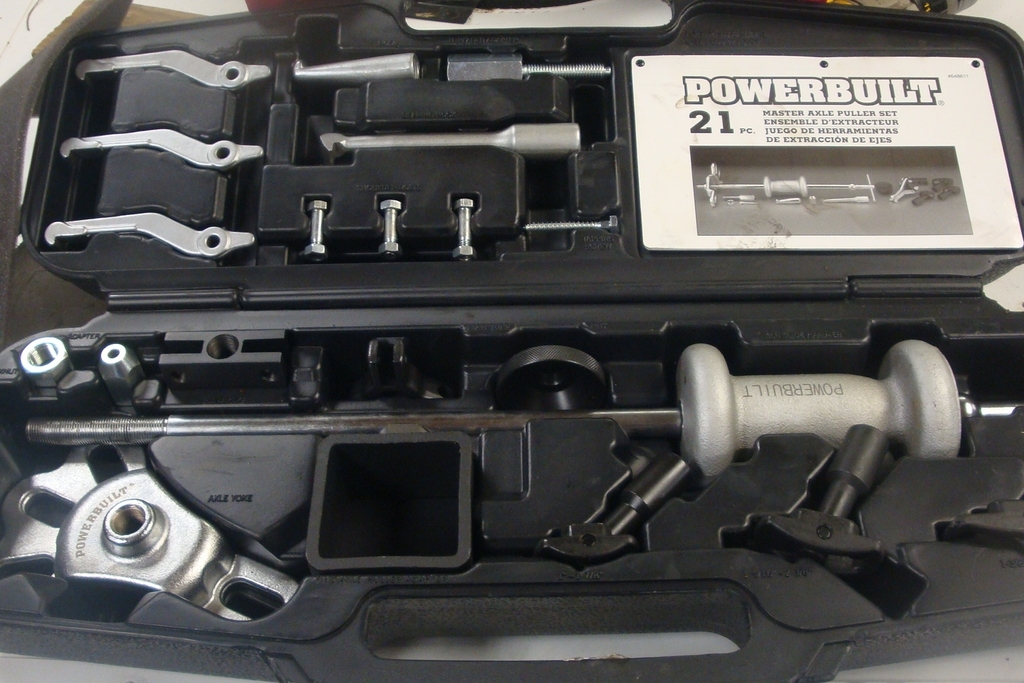
3/8 Ratchet
1/2 Breaker Bar
13MM Socket, 6 or 12 point
19MM Socket (or SAE 3/4) 6 or 12 point, 6 preferred
SAE 1 5/8 socket (N/R)
6 Point, SAE 5/16 wrench, the longer the better. DO NOT use a 12 point wrench. (I'll explain later)
Small Hammer
Rubber mallet
Torque Wrench (N/R)
Magnetic Pickup
Seal Puller (Only required if you are just replacing the seal and not the bearing)
Favorite beverage
Magnetic Tray (N/R)
Gloves (N/R)
Estimated Time: 30 minutes-1 hour, 2-3 beers
Difficulty on a scale of 1-5 (1=Novice, 5=Ace Master Mechanic)....2
Start by taking your 19mm or SAE 3/4 socket attached to your 1/2 drive breaker bar and breaking your wheel lug nuts loose. Once they're loose, begin to jack up your car by the pumpkin, and place jack stands under neath the frame of the car. You're better off putting the stands here has it allows the axle to droop and gives you more room to work.
Before you get too involved, take your 3/8 drive ratchet and break loose the fill plug. Got it loose? Good. We can proceed.
Finish removing your wheel. Start removing your diff cover bolts but leave 1 to 3 of the top bolts loosely held on. If your cover didn't pop take your rubber mallet and give it a nice whack. Alternatively, you can carefullly wedge a razor or screw driver in between the cover and housing. Let the fluid drain while you take a drink break.
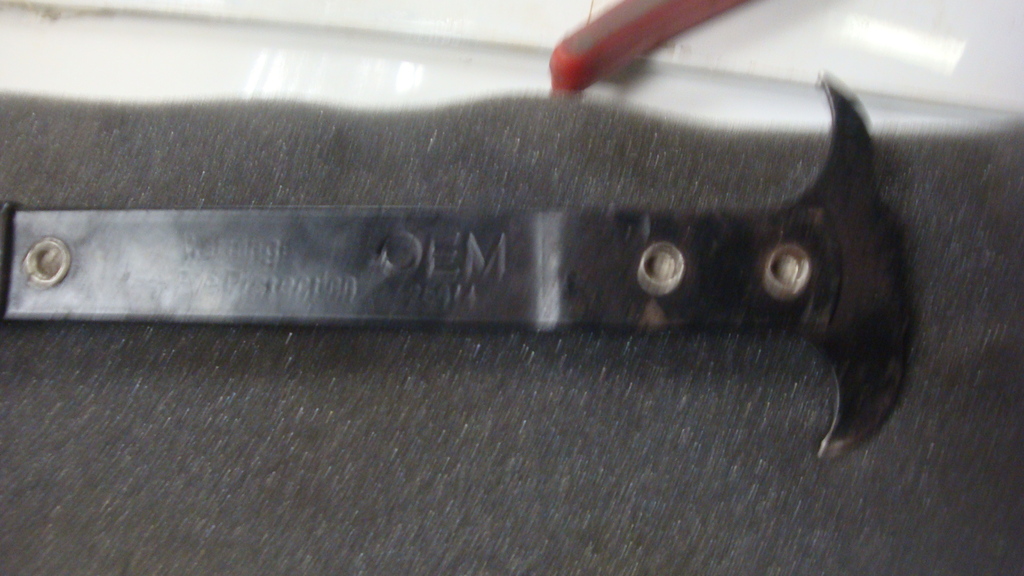
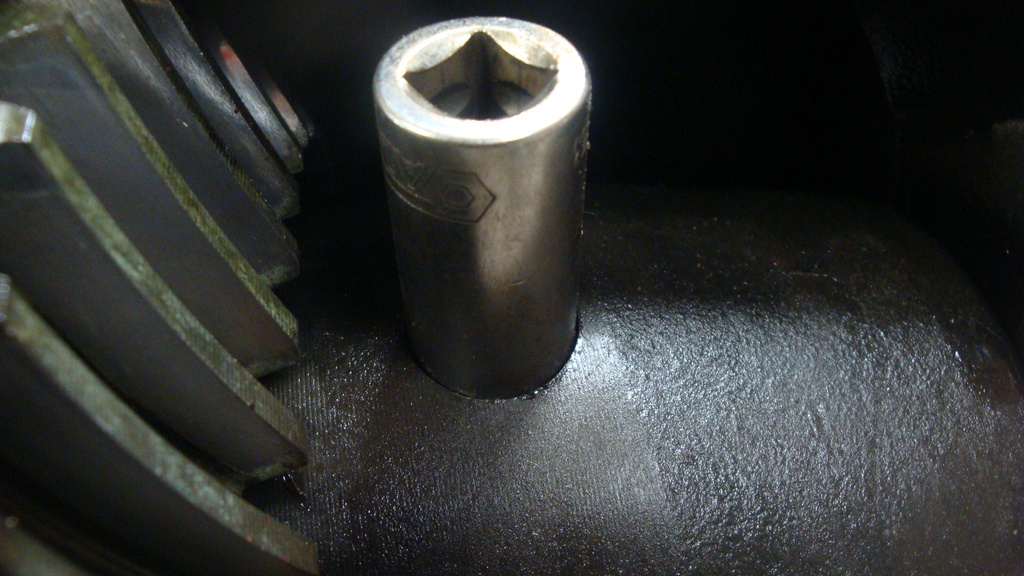
Now to the fun stuff. Place the transmission in neutral. Spin your carrier around until you find the center pin retaining bolt. Should look like this:
Once you've found it and can get a grip on it, go back and place your car in park or in gear (manual) as well as set the parking brake.
This is where your 6 point, 5/16 wrench comes into play. Do not use a 12 point. These bolts are easily stripped and if done so, will make this simple job a lot harder. If you want to, heat up the area just below the head of the bolt to help make it easier to remove. In a pinch, you can use an 8MM 6 point wrench, but a 5/16 is better.
Once you broke the bolt loose, remove it the rest of the way, don't worry if you can't actually "remove the bolt". Let it rest against the carrier bearing cap. It's far enough out it won't create a problem. Go ahead and put your car back into neutral and release the parking brake.
Take a break from the carrier and go ahead and remove your brake calipers and rotors. I didn't have mine on the axle I was using for this, but I believe they are 13mm. If you have drum brakes, all you have to do is remove the drum.
Back to the carrier. Very carefully spin the carrier so you can get to the top of the center pin. Using your 13MM socket, push the center pin out. Don't go too far or you'll hit the bottom of the case. If you do, just take a flat head screw driver and push the pin back up. Once you get the pin far enough, spin the carrier so you can remove it.
Once you get the pin out, your next step is to remove the c-clip. This part isn't hard. Push the axle in, and, using your magnetic pick up, fish the c-clip from the center of the carrier. Once you have it removed, you can now remove the axle, careful, they're heavier than they look.
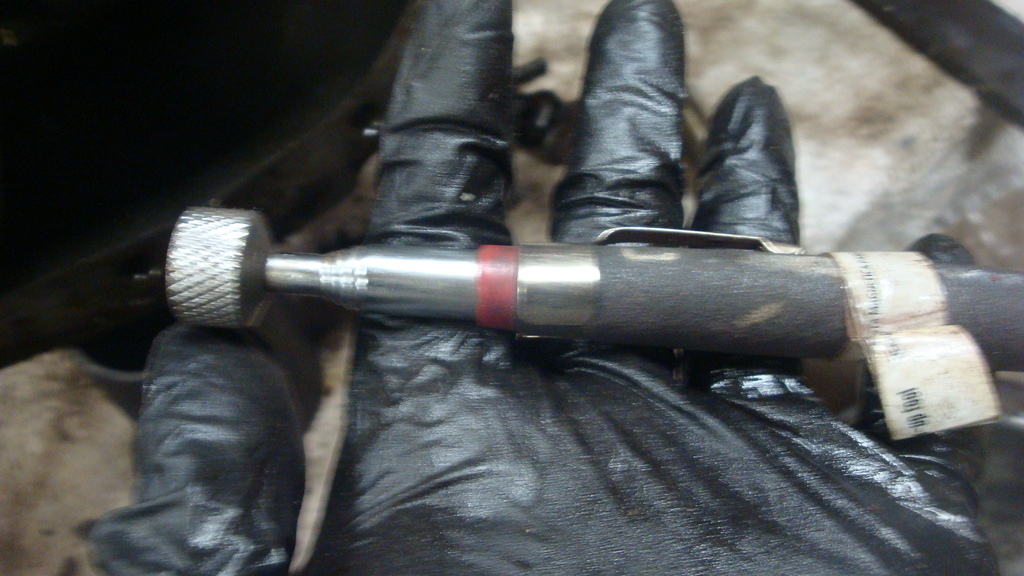
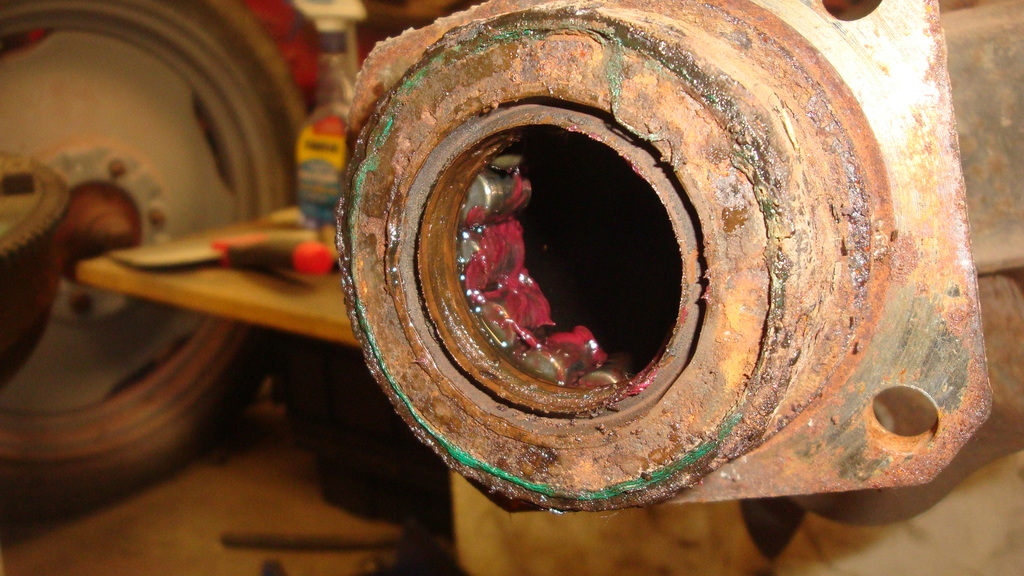
With the axle removed, you can now work on the bearing. Using the proper adapter in the slide hammer kit, in this case, the smallest one, remove the bearing. All you need to do is slip it behind the bearing and then have it catch the back of it. It should only take you 3 or 4 good hits to remove it.
Now to installing the bearing. There are few ways you can go about this. You can use a bearing/seal installer that you can find at most auto parts store or you can use a socket, either way works fine. To use a socket, SAE 1 5/8 works well for both the bearing and seal.
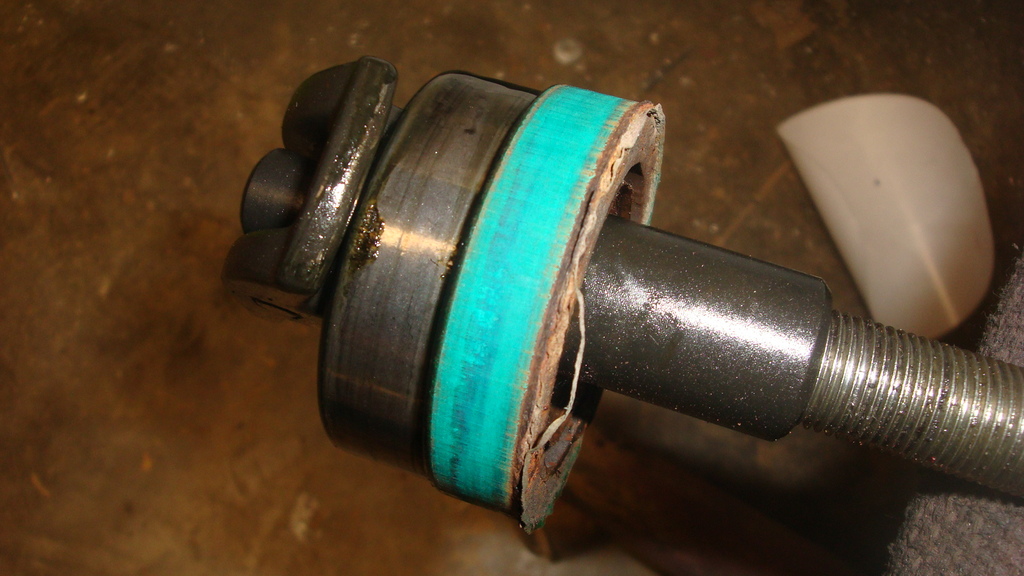
Tap the bearing lightly into the axle tube to get it started. Once it's started, take your choice of installation tool and firmly, but evenly tap the bearing into the housing. You will know when it's completely seated when the sound changes. This part is personal preference, but I take a little bit of bearing grease and lightly grease the bearing like so:
Now to install the seal. Start again by lightly tapping the seal into place in a circular pattern. You may use a tool for this or you can just tap it in lightly with your hammer. Take a little bit of grease and place it on the lip of the seal.
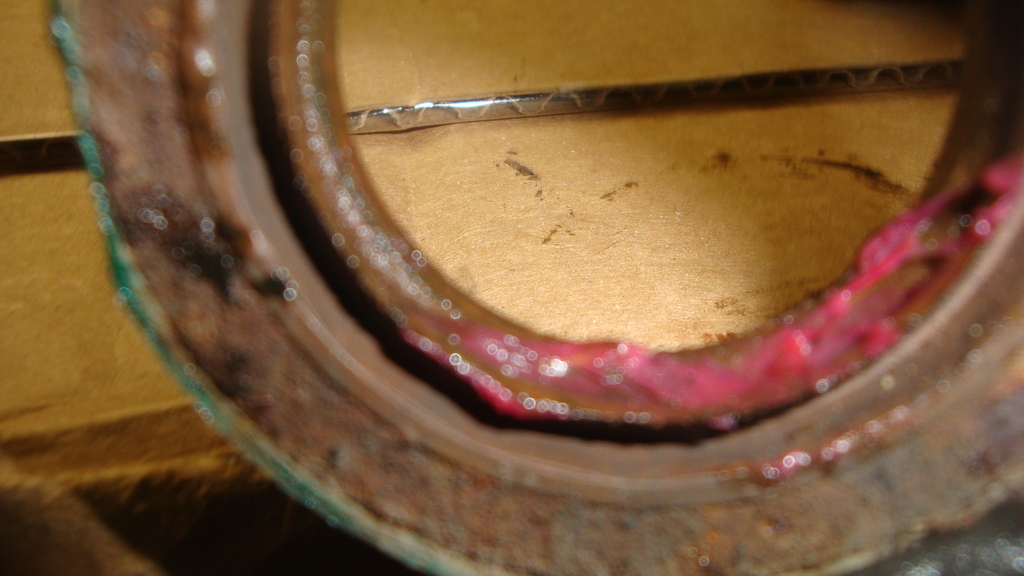
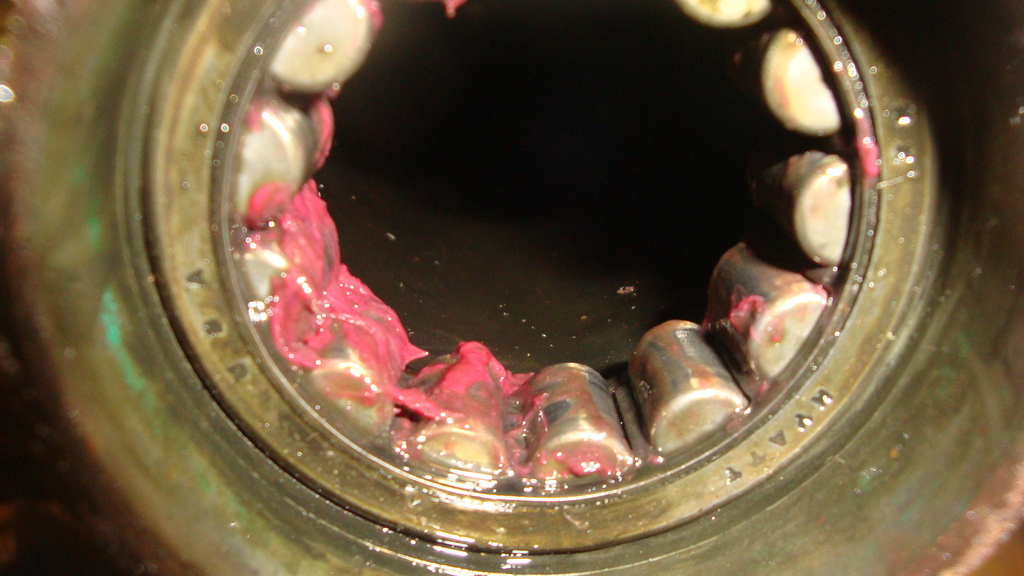
Slide your axle in. Support it as you slide it in so you don't damage the seal. Once you have it in, things get easy. Seal should be flush to the housing end like this:
I know this seal looks like crap and that's because it is. I removed and re-installed the same bearing and seal that was in it. This is a 7.5 that I'm using for another project.
With the axle installed, you can now replace the c-clip. Once it's in, pull the axle back out to seat the clip. Carefully spin the carrier so you can reinstall the center pin. It should slide up easily. If it doesn't, make sure the axles are both pulled out the whole way. You may use the hammer and 13MM to get it back in.
The next part can take some fighting. You gotta get the center pin bolt back into it's hole. Sounds easy, but it took me a while the first time I did it. It's easiest if you keep pressure on the bolt towards the pin as you push the pin into place. Once you get the bolt to slide in, put a dab of blue loctite on the threads and thread in back in. Torque to 20 ft-lbs. If you don't have a torque wrench, get it tight, as you do not want this coming loose.
The tough parts are done! Put your caliper/rotor/drum back on. Clean up the axle housing and cover, put a new gasket or RTV on it and tighten the cover back on. There's a torque spec for them but really you just need to get them tight. Refill the the axle housing with gear oil till it just starts to drip out of the fill hole. Replace the plug, tighten your wheel lugs to 90-100 ft-lbs (I do 95) and go for a quick spin. If all is well, pat yourself on the back for a job well done!
I.E. Dana 35, Chrysler 8.25/9.25, GM Corporate 8.5/8.6 10 bolt, GM 12 bolt, Ford 7.5/8.8, as well as others.
I tried to provide as accurate of description as I could to doing this job as well as pictures. If you need/want a specific picture of doing something, I will gladly get one.
Parts you'll need (some parts apply to GM 7.5 only):
Wheel bearing Part # 5707
Wheel seal Part # 8660S
2 quarts of your preferred gear oil
LS additive if needed
Gasket maker or axle housing cover gasket
Blue loctite
Grease
If needed, the repair bearing is Part # RP-5707
Tools (N/R = Not required, but suggested):
Slide Hammer....This can be rented from your local auto parts store, it's not cheap, but do remember you get the deposit back with the return. If you know the employees well enough, they may just let you borrow without a deposit.

3/8 Ratchet
1/2 Breaker Bar
13MM Socket, 6 or 12 point
19MM Socket (or SAE 3/4) 6 or 12 point, 6 preferred
SAE 1 5/8 socket (N/R)
6 Point, SAE 5/16 wrench, the longer the better. DO NOT use a 12 point wrench. (I'll explain later)
Small Hammer
Rubber mallet
Torque Wrench (N/R)
Magnetic Pickup

Seal Puller (Only required if you are just replacing the seal and not the bearing)

Favorite beverage
Magnetic Tray (N/R)
Gloves (N/R)
Estimated Time: 30 minutes-1 hour, 2-3 beers
Difficulty on a scale of 1-5 (1=Novice, 5=Ace Master Mechanic)....2
Start by taking your 19mm or SAE 3/4 socket attached to your 1/2 drive breaker bar and breaking your wheel lug nuts loose. Once they're loose, begin to jack up your car by the pumpkin, and place jack stands under neath the frame of the car. You're better off putting the stands here has it allows the axle to droop and gives you more room to work.
Before you get too involved, take your 3/8 drive ratchet and break loose the fill plug. Got it loose? Good. We can proceed.
Finish removing your wheel. Start removing your diff cover bolts but leave 1 to 3 of the top bolts loosely held on. If your cover didn't pop take your rubber mallet and give it a nice whack. Alternatively, you can carefullly wedge a razor or screw driver in between the cover and housing. Let the fluid drain while you take a drink break.
Now to the fun stuff. Place the transmission in neutral. Spin your carrier around until you find the center pin retaining bolt. Should look like this:

Once you've found it and can get a grip on it, go back and place your car in park or in gear (manual) as well as set the parking brake.
This is where your 6 point, 5/16 wrench comes into play. Do not use a 12 point. These bolts are easily stripped and if done so, will make this simple job a lot harder. If you want to, heat up the area just below the head of the bolt to help make it easier to remove. In a pinch, you can use an 8MM 6 point wrench, but a 5/16 is better.
Once you broke the bolt loose, remove it the rest of the way, don't worry if you can't actually "remove the bolt". Let it rest against the carrier bearing cap. It's far enough out it won't create a problem. Go ahead and put your car back into neutral and release the parking brake.
Take a break from the carrier and go ahead and remove your brake calipers and rotors. I didn't have mine on the axle I was using for this, but I believe they are 13mm. If you have drum brakes, all you have to do is remove the drum.
Back to the carrier. Very carefully spin the carrier so you can get to the top of the center pin. Using your 13MM socket, push the center pin out. Don't go too far or you'll hit the bottom of the case. If you do, just take a flat head screw driver and push the pin back up. Once you get the pin far enough, spin the carrier so you can remove it.


Once you get the pin out, your next step is to remove the c-clip. This part isn't hard. Push the axle in, and, using your magnetic pick up, fish the c-clip from the center of the carrier. Once you have it removed, you can now remove the axle, careful, they're heavier than they look.
With the axle removed, you can now work on the bearing. Using the proper adapter in the slide hammer kit, in this case, the smallest one, remove the bearing. All you need to do is slip it behind the bearing and then have it catch the back of it. It should only take you 3 or 4 good hits to remove it.

Now to installing the bearing. There are few ways you can go about this. You can use a bearing/seal installer that you can find at most auto parts store or you can use a socket, either way works fine. To use a socket, SAE 1 5/8 works well for both the bearing and seal.
Tap the bearing lightly into the axle tube to get it started. Once it's started, take your choice of installation tool and firmly, but evenly tap the bearing into the housing. You will know when it's completely seated when the sound changes. This part is personal preference, but I take a little bit of bearing grease and lightly grease the bearing like so:

Now to install the seal. Start again by lightly tapping the seal into place in a circular pattern. You may use a tool for this or you can just tap it in lightly with your hammer. Take a little bit of grease and place it on the lip of the seal.

Slide your axle in. Support it as you slide it in so you don't damage the seal. Once you have it in, things get easy. Seal should be flush to the housing end like this:

I know this seal looks like crap and that's because it is. I removed and re-installed the same bearing and seal that was in it. This is a 7.5 that I'm using for another project.
With the axle installed, you can now replace the c-clip. Once it's in, pull the axle back out to seat the clip. Carefully spin the carrier so you can reinstall the center pin. It should slide up easily. If it doesn't, make sure the axles are both pulled out the whole way. You may use the hammer and 13MM to get it back in.
The next part can take some fighting. You gotta get the center pin bolt back into it's hole. Sounds easy, but it took me a while the first time I did it. It's easiest if you keep pressure on the bolt towards the pin as you push the pin into place. Once you get the bolt to slide in, put a dab of blue loctite on the threads and thread in back in. Torque to 20 ft-lbs. If you don't have a torque wrench, get it tight, as you do not want this coming loose.
The tough parts are done! Put your caliper/rotor/drum back on. Clean up the axle housing and cover, put a new gasket or RTV on it and tighten the cover back on. There's a torque spec for them but really you just need to get them tight. Refill the the axle housing with gear oil till it just starts to drip out of the fill hole. Replace the plug, tighten your wheel lugs to 90-100 ft-lbs (I do 95) and go for a quick spin. If all is well, pat yourself on the back for a job well done!

4th Gear Member
Joined: Aug 2014
Posts: 2,315
From: troy NH
cool I did not know now I due what that tool set is for ,an not everyone has one ,I seen one at a garage sale one time $35.00 they wanted ,was rusted older kit ,that was this past summer too darn,well I had to be the guy to check ebay you can buy a kit probley not that one $40.00,but the kit has more then one use dent puller so on I guess bearings too .slide hammer bearing 9 pc set,theres different kits for different needs I am sure
Last edited by 95 camaro 406; Dec 5, 2015 at 11:29 AM.

Senior Moderator
January 2010 ROTM Winner
January 2010 ROTM Winner
Joined: Oct 2007
Posts: 18,306
From: The 'Burbs of Chicago

Nice write up MK. One thing I would add/recommend is to buy a new pin retaining bolt before starting the project. These can get fatigued and snap in two below the threaded area. You wouldn't find that out till taking it apart, plus why chance it by putting a used pre-fatigued bolt back in.


1st Gear Member
Joined: Apr 2015
Posts: 163
From: Ocala, FL
oh this is absolutely wonderful! my only critique is with the beverage section. 2-3 beers in 30 minutes to one hour good lord.. im only 29 and ive already lost my taste for alcohol and this is doubly true considering i went out last night with an old friend and had a few beers and a few shots and i went to try to clean up a new transmission i bought for my 85 corvette today and i could definitely tell i had some drinks because i was dragging *** and didnt get squat done. i like to be sharp and fresh when im tinkering around and alcohol makes me the absolute opposite :P

Thread
Thread Starter
Forum
Replies
Last Post
auto
93-02 General
18
Feb 26, 2012 06:52 PM