


So here it goes, my project thread (2nd gen)


Thread Starter
|
Overdrive Member
Joined: Nov 2009
Posts: 4,848
From: off the grid

It even has the pedals I need. Too bad I'm short on cash and cant get to it anyhow. As for being a DD its more of a to and from work truck. I live 3min from work literally. I could get away with 50 bucks a week I bet. It was 30 in the 4x4 SWB.
Thread Starter
|
Overdrive Member
Joined: Nov 2009
Posts: 4,848
From: off the grid
Well no progress on my stuff today but I did hit Milestone on the LS Ram. The motor is running and the turbos are spooling. The wastegates werent hooked up and we havent come up with a carb hat because the motor needs to be inside the truck before that is fabbed. But for now here are some pics. I have a lot of video too but that isnt loading from my phone very well.
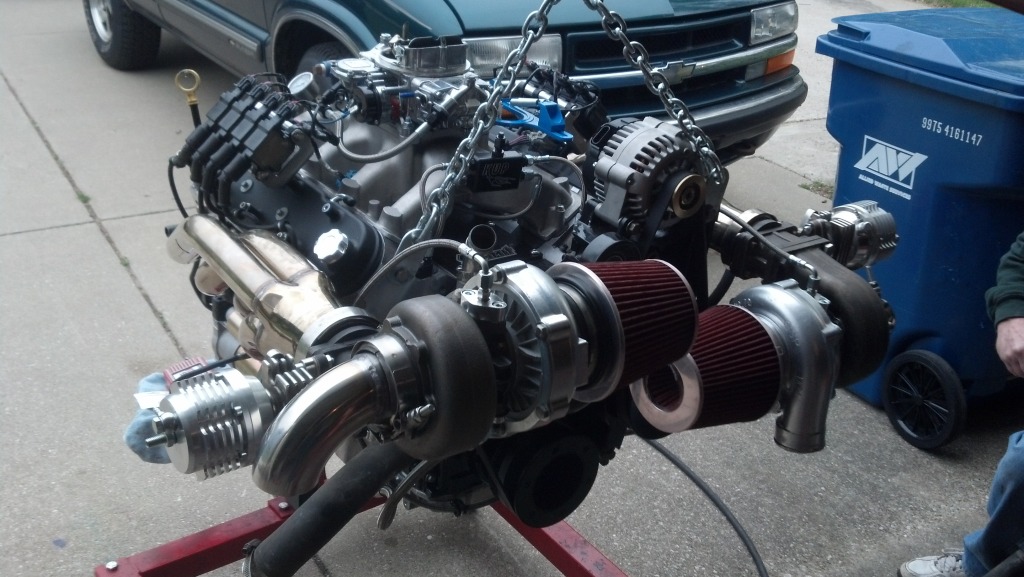
Wastegates are elcheapo Ebay units. About $80 each.
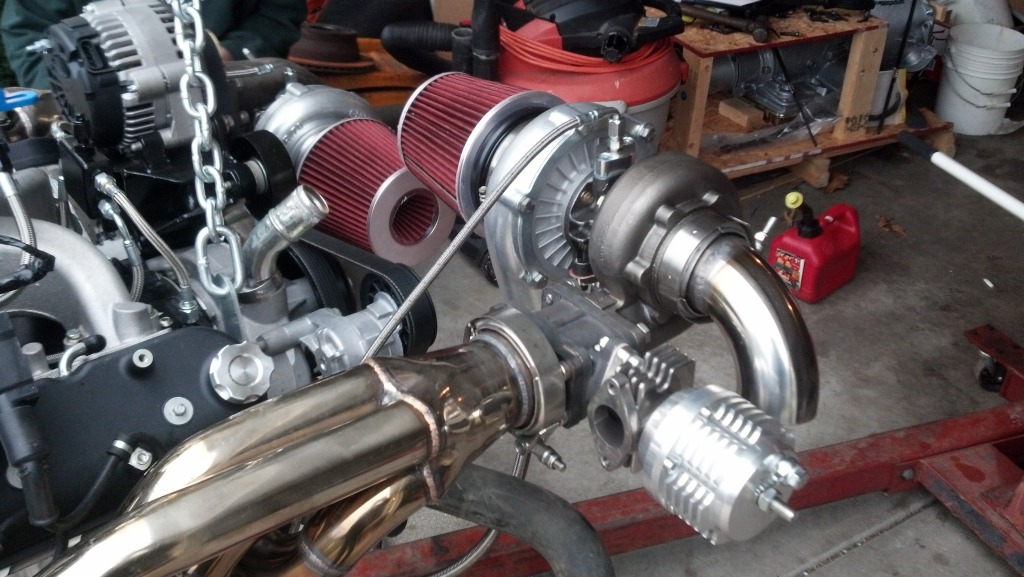
Not so elcheapo but still lower end of the scale turbo headers.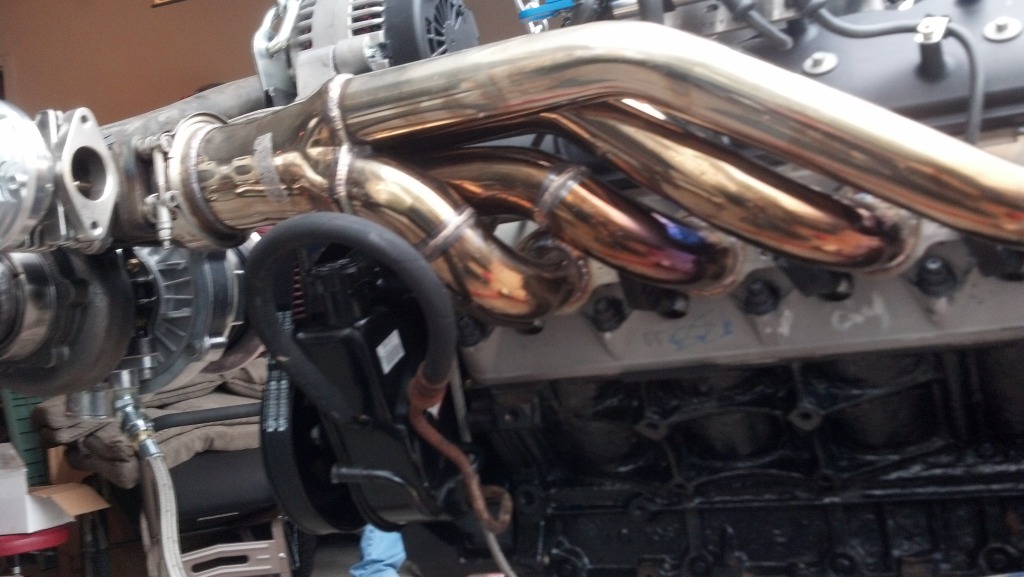
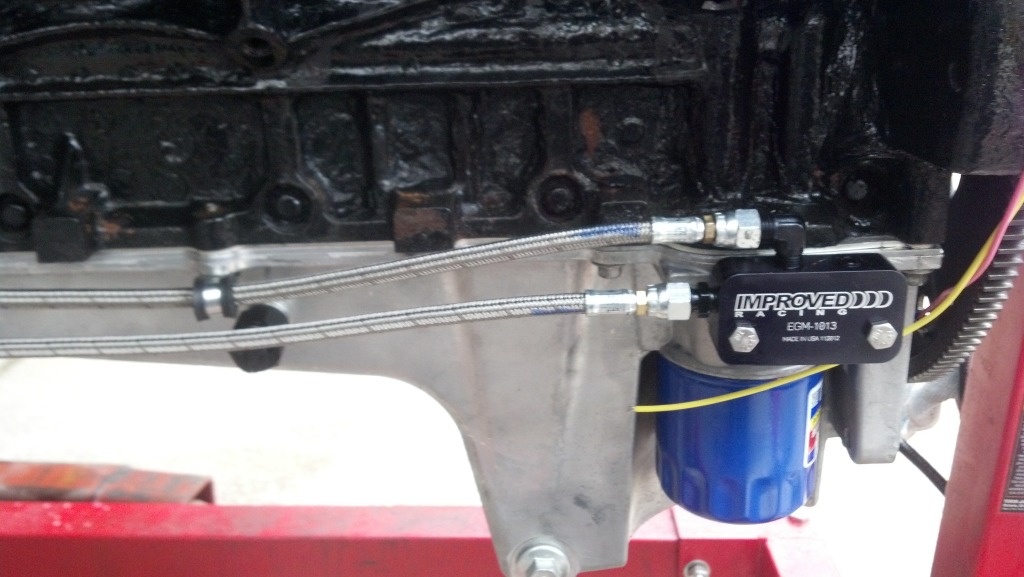
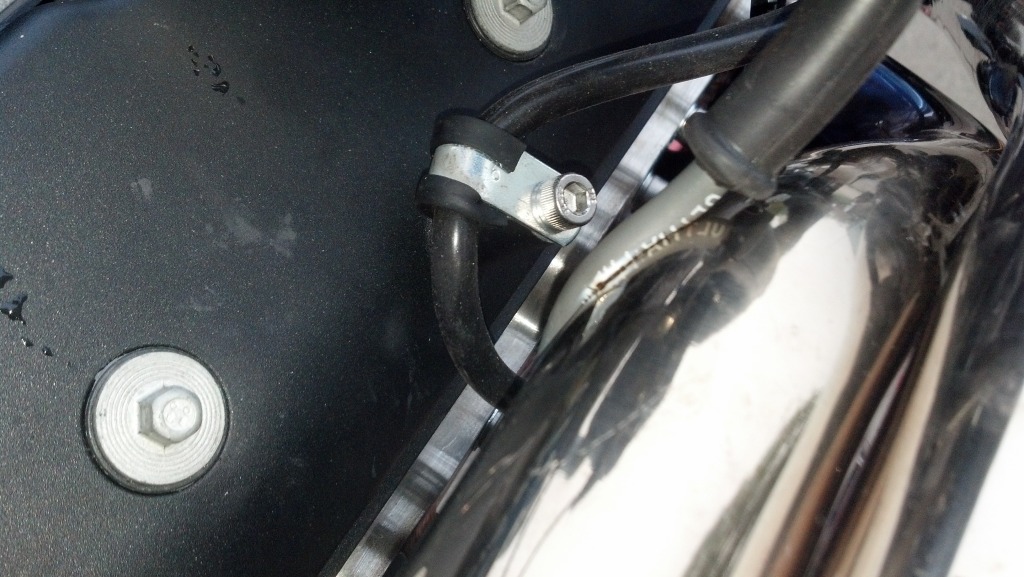
The turbos get their oil from here. The oil returns through a -6 return to bungs welded into the oil pan.
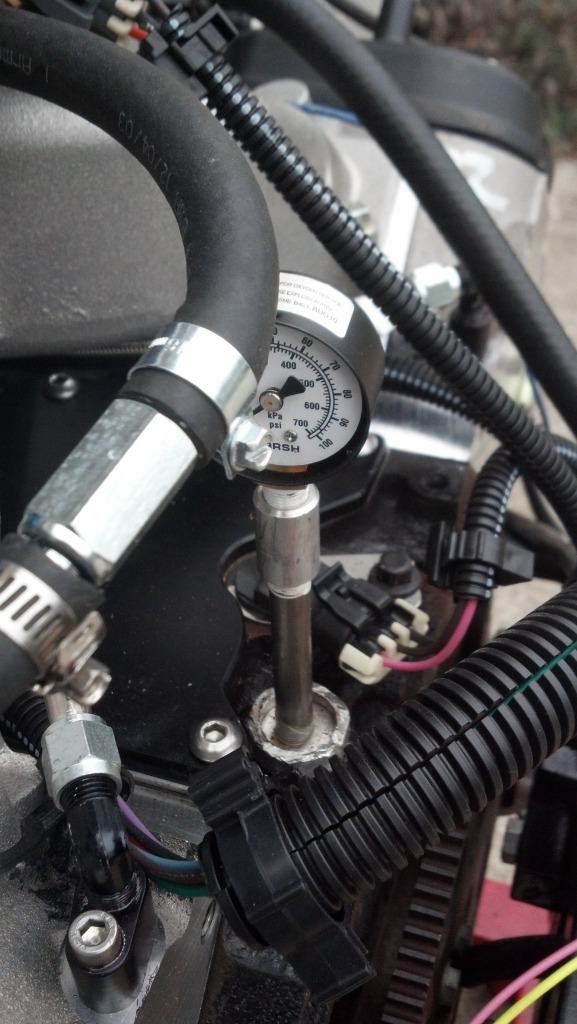
Found our miss!
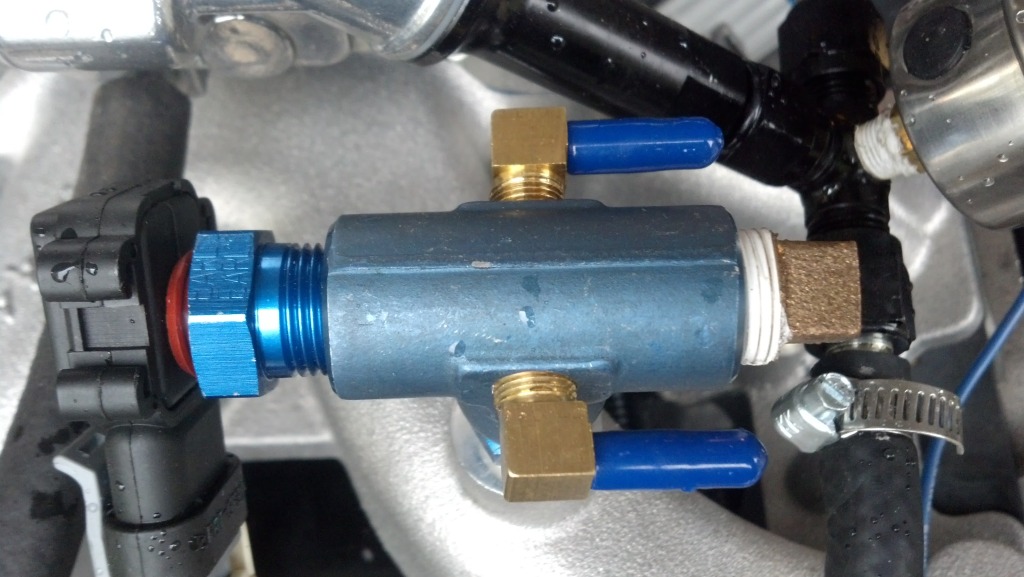
This is a tee that we drilled and tapped for a couple extra ports and to hold the MAP sensor. We drilled most of the GM sensors so we could either thread in the Mopar ones or add our own.
Wastegates are elcheapo Ebay units. About $80 each.
Not so elcheapo but still lower end of the scale turbo headers.
The turbos get their oil from here. The oil returns through a -6 return to bungs welded into the oil pan.
Found our miss!
This is a tee that we drilled and tapped for a couple extra ports and to hold the MAP sensor. We drilled most of the GM sensors so we could either thread in the Mopar ones or add our own.
Last edited by 77nomad; May 12, 2013 at 09:18 AM.



3rd Gear Member
Joined: Jul 2011
Posts: 992
From: Northern Michigan
Just noticed the LS pics, where the heck have I been?? That thing is gonna be a monster! Bummer you have to put your 383 in the truck huh? All that extra room in the engine bay of the Camaro now, it'll be a cryin' shame to have to go LS. It's all about planning eh? LOL! Are you closing in on that z-bar and pedals for the truck? Really hope you can get something on lock soon man.
Thread Starter
|
Overdrive Member
Joined: Nov 2009
Posts: 4,848
From: off the grid
Well I am in a full stop on the Camaro. But I have been in full boogie on the pick up. My goal is a summer DD but with close to 500hp on tap its not going to be a cruiser by no means. I live less than a mile from work and three blocks (down side streets no less) from the gas station. I have a nice little world to tool around in a less than streetable machine. So you guys wanna see?
I started here

I pulled the box off and power washed the loose rust off the frame. It was starting to get nasty so it was time to save the old guy. I painted with the stuff called Chassis Saver. It's much like POR15, which I despise using on clean sheetmetal. On good steel it doesnt stick. On nasty rust that has the scale removed it seams to bond. So take that as advise to anyone who thinks if they cover their car in it that it will manically prevent rust. I have peeled it off in sheets from sandblasted steel. Pitted up rust is what it is designed to stick to and it is amazing at that. The truck had a new Flowmaster exhaust put on a year before I parked it. So I was good there.
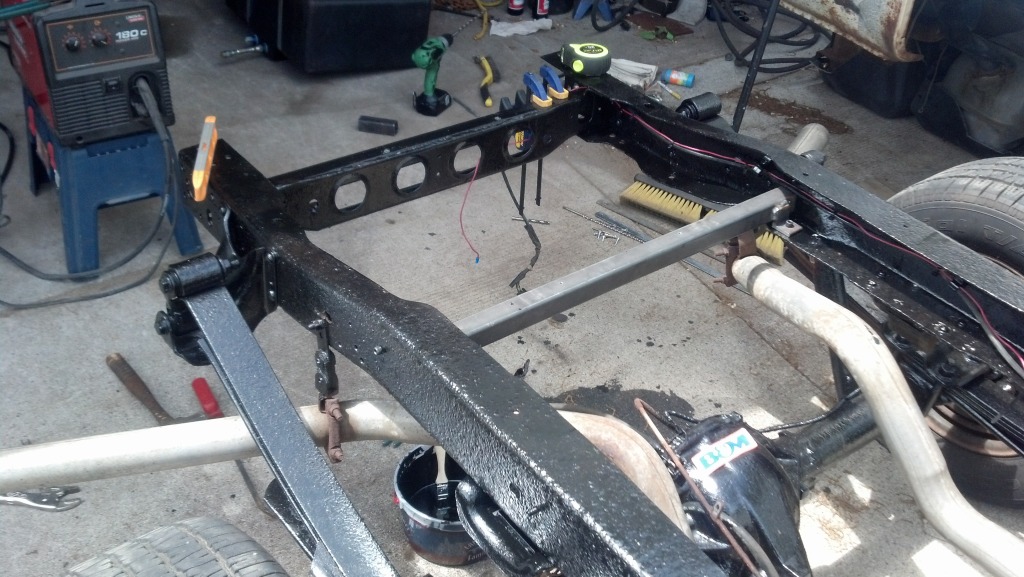
Then I cut out the support for the spare tire carrier and tossed the saddle tanks. I have always hated them and mine were in excellent shape. I will put them in my SWB 4x4. I have always wanted to put a cell between the frame rails on this truck so I did it and it turned out perfect.
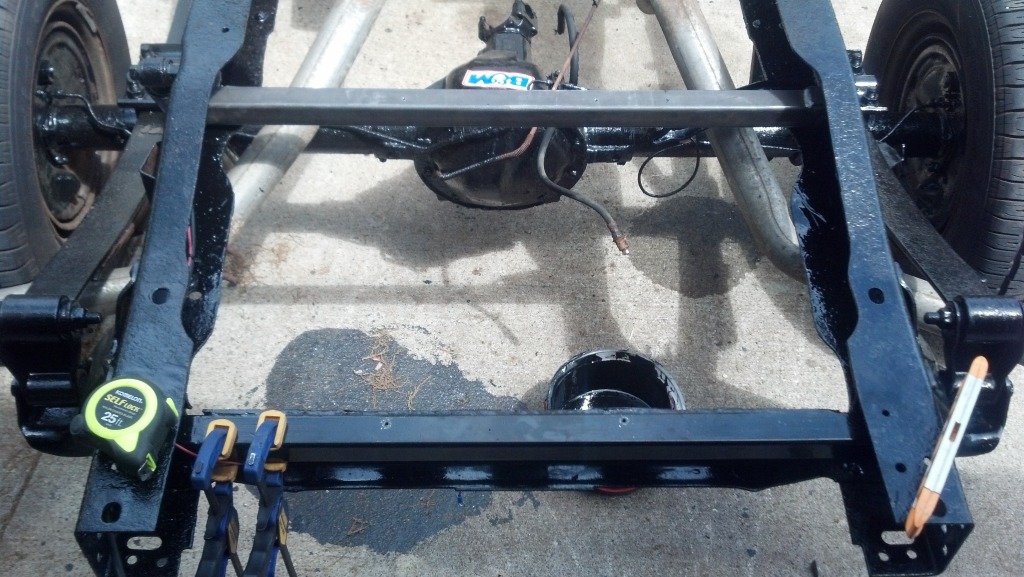
I built the frame from 1 /1/4" Square tubing and added tabs bolt it to the frame so I can remove the cell if I need to.
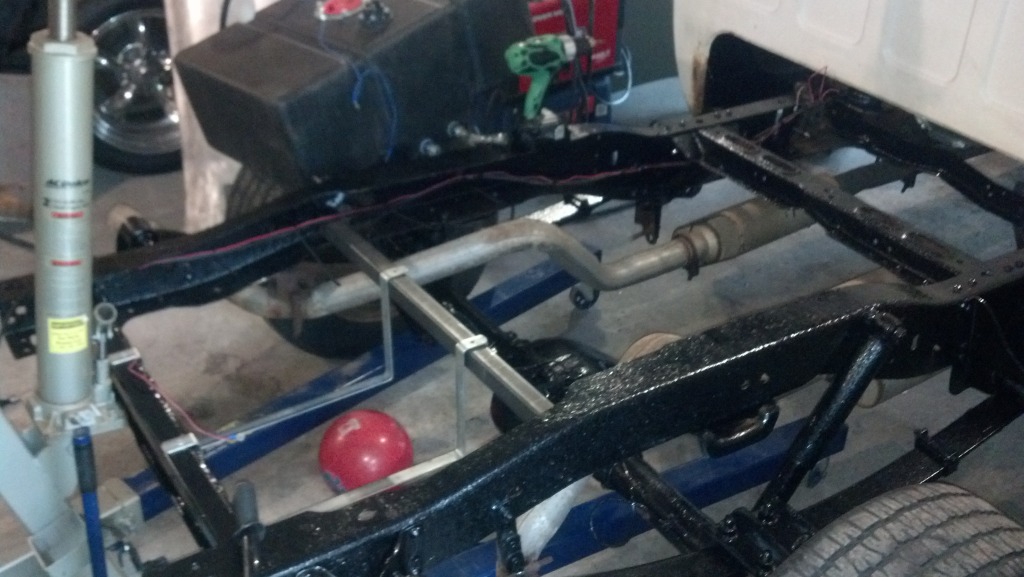
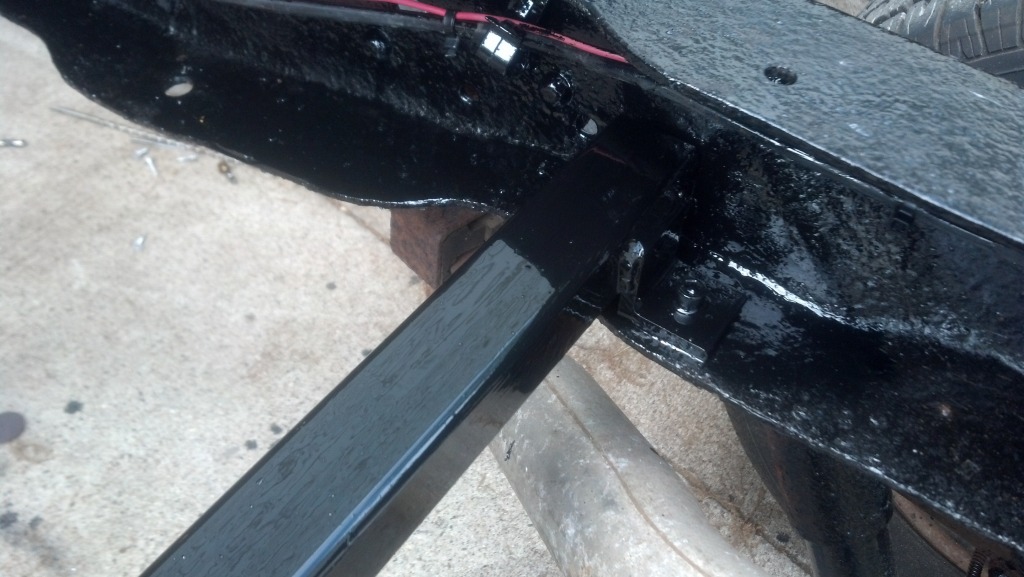
Ta Dah!
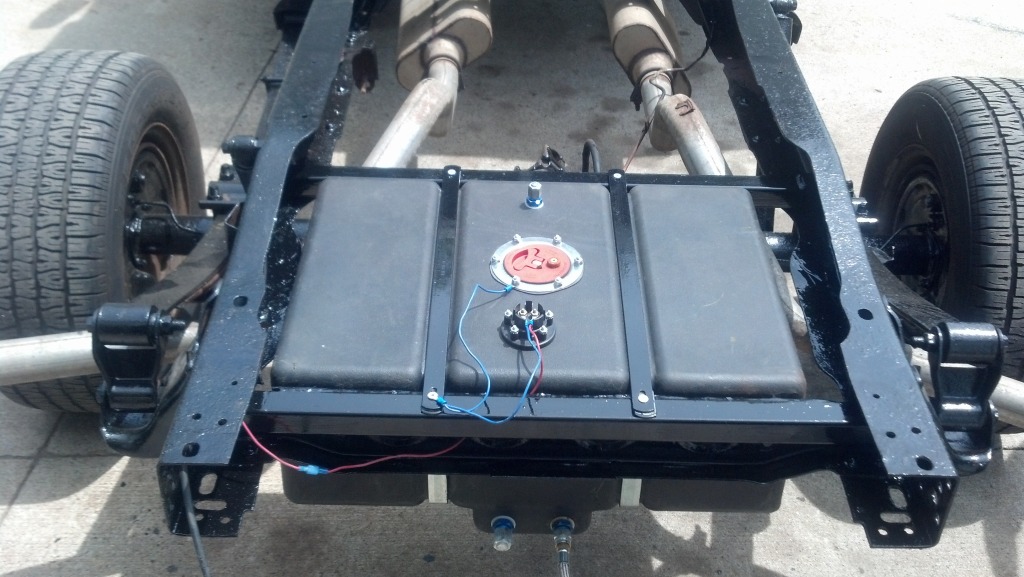
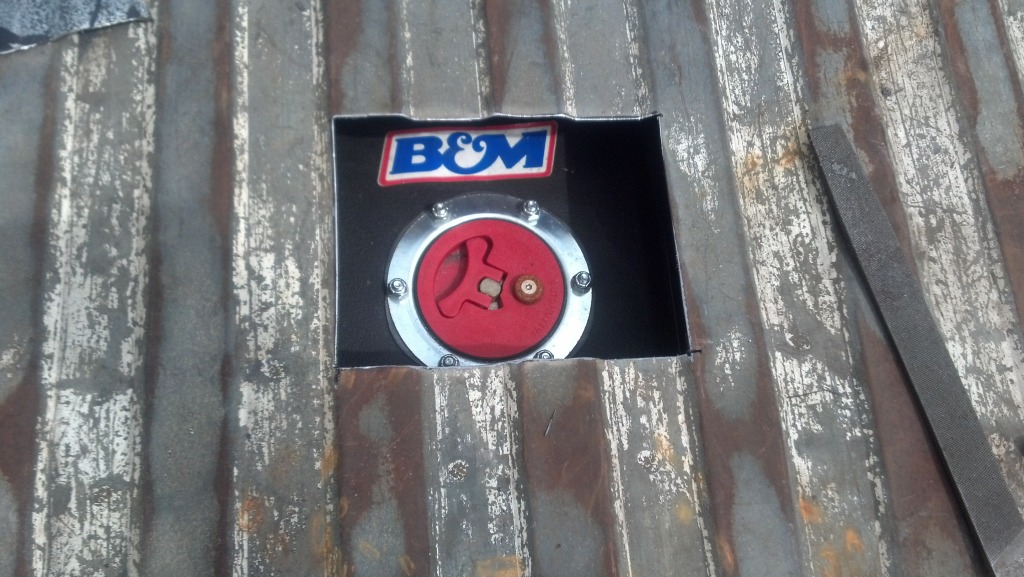
And with the box back on a hole for access at the gas station. I will build a door later but for now I'm tired of hitching a ride from my wife and trading days we take the Jeep to work and pick each other up.
Now to the cab. I added pedals for the four speed and cut the hole for linkage. Painted the rust stains on the floor so the don't spread. Then I laid down Dynamat over the entire floor and back of the cab to help quiet it down a touch. Then to the "custom" work. I had a trans tunnel hump for the Camaro but always thought it was too ragged to weld to my super clean floor pan. So I procrastinated and was planning on getting a new repop because they are as beat up. I took my old one and zip screwed it to the tunnel of the truck. I don't have the trans in so I don't know if the shifter will even fit the hole but zip screws come out. It fit amazingly well! I like it.
IMG_20130530_202152_362_zpsdb0b3a1a.jpg?t=1369998789
I havent Dynamated the area around it until the engine and trans are in. That way I can move if needed. I set all the interior back in to see how the carpet fit the hump. I wish I hadnt made the big *** hole for the B+M Z gate back in the day. It would have been perfect.
IMG_20130530_203457_614_zps123ceca8.jpg?t=1369998826IMG_20130530_203542_111_zps844826c7.jpg?t=1369998868
Finally last night I started working on plumbing the fuel system. I had a Holley Blue and the old school Fram canister filter on the shelf and it looks right at home.
IMG_20130530_214220_334_zps7fb72833.jpg?t=1369999022
I all I have spent $320 to get where I am right now. I had everything from years of collecting. So I am in good shape so far. I have the stroker torn down just to take a peek at the guts. That will go back together this weekend.
See ya'll later. I'm off to get brake lines and bearing to reassemble the 383.
I started here
I pulled the box off and power washed the loose rust off the frame. It was starting to get nasty so it was time to save the old guy. I painted with the stuff called Chassis Saver. It's much like POR15, which I despise using on clean sheetmetal. On good steel it doesnt stick. On nasty rust that has the scale removed it seams to bond. So take that as advise to anyone who thinks if they cover their car in it that it will manically prevent rust. I have peeled it off in sheets from sandblasted steel. Pitted up rust is what it is designed to stick to and it is amazing at that. The truck had a new Flowmaster exhaust put on a year before I parked it. So I was good there.
Then I cut out the support for the spare tire carrier and tossed the saddle tanks. I have always hated them and mine were in excellent shape. I will put them in my SWB 4x4. I have always wanted to put a cell between the frame rails on this truck so I did it and it turned out perfect.
I built the frame from 1 /1/4" Square tubing and added tabs bolt it to the frame so I can remove the cell if I need to.
Ta Dah!
And with the box back on a hole for access at the gas station. I will build a door later but for now I'm tired of hitching a ride from my wife and trading days we take the Jeep to work and pick each other up.
Now to the cab. I added pedals for the four speed and cut the hole for linkage. Painted the rust stains on the floor so the don't spread. Then I laid down Dynamat over the entire floor and back of the cab to help quiet it down a touch. Then to the "custom" work. I had a trans tunnel hump for the Camaro but always thought it was too ragged to weld to my super clean floor pan. So I procrastinated and was planning on getting a new repop because they are as beat up. I took my old one and zip screwed it to the tunnel of the truck. I don't have the trans in so I don't know if the shifter will even fit the hole but zip screws come out.
It fit amazingly well! I like it. IMG_20130530_202152_362_zpsdb0b3a1a.jpg?t=1369998789

I havent Dynamated the area around it until the engine and trans are in. That way I can move if needed. I set all the interior back in to see how the carpet fit the hump. I wish I hadnt made the big *** hole for the B+M Z gate back in the day. It would have been perfect.
IMG_20130530_203457_614_zps123ceca8.jpg?t=1369998826IMG_20130530_203542_111_zps844826c7.jpg?t=1369998868


Finally last night I started working on plumbing the fuel system. I had a Holley Blue and the old school Fram canister filter on the shelf and it looks right at home.
IMG_20130530_214220_334_zps7fb72833.jpg?t=1369999022

I all I have spent $320 to get where I am right now. I had everything from years of collecting. So I am in good shape so far. I have the stroker torn down just to take a peek at the guts. That will go back together this weekend.
See ya'll later. I'm off to get brake lines and bearing to reassemble the 383.
3rd Gear Member
Joined: Jul 2011
Posts: 992
From: Northern Michigan
Making good progress for sure man! The cell looks like a good fit, like what you did there as well. Was that the one from your Camaro? I understand why you're working on the truck but still bummed to not be seeing progress pics of the Camaro. It is coming along really good, really fast though. Hope the engine goes back together good this weekend like you were saying. So what's up with the Canfields? Is that what you're using still? Just curious, I know you mentioned the seats didn't look as bad as originally thought but didn't know if you were using them or something else. Just curious of course. Going to be a fun one to drive!
Thread Starter
|
Overdrive Member
Joined: Nov 2009
Posts: 4,848
From: off the grid
The cell was purchased to go in the truck. I then sold the truck to my dad. Which really meant he loaned me money and I put the truck in his garage for 3 yrs. So I was going to put it in the Camaro. I didnt like the way the trunk floor was in the car plus there is just no room to properly mount a fuel pump on the car. So I used a modified stock tank.
Fast forward a few years and now dad is in a pinch and I gave him the same money back and the truck is now mine again but still in the garage at his place until I needed it. Then the Prius from hell took out my Grand Prix and I needed it. Cool thing was I had all these parts I had from when the truck was my #1 project. Hopefully the car will get some love soon.
Fast forward a few years and now dad is in a pinch and I gave him the same money back and the truck is now mine again but still in the garage at his place until I needed it. Then the Prius from hell took out my Grand Prix and I needed it. Cool thing was I had all these parts I had from when the truck was my #1 project. Hopefully the car will get some love soon.
Second Generation Moderator
Feb 2010 ROTM winner
Jan 2013 ROTM winner
Feb 2010 ROTM winner
Jan 2013 ROTM winner
Joined: Aug 2008
Posts: 9,097
From: Portland, Or
ROTM Winner's Club
Looks great! Too bad all that couldn't have gone towards making the Camaro a driver for work! That would have been a real treat for your daily!
Thread Starter
|
Overdrive Member
Joined: Nov 2009
Posts: 4,848
From: off the grid
Believe me it has crossed my mind. I may sell the truck when its ready. Just buy a BEATER and I mean beater. On I can go sledding in in the winter. Like a 80something land yacht. I'm thinking Park Ave. Caddie. Or a Delta. Something with four doors a v8 and rear drive. Ya know a hot rod beater lol.
Then put the money towards paint on the car. I need to get a LS now so that is WAY out. But like I have said a few times. The primer I use turns out satin and looks like the high end PPG stuff but costs 120 bucks for two sprayable gallons. It seams that the custom seen is dong it all the time. Murdered out. Not that I would ever-ever call any of my vehicles that. I like it with black windows and gloss black trim.
Then put the money towards paint on the car. I need to get a LS now so that is WAY out. But like I have said a few times. The primer I use turns out satin and looks like the high end PPG stuff but costs 120 bucks for two sprayable gallons. It seams that the custom seen is dong it all the time. Murdered out. Not that I would ever-ever call any of my vehicles that. I like it with black windows and gloss black trim.
Last edited by 77nomad; Jun 3, 2013 at 04:11 PM.
Second Generation Moderator
Feb 2010 ROTM winner
Jan 2013 ROTM winner
Feb 2010 ROTM winner
Jan 2013 ROTM winner
Joined: Aug 2008
Posts: 9,097
From: Portland, Or
ROTM Winner's Club
Not a fan of satin anything myself. It's been so over done around here, and costs almost as much as a decent shiny paint job. Seems to be a spinoff of the whole ratrod scene, and an excuse for not finishing it in a traditional high gloss paint, or to hide less than perfect bodywork. Just my opinion though. I know there are lots of fans of satin paintjobs.