
79 Camaro Project
#711
 06-24-2012, 03:27 PM


Join Date: Aug 2008
Location: Portland, Or
Posts: 9,097
You may want to contact Painless if the kit didn't come with instructions. They will possibly have online diagrams and instructions. I'd guess if you have both that the one marked "dome" will be a constant powered and grounded to activate. The courtesy will probably be required to switch the positive feed to a grounded light. Most likely as Damon said for a visor makeup light, or a dash light for map reading.
#712
06-24-2012, 03:34 PM

yeah the coutesy light on that painless wiring kit is for the light when u open the glovebox if u have one,thats the coutesy light in that kit.but u could probably use for any of the lights iside the car.should be constant hot.
#713
06-24-2012, 08:52 PM
Well if that is the case it is spliced in at the back of the drivers door. I'll spend some time looking things over this week on it. I did a bunch of yard work today.
#714
06-25-2012, 09:55 PM
I did not get a whole lot done tonight, but it was still a good night. I pulled the bumpstops for the hood off of the cowl area and wheeled them all clean and painted them up, took the bracket that goes on the subframe for the transmission cooling lines and cleaned it all up, along with the bolt too. And then I cleaned up the brake dust shields and painted them with hammered silver, next time I pull the wheels off I'll get those on the car again. While I'm doing that I think that I'll tape off the braking surface of the rotors and paint them all up tool I'd like to find a paint that looks like cast aluminum, I'm sure that one of the hammered paints is close, I'll have to look.
Another thing I got here today was a bench grinder on a stand with a grind stone and wire wheel on it from my Dad. I'm going to clean the stand up and paint it up something like yellow or something bright.
Another thing I got here today was a bench grinder on a stand with a grind stone and wire wheel on it from my Dad. I'm going to clean the stand up and paint it up something like yellow or something bright.
#715
06-26-2012, 10:57 AM
Join Date: Aug 2008
Location: Portland, Or
Posts: 9,097
The wiring harnesses for universal GM are pretty long, so sometimes the point that they splice things in doesn't line up with where they really would go. On the kit I installed in my friend's car I ended up having huge coils of excess wire when I routed things to where they went. I told him he could either hide the coils, or shorten and solder/heat shrink them to remove the excess wire later.
At least they don't short change you on the wiring kits.
At least they don't short change you on the wiring kits.
#716
06-26-2012, 08:58 PM
The wiring harnesses for universal GM are pretty long, so sometimes the point that they splice things in doesn't line up with where they really would go. On the kit I installed in my friend's car I ended up having huge coils of excess wire when I routed things to where they went. I told him he could either hide the coils, or shorten and solder/heat shrink them to remove the excess wire later.
At least they don't short change you on the wiring kits.
At least they don't short change you on the wiring kits.
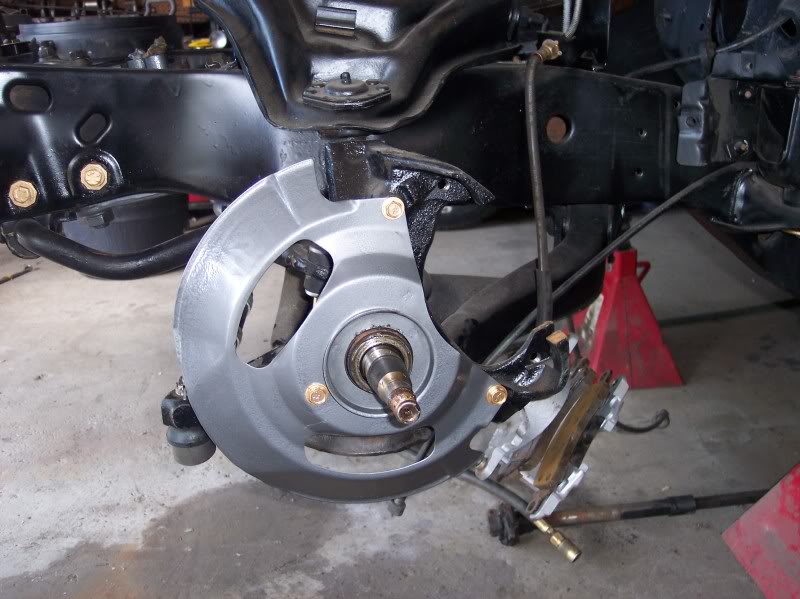
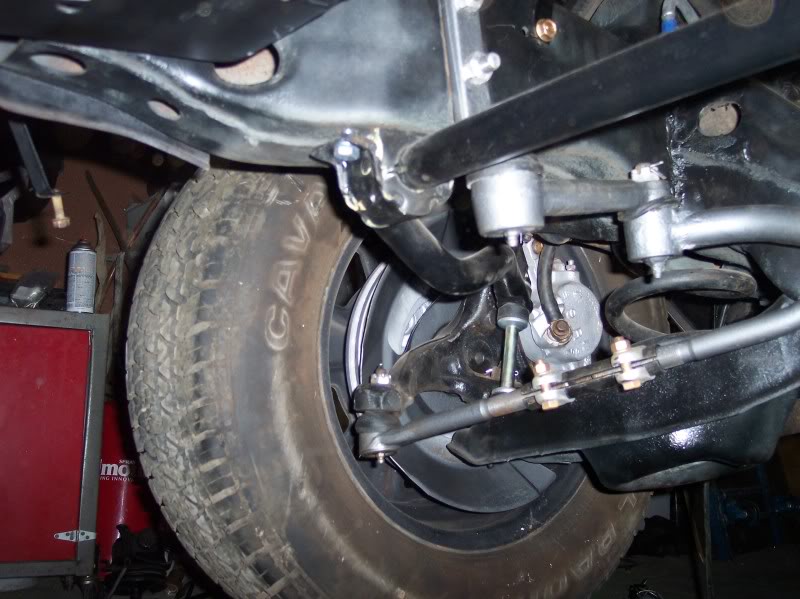
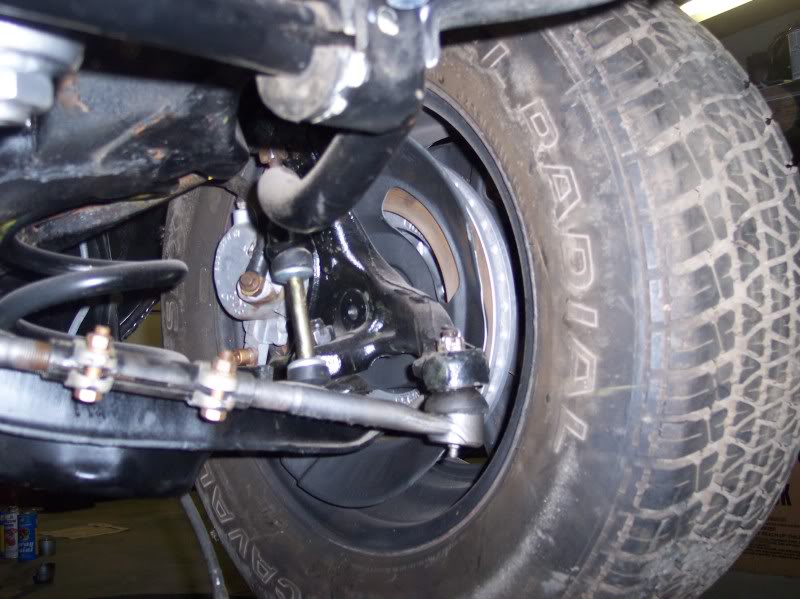
I finally took the time to finish up the dust shields and get them installed. Also while I was at it I got to drilling out the cotter pin out of the passenger side lower ball joint. I got the spring back in and everything the last time and forgot to make sure that the pin hole was clear beforehand. Once I had a hole started next to the broken off pin, I was able to get the rest out with a punch and hammer, it was on an odd angle so I could not really hit it very well , the hole lined up with the coil spring. Speaking of the coil spring, I notice that the spring seems like it is "bent" in position. One of the coils is sort of under the subframe rather than being centered in the hole. I know that the bottom is in the "pocket in the lower control arm, and the top is around the "crown" so it is installed correctly. I'm hoping that getting an engine in the car will make it right, if not I'll have to pull the springs out again, for the third time, these springs are new, supposedly out of a second gen, but they could be for a BBC car with air, I'm not sure how to tell, there were no distinguishing marks on them.
#717
06-26-2012, 09:19 PM
Join Date: Aug 2008
Location: Portland, Or
Posts: 9,097
I've never seen any car with coils that sat in their static loaded position and weren't a little "bent" in that position. The new springs I installed in my Camaro were SBC w/AC coils, and even with the weight of my BBC on them they are still bent a little with weight on them.
Not to worry, they should be fine.
Not to worry, they should be fine.
#719
06-27-2012, 09:48 AM
Join Date: Aug 2008
Location: Portland, Or
Posts: 9,097
I'm not sure what's happening, as I can't picture the coil being in the pocket on top and in the a arm pocket and be "under the frame"? Mine were a booger to get seated in the a arm pocket, but once I got them close and got a little pressure on it I just hit it with a 4 lb. sledge and it popped into the pocket. After that it cleared everything fine.
#720
06-27-2012, 08:49 PM
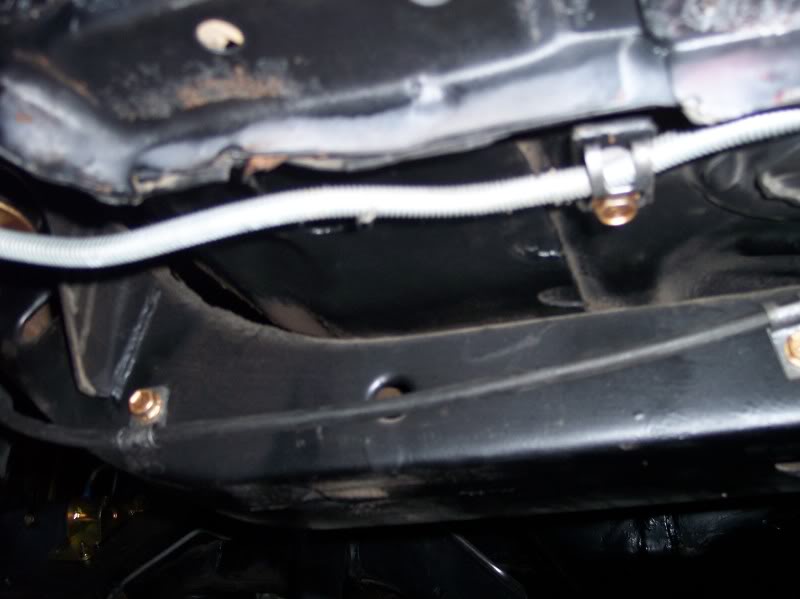
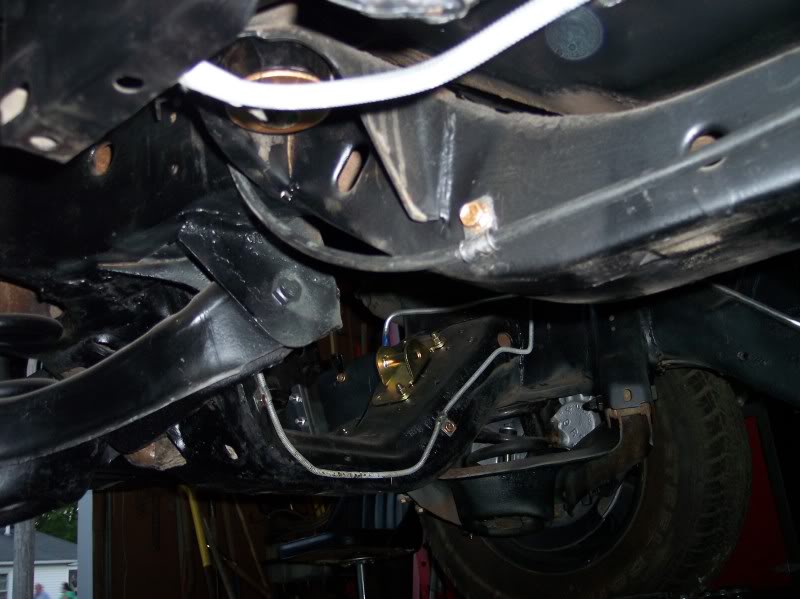
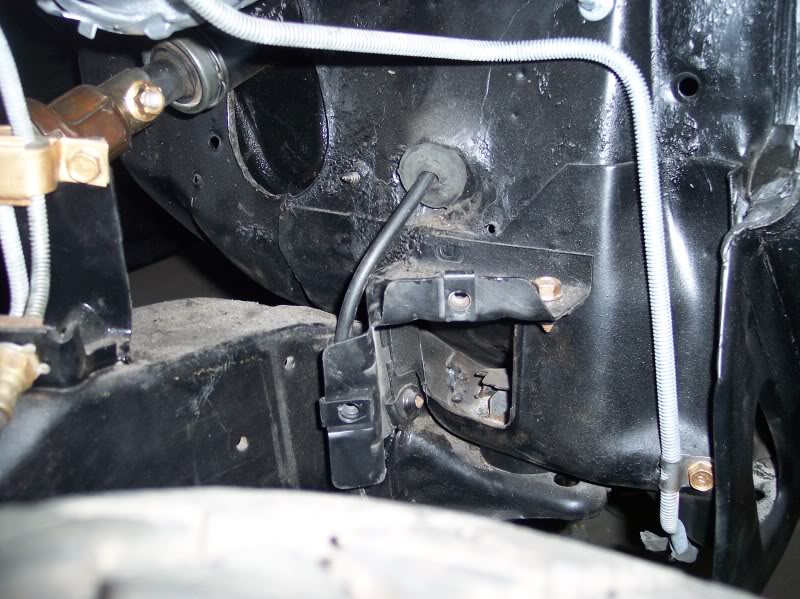
Today I pulled the extra speedometer cable out from being pinched between the frame rail and the body, funny that I never realized that there were two speedo cables on the car, one of them was just hanging there pinched all this time, it isn't even for this car so I have no idea why it was there...
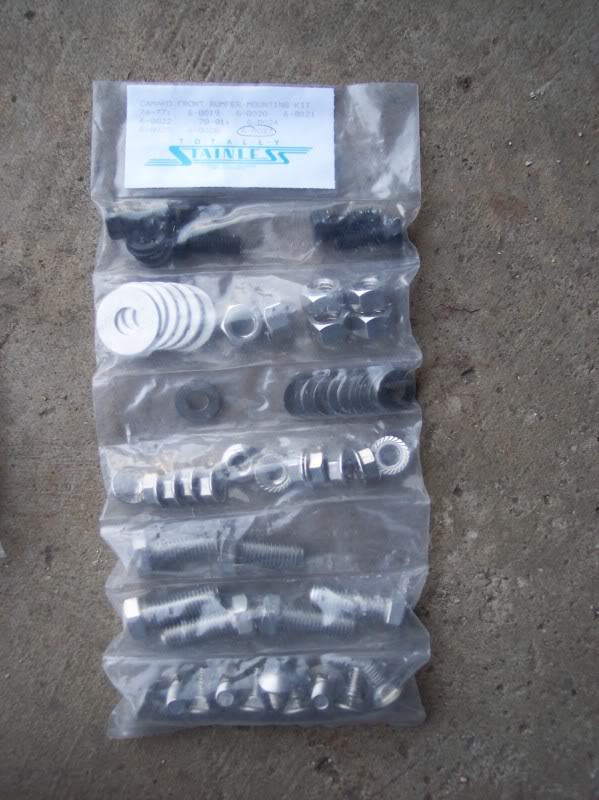
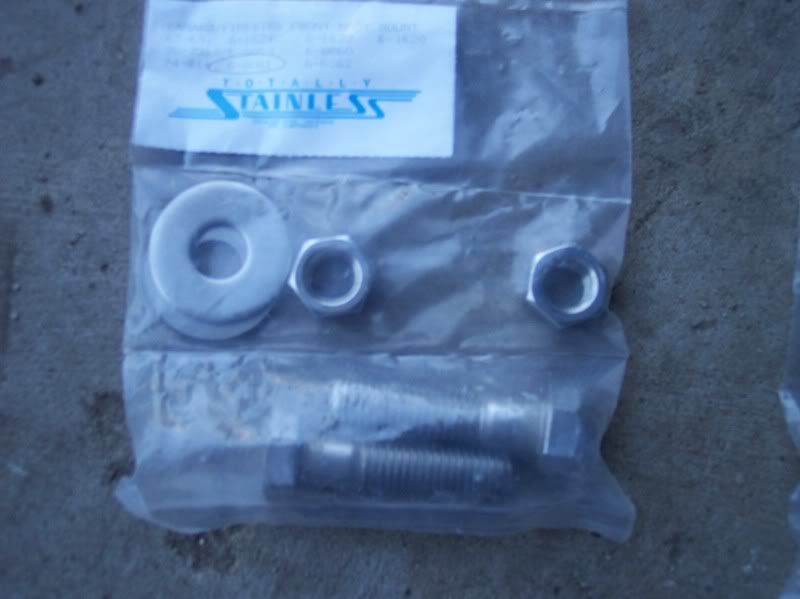
But anyhow, I cleaned the cable all up, pulled the little clips and bolts that hold it on there off of the parts car and shined them up and painted them, speedo cable is in. I also put a couple of the bolts on the front bumper out of the totally stainless bumper mount kit.
While I was trying to decipher what was what, it just wasn't adding up, so comparing my bumper to the parts car, mine is seriously cut up, the guy who owned it before my FIL was going to make it a drag car, I'm missing alot of metal, I don't think it is a big deal, I'll go with it though. I also pulled a few of the bolts out of the hood release area, cleaned them up and painted them, I really like the totally stainless bolts, I may end up slowly getting those to replace some of these bolts, as well as swapping out the gold ones that I've got going on for grade 8 as I can maybe a set at a time.
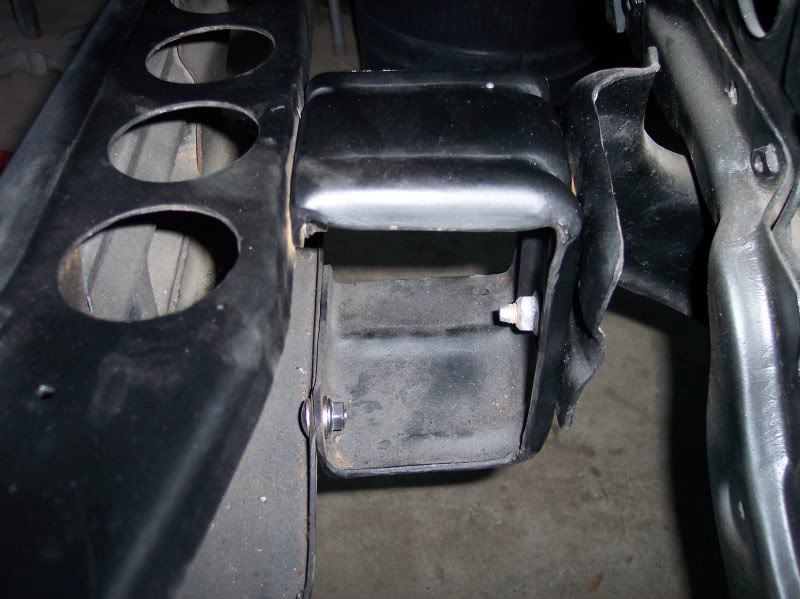
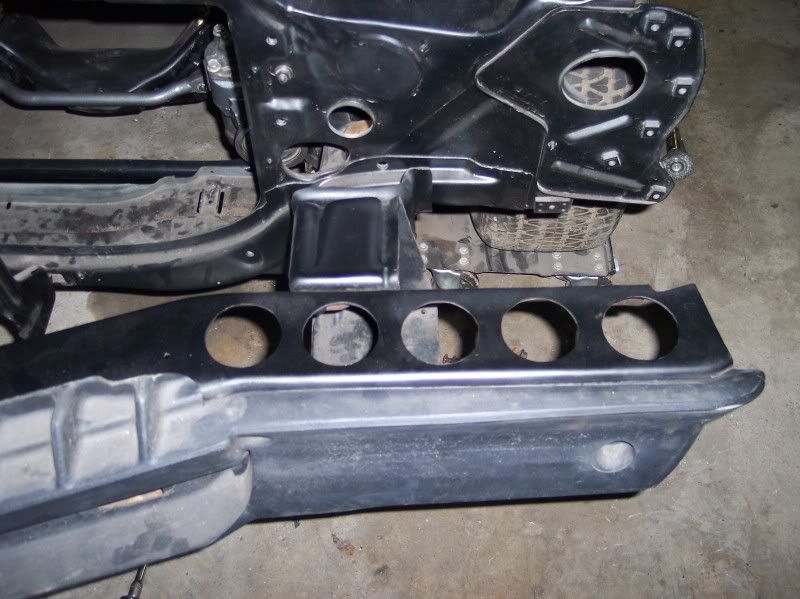
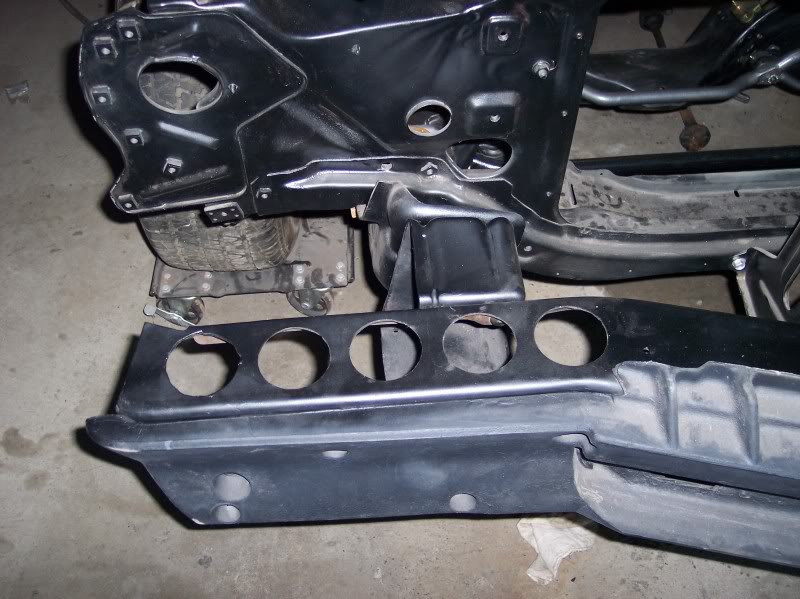
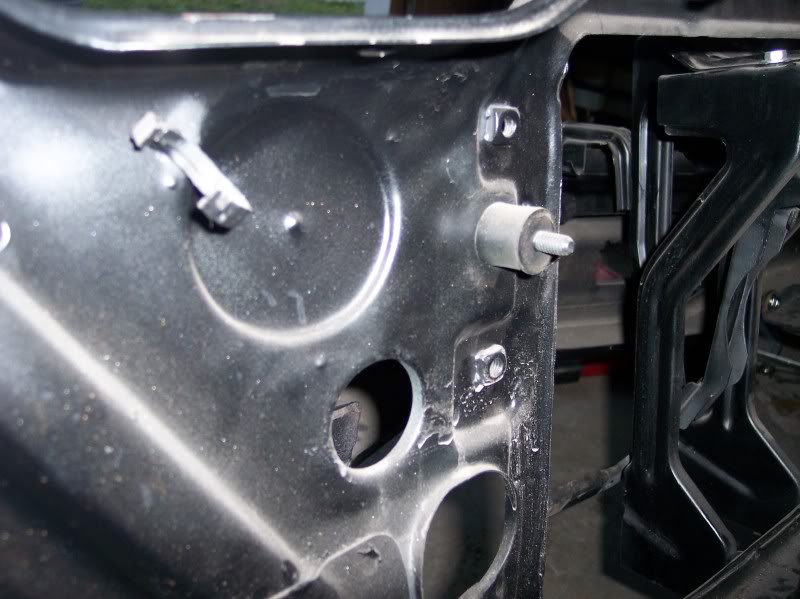
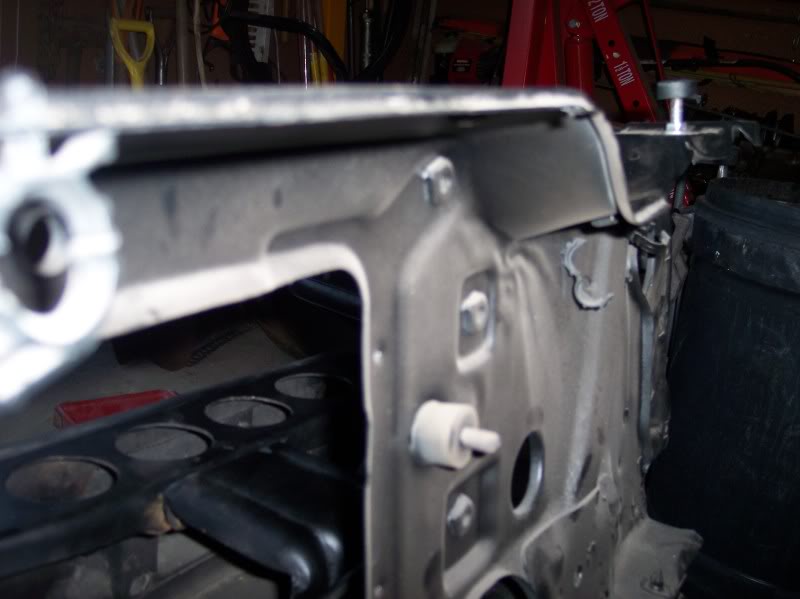
Another thing, question, the core support has these isolation things with rubber grommets bolted to it, rubber side in, two on the bottom, two on the front...What are they for?
But anyhow, I cleaned the cable all up, pulled the little clips and bolts that hold it on there off of the parts car and shined them up and painted them, speedo cable is in. I also put a couple of the bolts on the front bumper out of the totally stainless bumper mount kit.
While I was trying to decipher what was what, it just wasn't adding up, so comparing my bumper to the parts car, mine is seriously cut up, the guy who owned it before my FIL was going to make it a drag car, I'm missing alot of metal, I don't think it is a big deal, I'll go with it though. I also pulled a few of the bolts out of the hood release area, cleaned them up and painted them, I really like the totally stainless bolts, I may end up slowly getting those to replace some of these bolts, as well as swapping out the gold ones that I've got going on for grade 8 as I can maybe a set at a time.
Another thing, question, the core support has these isolation things with rubber grommets bolted to it, rubber side in, two on the bottom, two on the front...What are they for?