79 Camaro Project
#701
 06-23-2012, 12:42 PM

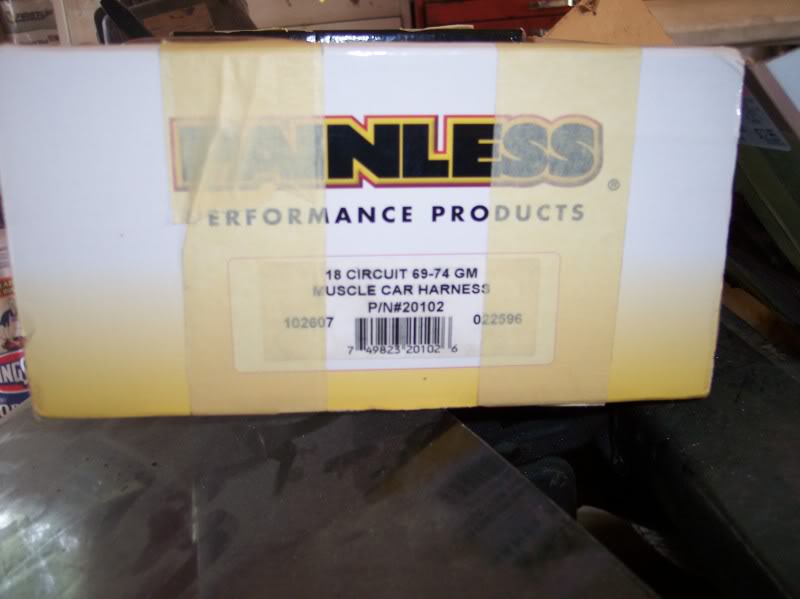
The gearbox is just wire wheeled, cleaned up and painted is all, it turned out great. I used the painless 20102 wiring kit, it wasn't too awful bad.
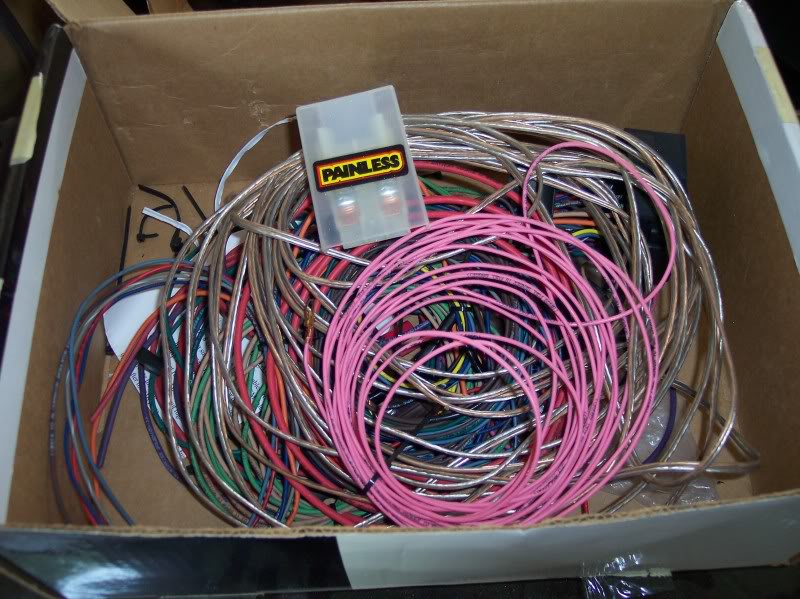
Well, I have to say that there is no way to take pictures of the wiring installation in progress. All I can say is that it is a total tangled up mess every step of the way until finally it starts to sort itself out. I think that the key is to get all of the wires ran to the rear end first and get them out of the way, untangle them from the other wires and zip tie them all together. Then begin going after some of the front main harness connections, leaving for the most part the single wires until last. I just have them ran to the general area as my car is obviously still a work in progress. But I am glad to have this part of it behind me, I just may end up getting the gauges installed this weekend and reconnect all of the wiring to do with that, I'm undecided though, it requires the wires get adapted to the connector, and my heart is really set on getting aftermarket gauges, so I should wait it out.
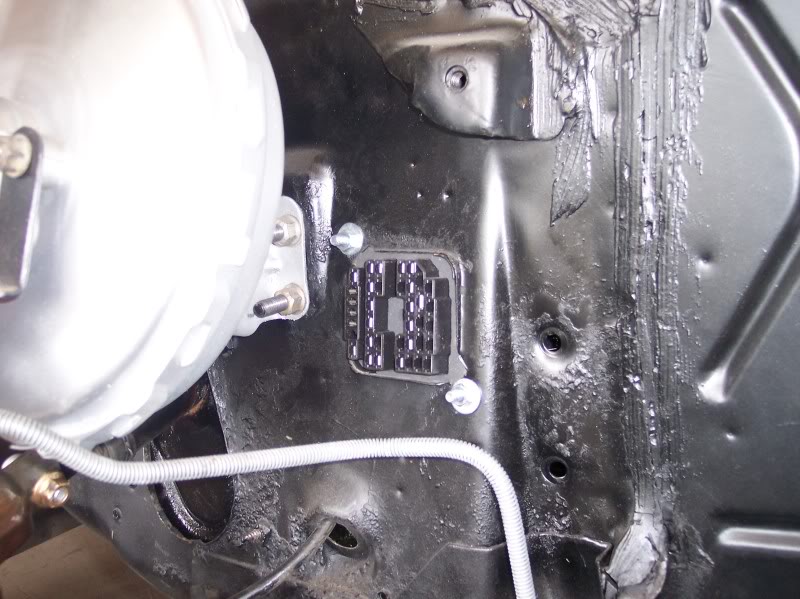
I used the painless 20102 kit for GM muscle cars, I got it in a trade for an original wiring harness, so the end was already installed for the steering wheel (he was beginning to sort through it and then decided to try and get a used original. It does not have any of the adapters for the lights or anything like that, and the wiring for the passenger side power door and windows was too short, I don't have power door locks and windows, but I would love to down the road, so I'm going to be putting the wiring in the doors so that they are there already and leave the fuse out. I will need to find the rubber connectors that go from the cabin to the doors that the wires run through too, I only have block off covers.
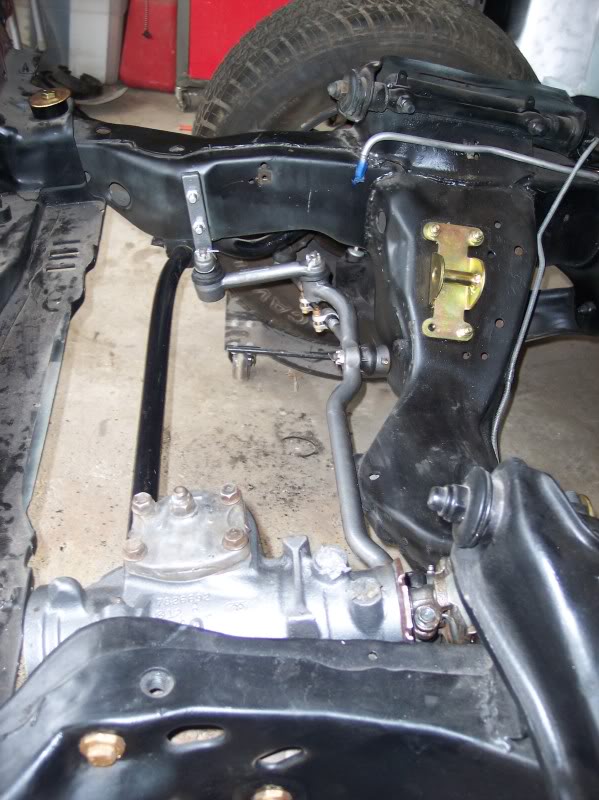
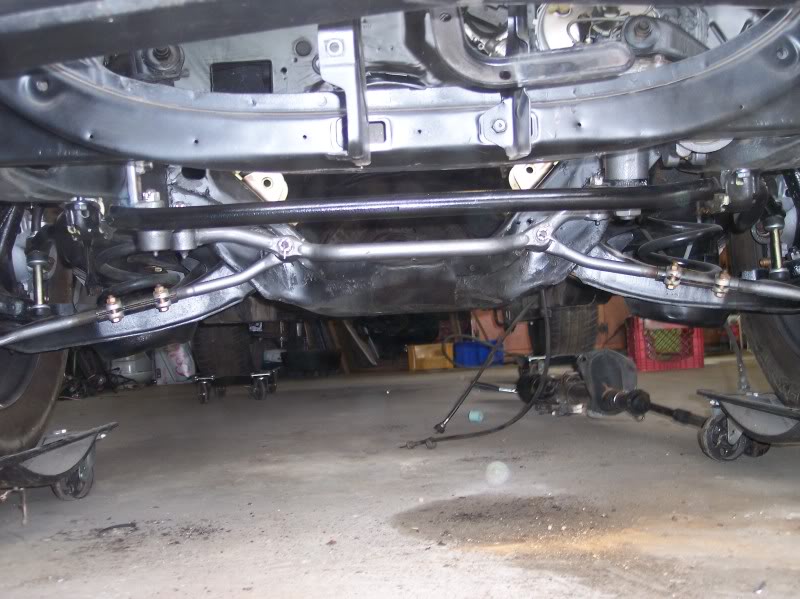
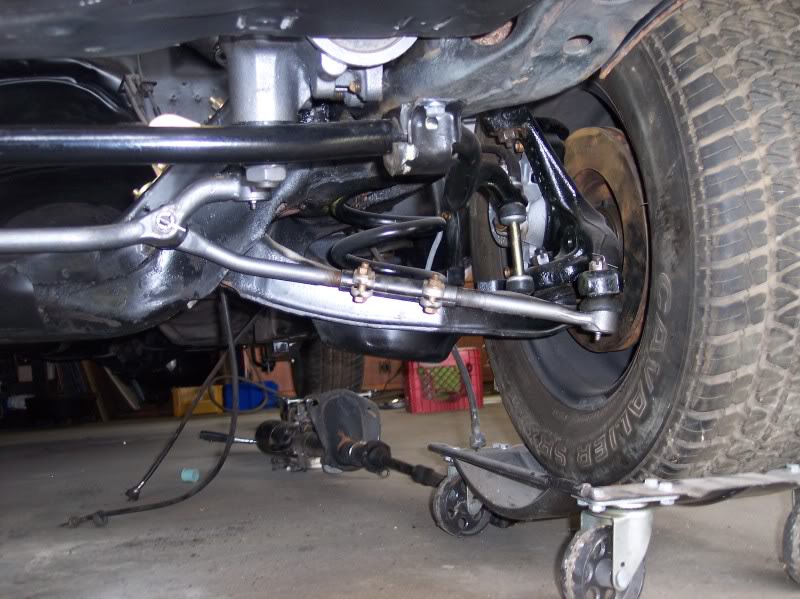
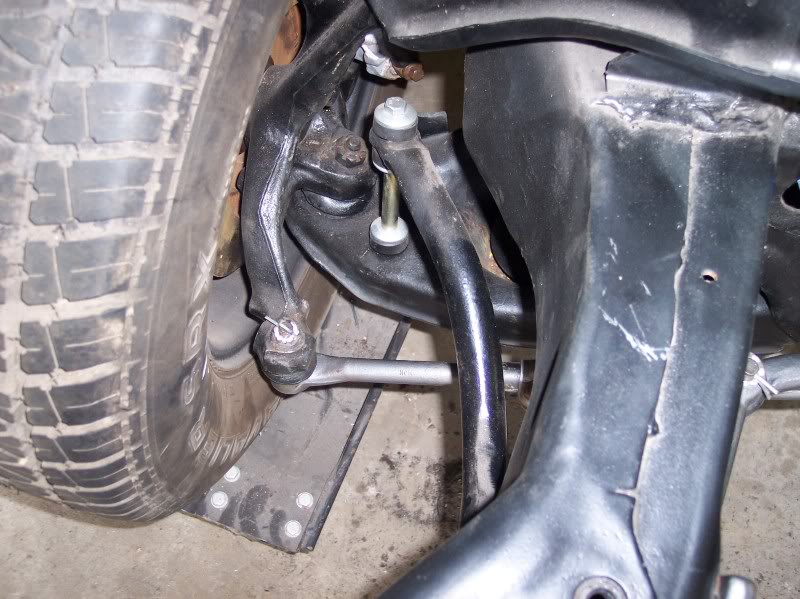
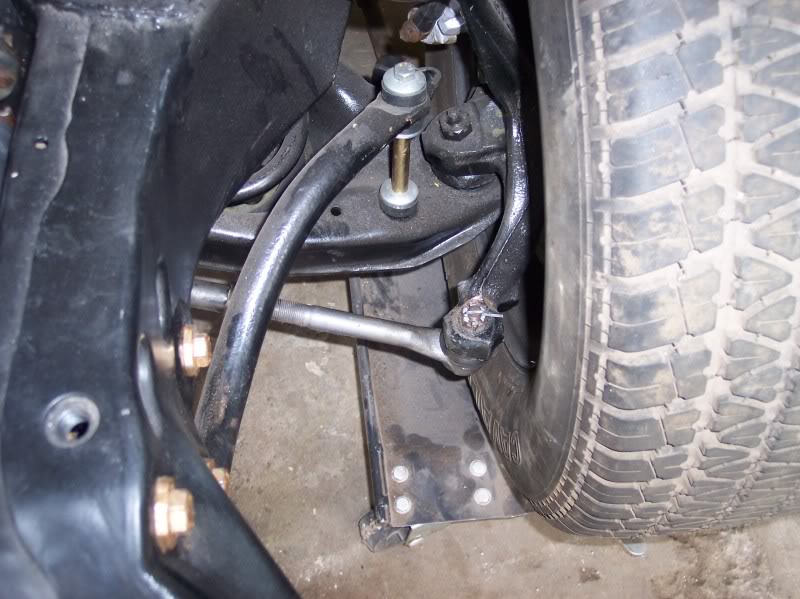
Yesterday I also pulled off the entire front steering components and cleaned them all up and painted them. The tie rods had dry sockets in them, which makes me nervous, so looking at my parts car, the tie rods on it look like they are new, rusty but new, so I'm going to swap them over and get pics of that later on. Even after sandblasting this thing I cannot believe how dirty the steering stuff was.
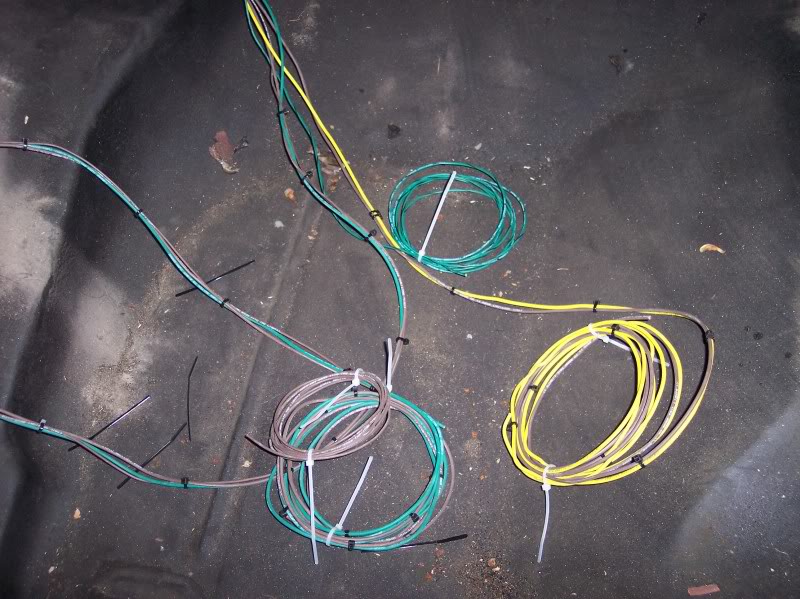
This is where I am in the trunk area, just have the tag light, turn signals and parking lights ran there. The reverse lights, power for the fuel pump and some other things I'm going to route down the other side wiring channel.
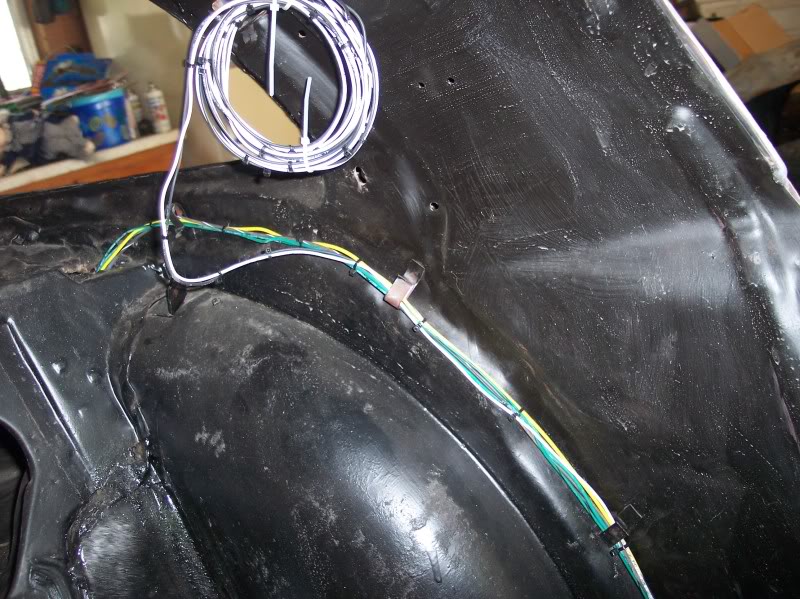
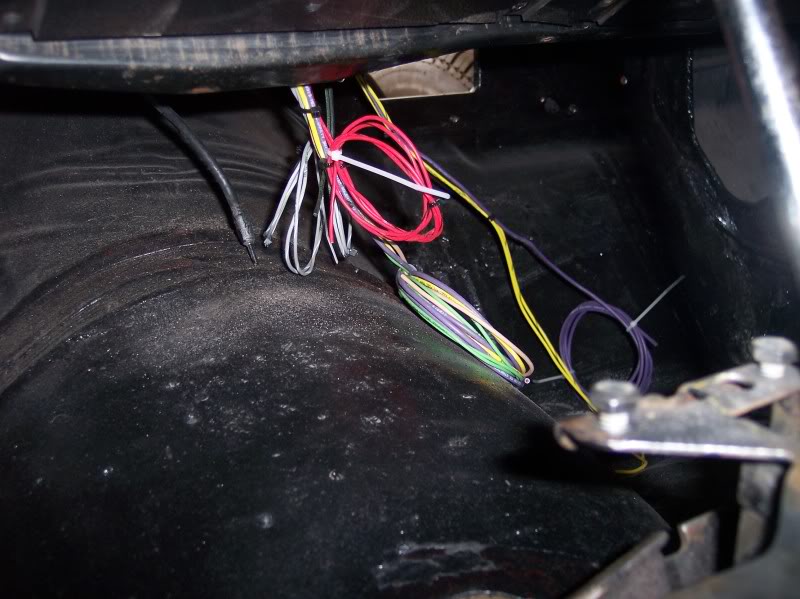
I got the dome light wiring just hanging for now too.
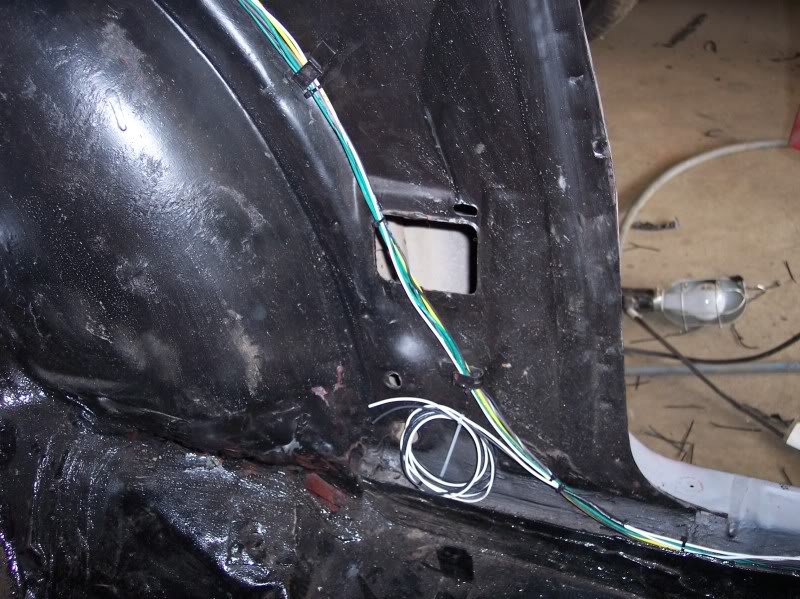
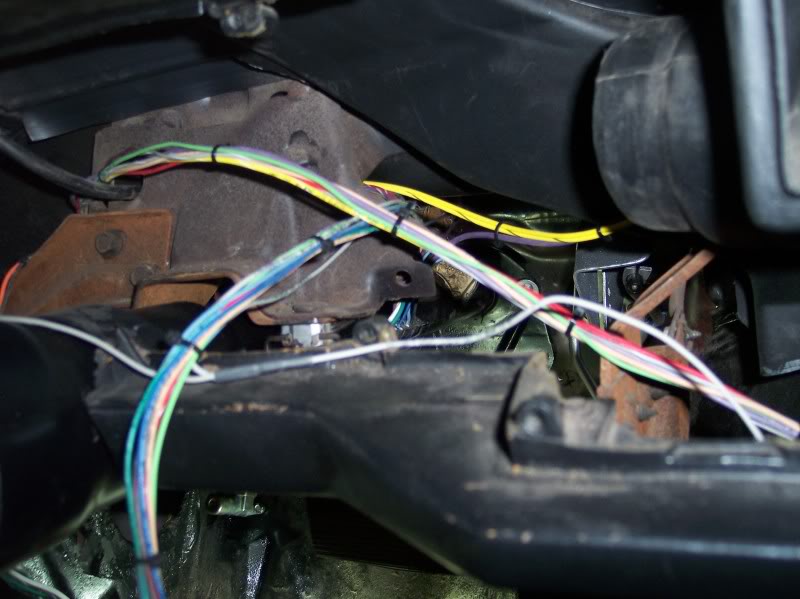
Everything tie wrapped and ran down the channel. This is where the courtesy light wiring ended up, if I am not mistaken that should be routed back up front to the door switches, and I'll need to wire the switches together right???
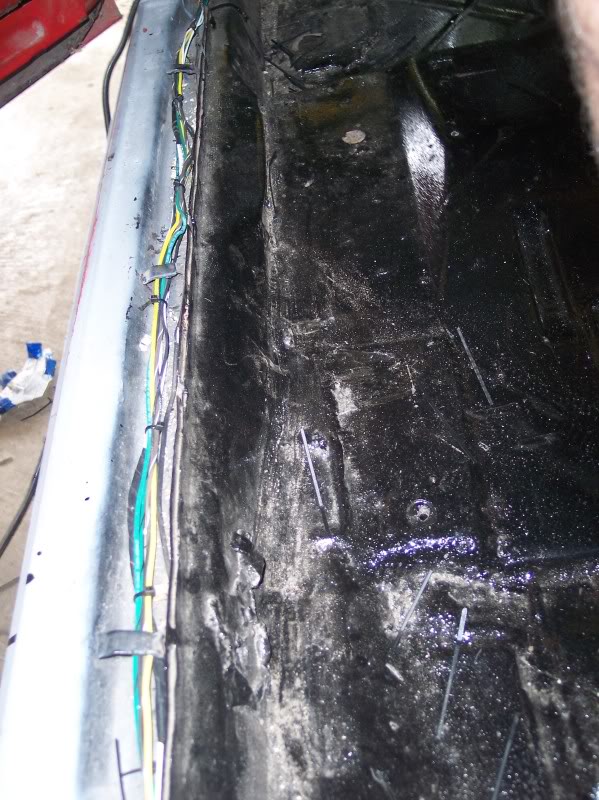
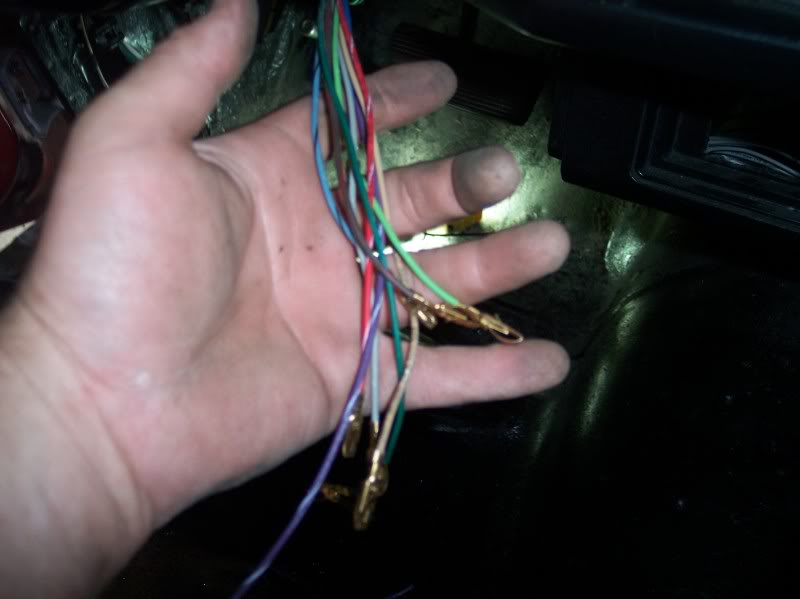
I did the best I could to pull all the wires out separately, it isn't too bad, I'd love it to be perfect, but I can't bring myself to mess with it any more, it was very awkward.
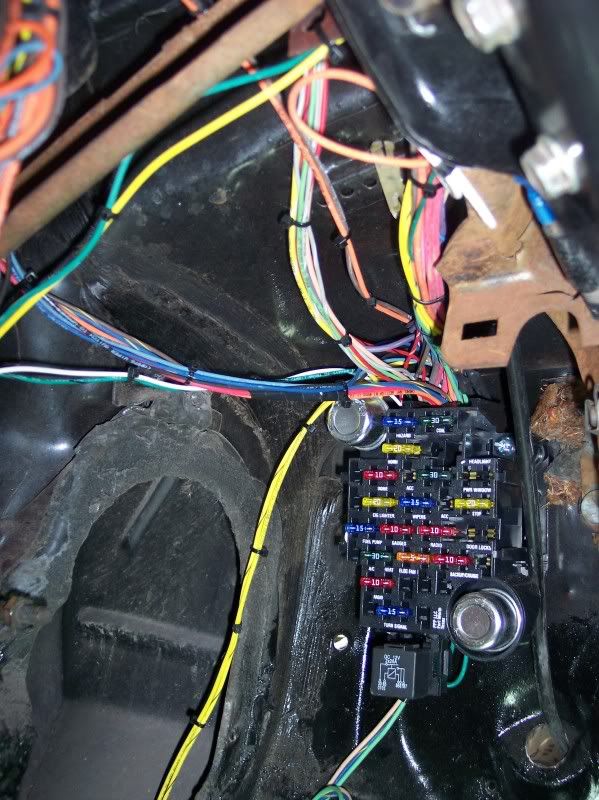
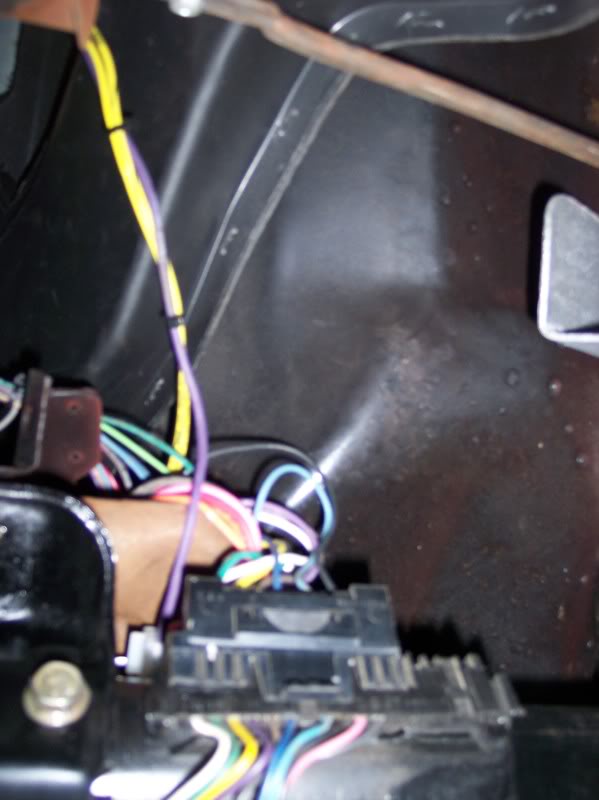
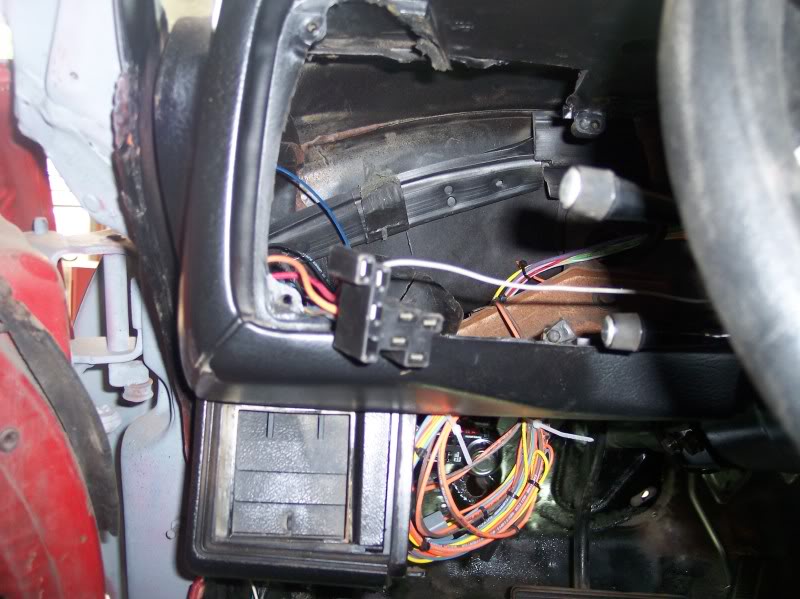
The wiring that goes to the gauge panel.
Well, I have to say that there is no way to take pictures of the wiring installation in progress. All I can say is that it is a total tangled up mess every step of the way until finally it starts to sort itself out. I think that the key is to get all of the wires ran to the rear end first and get them out of the way, untangle them from the other wires and zip tie them all together. Then begin going after some of the front main harness connections, leaving for the most part the single wires until last. I just have them ran to the general area as my car is obviously still a work in progress. But I am glad to have this part of it behind me, I just may end up getting the gauges installed this weekend and reconnect all of the wiring to do with that, I'm undecided though, it requires the wires get adapted to the connector, and my heart is really set on getting aftermarket gauges, so I should wait it out.
I used the painless 20102 kit for GM muscle cars, I got it in a trade for an original wiring harness, so the end was already installed for the steering wheel (he was beginning to sort through it and then decided to try and get a used original. It does not have any of the adapters for the lights or anything like that, and the wiring for the passenger side power door and windows was too short, I don't have power door locks and windows, but I would love to down the road, so I'm going to be putting the wiring in the doors so that they are there already and leave the fuse out. I will need to find the rubber connectors that go from the cabin to the doors that the wires run through too, I only have block off covers.
Yesterday I also pulled off the entire front steering components and cleaned them all up and painted them. The tie rods had dry sockets in them, which makes me nervous, so looking at my parts car, the tie rods on it look like they are new, rusty but new, so I'm going to swap them over and get pics of that later on. Even after sandblasting this thing I cannot believe how dirty the steering stuff was.
This is where I am in the trunk area, just have the tag light, turn signals and parking lights ran there. The reverse lights, power for the fuel pump and some other things I'm going to route down the other side wiring channel.
I got the dome light wiring just hanging for now too.
Everything tie wrapped and ran down the channel. This is where the courtesy light wiring ended up, if I am not mistaken that should be routed back up front to the door switches, and I'll need to wire the switches together right???
I did the best I could to pull all the wires out separately, it isn't too bad, I'd love it to be perfect, but I can't bring myself to mess with it any more, it was very awkward.
The wiring that goes to the gauge panel.
#702
06-23-2012, 12:42 PM
Wiper Area and Headlight switch.
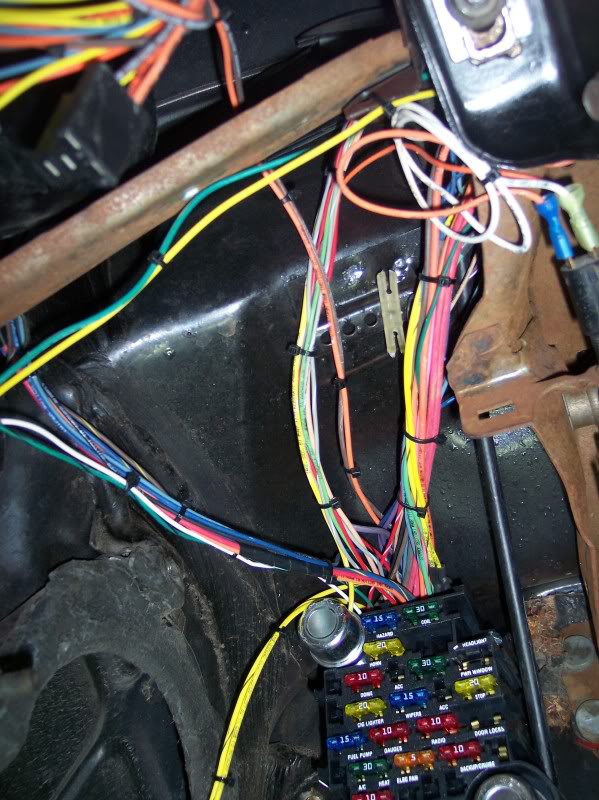
This stuff goes to the radio and center console area. It is also where the yellow wire stops and doesn't make it to the passenger door for the power locks and windows. I wonder if I can get them to maybe ship me a couple 3 feet to extend it.
This is the kit I used.
Still got a bit of stuff left.
This stuff goes to the radio and center console area. It is also where the yellow wire stops and doesn't make it to the passenger door for the power locks and windows. I wonder if I can get them to maybe ship me a couple 3 feet to extend it.
This is the kit I used.
Still got a bit of stuff left.
#703
06-23-2012, 04:42 PM
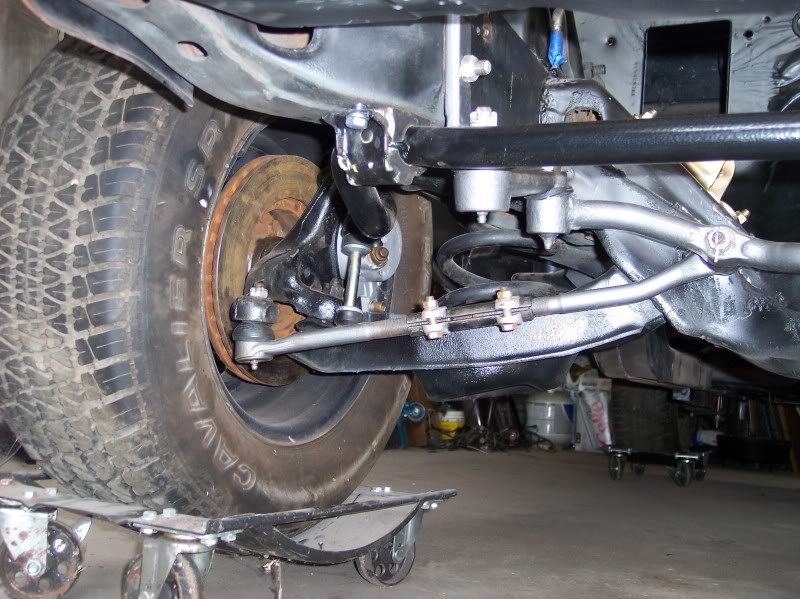
I just finished up redoing the tie rods, I think that it was a good call, these were brand new, I just cleaned them up, pulled them apart and painted them up, the nuts threaded on them alot easier and everything, plus there was grease in all of the sockets. I'm beginning to run out of work to do on this thing, I honestly don't know what to do at this point without getting the engine and trans in the car so I can start the assembly process. I guess I'll just keep on picking away at it, I'm sure that the parts car has some bump stops that I need or something, I think that for today I'll go out and do some yard work, and relax.

The parts car is getting pillaged!
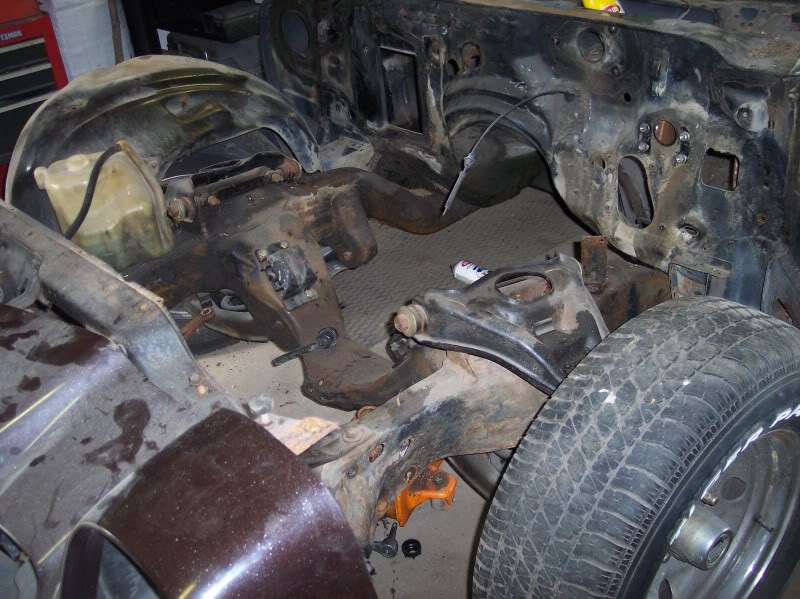
The parts car is getting pillaged!
#704
06-23-2012, 04:46 PM

Join Date: Aug 2008
Location: Portland, Or
Posts: 9,097
Courtesy light should go directly to the courtesy light, and then the ground wire goes to the door switches to ground the light when a door is opened. That wire should be made up somewhere in the harness also to the headlight switch so when the switch is turned it also grounds the dome light and turns it on.
#705
06-23-2012, 04:49 PM
Courtesy light should go directly to the courtesy light, and then the ground wire goes to the door switches to ground the light when a door is opened. That wire should be made up somewhere in the harness also to the headlight switch so when the switch is turned it also grounds the dome light and turns it on.

#710
06-24-2012, 10:37 AM
Today I think I'll take some time off on the car. The next thing is to transfer over all the bump stops and stuff from the parts car that I'm missing, I'll clean everything up and paint it as I go. I also want to get the hood adjusters out of the cowl area to paint them up, but they are being difficult and I might have to see if I can get new ones and put some vice grips on them to get them out.