79 Camaro Project
#681
 06-10-2012, 07:08 PM

I am going to read up on this topic before I make my decision, I do know that when I was researching my engine combo, the cam recommended a 2400 stall converter. I would say that the best thing is to go with that and see if I like it. I am going to have a trans cooler too, so I'll go in and out my trans, in and out the trans cooler and back to the trans, so that should help with heat. If I do go with the 3500 it won't be too hard to swap back to the smaller one either, although with the solid engine blocks I won't be able to "tilt" the trans back to get to the top bolts like normal. Something to consider I suppose.
I think for my next project I am going to work on beginning to swap over the tilt column. I do need to clear a bench off so I can pull it apart in an organized manner so I can paint everything up nice.
I think for my next project I am going to work on beginning to swap over the tilt column. I do need to clear a bench off so I can pull it apart in an organized manner so I can paint everything up nice.
#682
06-17-2012, 08:29 AM
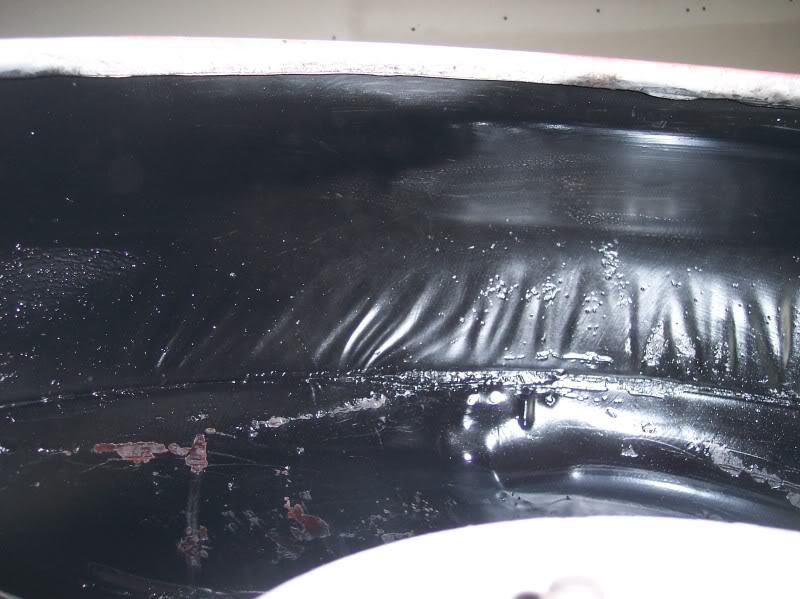
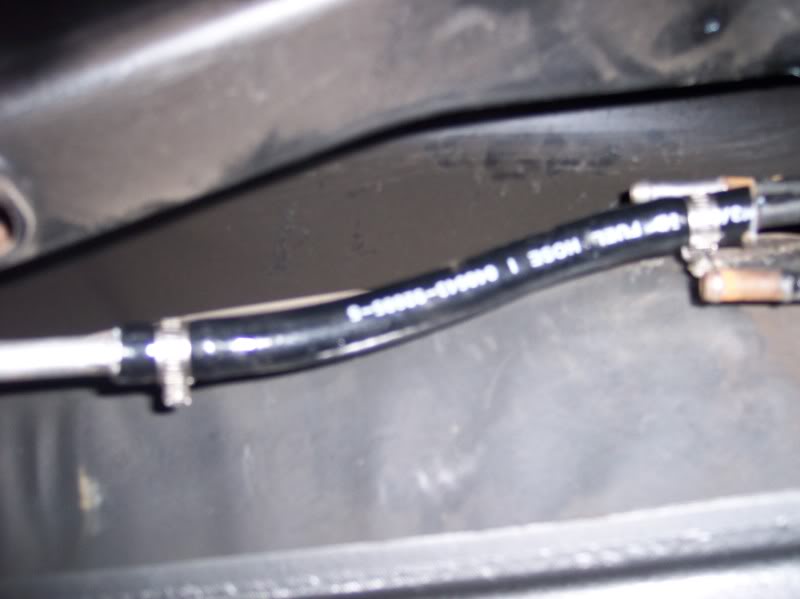
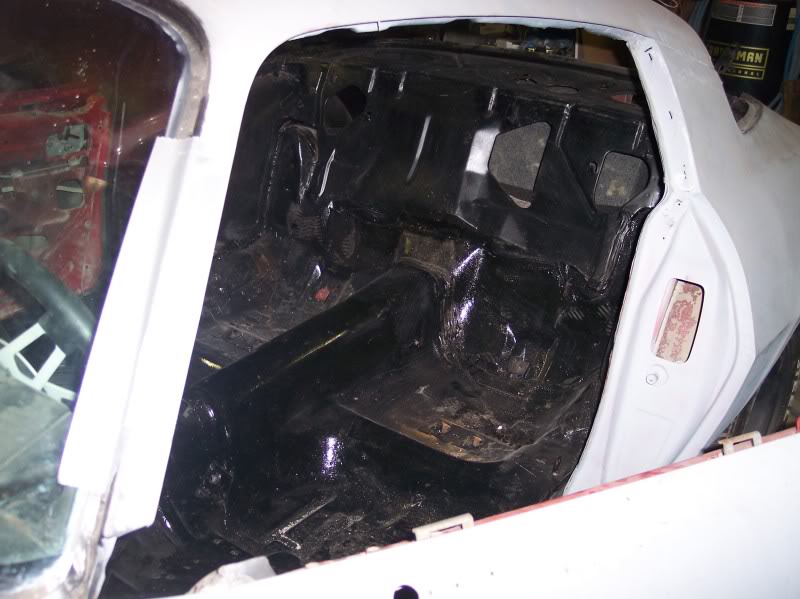
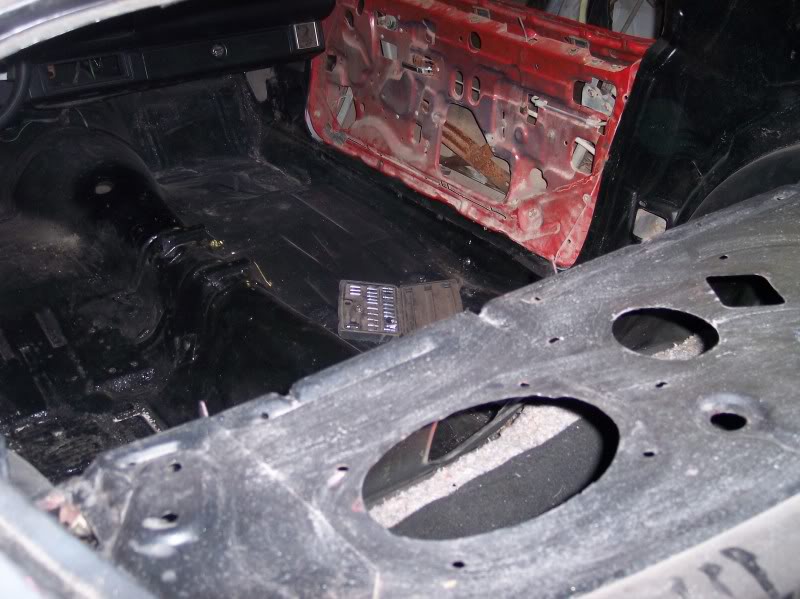
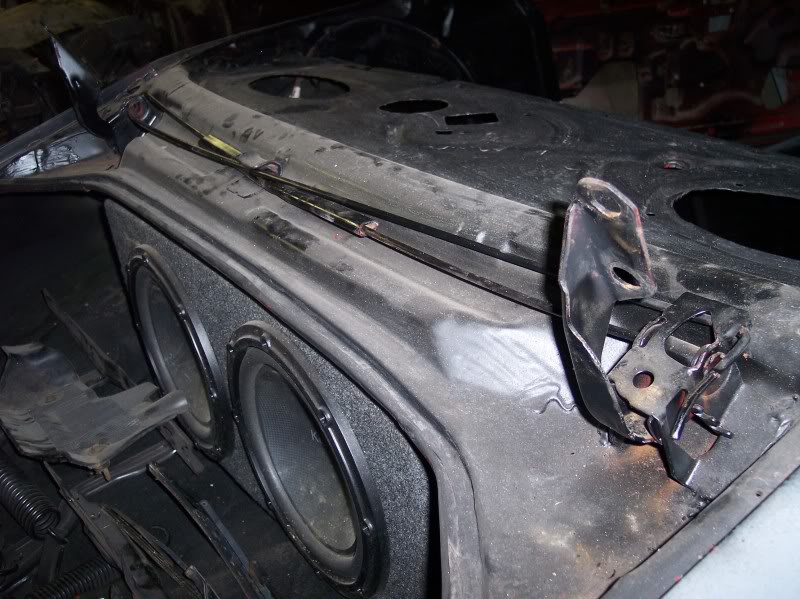
So over the last few days I've been keeping at it. I took a hammer, dolly and an air hammer and went around and straightened all of my seams under the car from where people high centered or used a jack to jack the car up or something. It looks much better. I also rolled my fender lips and beat the seatbelt hump in to get the largest possible meats under there. Better to do it now than later on down the road when I get the bodywork and/or paint done on it. I also connected the fuel line to the fuel output on the tank with a new piece of hose and some new clamps. I still need to cap off the vent and the return line, I would love to use something like a vacuum line cap, but I really don't know if they will last in that environment. I can't get a good answer on this searching around, I really don't want anything as sloppy as the bolt in the end of some hose trick...
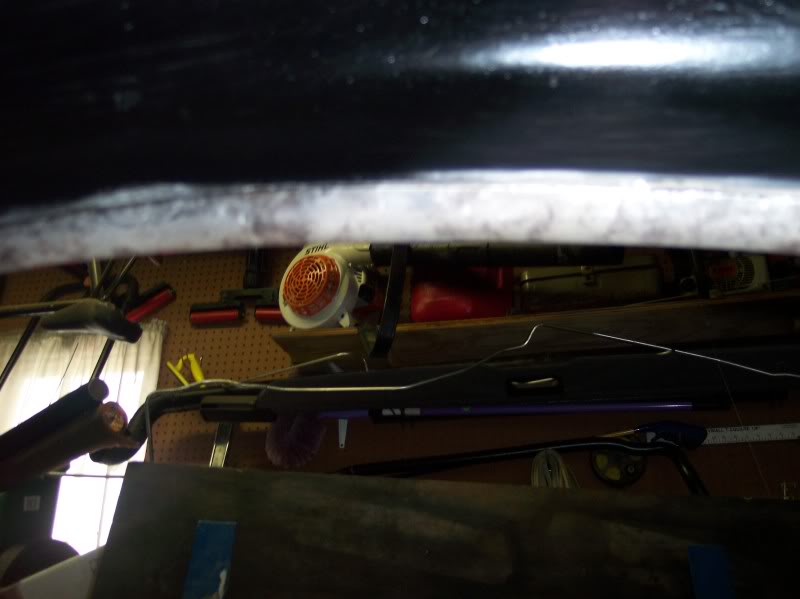
I think that today we are going to try to pull the windshield out of the parts car, I need to get some urethane sealer though before it goes in the other one, but progress is going good. If my engine builder would hussle up I could get a motor in this thing and start putting it together.
I think that today we are going to try to pull the windshield out of the parts car, I need to get some urethane sealer though before it goes in the other one, but progress is going good. If my engine builder would hussle up I could get a motor in this thing and start putting it together.
#683
06-17-2012, 09:57 AM

Join Date: Aug 2008
Location: Portland, Or
Posts: 9,097
Your local parts store should have those rubber caps in various sizes to cap off unused ports or lines. Then just put a clamp on them if they aren't tight enough as is. Not sure I'd cap off the vent, as you may have either fill or feed problems without a tank vent.
#684
06-17-2012, 10:07 AM
The vent is meant to go to a charcoal canister, then into the smog stuff right? I have none of that stuff, what would I do with the vent otherwise? I don't want to leave it open down there. I could run it up by the fill neck. I was going to get a vented cap too. It's really something I can't seem to get a straight answer on.
#685
06-17-2012, 11:50 AM
Join Date: Aug 2008
Location: Portland, Or
Posts: 9,097
All I can tell you is what I did with mine. I got a small inline clear filter and connected it with a hose just above the tank in the axle area. I wanted it open to vent, but not let critters have a way to nest in an open hose or tube.
Whenever I've been underneath I glance at it to see if it's still clear, and unobstructed, and it's always been fine. Put the filter on there in the mid 70's.
Whenever I've been underneath I glance at it to see if it's still clear, and unobstructed, and it's always been fine. Put the filter on there in the mid 70's.
#686
06-17-2012, 12:09 PM
I thought I had seen that done before. It was probably you who I had seen mention it. I may very well do that. I'll probably still run it up the tank neck though so overfilling doesn't encourage it to leak out. Maybe a hose ran up the neck capped off with a screen or something there.
#687
06-17-2012, 09:42 PM
Got the windshield out of the parts car. In one piece. It is a safelight glass and looks awesome. For now it is just sitting on the project, going to start lpoking for urethane now to get the two windows stuck down. There are two missing trim studs to deal with for sure first though, and a rust spot in the rear channel.
#688
06-18-2012, 09:53 AM
Join Date: Aug 2008
Location: Portland, Or
Posts: 9,097
I had a few trim studs that broke off on mine. I replaced them by drilling and tapping for 6-32 stainless flathead screws. Then I screwed the clips on with the flatheads and permanent Loctite to hold them. Worked really well.
#689
06-18-2012, 08:45 PM
I also had my FIL come over and he managed to pull the windshield out of the parts car and we put it in place on the project, still need to get the urethane to stick it down, but it is in place now anyhow.
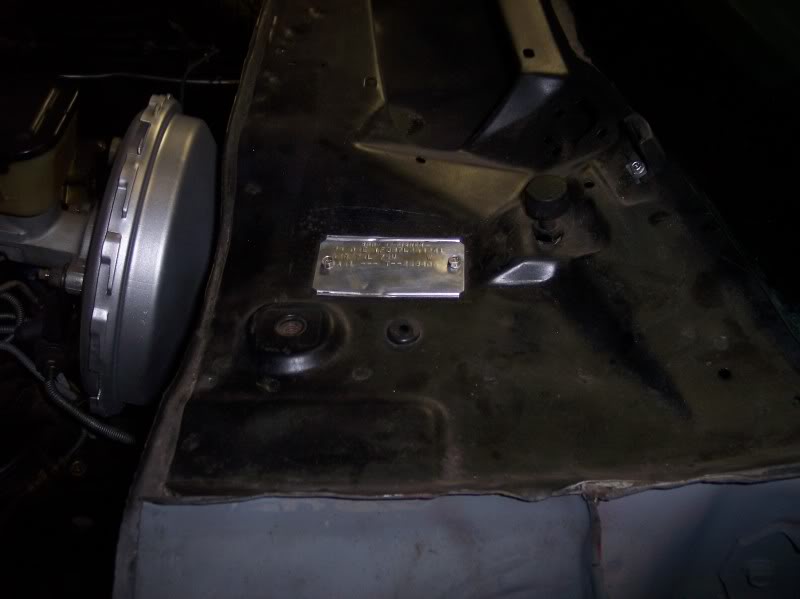
Cleaned up the trim tag.
#690
06-18-2012, 08:46 PM
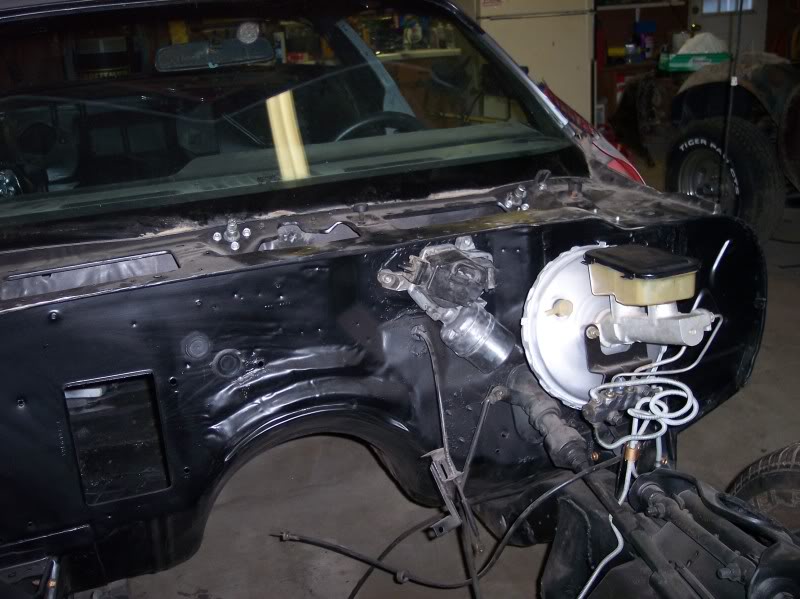
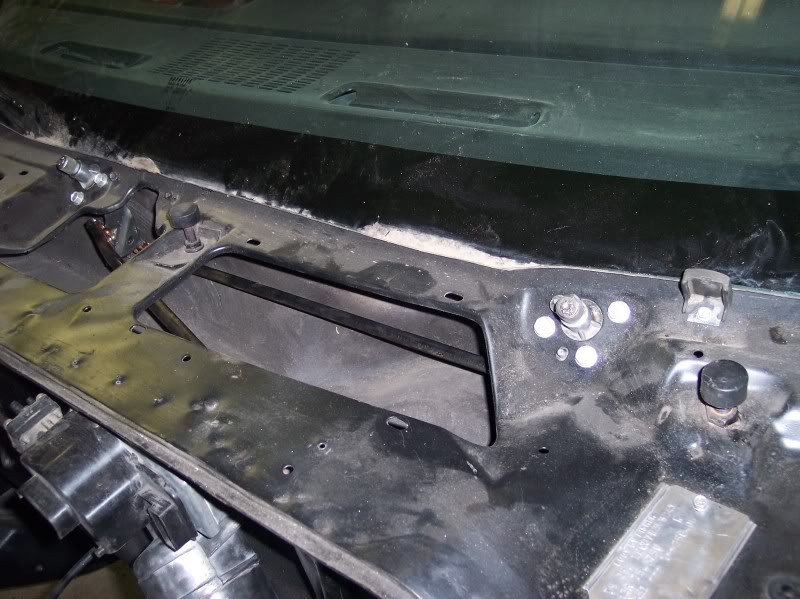
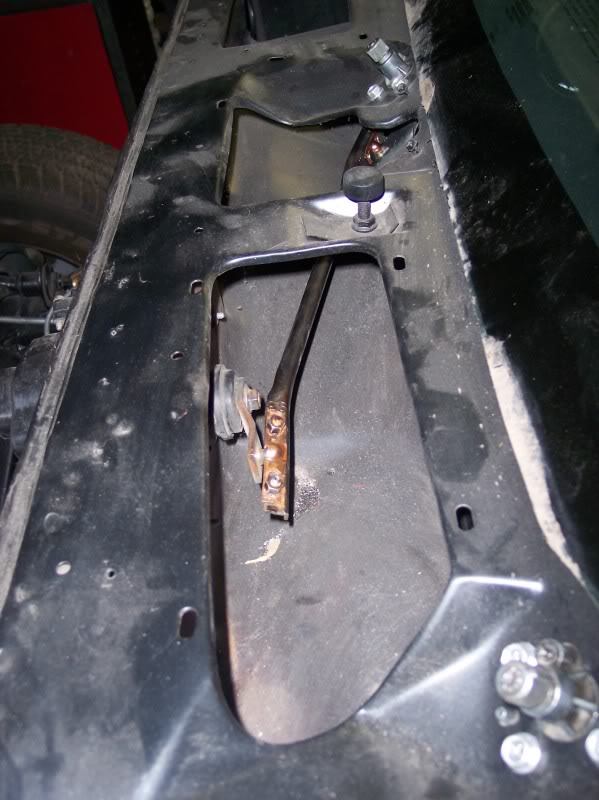
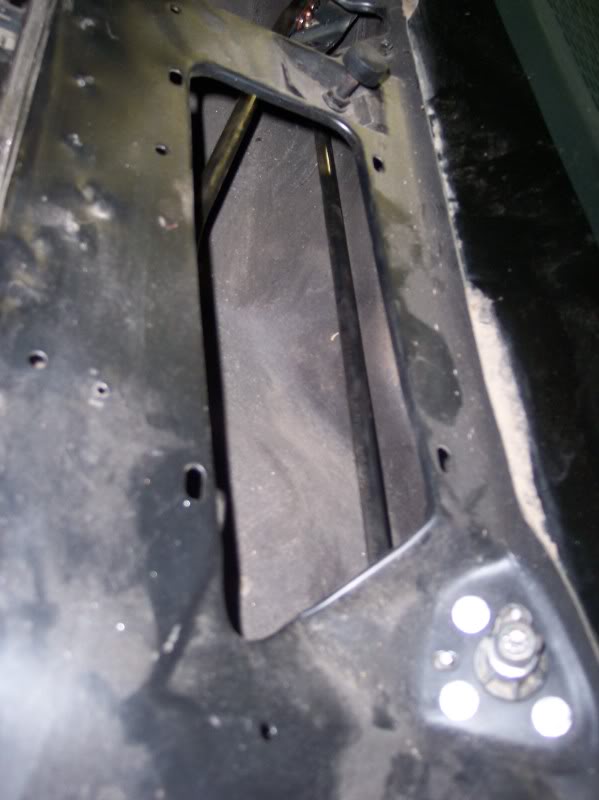
I then pulled out all of the wiper assembly and wire wheeled it and clear coated everything up and put it in the project car.
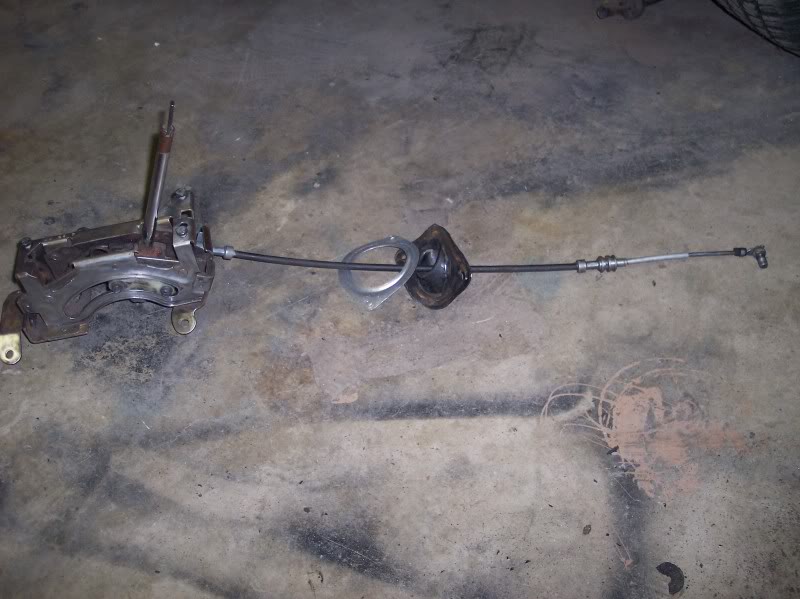
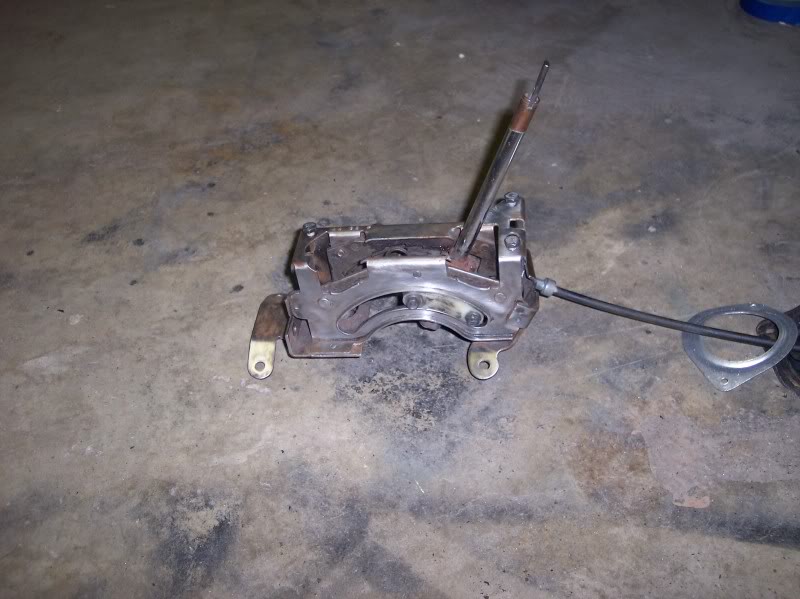
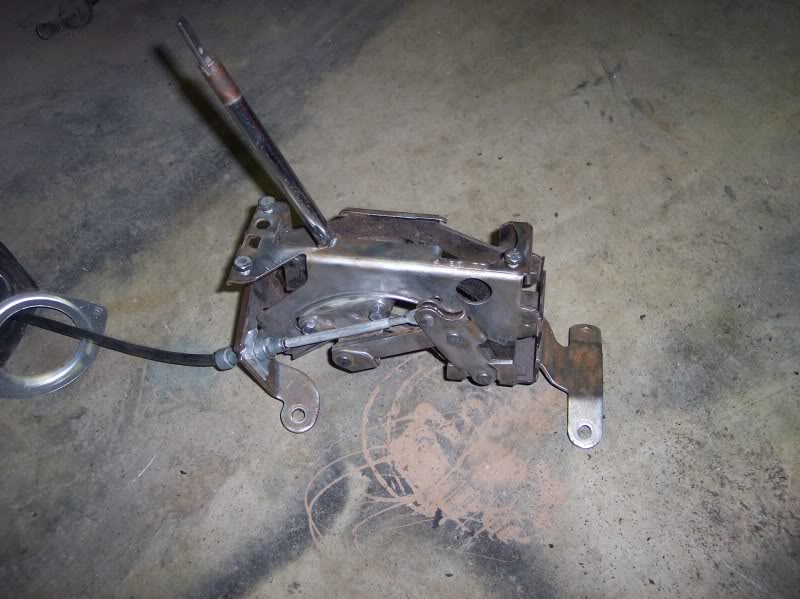
Also tonight I took the interior and put it in storage again, then pulled the shifter out and cleaned it up fairly good, I had originally painted it all black, I've since come to not like the looks of that, so I'm going through and redoing alot of that sort of work.
Oh, and the other day I also put that extra twist in the trunk torsion rods, that seems like it is pushing the envelope doing that, I could see them things exploding!