
79 Camaro Project
#341
 09-03-2010, 11:52 PM


Join Date: Aug 2008
Location: Portland, Or
Posts: 9,097
Looking forward to more updates when you get time to return to the project! My newest project is slow going, and the trunk and interior have become a drop zone for parts that were removed or parts in waiting!
#342
02-09-2011, 03:47 PM
Finally got back out to the garage and put some time in on the Camaro. I'm hoping that I can get alot done this week since I am off. It is sub zero temperatures here, and we don't work when it is below 10 degrees in the morning. So, that frees up some camaro time. I had to toss some stuff around in the garage in order to make room for working on the car, but I can clean the garage and work on the car at the same time over the next few days.
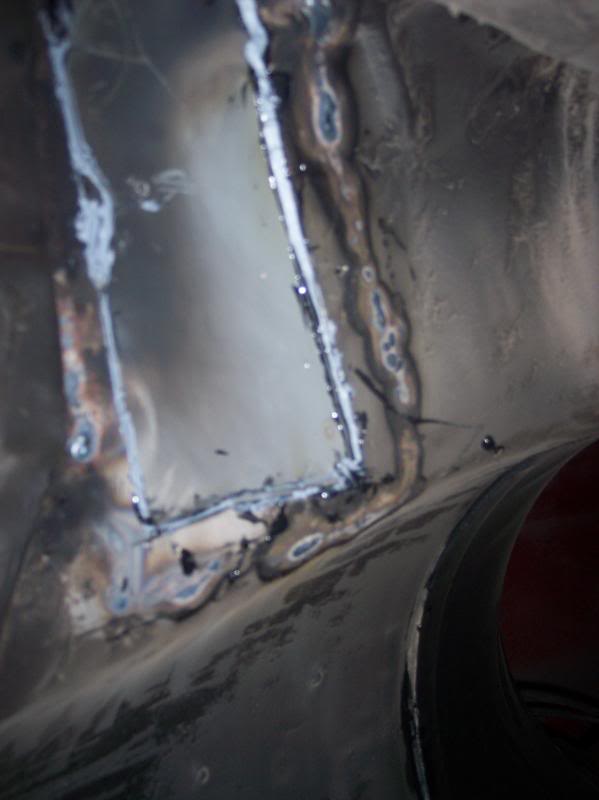
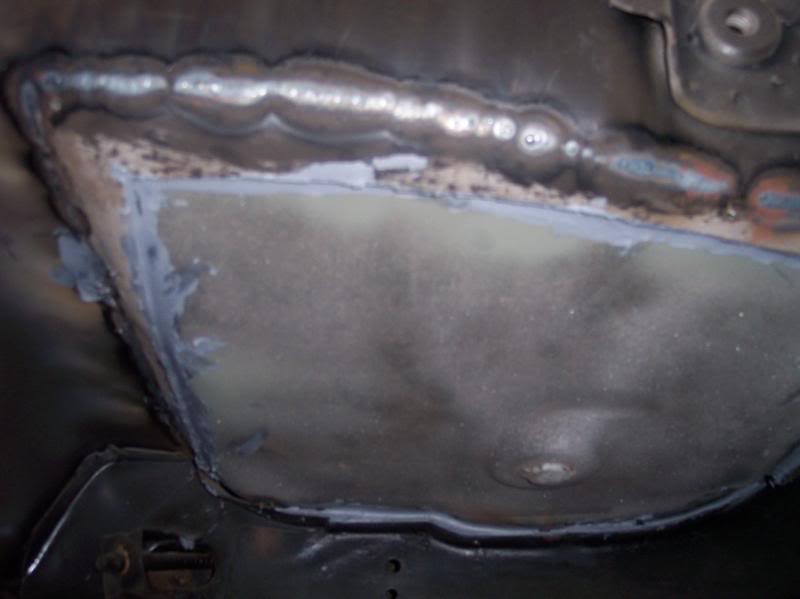
First thing I did after cleaning the garage was to finish grinding down the sad welds I did with my FIL's welder and put some of this stuff down on it.
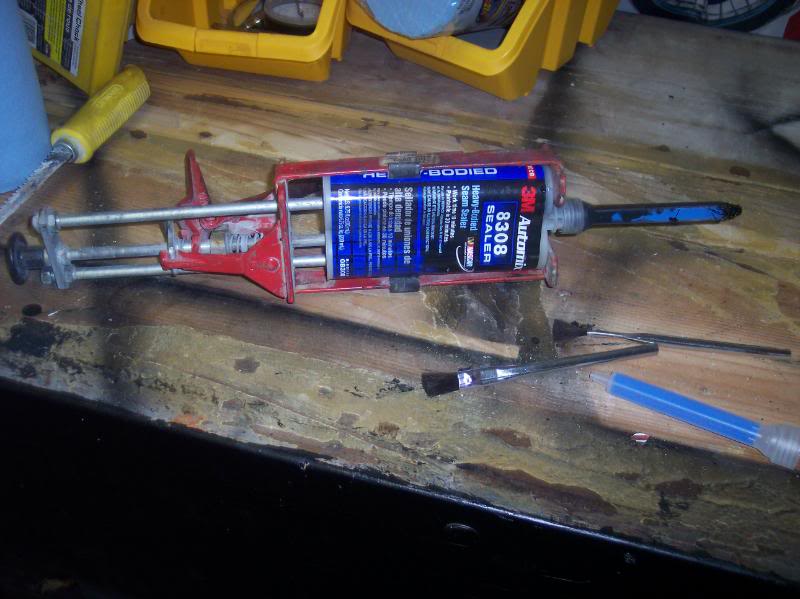
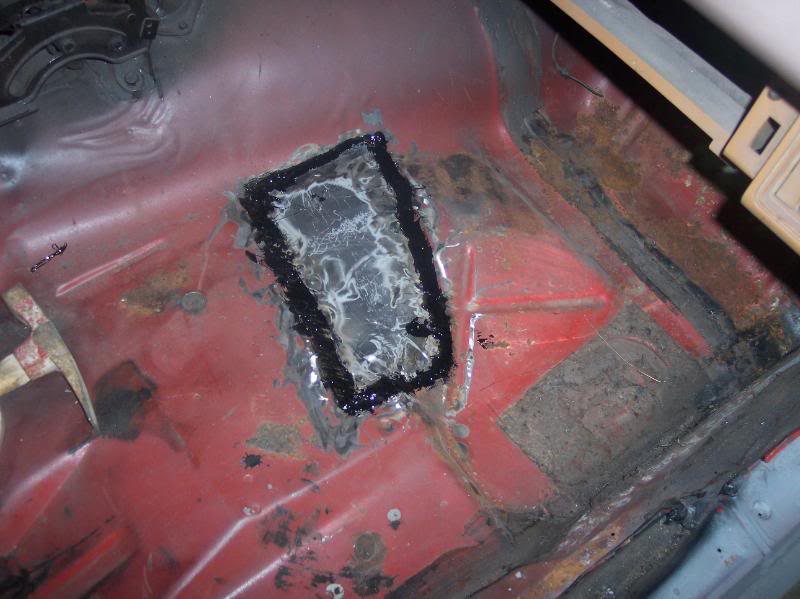

Then I tried it under the car, but it was such a PITA getting it out of the tube that I just went and grabbed the tube of Seam Sealant and finished off with that. I'll be POR15'ing over the top of it really well a couple of coats, and it really shouldn't see much outside time so it should last long enough for me.
I smoothed it all out with my finger when I was done and filled things in really well.
I also discovered that an 80 wiring harness won't work on a 79 car either. The guage cluster connector is totally different, the headlight switch is also different. I suppose that I will just try to fix what I have going on with mine right now. It really doesn't look all that bad.
I got a Subwoofer box too off of the forum, from a member for free. Thanks Speedfreak1000.
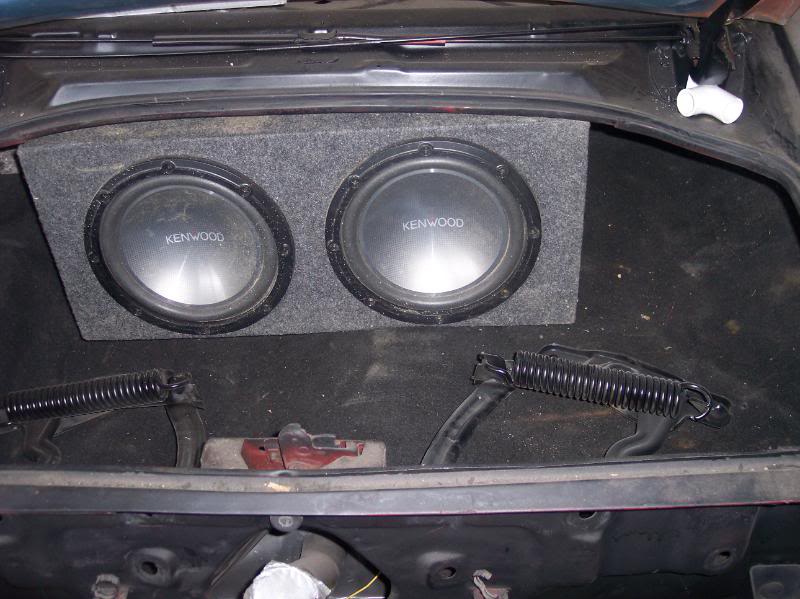
The box is sitting on some carpeting that I picked up a while back too. I'd like to get the box to go in a bit farther, but it is hitting a bracket coming down off of the rear deck. I'm thinking that it was originally for holding the jack or something. I'll look at it and probably cut it out of the way.
First thing I did after cleaning the garage was to finish grinding down the sad welds I did with my FIL's welder and put some of this stuff down on it.
Then I tried it under the car, but it was such a PITA getting it out of the tube that I just went and grabbed the tube of Seam Sealant and finished off with that. I'll be POR15'ing over the top of it really well a couple of coats, and it really shouldn't see much outside time so it should last long enough for me.
I smoothed it all out with my finger when I was done and filled things in really well.
I also discovered that an 80 wiring harness won't work on a 79 car either. The guage cluster connector is totally different, the headlight switch is also different. I suppose that I will just try to fix what I have going on with mine right now. It really doesn't look all that bad.
I got a Subwoofer box too off of the forum, from a member for free. Thanks Speedfreak1000.
The box is sitting on some carpeting that I picked up a while back too. I'd like to get the box to go in a bit farther, but it is hitting a bracket coming down off of the rear deck. I'm thinking that it was originally for holding the jack or something. I'll look at it and probably cut it out of the way.
#343
02-09-2011, 07:46 PM
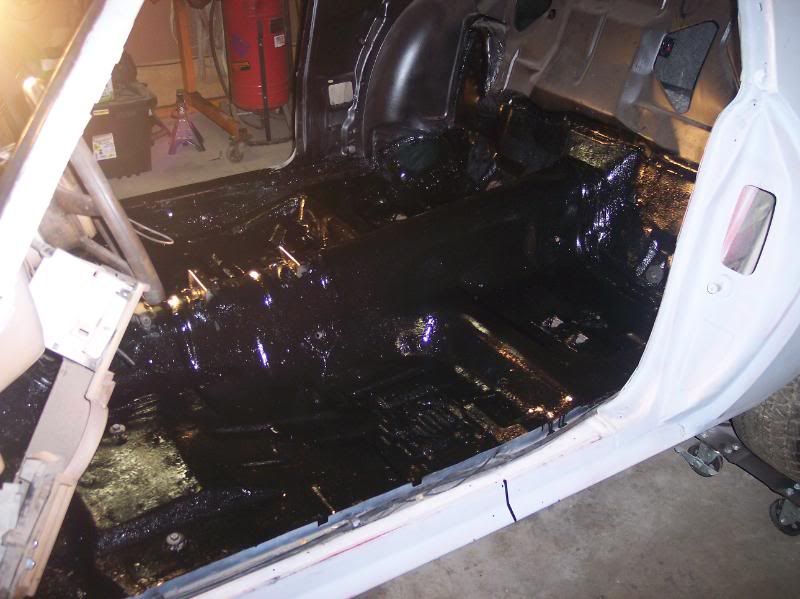
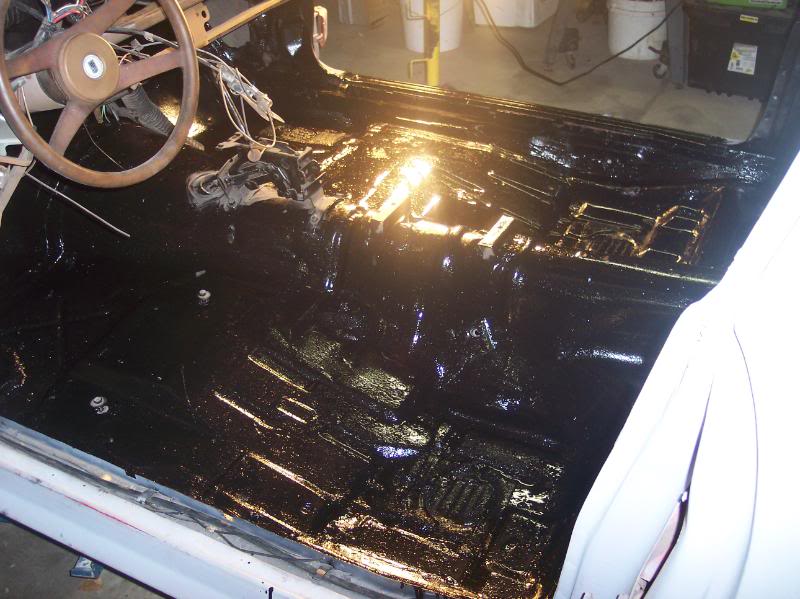
Oh yeah! finally done with the POR15! I did the bottom too and the top inside. I'll grab pics of the bottom later once the car is up a bit higher. Sick of working under there like that...
I've got the front end tore apart again to make it easier to work on the harness area. I'd also like to look into maybe cleaning up the booster and master cylinder. I don't like it all black like that...
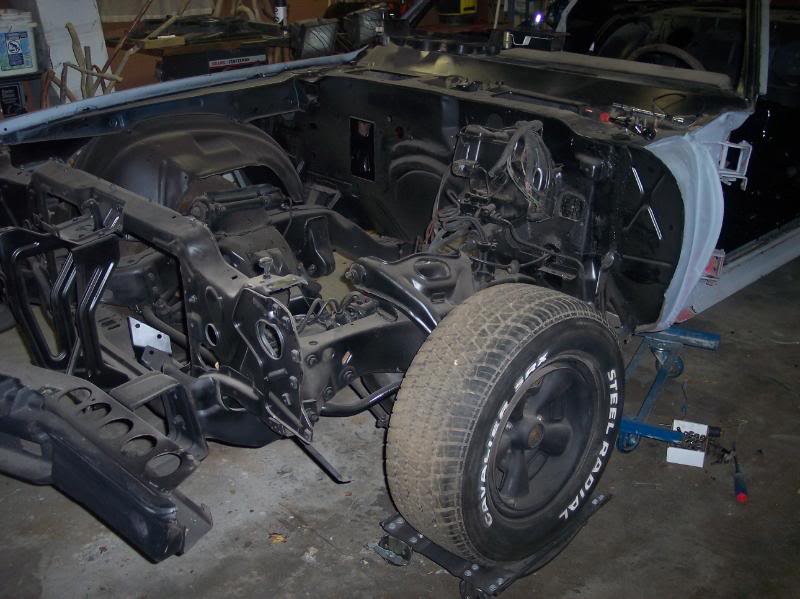
I've got the front end tore apart again to make it easier to work on the harness area. I'd also like to look into maybe cleaning up the booster and master cylinder. I don't like it all black like that...
#344
02-09-2011, 10:45 PM
Join Date: Aug 2008
Location: Portland, Or
Posts: 9,097
Nice work Steve! Sure glad to see you're back on the Camaro project again! You got a lot done the last couple days!
#345
02-09-2011, 11:47 PM

I feel the same way about my all black firewall. I think I'll paint mine body color. The plug for the gauges is different you say? I have a set of 78 U14s going in my 80 with no trouble. I was actually gonna swap the 78 harness in because it a non ac harness. Might have to now.
#346
02-10-2011, 08:21 AM
The plugs are totally different. Who knows, maybe I have an 81 harness, or even a harness that is not even for a camaro. But the plug for the gauges is definitely wrong, and the other plugs don't really match up. If I can't sell it, I'll hang on to it for a bit longer, it may come in handy. If you have an 80, and can get to it, see if you can get a pic of the gauge connector. I'll get pics in a bit of my 79 connector, and the one that is on the new harness for comparison and post them up.
#348
02-10-2011, 10:10 AM
I do. I have a rough set that I used for testing paint colors. I think I have a decent set of black ones in the basement. As for the plugs I'll have to let the 20+ inchs of snow melt down a touch. LOL I just noticed the other day shoveling to the dog cage. I was standing with my feet at the same level as the body line in the door of my T/A.
#349
02-10-2011, 07:25 PM
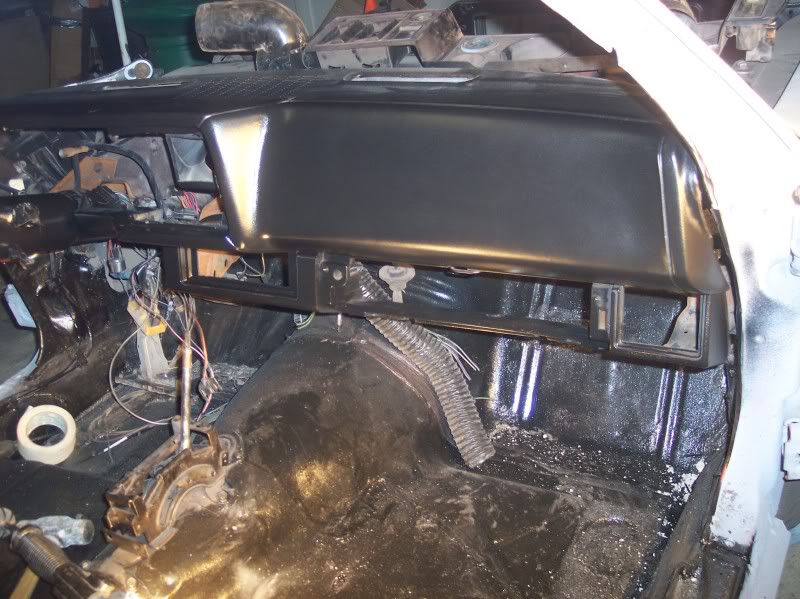
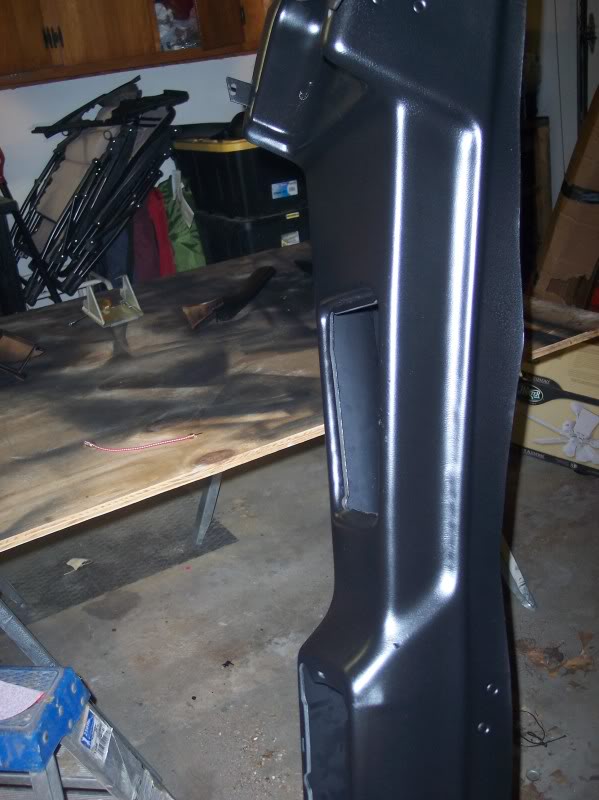
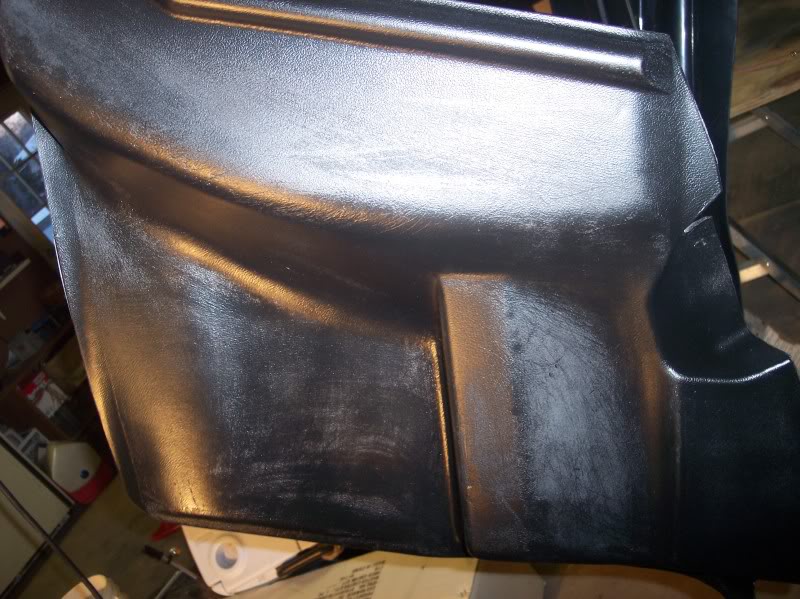
So I finished up painting all the interior that I have black today using the SEM paint system. I'm going to hold off on putting the clear coat on though until closer to final product, I'm thinking that I will be needing to do some black touchup here and there as I finish up. I started off with a mish mash of different colors, cleaned everything up using some paint thinner on a rag and wiping things down really good. Man, there is sand everyplace. I spent some time under the dash with my air hose and just let loose. I'll probably be seeing that stuff forever. You can see it in my POR15, and that was after I vacuumed the inside before I painted it. It just appears out of nowhere! I hope that isn't a problem for final paint.
These are only pics of the stuff I finished up with. As I got done with a bunch I set it aside.
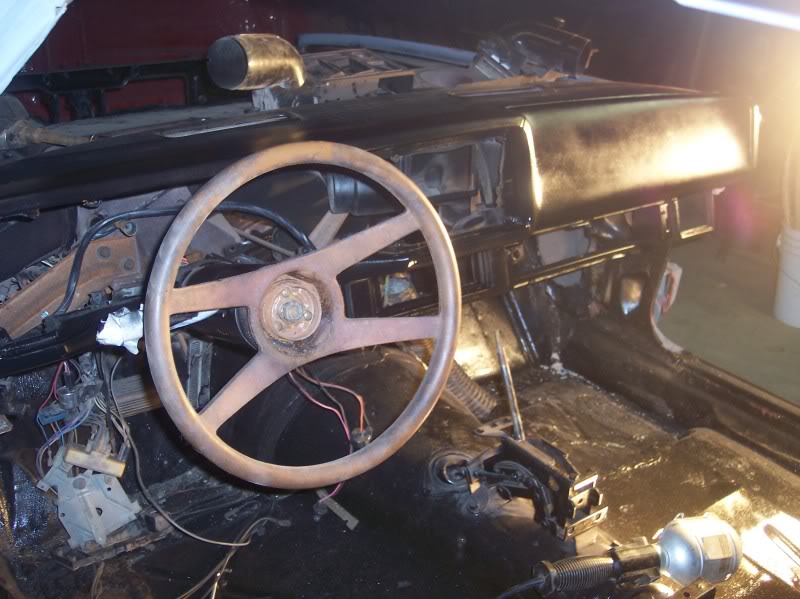
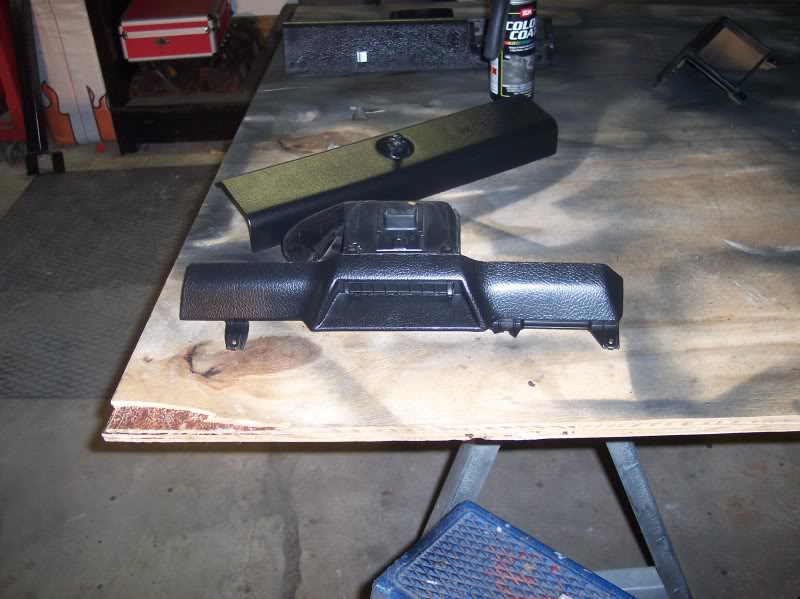
I finished this stuff up just in time for dinner, and after dinner I went out and put a last coat of POR15 on the patches under the car just in case, and then pulled the gauge cluster apart and cleaned it up really good using Plastix from Mcguires. Turned out pretty good if I don't say so myself. I'd really like to get some aftermarket gauges though. Whatever anyone does, don't go after cleaning up the actual faces of the gauges very well! It is like painted on and will smudge really easily.
That is enough for one night. Tomorrow I hope to put the dash back together, sort through the wiring and get the carpet in, and start putting the interior in the car. Then maybe if I can get help in the evening I'll put the doors back on the car
These are only pics of the stuff I finished up with. As I got done with a bunch I set it aside.
I finished this stuff up just in time for dinner, and after dinner I went out and put a last coat of POR15 on the patches under the car just in case, and then pulled the gauge cluster apart and cleaned it up really good using Plastix from Mcguires. Turned out pretty good if I don't say so myself. I'd really like to get some aftermarket gauges though. Whatever anyone does, don't go after cleaning up the actual faces of the gauges very well! It is like painted on and will smudge really easily.
That is enough for one night. Tomorrow I hope to put the dash back together, sort through the wiring and get the carpet in, and start putting the interior in the car. Then maybe if I can get help in the evening I'll put the doors back on the car
