79 Camaro Project

Thread Starter
|
3rd Gear Member
Joined: Sep 2009
Posts: 1,062
From: Morris, IL
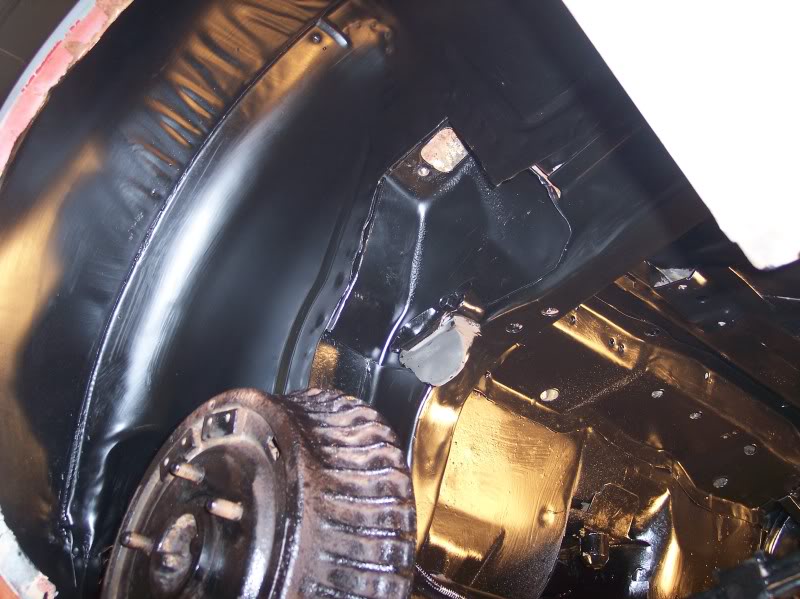
Thank God I am done under there, as I was under there messing around, I got to looking at the body bushing setup that was installed by one of the previous owners. They were black, and I had assumed that they were poly. But they are aluminum, they scratch like metal at least.
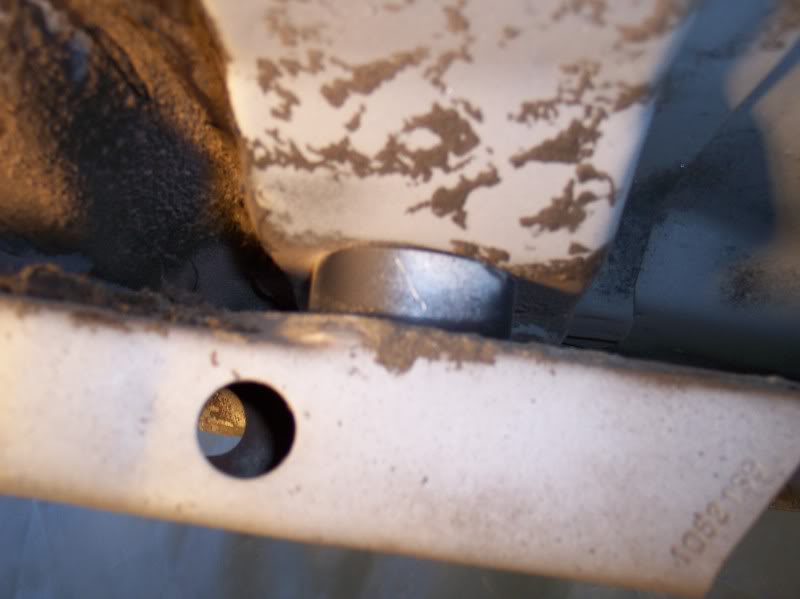
So here is the dilemma, they used washers under the frame. Does this look acceptable?
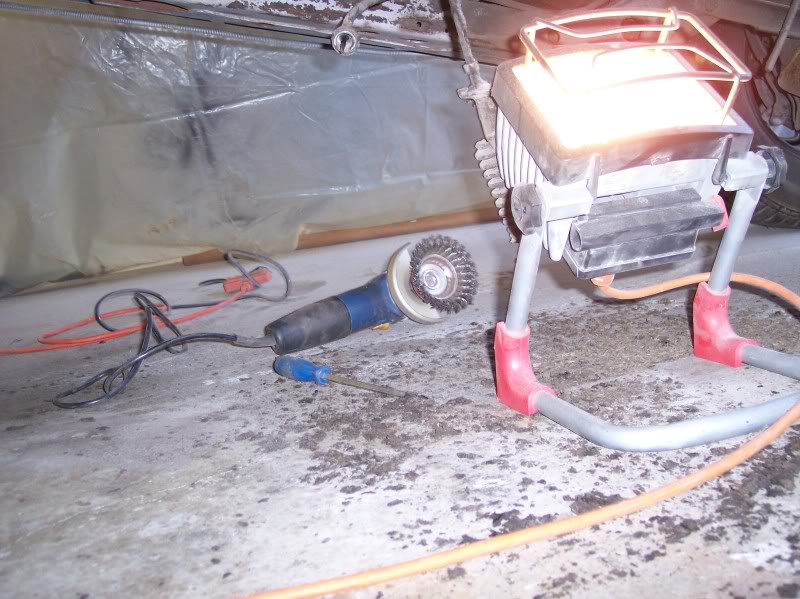
The sandblaster was just bouncing off of all the junk under there. I went at it wit a gasket scraper and my grinder with the cup wheel on it.
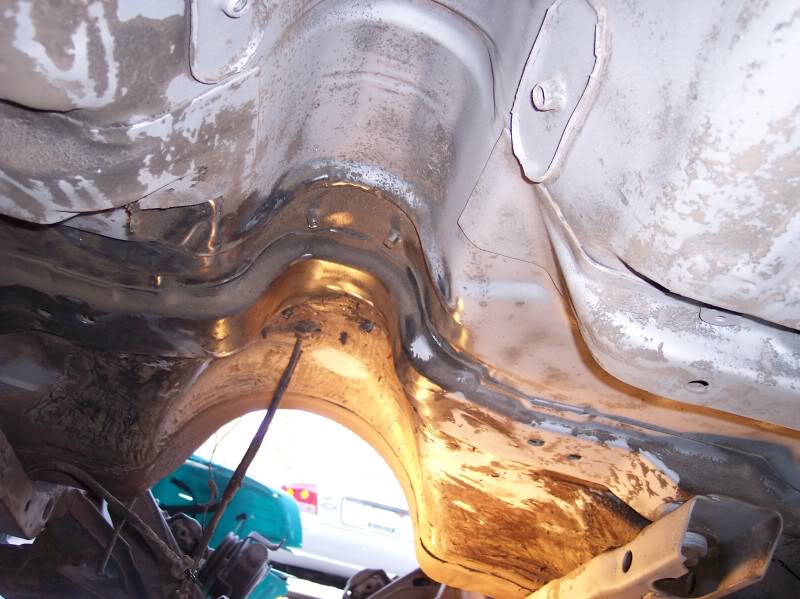
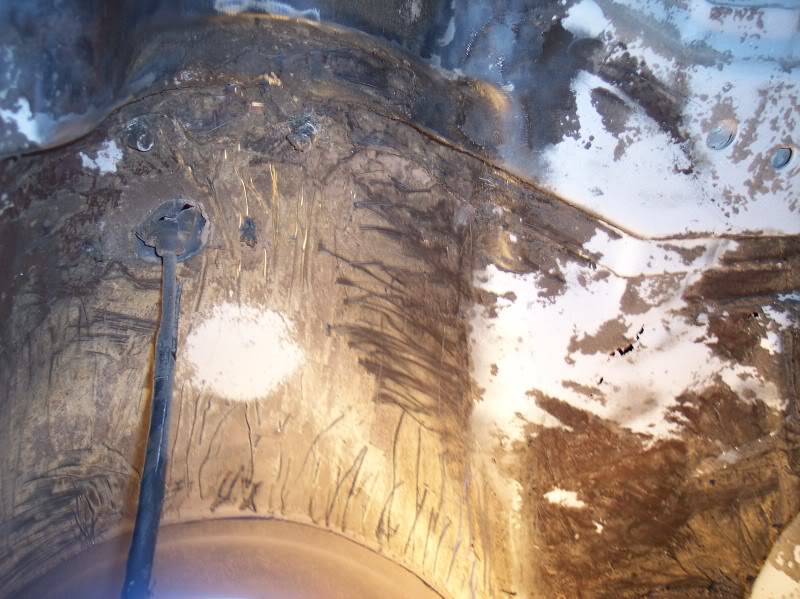
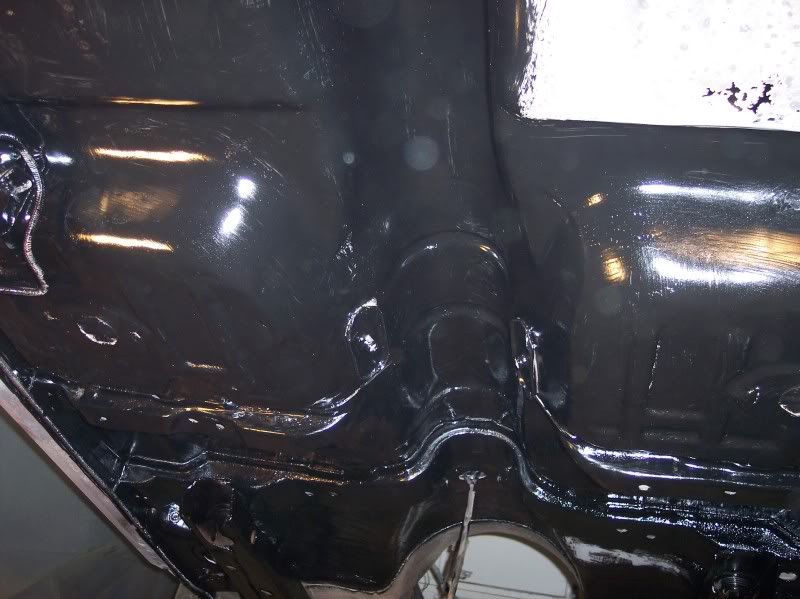
This is starting to look better.
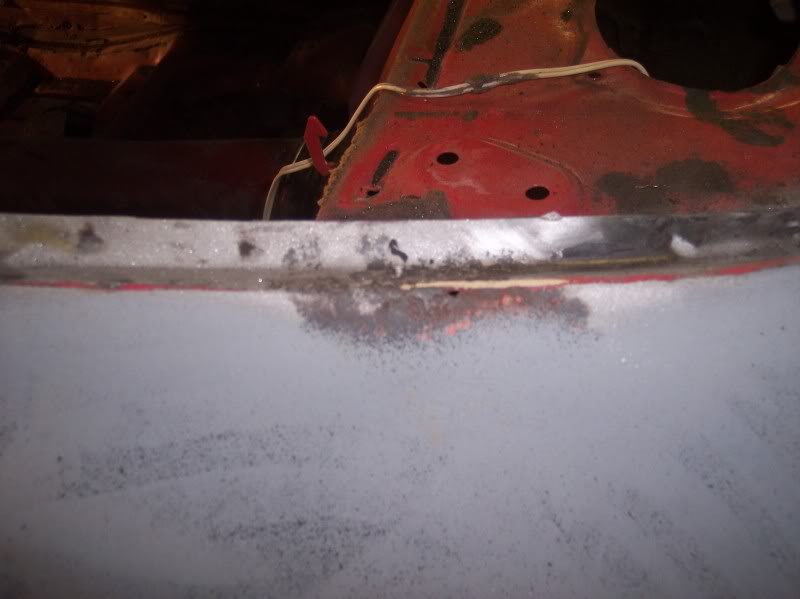
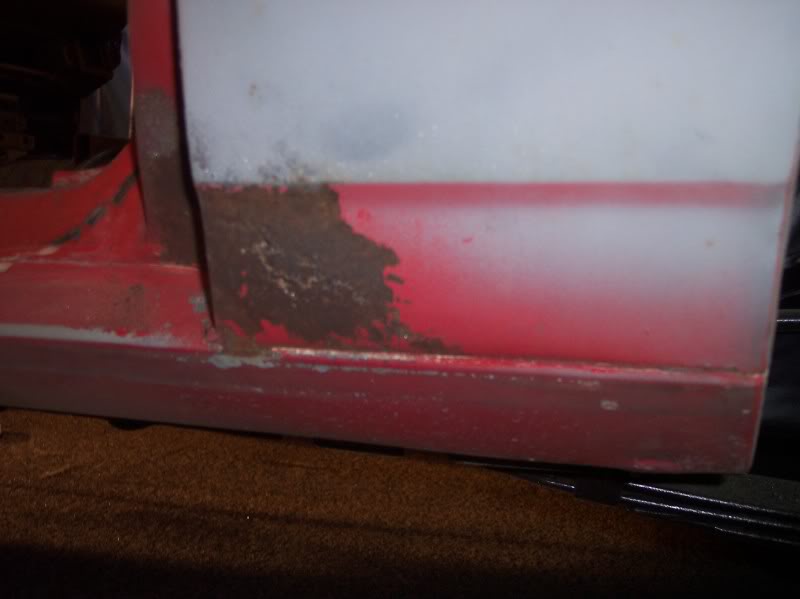
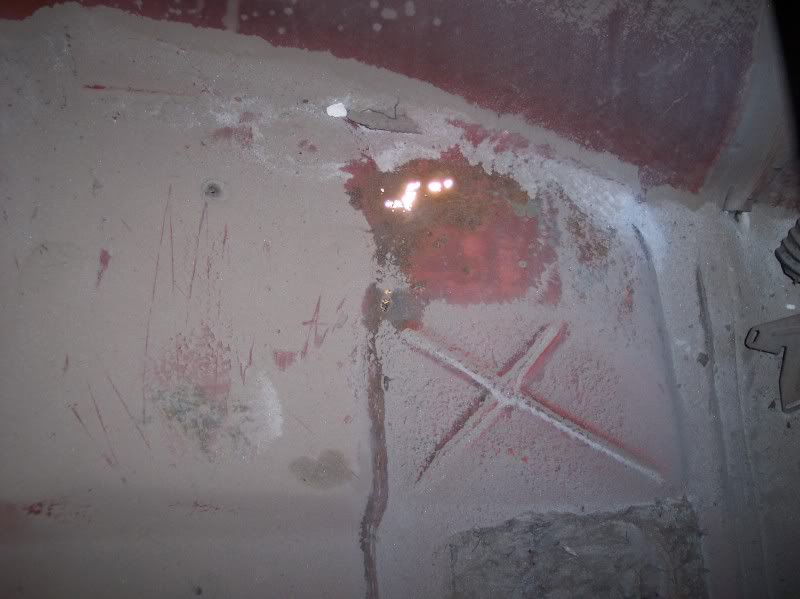
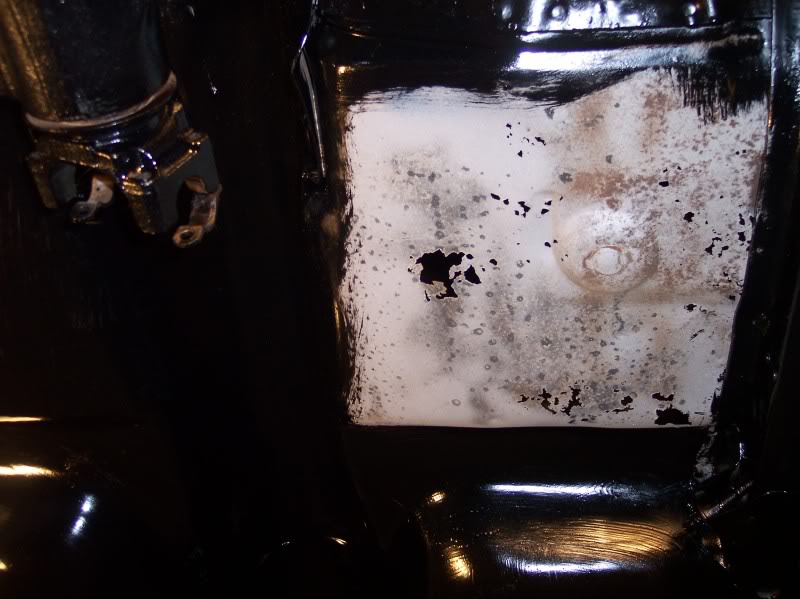
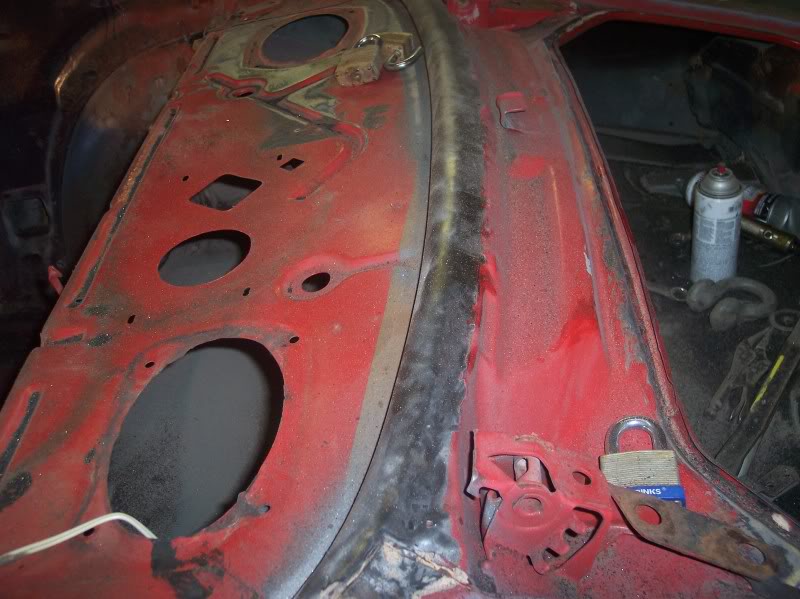
Found a bit more cancer. Worse than I thought, although still not too awful bad, just needs a regular patch and not a whole pan. This is it from the topside with the light shining through it.
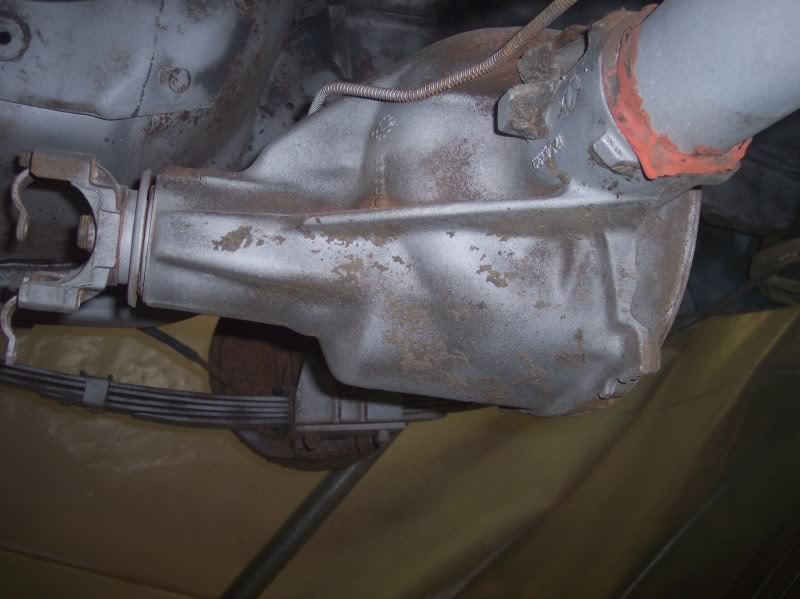
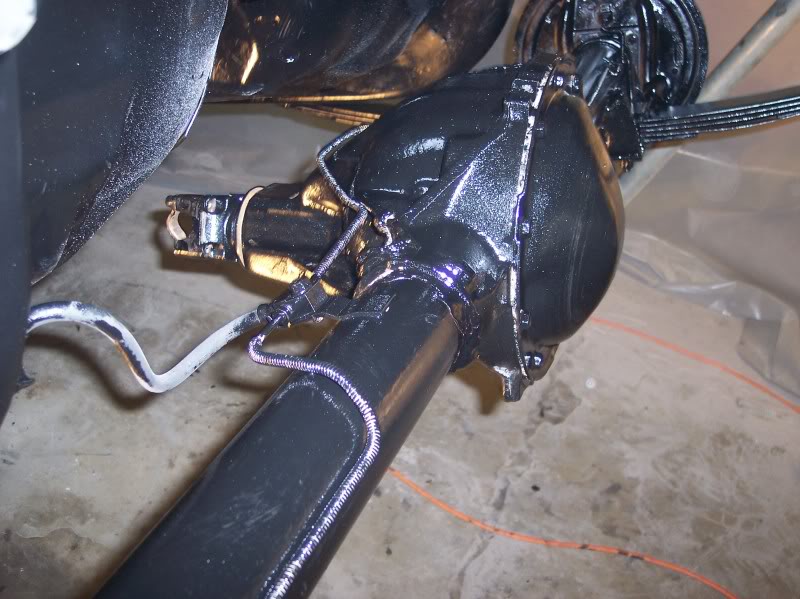
This is just a photo of the rear diff almost done cleaned up. I doubt I am keeping it though, I want a 3.73 or 4.10 gear to use. This one is like a 2.42 or something stupid. It really aught to get good gas mileage though I suppose.
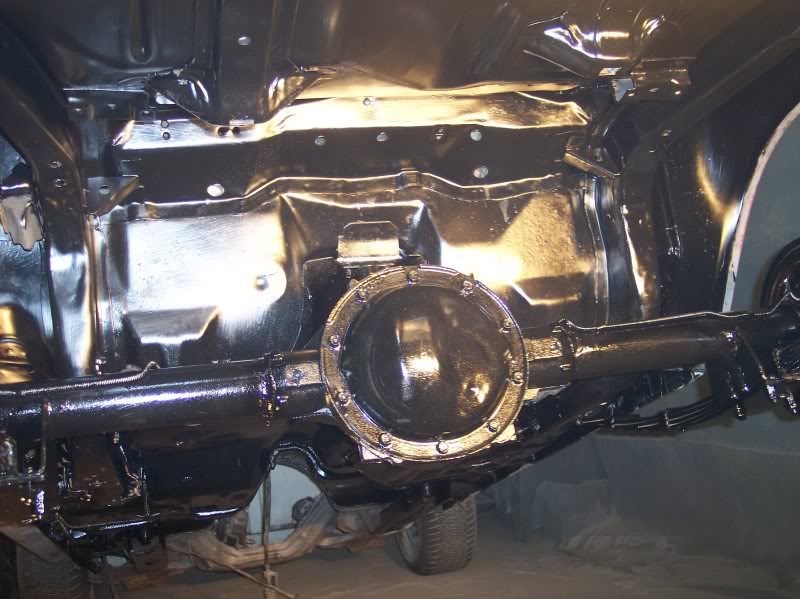
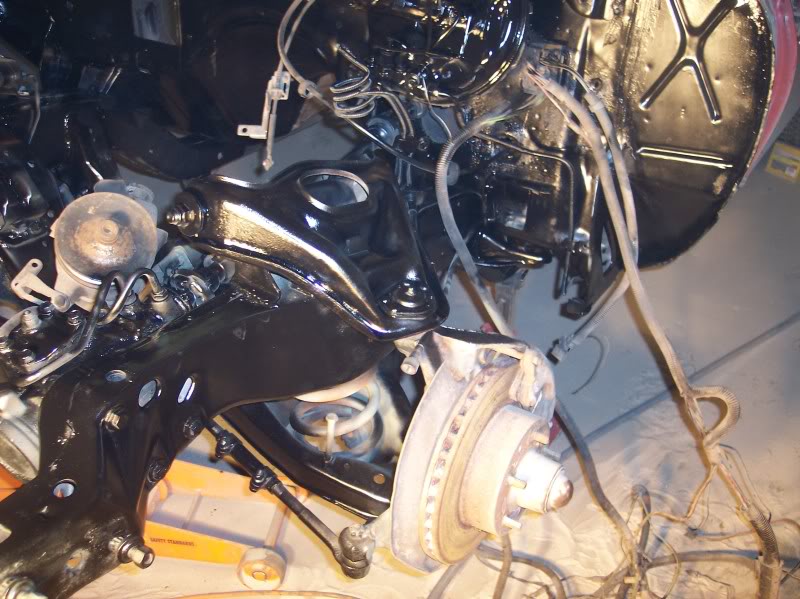
As it is, I am about finished, just a bit to go on the rear end on the top of the diff. I will probably end up painting this weekend with the POR15, at least up to where the firewall comes down and joins the floor. I would rather get the car out and spun around so I can pull the front end up and work on it. I may just use jackstands though...
I'd like to get that A-frame out of here, my brother said I should keep it, I can hang like 3 deer on it! lol, still haven't ever hunted, although I am almost ready, just need a tree stand. That is another money pit on its own. Maybe next season.
So here is the dilemma, they used washers under the frame. Does this look acceptable?
The sandblaster was just bouncing off of all the junk under there. I went at it wit a gasket scraper and my grinder with the cup wheel on it.
This is starting to look better.
Found a bit more cancer. Worse than I thought, although still not too awful bad, just needs a regular patch and not a whole pan. This is it from the topside with the light shining through it.
This is just a photo of the rear diff almost done cleaned up. I doubt I am keeping it though, I want a 3.73 or 4.10 gear to use. This one is like a 2.42 or something stupid. It really aught to get good gas mileage though I suppose.
As it is, I am about finished, just a bit to go on the rear end on the top of the diff. I will probably end up painting this weekend with the POR15, at least up to where the firewall comes down and joins the floor. I would rather get the car out and spun around so I can pull the front end up and work on it. I may just use jackstands though...
I'd like to get that A-frame out of here, my brother said I should keep it, I can hang like 3 deer on it! lol, still haven't ever hunted, although I am almost ready, just need a tree stand. That is another money pit on its own. Maybe next season.
Thread Starter
|
3rd Gear Member
Joined: Sep 2009
Posts: 1,062
From: Morris, IL
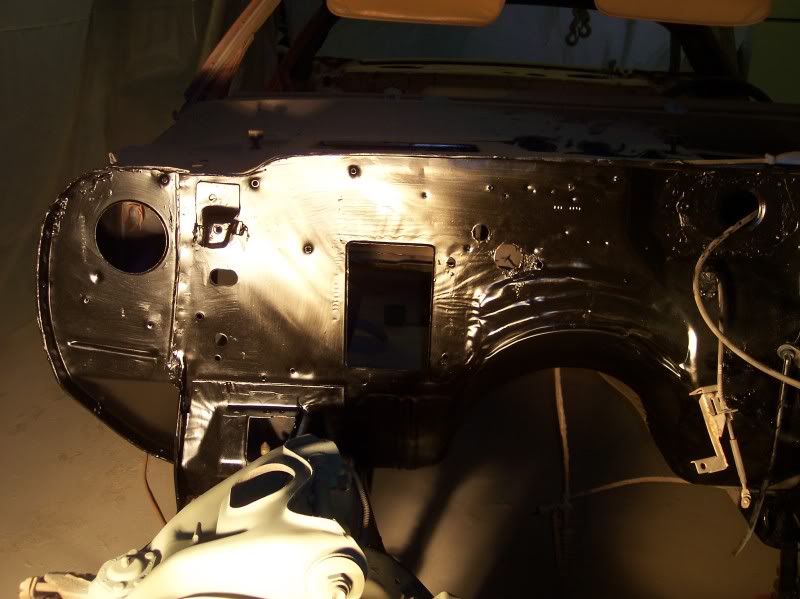
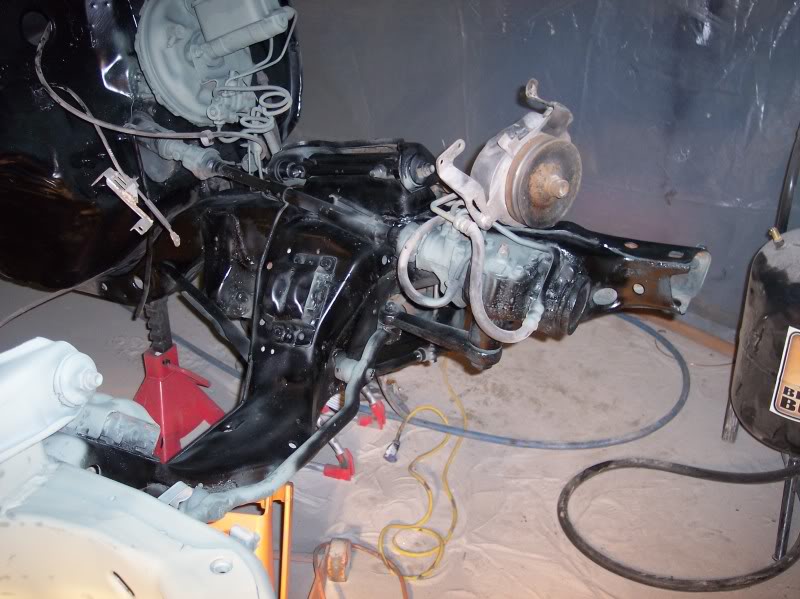
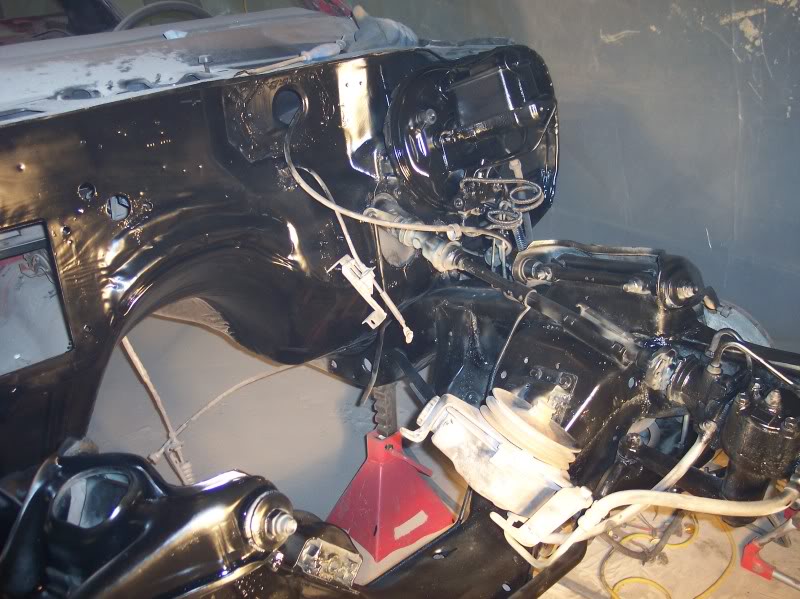
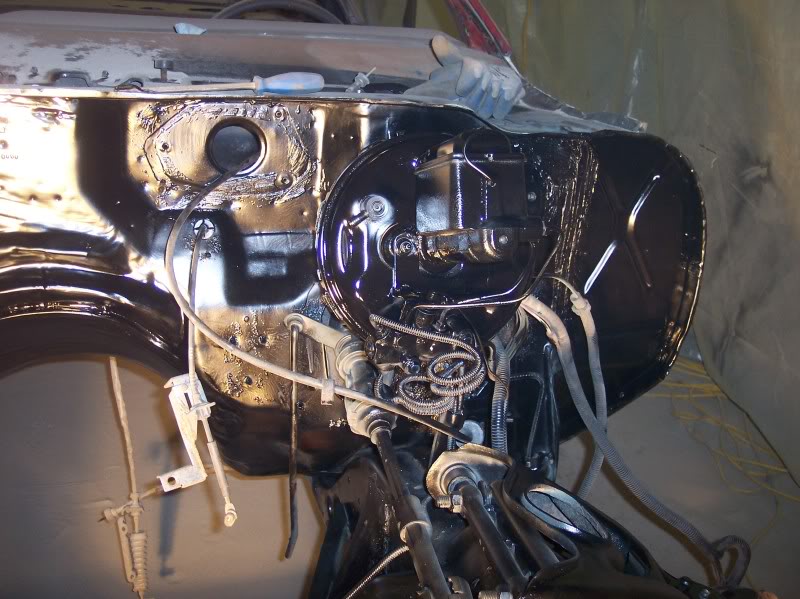
So, It took me about 3.5 hours to get done with what I had ready, now I can drop the car down again and pull the front in the air to do the firewall and front subframe. I am going to work on taking one side apart at a time, sandblasting everything, painting it (need to get another quart of POR15) and putting it back together with the new springs in there.

Skipped a couple spots that need welded up, I'll get them after the fact.
I got some of the POR on my hands, brake cleaner ALMOST gets it off, but not really. Best part: I got some on my ear too, should have wore the suit, but I just wanted to get started and dove right in. I'll take the suit back and get the $12 for something else, like seam caulk.
Thread Starter
|
3rd Gear Member
Joined: Sep 2009
Posts: 1,062
From: Morris, IL
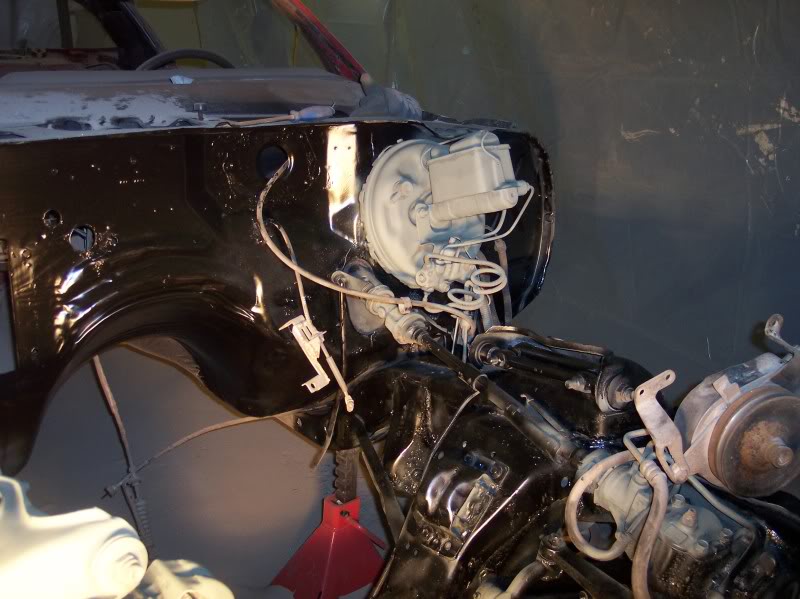
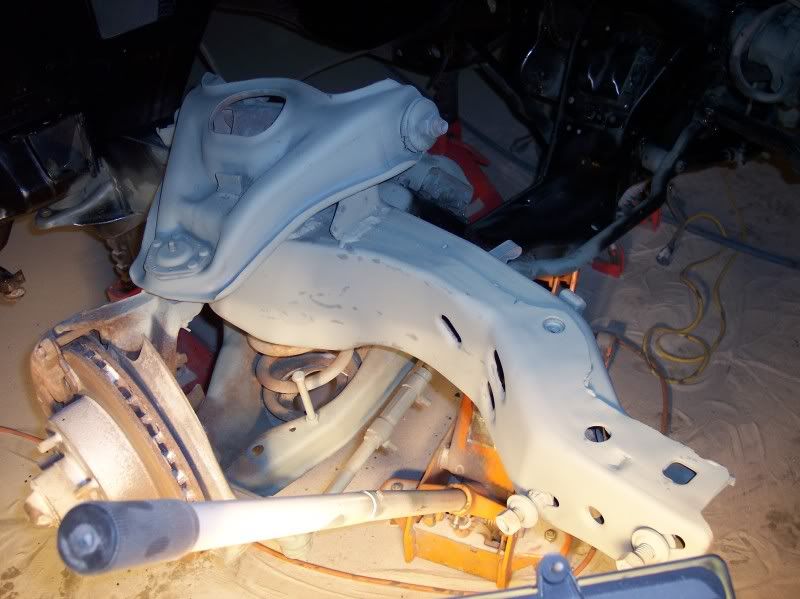
Thanks alot! This is another hurdle, almost there on the exterior except for the body work.
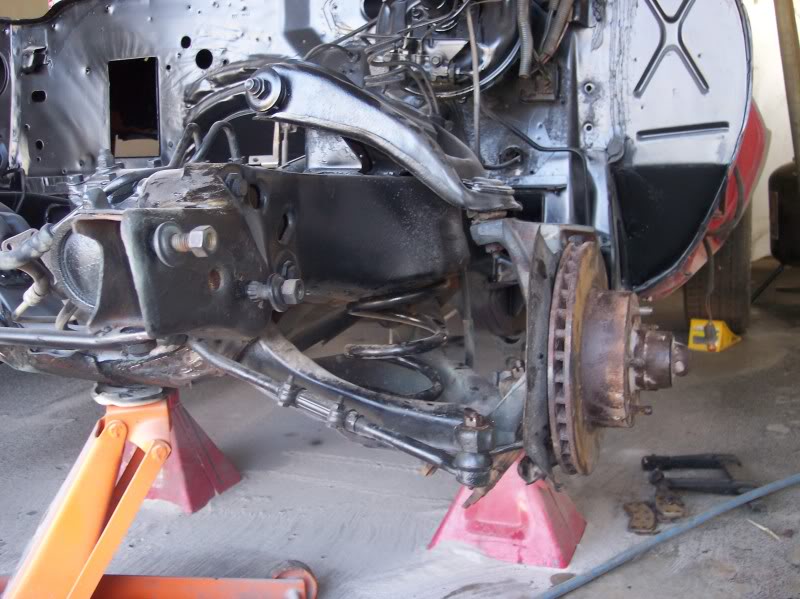
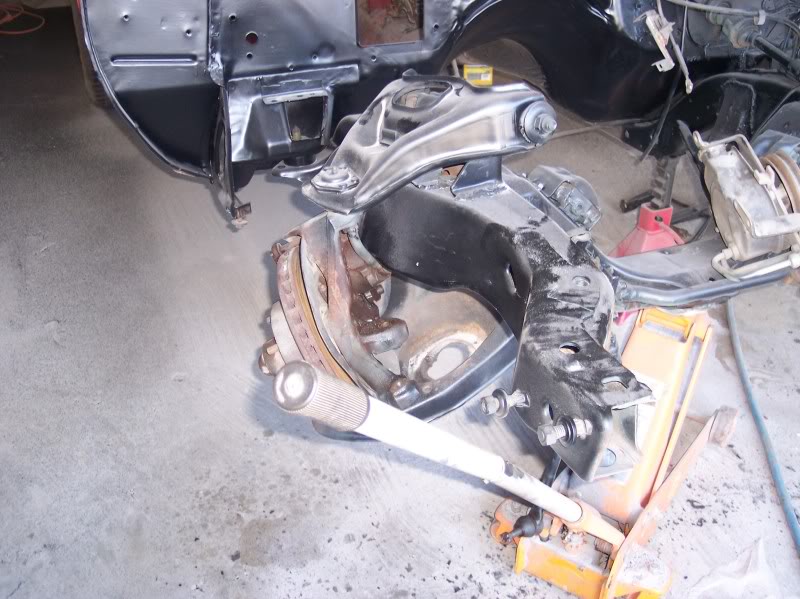
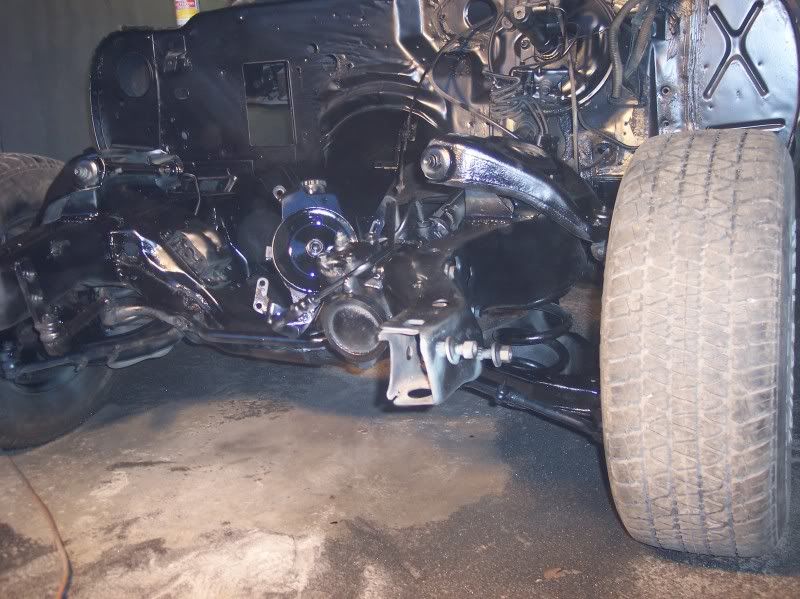
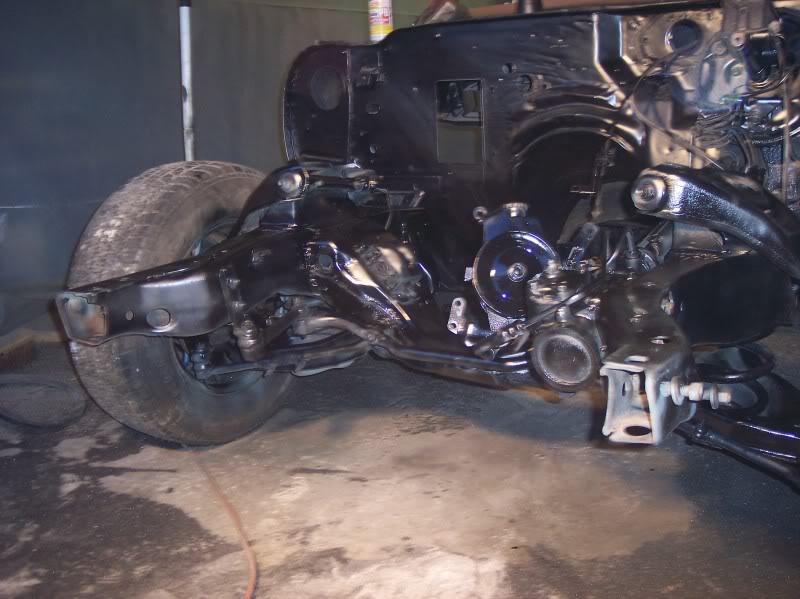
Here are the pics. All I need to do is fine tune the control arm areas as I put the springs in. Going to be moving to the inside of the car next!

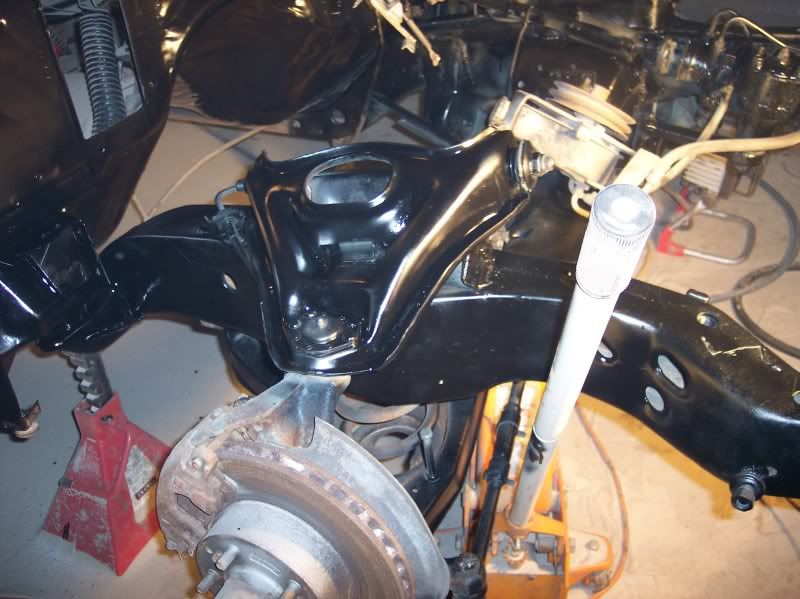
After sandblasting the front and the subframe, the bottom is all dirty now! lol, hopefull I can just wash it off and it will clean up. If not, I'll just paint over it black.
Here are the pics. All I need to do is fine tune the control arm areas as I put the springs in. Going to be moving to the inside of the car next!
After sandblasting the front and the subframe, the bottom is all dirty now! lol, hopefull I can just wash it off and it will clean up. If not, I'll just paint over it black.

Second Generation Moderator
Feb 2010 ROTM winner
Jan 2013 ROTM winner
Feb 2010 ROTM winner
Jan 2013 ROTM winner
Joined: Aug 2008
Posts: 9,097
From: Portland, Or
ROTM Winner's Club
Well if you drive it much when it's done, you'll never be able to keep it clean under there anyway. I wash the underside of mine about twice a year, but a couple weeks after I do it's dusty again, but who cares. I'd rather be driving it than cleaning it anyway! Washed it just last weekend underneath, and today's long drive got it almost as dusty as it was before the wash.

Thread Starter
|
3rd Gear Member
Joined: Sep 2009
Posts: 1,062
From: Morris, IL
Thanks, it just occurred to me that I need to get some seam caulk and go over everything I dug out on the firewall and paint it again.
While your engine is out is definitely the time to clean it. From what I have read on these forums, if you have grease and stuff just spray it with Easy Off Oven Cleaner and scrape it off, then clean it finish it. I just scraped mine and blasted it, the sandblaster would not really go through the grime. Towards the end the sand was getting useless too though. I need to buy some more. Going to try to avoid it though, the only thing I will really need it for at this point is the fenders inside surface and the inner fender wells. I could get away with the wire wheel on that though.
While your engine is out is definitely the time to clean it. From what I have read on these forums, if you have grease and stuff just spray it with Easy Off Oven Cleaner and scrape it off, then clean it finish it. I just scraped mine and blasted it, the sandblaster would not really go through the grime. Towards the end the sand was getting useless too though. I need to buy some more. Going to try to avoid it though, the only thing I will really need it for at this point is the fenders inside surface and the inner fender wells. I could get away with the wire wheel on that though.
Thread Starter
|
3rd Gear Member
Joined: Sep 2009
Posts: 1,062
From: Morris, IL
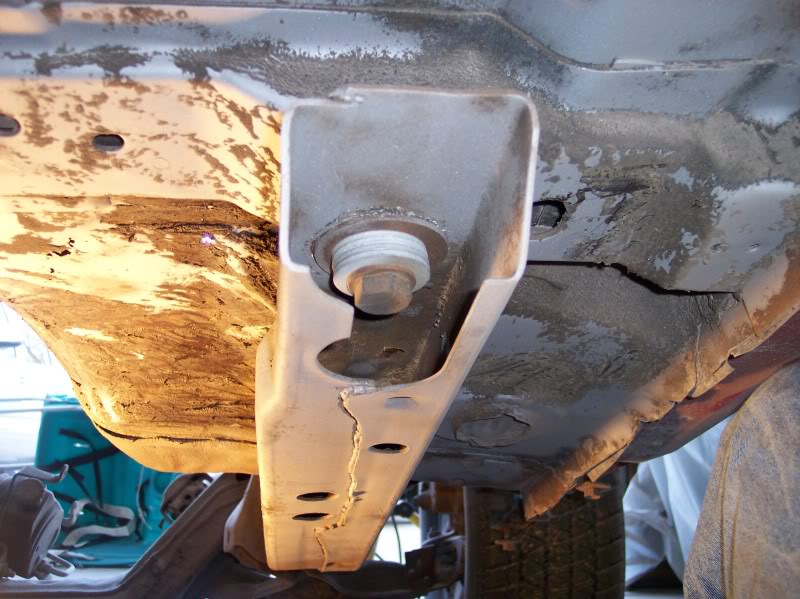
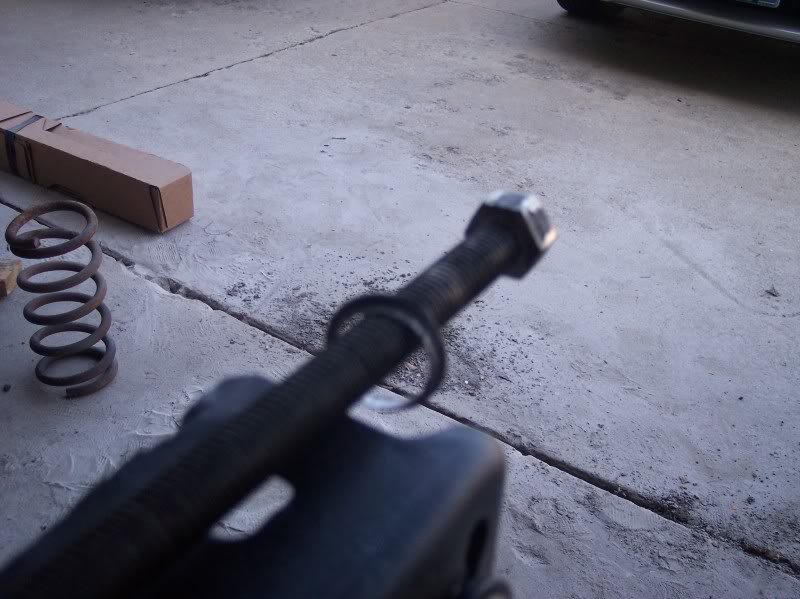
Got some stuff accomplished today. Finally changed out my springs for the ones I paid $10 for. I used the spring compressor tool, droped it through the top hole in the frame and it reached about half way down into the spring, I attached it there and compressed it. I used a 1/2 impact to run it down, and it did not like it one bit, the washer is toast. I'll have to get another grade 8 to replace it with before I give it back to my father in law.
Here is a comparison from the old ones to the new ones. The old ones were cut too much, so much that without the engine in the car they had to be held up with bolts or else the center cross member would drag on the ground.
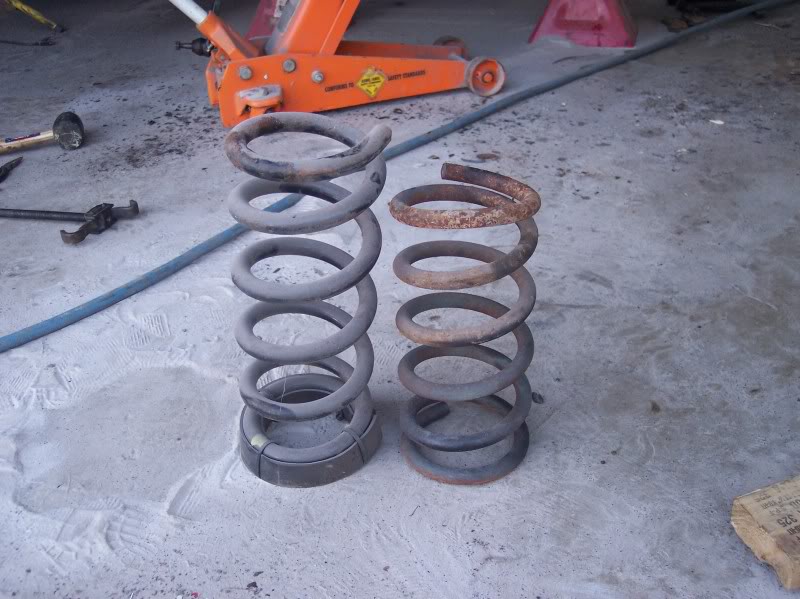
Here is the "washer"... lol
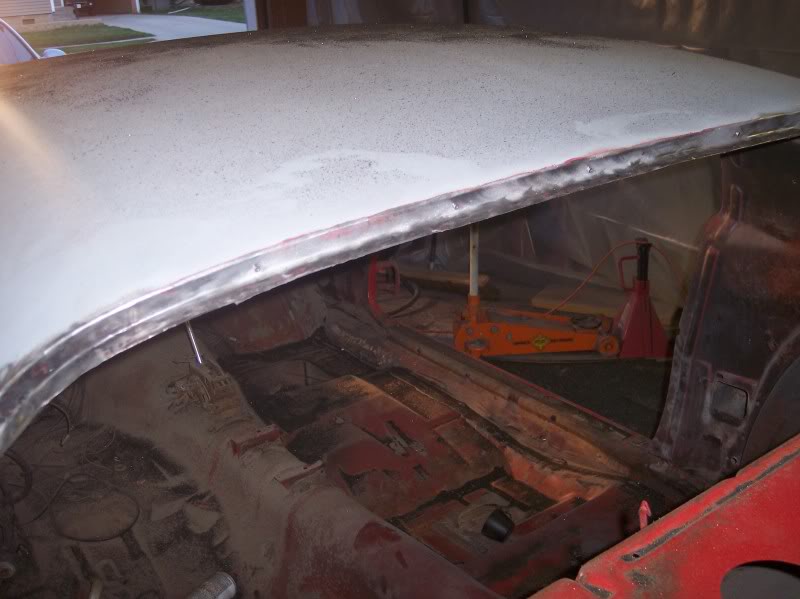
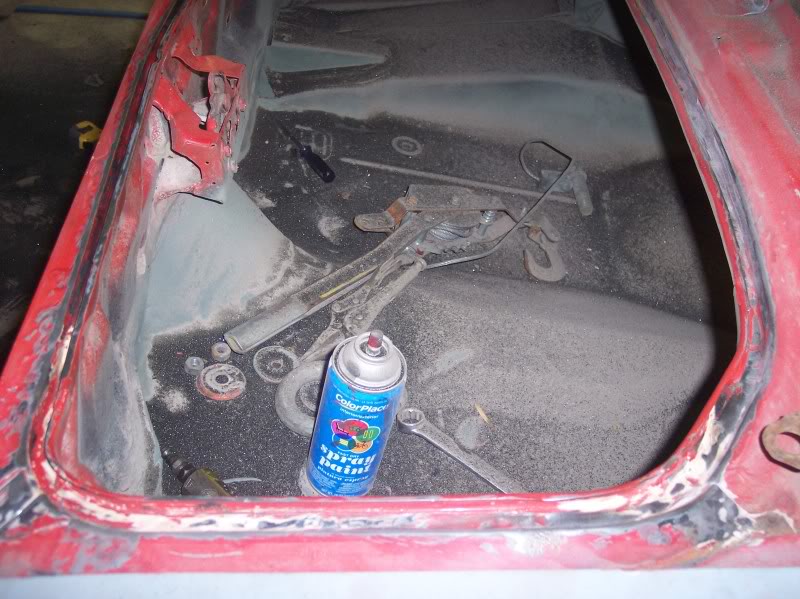
I also cleaned the trunk weather stripping out. And the Rear Window sealer out.
Here is a comparison from the old ones to the new ones. The old ones were cut too much, so much that without the engine in the car they had to be held up with bolts or else the center cross member would drag on the ground.
Here is the "washer"... lol
I also cleaned the trunk weather stripping out. And the Rear Window sealer out.