79 Camaro Project

Thread Tools
 
Search this Thread
 
Old Feb 7, 2010 | 04:20 PM
  #81  
kyphur's Avatar
3rd Gear Member
Joined: Oct 2007
Posts: 1,108
From: Huntsville, AL
Default

Originally Posted by 1971BB427
The later seats will work, but not bolt directly in. I believe my friend used the later seats by simply bolting an offset bracket to one hole and then bolting that to the stock hole. No welding even. I'll check with him to see if I can get a picture of the little offset piece he bent up to fit it.
Basically what I'm saying is that the bolt holes in the floorpan are moved outward from the transmission tunnel on 75 - 81. They're still the same distance apart front to back. But from side-to-side they're about 1 inch closer together side-to-side. Also the bolt holes for the rails on the bottom of the seat are different lengths. 12.75 and 13.25 inches are what I came across. So even if you get the right rails you might have the wrong seats. Mine were 13.25 apart and you can't use the 12.75 even if you expanded the hole just because they're not long enough. They'll mate to the floor just fine but not to the seat.
 
Old Feb 7, 2010 | 06:24 PM
  #82  
ATM's Avatar
ATM
Thread Starter
|
3rd Gear Member
Joined: Sep 2009
Posts: 1,062
From: Morris, IL
Default

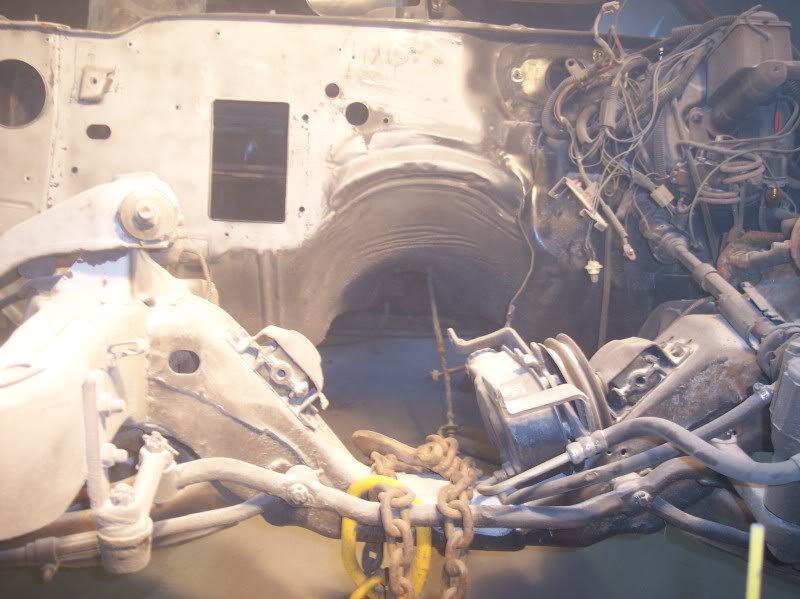
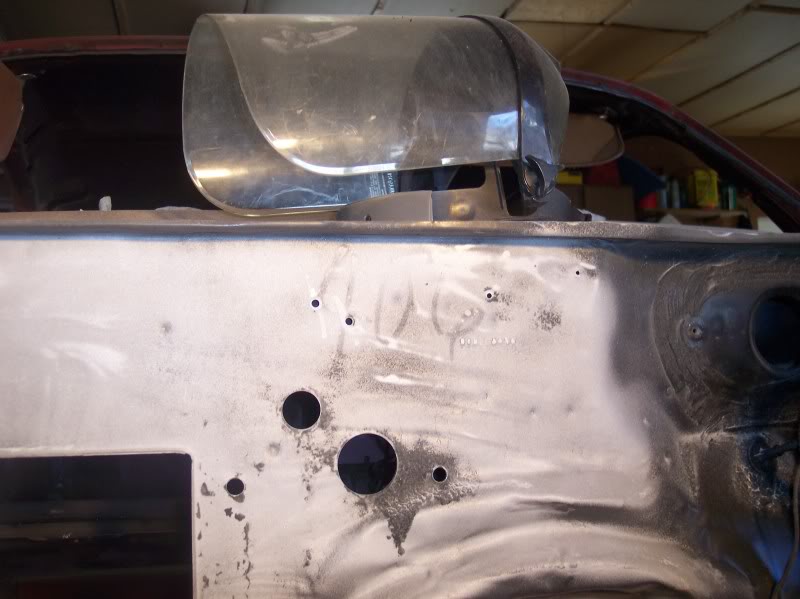
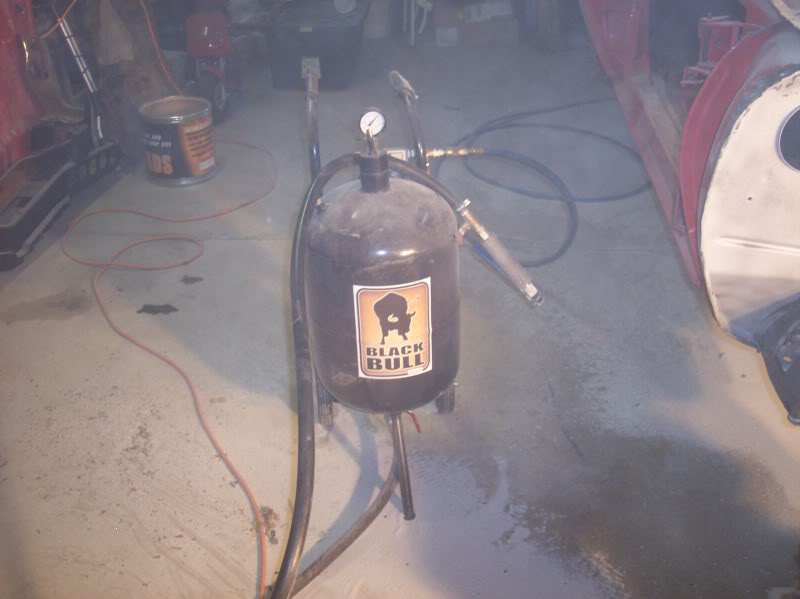
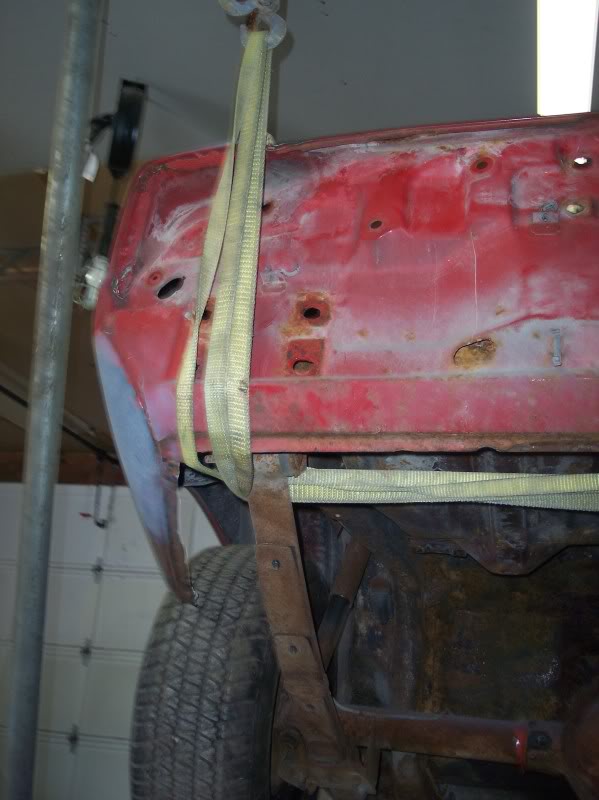
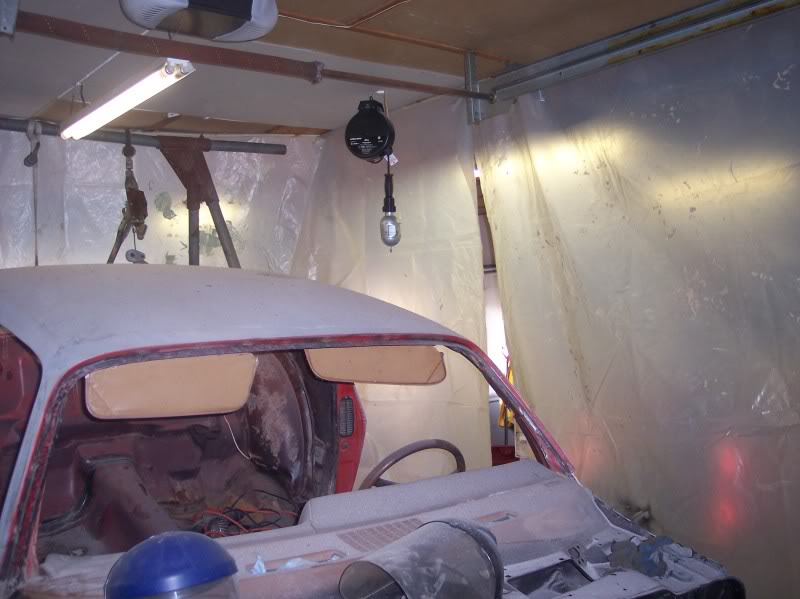
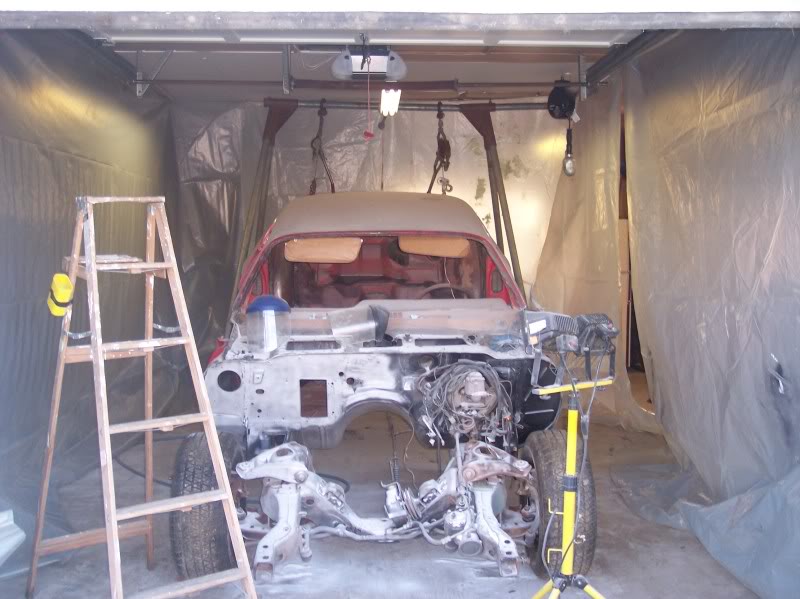
Ok, so I made a bit of progress today. Figured I would go at a bit of sandblasting to see how it was going to work. At first, I had all of the valves all the way open, and the stream seemed to just puke sand out, and surge a good pressure every so often. So I came in and looked it up, it would seem that you need to adjust the flow of the sand using the lower valve, well, once that was right, I did half the firewall in about four minutes flat.
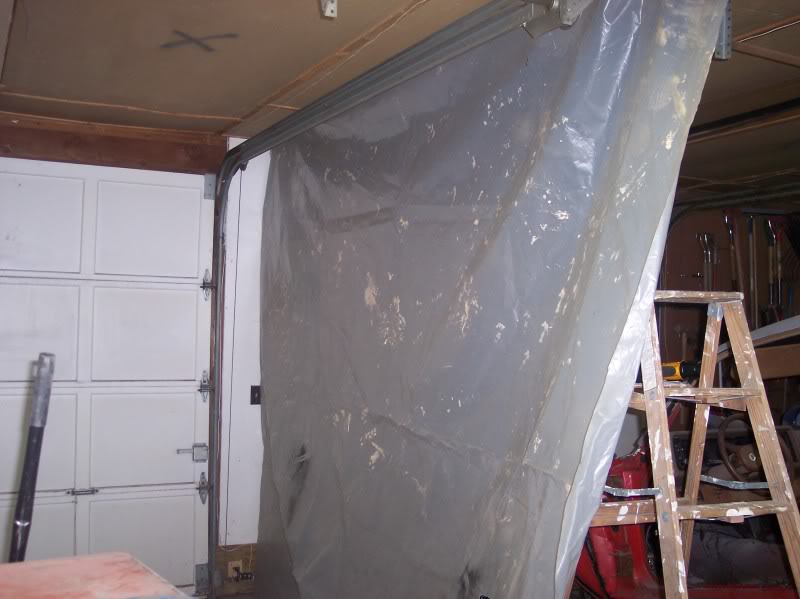
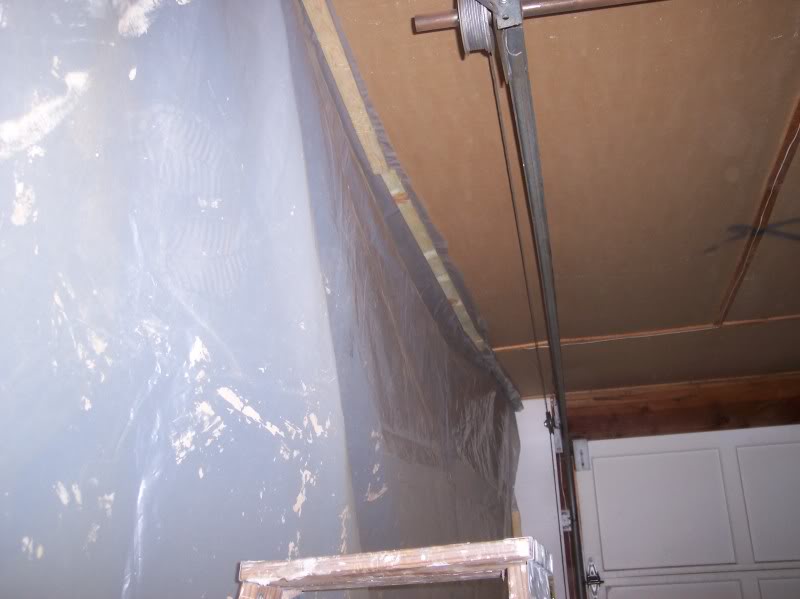
Name:  101_5746.jpg
Views: 119
Size:  90.8 KB

Name:  101_5747.jpg
Views: 114
Size:  71.9 KB


Name:  101_5749.jpg
Views: 104
Size:  50.8 KB

Name:  101_5753.jpg
Views: 103
Size:  69.8 KB

A bit of factory writing…

Name:  101_5754.jpg
Views: 98
Size:  58.6 KB

Name:  101_5752.jpg
Views: 168
Size:  41.8 KB

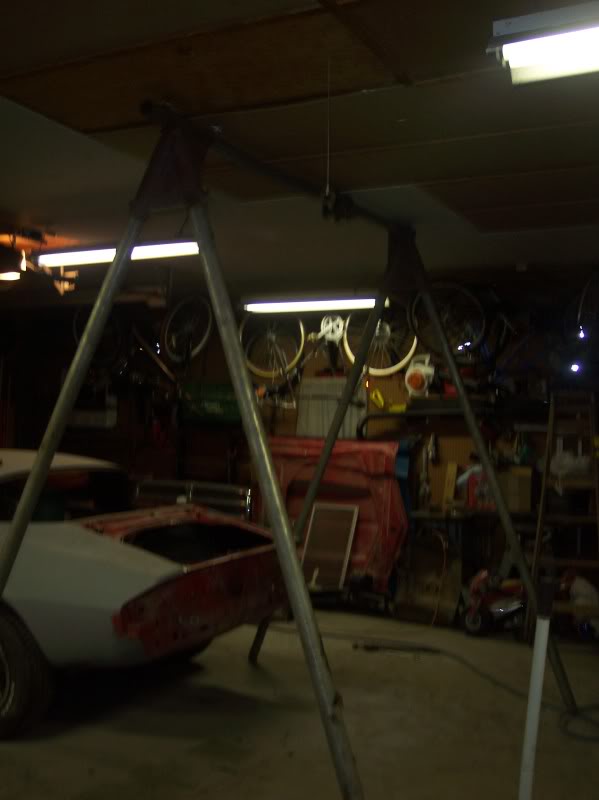
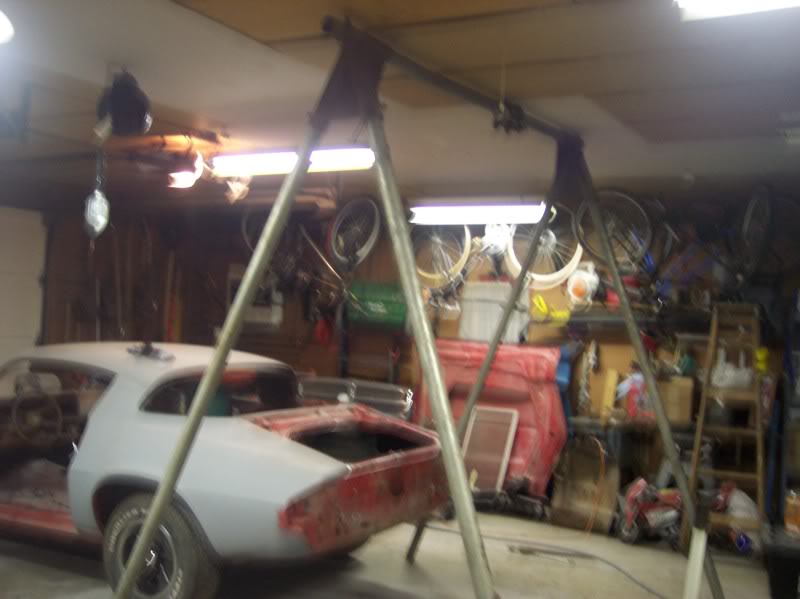
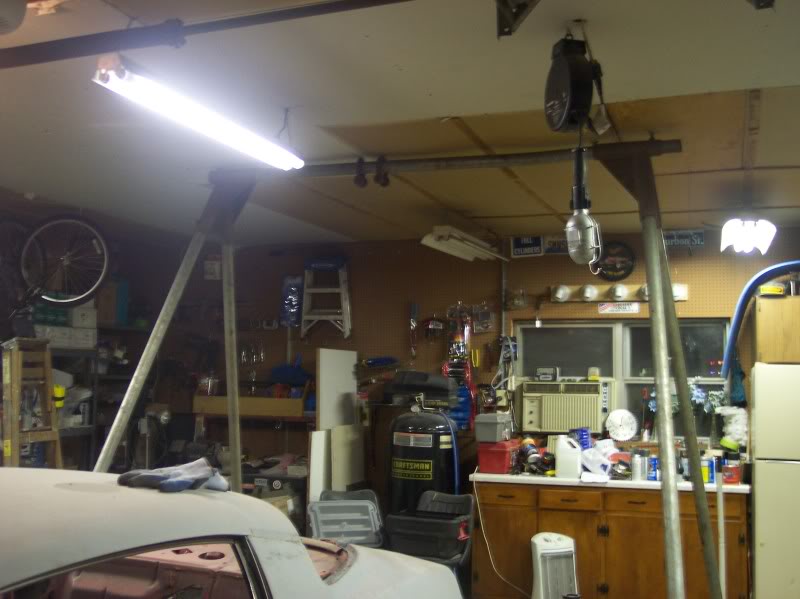
And I got the gantry or whatever it is from my father in law. Perfect fit, the set screws poked holes in the ceiling.

Tomorrow I will get some come a longs and raise the rear and go at the underside with the sandblaster, followed with some etching primer and some POR 15!

Name:  101_5757.jpg
Views: 103
Size:  35.3 KB

Name:  101_5758.jpg
Views: 99
Size:  49.1 KB

Name:  101_5759.jpg
Views: 109
Size:  60.8 KB
 
Old Feb 7, 2010 | 06:33 PM
  #83  
ATM's Avatar
ATM
Thread Starter
|
3rd Gear Member
Joined: Sep 2009
Posts: 1,062
From: Morris, IL
Default

Good day today, I got my sandblasting booth done, and the car up in the air. Now I can work on getting the underside done this week.

Name:  101_5760.jpg
Views: 114
Size:  71.2 KB

Name:  101_5761.jpg
Views: 74
Size:  58.8 KB

Name:  101_5762.jpg
Views: 105
Size:  58.6 KB

Name:  101_5763.jpg
Views: 102
Size:  63.3 KB

Name:  101_5766.jpg
Views: 70
Size:  59.9 KB

 
Old Feb 7, 2010 | 06:35 PM
  #84  
ATM's Avatar
ATM
Thread Starter
|
3rd Gear Member
Joined: Sep 2009
Posts: 1,062
From: Morris, IL
Default

The start of my booth.

Name:  101_5769.jpg
Views: 106
Size:  58.6 KB

Name:  101_5769.jpg
Views: 106
Size:  58.6 KB

Name:  101_5768.jpg
Views: 107
Size:  42.8 KB

Name:  101_5771.jpg
Views: 102
Size:  59.4 KB

Name:  101_5773.jpg
Views: 100
Size:  78.4 KB

So, I have to ask. What are these for? Is it where the bar goes?

Name:  101_5764.jpg
Views: 103
Size:  99.2 KB

Name:  101_5765.jpg
Views: 67
Size:  84.9 KB

Done.
 
Attached Images
File Type: jpg
101_5769.jpg (58.6 KB, 75 views)
Old Feb 7, 2010 | 07:37 PM
  #85  
kyphur's Avatar
3rd Gear Member
Joined: Oct 2007
Posts: 1,108
From: Huntsville, AL
Default

Wow, good progress. Do it right the first time and you'll be a lot happier. After I finish with my drivetrain I'm moving to suspension and then all the bodywork.
 
Old Feb 7, 2010 | 08:16 PM
  #86  
ATM's Avatar
ATM
Thread Starter
|
3rd Gear Member
Joined: Sep 2009
Posts: 1,062
From: Morris, IL
Default

Originally Posted by kyphur
Wow, good progress. Do it right the first time and you'll be a lot happier. After I finish with my drivetrain I'm moving to suspension and then all the bodywork.
Doing it right the first time is the only way. I won't be able to sleep at night.
 
Old Feb 7, 2010 | 11:30 PM
  #87  
1971BB427's Avatar
Second Generation Moderator
Feb 2010 ROTM winner
Jan 2013 ROTM winner
Joined: Aug 2008
Posts: 9,097
From: Portland, Or
ROTM Winner's Club
Default

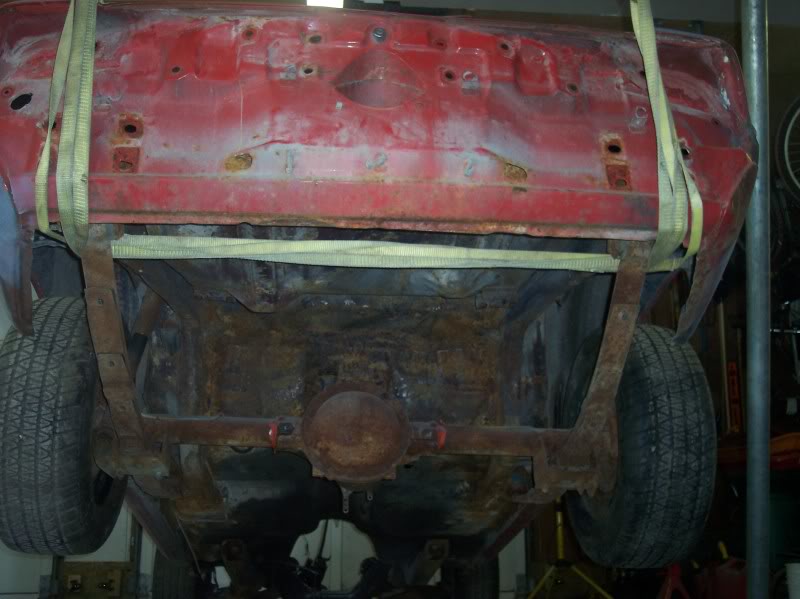
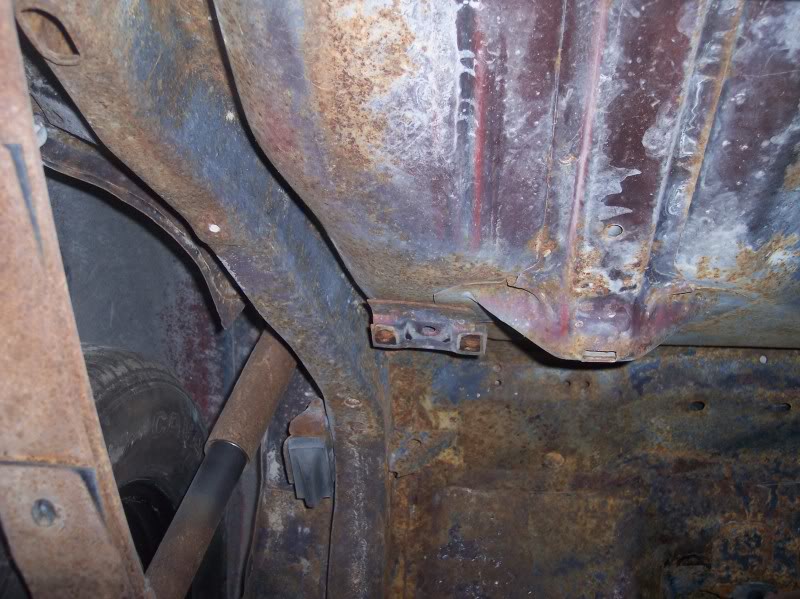
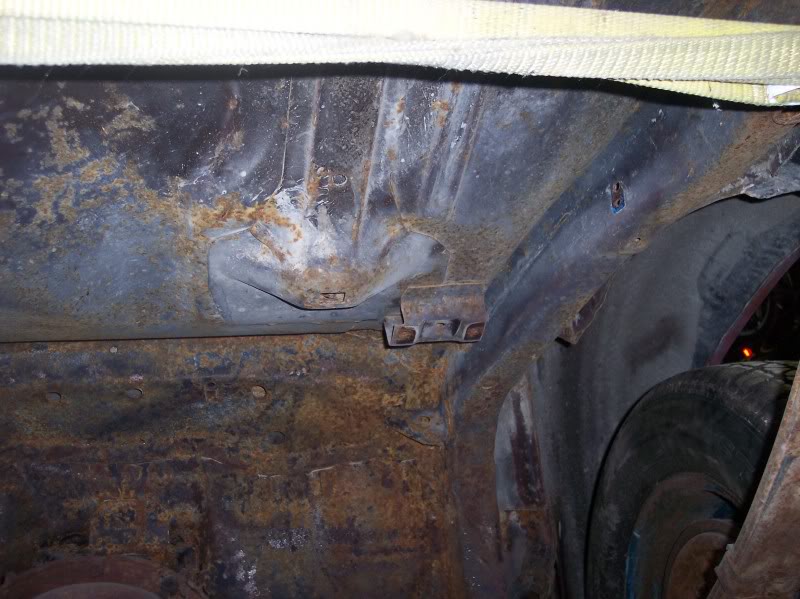
Hmmm....not sure what they're for, but not for the swaybar. The swaybar mounts on the bottom of the frame rail directly to the right and left of those brackets. It also mounts 90 degrees to those, so those wouldn't work in that direction for the swaybar.
 
Old Feb 7, 2010 | 11:32 PM
  #88  
1971BB427's Avatar
Second Generation Moderator
Feb 2010 ROTM winner
Jan 2013 ROTM winner
Joined: Aug 2008
Posts: 9,097
From: Portland, Or
ROTM Winner's Club
Default

Better come up with some bolt on brackets to hook to the bumper locations, or you wont be able to remove the rearend!
 
Old Feb 8, 2010 | 07:09 AM
  #89  
ATM's Avatar
ATM
Thread Starter
|
3rd Gear Member
Joined: Sep 2009
Posts: 1,062
From: Morris, IL
Default

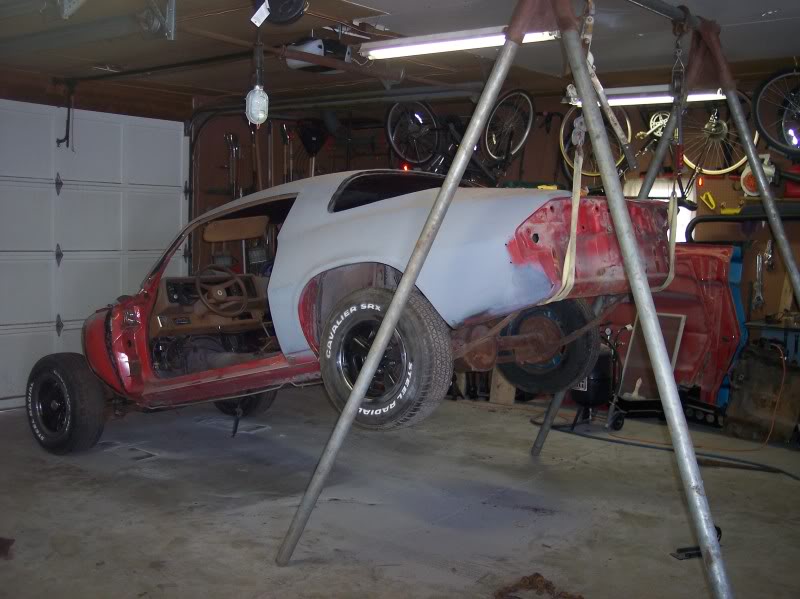
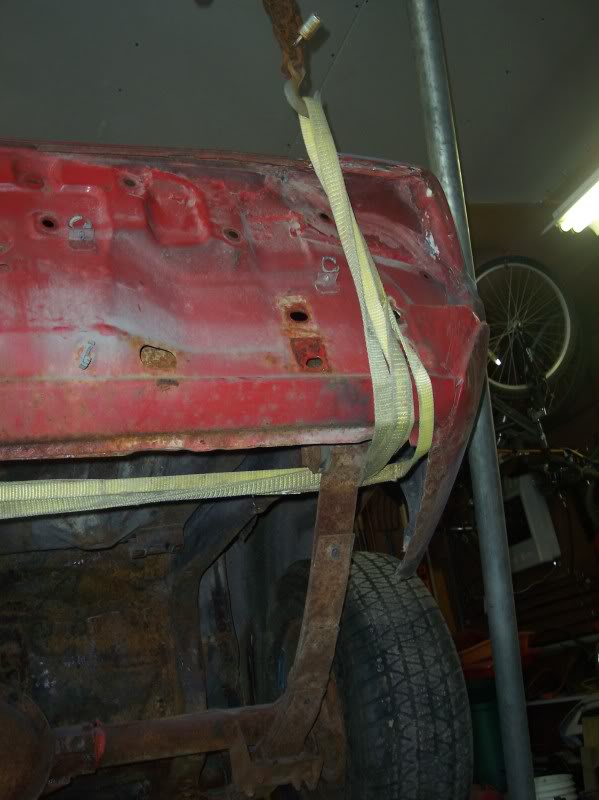
I think for now, the rear end is staying right where it is. I tried using the eyebolts in the bumper location, and the metal started to bend. I figured it would. I am thinking either a piece of bar, bolted through the two holes on each side, with about a 45 degree bend out in the top, and a hole in it to hook a come a long to. One on each side. I have no metal working tools though, I can torch, but not weld. I need to learn.
 
Old Feb 8, 2010 | 10:22 PM
  #90  
kyphur's Avatar
3rd Gear Member
Joined: Oct 2007
Posts: 1,108
From: Huntsville, AL
Default

I think those brackets are to hold rubber bumpers. I have them on mine but it's been a while since I've been under the back end to remember 100%. It might've been for the original over the axle exhaust.


All times are GMT -5. The time now is 09:28 AM.