
So here it goes, my project thread (2nd gen)


#303
 05-17-2011, 08:08 AM
real, Camaro parts only had the rear? Ok. Sorry. I didn't notice if it was a front or rear that I was holding. That sucks. Nice repair job then.
I bought the stickers for mine. I am going to try to fabricate a mounting bracket out of plastic.
I bought the stickers for mine. I am going to try to fabricate a mounting bracket out of plastic.
#305
05-17-2011, 10:03 AM

Join Date: Aug 2008
Location: Portland, Or
Posts: 9,097
Nice repair Damon! I usually try to fix things every time vs. replacing them, just to see if I can do it. Time is free, so if it saves money and I'm successful, then I'm happy!
#306
05-18-2011, 12:30 PM
I finally stopped by the machine shop yesterday to see about getting my hubs turned down to fir in my rotors. I think I'm gonna pass on the 75 bucks EACH. I can wait until my company moves into our new building, I'll have access to a lathe then. Plus any other fab tool I can think of.
#307
05-18-2011, 08:24 PM
Join Date: Aug 2008
Location: Portland, Or
Posts: 9,097
$75 ea. seems a bit steep considering it doesn't need to be perfect, or mirror finish. Just cut down a bit to fit inside, and they center on the studs, not the hub. How much needs to come off to make them fit Damon?
Maybe you could find some hi school kid to do it in his shop class? Or a community college??
Maybe you could find some hi school kid to do it in his shop class? Or a community college??
#308
05-19-2011, 02:19 AM
Crap! Ya know whats next to the electronics lab? MACHINE SHOP. I talk with those guys all the time on my way to class. I'm not sure they have summer classes though. I'm donr till fall too.
To answer your question maybe .060" , not much. I am not paying that much. If I did the full on billet hubs are like $300, not alot more.
To answer your question maybe .060" , not much. I am not paying that much. If I did the full on billet hubs are like $300, not alot more.
#309
05-20-2011, 10:42 AM
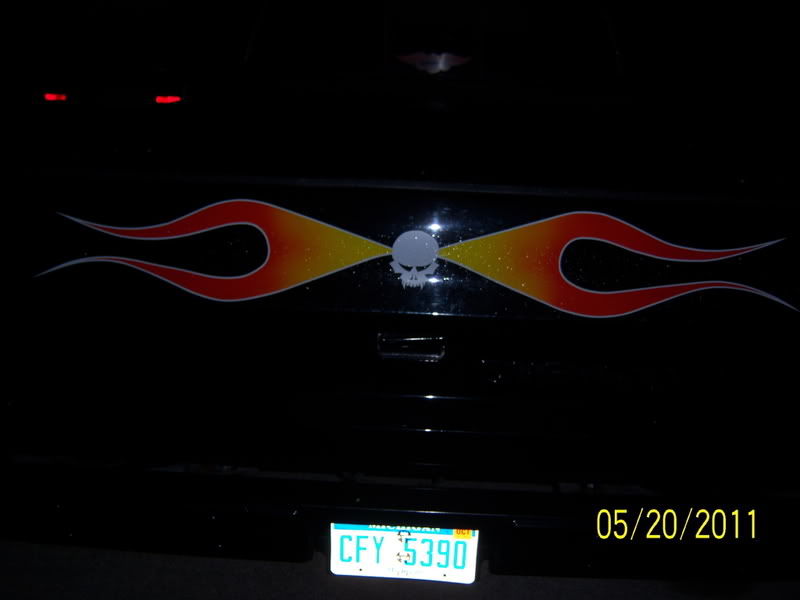
I posted one pic over in Valls thread, but here are some more. For those that don't know its a 81 SWB Chevy. Instead of tubbing they put a duelie bed on it. Convert top is one of the best I've seen. Nasty 350 under the hood. We terrorized my subdivision at 2am.
Blazer seats, the tracks need to be cut down. I drive a 86 SWB 4x4 everyday. His seats had me way too high.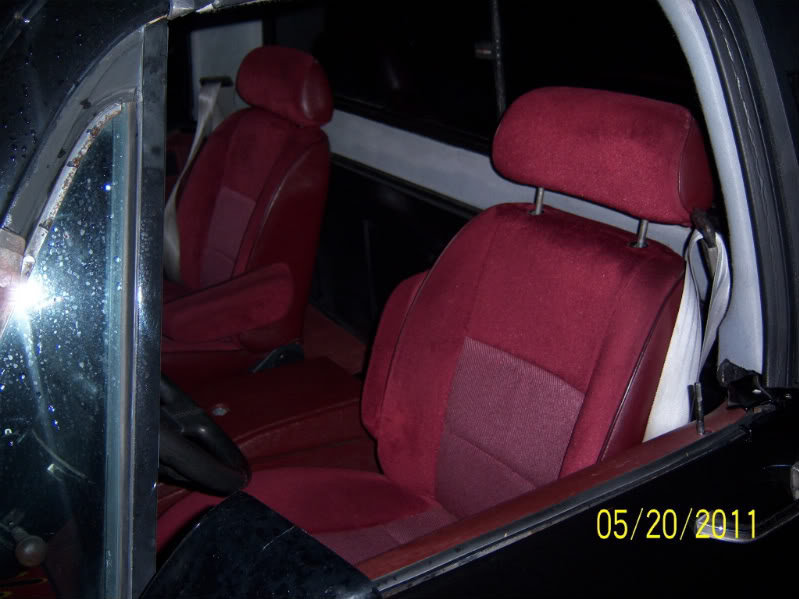
The top is Blazer too. No window frames.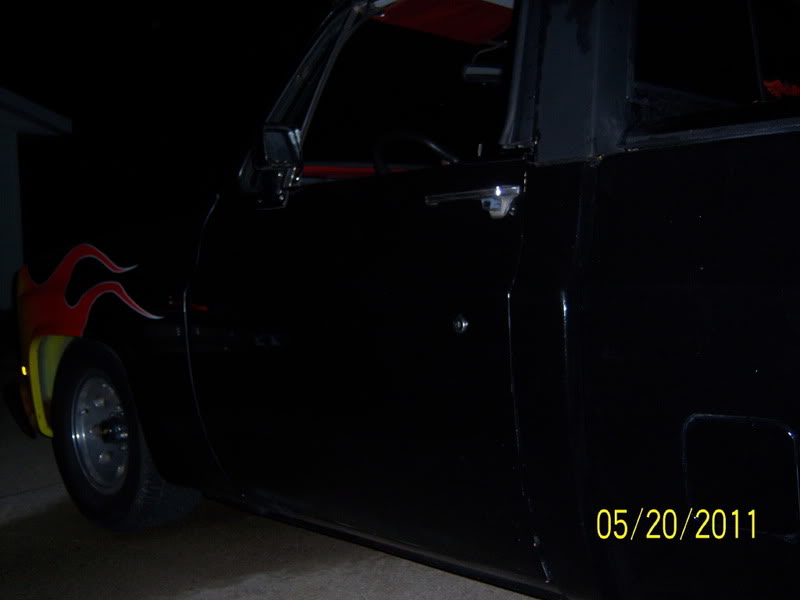
Dig the stock center caps on the 33x19.5 (I think)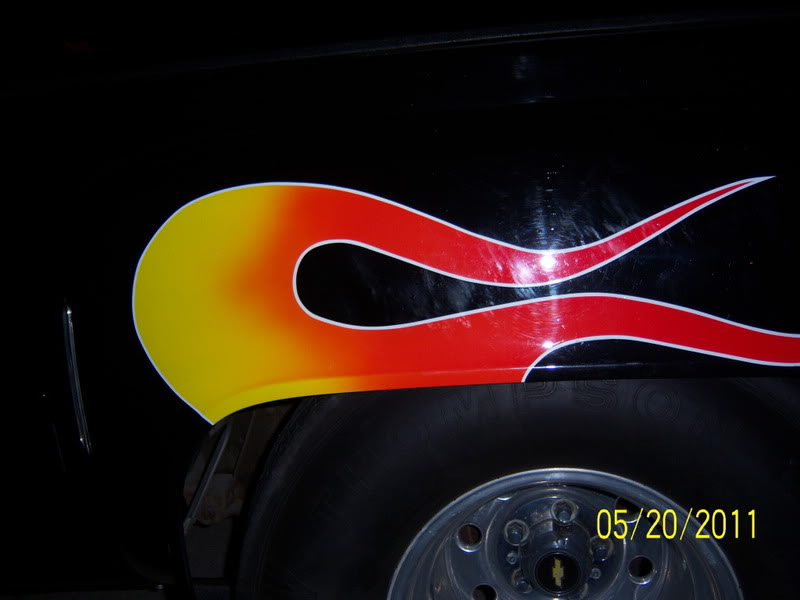
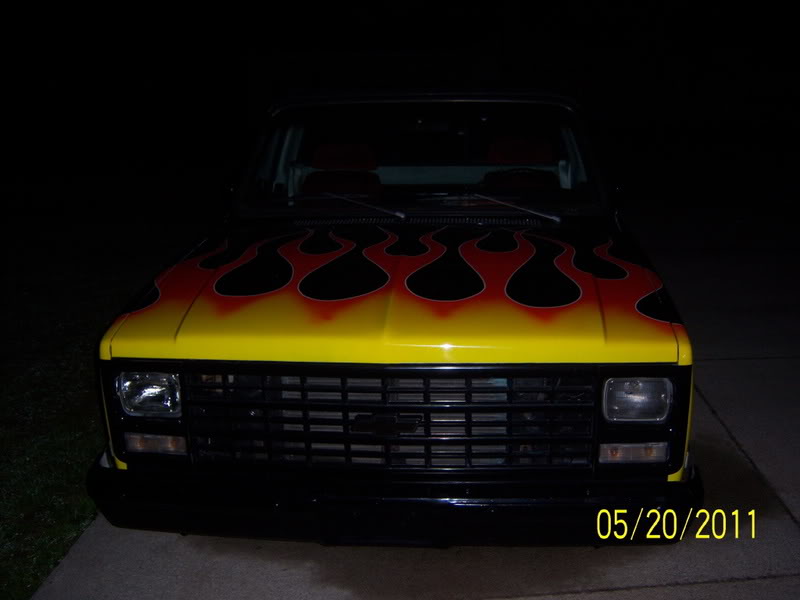
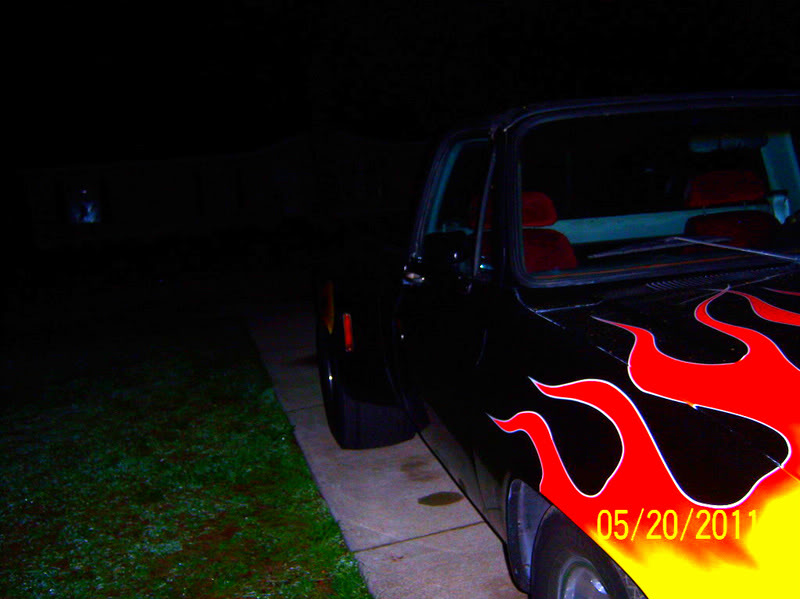
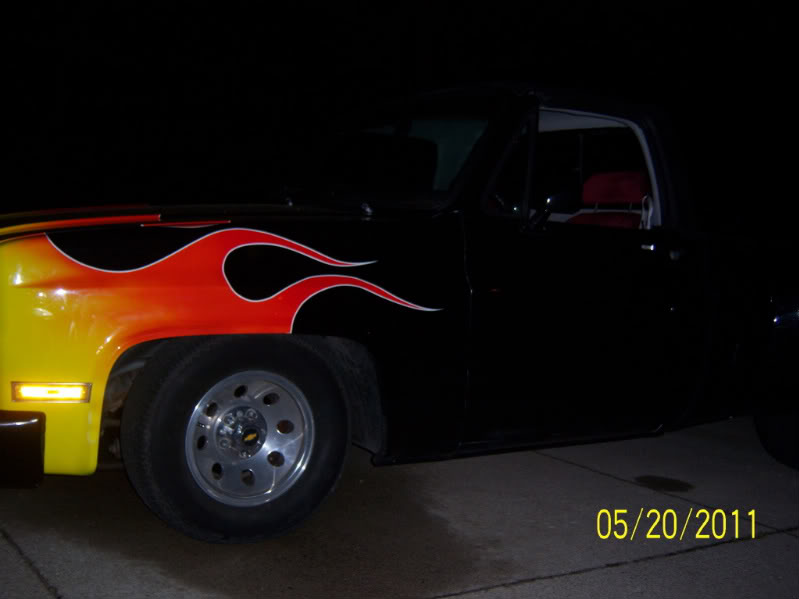
I'm gonna go down to this guys shop soon to meet his buddies and build some more connections. He showed me picks of their shop, its awesome. We couldn't really lay in the motor because it rained earlier and everything was wet plus I didn't know the guy and we were drinking. I wasn't drunk but I had now idea if he was. Just thought I'd share, I'm a personable guy and strike conversations all over the place. This on got me a ride in a nice truck. Good thing I live two blocks from the bar, he gave me big props on the Camaro. -Damon
Blazer seats, the tracks need to be cut down. I drive a 86 SWB 4x4 everyday. His seats had me way too high.
The top is Blazer too. No window frames.
Dig the stock center caps on the 33x19.5 (I think)
I'm gonna go down to this guys shop soon to meet his buddies and build some more connections. He showed me picks of their shop, its awesome. We couldn't really lay in the motor because it rained earlier and everything was wet plus I didn't know the guy and we were drinking. I wasn't drunk but I had now idea if he was. Just thought I'd share, I'm a personable guy and strike conversations all over the place. This on got me a ride in a nice truck. Good thing I live two blocks from the bar, he gave me big props on the Camaro. -Damon
#310
05-25-2011, 11:40 AM
I am shooting for Friday to fire the motor for the first time. I've been putting it off for some time. Not sure why. I primed it, adjusted the lifters, stabbed the dizzy, wired the starter and got my alternator bracket working. I was warned about that, but a slight mod got me going. I need to double check all my fasteners, get a lower rad hose, rig the fuel pump wiring, and connect the pump to the cell.
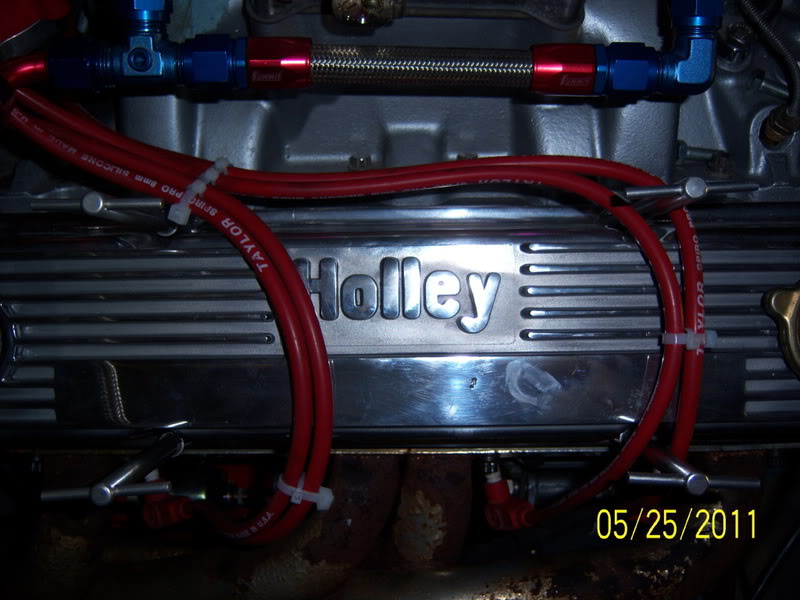
Check out my billet plastic wire separators. I got the idea from Horsepower TV really. I like them for their simplicity.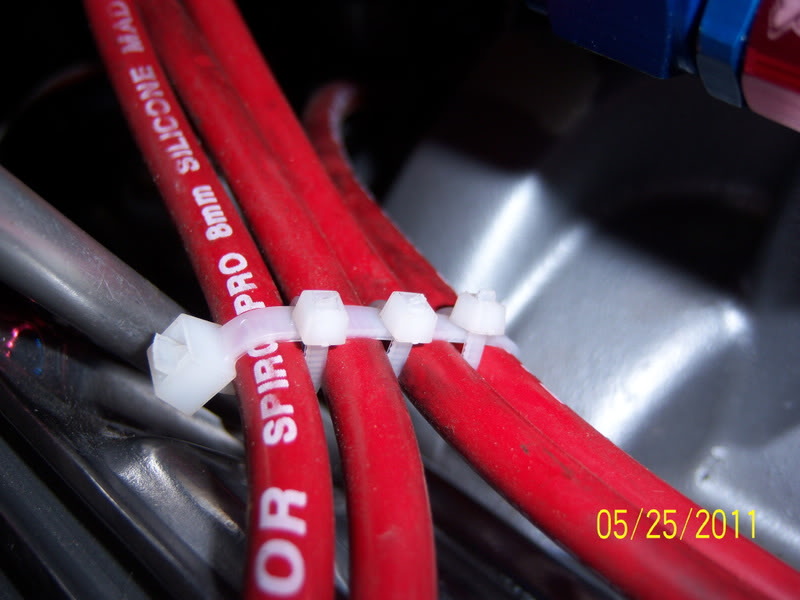
Heres the oil pump primrer. I know everyone has a homemade one. Here's mine. I gutted a stock HEI.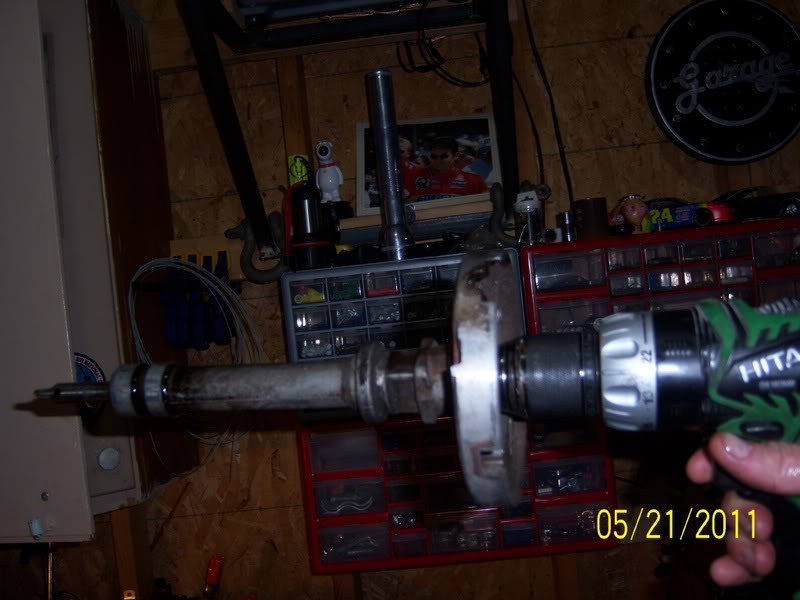
Her's my louse alt. bracket. The turn buckle isn't long enough. So I made up the difference with billet bar stock. I use and old alternator for mock up because its the right size. I'll be pulling it and repolishing it. I think it has new guts, but I can't remember.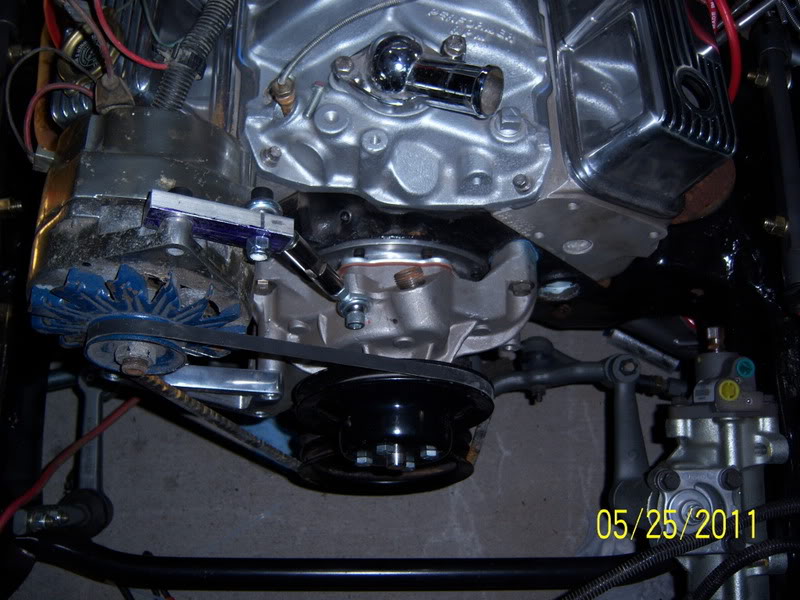