The "Slow but Steady" '78 Project Build
#431
Finally got the front subframe finished up with the topcoat. The metallic looked great when the sun was shining on it. I realize most of it won't be seen but I won't have to worry about the discoloration now. Wanted to show another pic of the lower control arm that I took out of the molasses today. Man, that solution must be getting angrier with age! That control arm was so completely covered in rust when it went in there and now most of it looks like brand new without ever touching it with a wire wheel or sandblaster. Cool stuff, plus as a bonus, you can pretty much get drunk off the fumes from the fermented solution just standing over it.
#432
Looks nice. I welded my frame rails and worried just as much about the ones going against the floor as the ones that were visible. So yeah I understand the need to have it look good. Heck I was sanding the firewall one day when I realized I was working on perfection. The sad part was very little is visible and I was worried about sanding lines.
#433
I have a tough time stopping at a certain "good enough" point on a lot of this frame and firewall cleaning. You're right, so much of it will be covered up but it's tough to call it good after working so hard to get it looking decent. There were quite a few spots where the POR 15 didn't have the same sheen as others. Doing the topcoat just helped it look like it's finished, and I'm glad it is. I need to go back and look at some of your pics, did you use any type of filler on your firewall? Again, there's too much of it covered up but they do look nice all smoothed.
#435
You're probably right Vall! My plan was to recycle some of the twist ties from a couple loaves of bread to hold the Yugo powerplant in there though. Appreciate the nice comment also sir.
#438
You're right too Damon, and they come in many different colors depending on your mood!
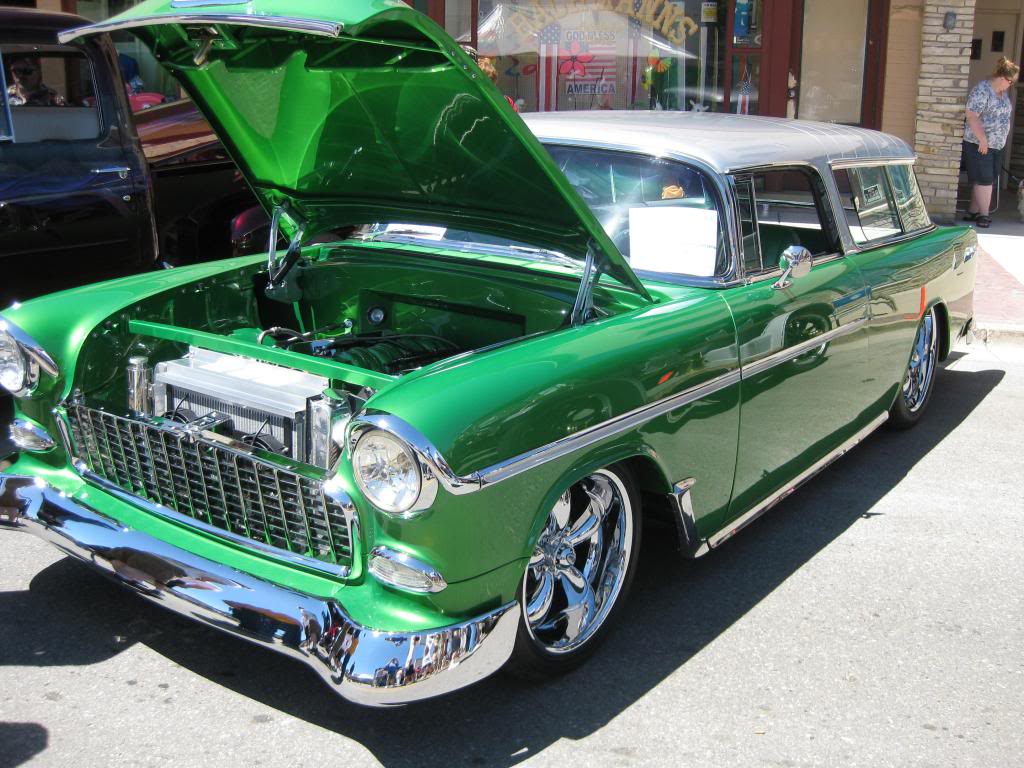
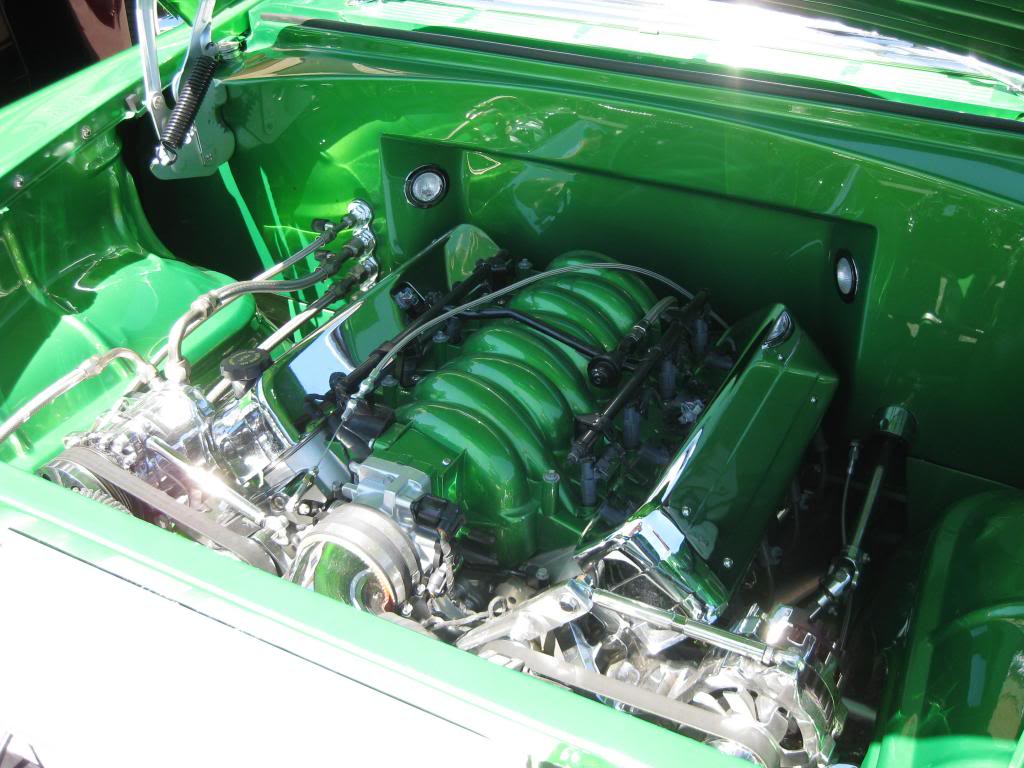
Alright, some seriousness now - spindles. Had a little league baseball filled weekend so I didn't get very far on the front end assembly. If I'm feeling better tomorrow I hope to dive back in and get some new parts sent home. My question regarding the spindles is if there is anything I need/should be doing to them before putting them back in the Camaro? I know zero about them, but there was grease in there, so I want to check. I didn't do anything but remove the dust shields and clean them up. The reason I ask is that I read that there is a spindle washer and they should be replaced every time they are removed. Wondering if it doesn't hold a bearing inside there? Excuse the ignorance. There's an inner and outer wheel bearing correct? I saw a bearing in the rotor at removal but don't know where the other would be if not in the spindle? As always, help and guidance is sincerely appreciated! I really want to make this a productive week. Getting tired already of seeing everyone else rolling around town in their hot rods knowing I've got so far to go. I saw the most beautiful green Nomad in town yesterday but couldn't a pic fast enough! Looked kinda like Foose got his hands on it!
Alright, some seriousness now - spindles. Had a little league baseball filled weekend so I didn't get very far on the front end assembly. If I'm feeling better tomorrow I hope to dive back in and get some new parts sent home. My question regarding the spindles is if there is anything I need/should be doing to them before putting them back in the Camaro? I know zero about them, but there was grease in there, so I want to check. I didn't do anything but remove the dust shields and clean them up. The reason I ask is that I read that there is a spindle washer and they should be replaced every time they are removed. Wondering if it doesn't hold a bearing inside there? Excuse the ignorance. There's an inner and outer wheel bearing correct? I saw a bearing in the rotor at removal but don't know where the other would be if not in the spindle? As always, help and guidance is sincerely appreciated! I really want to make this a productive week. Getting tired already of seeing everyone else rolling around town in their hot rods knowing I've got so far to go. I saw the most beautiful green Nomad in town yesterday but couldn't a pic fast enough! Looked kinda like Foose got his hands on it!
#439
Tim, I think I've seen the same Nomad. It was at the Central Lake car show maybe 3 or 4 years ago(the last one). If it's the same one, it was a local custom shop that did the build and it has an LS1 in it. Awesome car! I may have a picture. I'll post it if I can find it. Too bad the Chamber of Commerce didn't choose to support that show anymore, it was a good show.


