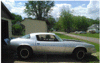
79 Camaro Project
#961
 08-27-2013, 04:41 PM


Join Date: Aug 2008
Location: Portland, Or
Posts: 9,097
If you can wiggle the alternator when it's all bolted up tight, then it's not stout enough. If you set the belt up loose enough to slip over the cogs, it's too loose. If it's just tight enough to not slip, then it's tight enough.
I had to figure it all out myself, as everywhere I looked I couldn't find anyone using gilmer belts without a blower. The blower guys were the ones who warned me about too much tension, which really helped.
I had to figure it all out myself, as everywhere I looked I couldn't find anyone using gilmer belts without a blower. The blower guys were the ones who warned me about too much tension, which really helped.
#963
08-27-2013, 05:35 PM
Join Date: Aug 2008
Location: Portland, Or
Posts: 9,097
I bought a tensioner for a late model Chevy truck with serpentine belt off Fleabay. It will require me to build a mounting bracket to locate it so it rests against the outside of the belt. The Chevy truck tensioner was $20 and free shipping, and I chose it because it used a single bolt mount, and has a smooth roller that can run against the belt, and not a pulley with shoulders.
The one I bought is a Gates #38108

The one I bought is a Gates #38108
#964
08-27-2013, 07:37 PM
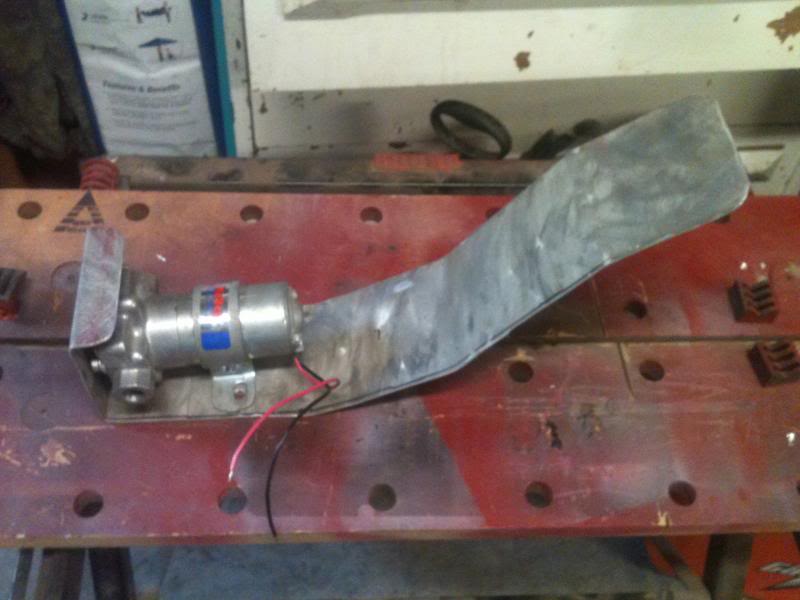
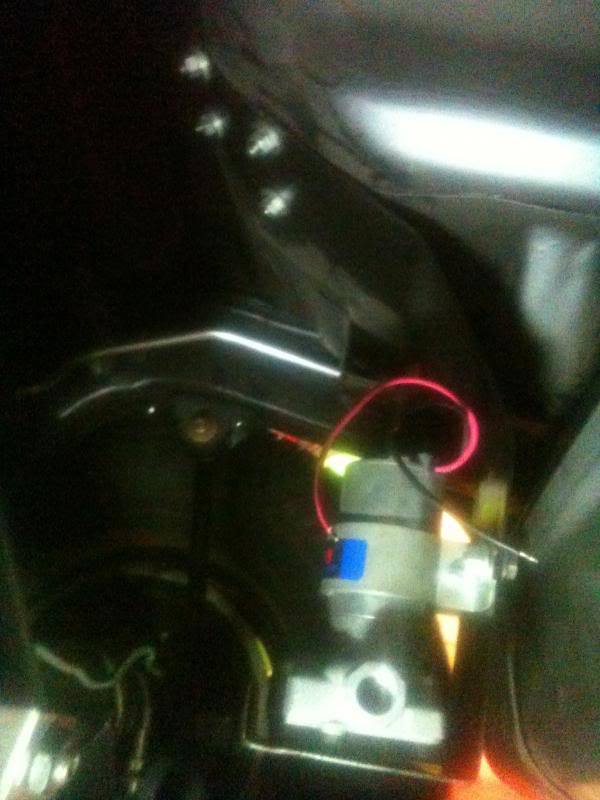
I took a street sign that was in the scrap pile at the city dump and made a bracket for my electric fuel pump. It is made out of 1/8" aluminum, I cleaned all of the paint off of it, had to rip it down and grind the radius on the corners like the other ones, and bent it in to shape. I saw this before similarly installed on another car like ours. I'll put it in tomorrow after work.
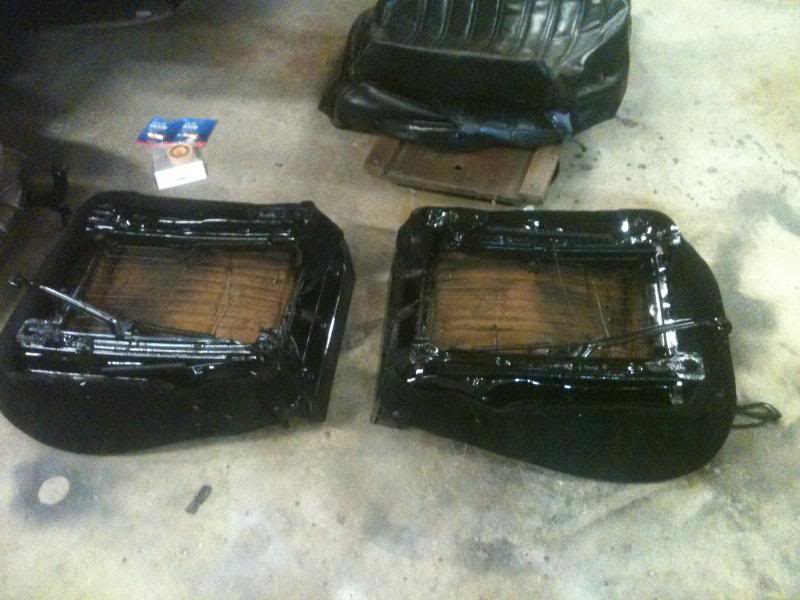
My Dad came over today and pulled the seats apart and put some of the covers I got off of a NastyZ28 member. They are just on there now to stretch back out, he is going to pull them off tomorrow and clean and paint the metal arms and the seat tracks, then we'll put them together for good. It'll be nice if my father starts helping with this, I could use it that is for sure. Here are some pics.
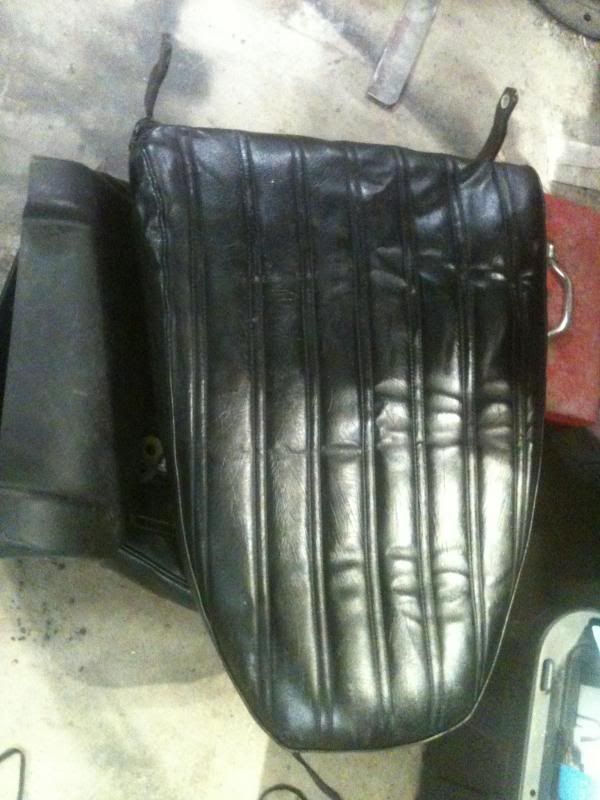
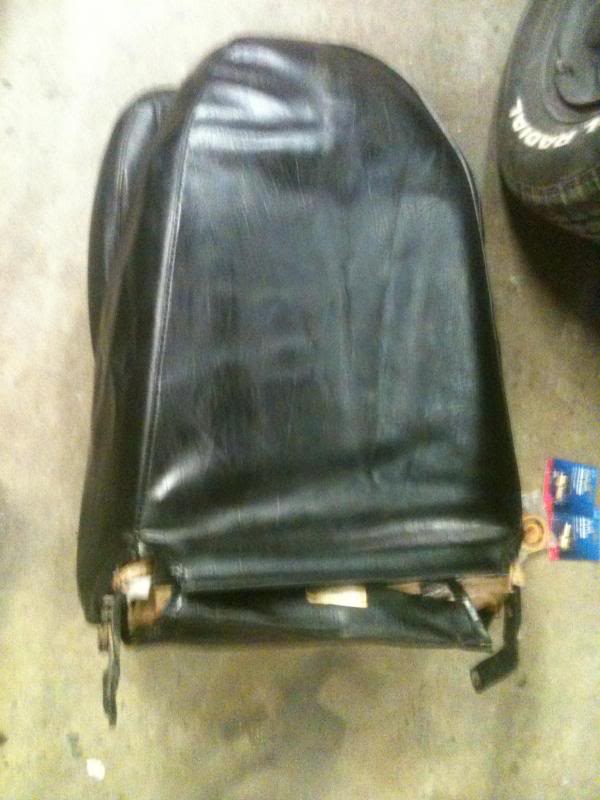
My Dad came over today and pulled the seats apart and put some of the covers I got off of a NastyZ28 member. They are just on there now to stretch back out, he is going to pull them off tomorrow and clean and paint the metal arms and the seat tracks, then we'll put them together for good. It'll be nice if my father starts helping with this, I could use it that is for sure. Here are some pics.


#966
08-28-2013, 06:37 AM
Thank you, but I certainly did not do the heads. That takes a bit of skill. He had me try but the bit was bouncing everyplace and I just handed it back to him. It's one thing I don't really feel inclined to do. Too many places you can go through and mess up. I cannot wait to hear this thing run though.
#967
08-28-2013, 06:50 PM
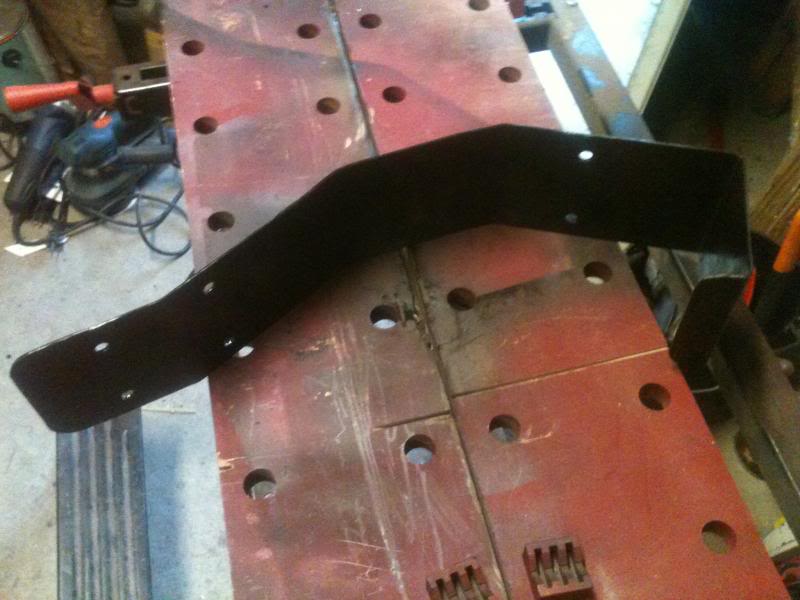
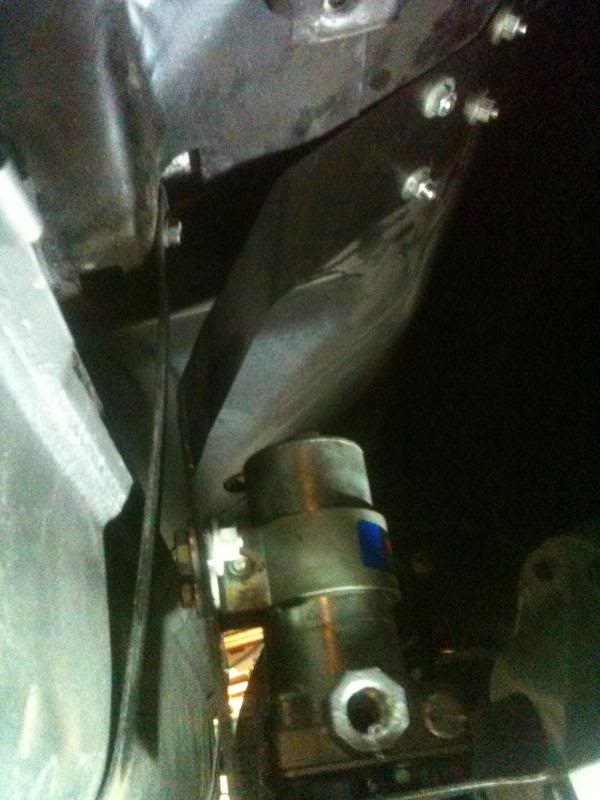
Got the fuel tank bracket installed. It is a bit wobbly, I will more than likely end up needing to brace it, or make one out of steel somehow. I like the way it looks though. Also had my Dad wire brush and paint the seat rails up. Going to recover them permanently tomorrow and hopefully get them put back together and in the car by tomorrow night. I'm going to be getting some clamps and installing the braided fuel line as well sometime soon.


#969
08-28-2013, 10:42 PM
Join Date: Aug 2008
Location: Portland, Or
Posts: 9,097
Put a strap around the fuel pump bracket to attach it to the tank strap. That should firm it up! But put a piece of rubber between the two before you strap them together to help with sound deadening.
#970
08-29-2013, 05:05 PM
That is what I was thinking, I'm going to plumb everything first though because I seriously doubt I'll be able to do that without dropping the tank. I'm going to need to cut the line coming out of the fuel pump, probably both of them.