79 Camaro Project
#951
 08-24-2013, 03:41 PM

Coming together nicely. You might want to tape your panel edges before final assembly. Then once everything is lined up nice remove the tape and do the wet sand and buff.
#952
08-24-2013, 05:18 PM
Oh, for sure. My FIL is going to help me line everything up as he gets it done and we've already talked about that one. The doors are gutted so they are pretty light so I'm looking forward to not struggling with them. I think it will be a few weeks before I get any more body panels back, I know he wants to get his vette in the garage and paint it next weekend, spending this week getting it ready. I'll be putting the interior in, and I've got new covers for the seats as well to put on. From there hopefully I can get the electric fuel pump mounted and run the braided line up to the front.
#953
08-25-2013, 06:49 PM

Join Date: Aug 2008
Location: Portland, Or
Posts: 9,097
It will be a lot easier to clean up, if you wet sand and buff before it's all assembled. The slurry from the process makes a horrible mess of everything, and tough to clean up once it gets everywhere.
Sure looks gorgeous!
Sure looks gorgeous!
#954
08-25-2013, 07:06 PM
To each there own i guess. Im a little neater than most. Lol
I assemble and align the panels first to minimize burning through a panel edge.
I assemble and align the panels first to minimize burning through a panel edge.
#955
08-25-2013, 07:12 PM
From the sounds of it, he is going to come over and wet sand it soon, before it is all together. He said he will mask everything off again to do the roof, and start working his way down. He did the quarters a little bit, they still need some more.
#956
08-25-2013, 07:13 PM
Join Date: Aug 2008
Location: Portland, Or
Posts: 9,097
No matter how neat you are, there's no way to keep the slurry from wet sanding from going into the gaps between fenders and doors, or under the hood, and down the engine bay. It just gets everywhere, and took me a week to clean up all the places I found compound and slurry after cutting and buffing.
#957
08-26-2013, 07:29 AM
No matter how neat you are, there's no way to keep the slurry from wet sanding from going into the gaps between fenders and doors, or under the hood, and down the engine bay. It just gets everywhere, and took me a week to clean up all the places I found compound and slurry after cutting and buffing.
I've got some seatbelts out of a Mustang that will give me a shoulder harness in the rear, I may install those tonight.
#958
08-26-2013, 09:52 PM
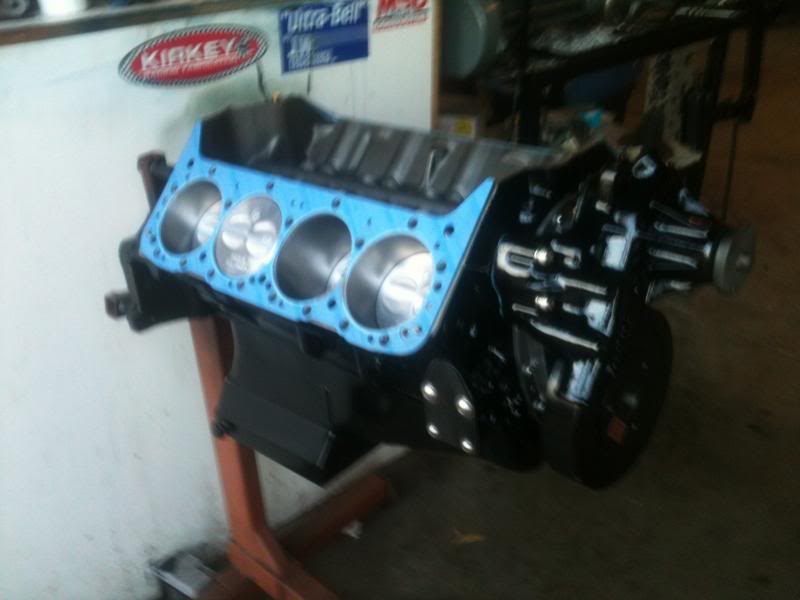
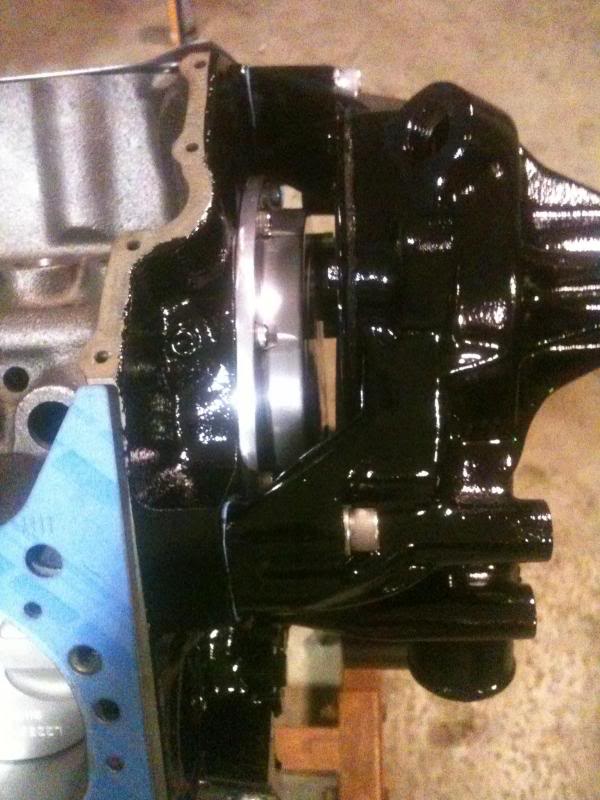
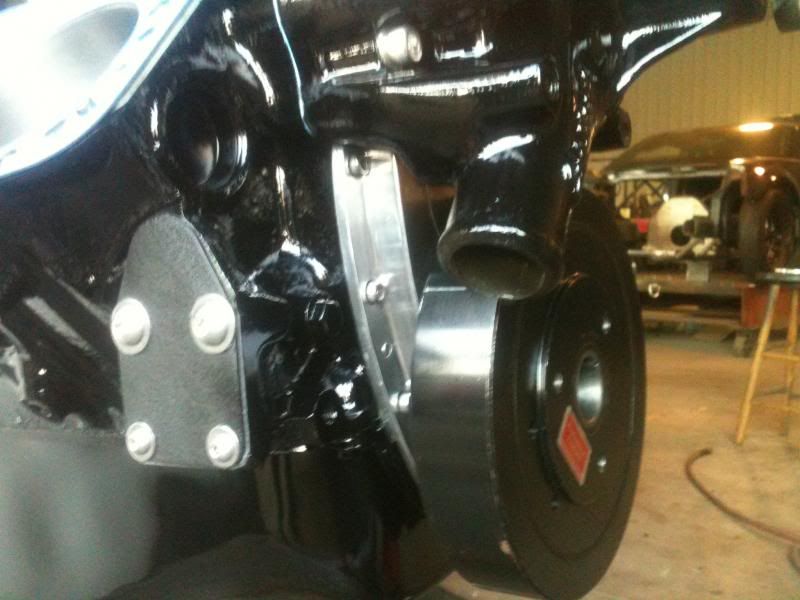
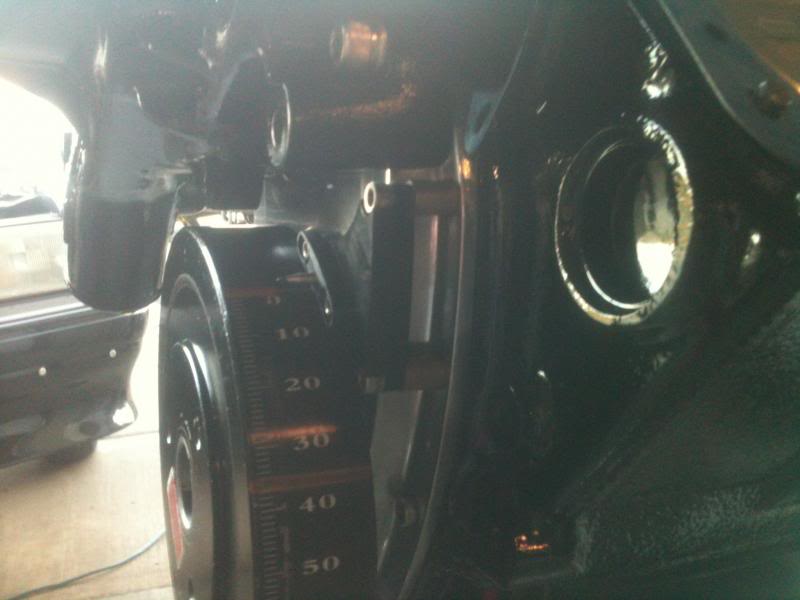
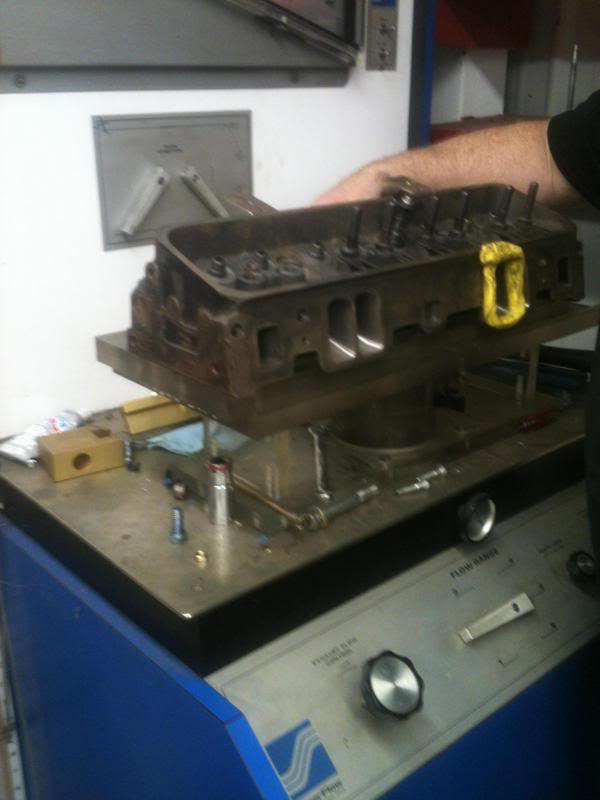
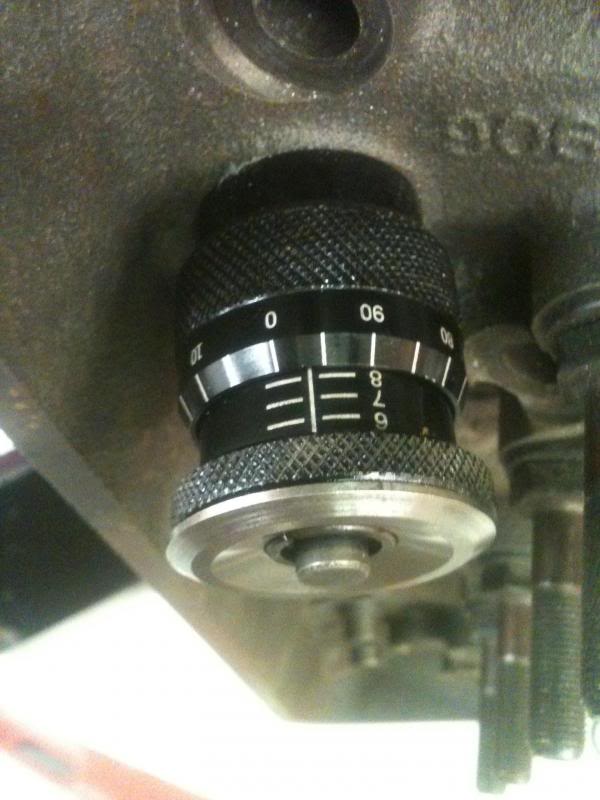
My engine guy came over to get the water pump from me. I had an aluminum Edelbrock water pump, it was a bit dirty so we decided to just clean it up and paint it black, it will make it easier anyhow to keep from trying to keep it clean. The 2" Gilmer Belt drive will add plenty of jazz to the front of the engine.
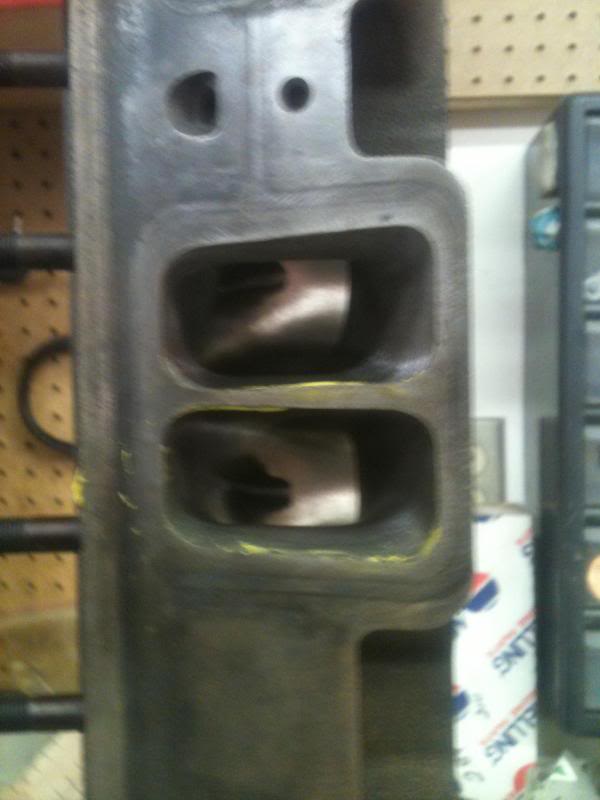
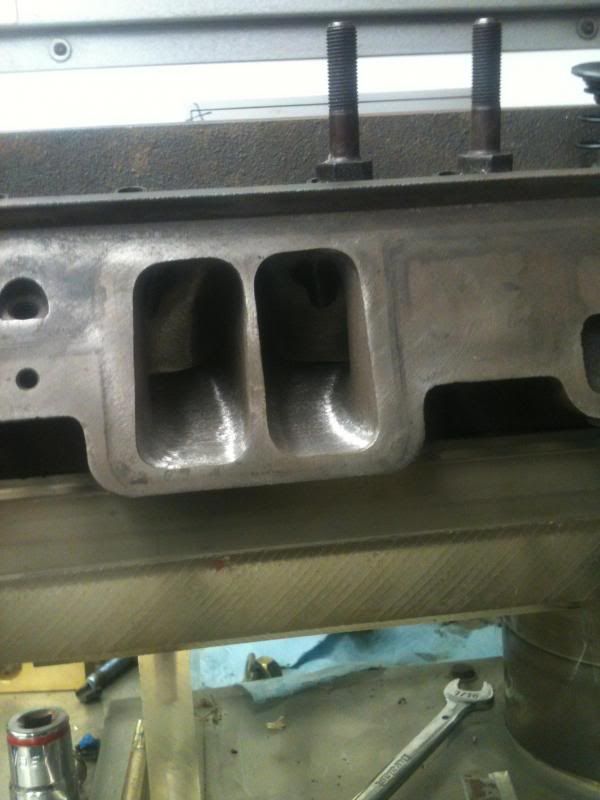
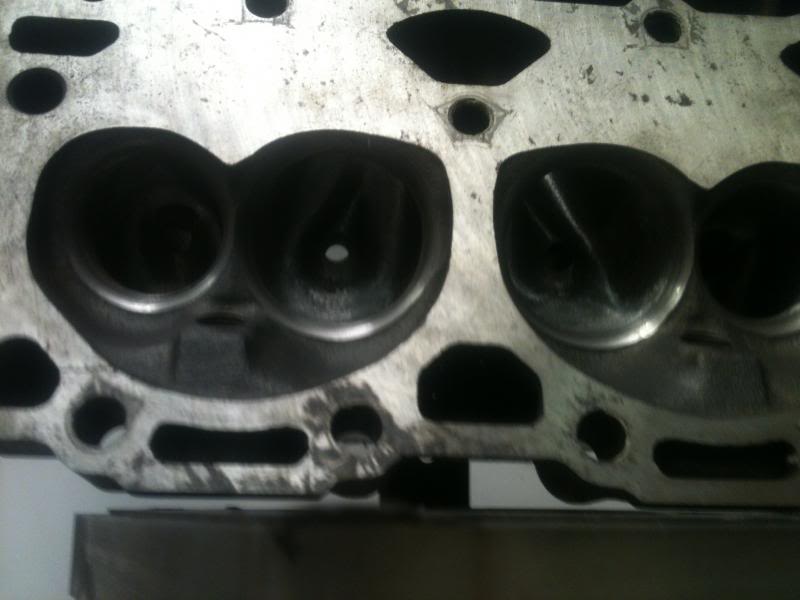
The heads flowed 280, not too bad for vortecs, they have been punched out to 2.02/1.60 and have a lot of work into porting them on both the intake and exhaust side.
Pics.
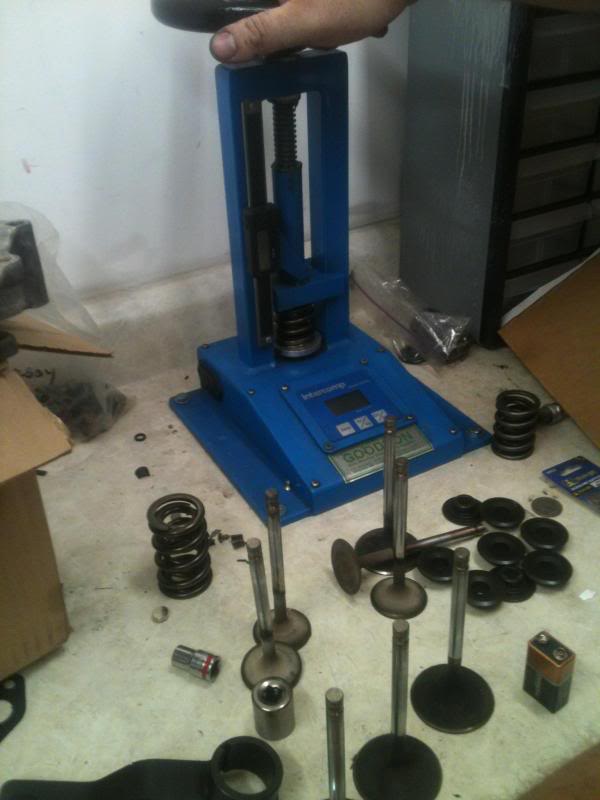
The heads flowed 280, not too bad for vortecs, they have been punched out to 2.02/1.60 and have a lot of work into porting them on both the intake and exhaust side.
Pics.


#959
08-27-2013, 09:21 AM
Join Date: Aug 2008
Location: Portland, Or
Posts: 9,097
Boy can I give you tips on the gilmer belt systems! Make sure you don't over tighten the belt!!! It needs to be very loose, or it will tear itself apart! Also be sure the crank pulley bolts have very long threads, and Loctite them too! In fact, Loctite all the bolts, even the alternator center bolt! Use bolts that are grade 8 and enough thread to get through the balancer. Also make sure the crank pulley is centered perfectly. There's enough play in the holes on the crank pulley to allow it to not center, and then it will wobble as it turns, creating further problems. I ran my bolts in until the lock washers almost touched, then turn the pulley hard against the shanks to center it, and tighten the bolts down. That seemed to center the pulley well, and remove any wobble.
Be sure to also use a very solid alternator mount, or it will flew and make the belt run off center. These belts have zero stretch in them, and if the alternator pulley is even slightly out of alignment in any direction it will cause the belt to run against the alternator pulley and wear the edges. It's very important the alternator isn't pointed slightly up or down, besides being forward/back aligned. I've added extra supports to my alternator mounts, and also reinforced the original brackets with metal, as the belt caused them to crack out at the mounting holes.
I had to discover all this the hard way, after losing the battle and having to replace a water pump pulley and a crank pulley. I'm getting ready to add an idler pulley to my system, so it will allow me to leave my alternator extremely loose, and the idler will maintain tension as the belt heats up and changes length.
#960
08-27-2013, 04:38 PM
Boy can I give you tips on the gilmer belt systems! Make sure you don't over tighten the belt!!! It needs to be very loose, or it will tear itself apart! Also be sure the crank pulley bolts have very long threads, and Loctite them too! In fact, Loctite all the bolts, even the alternator center bolt! Use bolts that are grade 8 and enough thread to get through the balancer. Also make sure the crank pulley is centered perfectly. There's enough play in the holes on the crank pulley to allow it to not center, and then it will wobble as it turns, creating further problems. I ran my bolts in until the lock washers almost touched, then turn the pulley hard against the shanks to center it, and tighten the bolts down. That seemed to center the pulley well, and remove any wobble.
Be sure to also use a very solid alternator mount, or it will flew and make the belt run off center. These belts have zero stretch in them, and if the alternator pulley is even slightly out of alignment in any direction it will cause the belt to run against the alternator pulley and wear the edges. It's very important the alternator isn't pointed slightly up or down, besides being forward/back aligned. I've added extra supports to my alternator mounts, and also reinforced the original brackets with metal, as the belt caused them to crack out at the mounting holes.
I had to discover all this the hard way, after losing the battle and having to replace a water pump pulley and a crank pulley. I'm getting ready to add an idler pulley to my system, so it will allow me to leave my alternator extremely loose, and the idler will maintain tension as the belt heats up and changes length.
Be sure to also use a very solid alternator mount, or it will flew and make the belt run off center. These belts have zero stretch in them, and if the alternator pulley is even slightly out of alignment in any direction it will cause the belt to run against the alternator pulley and wear the edges. It's very important the alternator isn't pointed slightly up or down, besides being forward/back aligned. I've added extra supports to my alternator mounts, and also reinforced the original brackets with metal, as the belt caused them to crack out at the mounting holes.
I had to discover all this the hard way, after losing the battle and having to replace a water pump pulley and a crank pulley. I'm getting ready to add an idler pulley to my system, so it will allow me to leave my alternator extremely loose, and the idler will maintain tension as the belt heats up and changes length.