79 Camaro Project


Banned
Joined: Oct 2009
Posts: 496
From: Raised in Tilton NH now residing in Kings Mountain KY
Here's a pic of the stuff I used. I think it was two. I had enough to put a layer behind the rear seat and under the rear window panel also.

Last edited by Pablo63; May 9, 2010 at 10:03 AM.
Banned
Joined: Oct 2009
Posts: 496
From: Raised in Tilton NH now residing in Kings Mountain KY
I wanna say it was like 5 rolls total. I didn't do the roof. Basically what my carpet covered and under the plastic panels in the rear. I wasted a little too because I didn't clean the pan good enough to get a good stick.
Thread Starter
|
3rd Gear Member
Joined: Sep 2009
Posts: 1,062
From: Morris, IL
OK, I'm thinking of doing the roof too just to get it over with. I really can't make up my mind whether or not I want it to have air conditioning. I'm thinking that for now I'd like to plan for it, get it going, and make that a major upgrade sometime. It would be so nice to have a car that can be driven comfortably. The only problem is the air stuff takes up so much of the underside of the hood!
Thread Starter
|
3rd Gear Member
Joined: Sep 2009
Posts: 1,062
From: Morris, IL
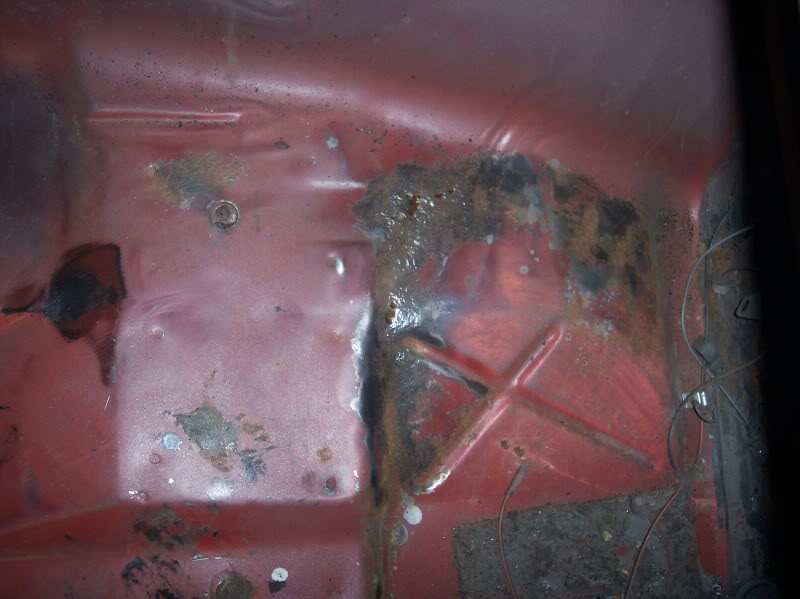
Ok, so here is some progress pics after slacking for a few days. Pretty much ever since the floor pan was welded in anyhow. All I have done is go out and knock down the welds a bit and expose the other area a bit better. My father in law was saying the other area could be epoxied and fixed without putting steel in there. I don't know though, since I wire wheeled it it is alot worse looking, he may change his mind. It really doesn't look like all that hard of a patch to weld in.
Here is the finished product on the back pan. Although a bit dirty from grinding the welds.
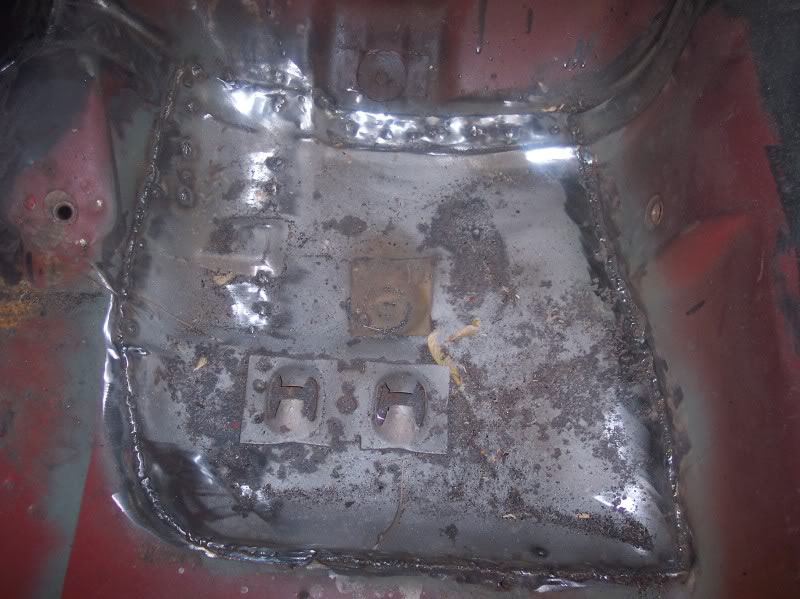
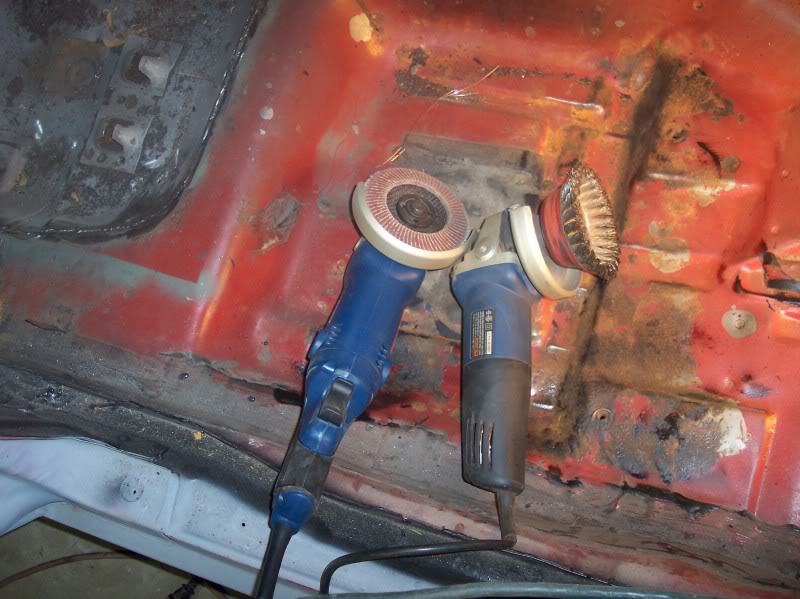
Nice not having to switch attachments all the time.
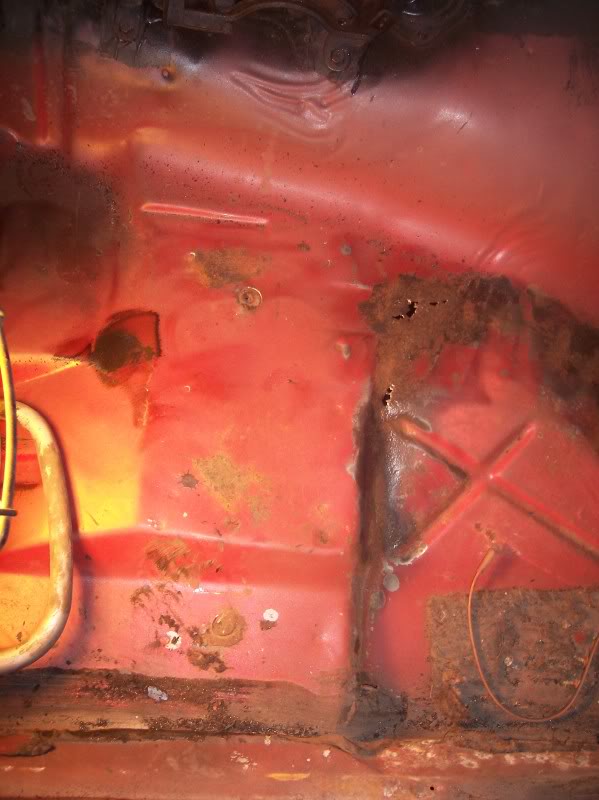
Here is the bad spot in question.
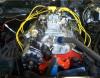
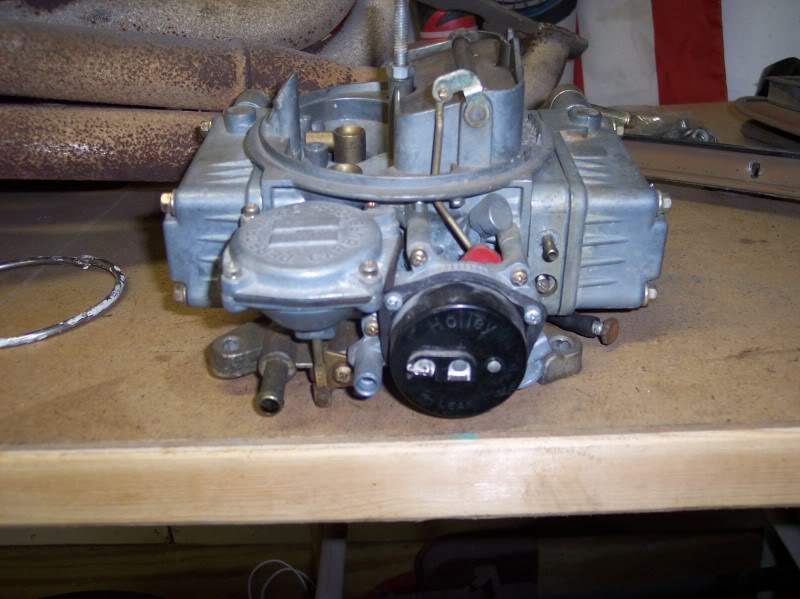
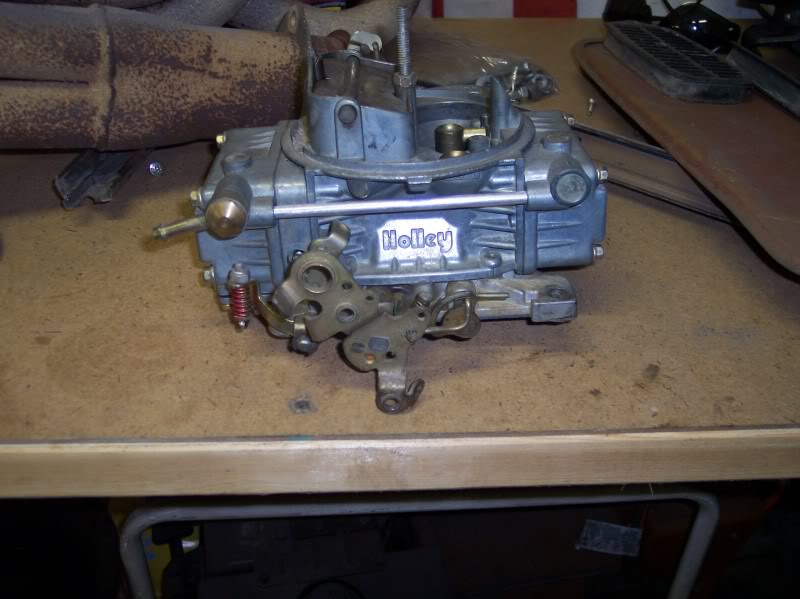
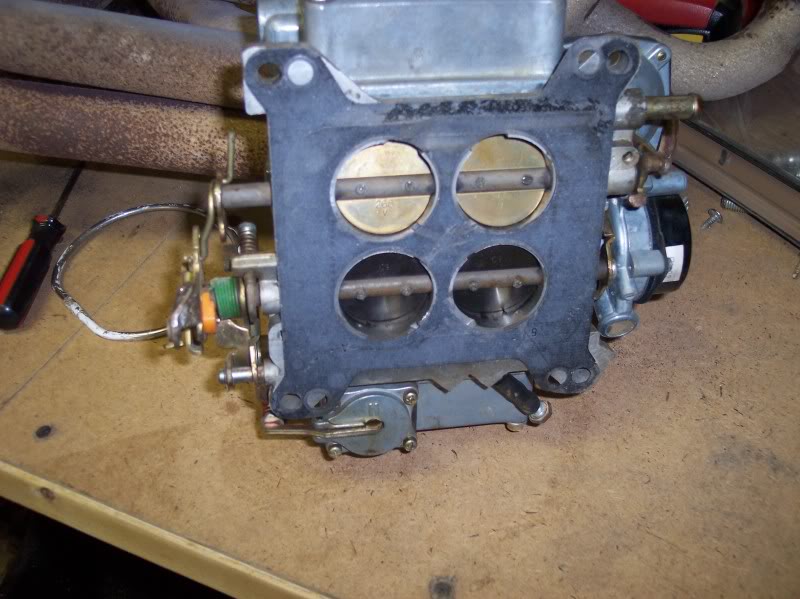
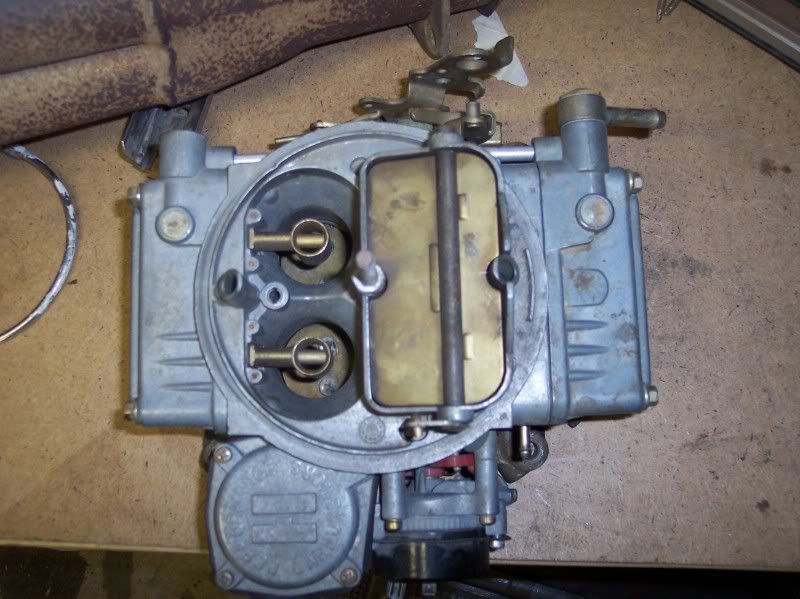
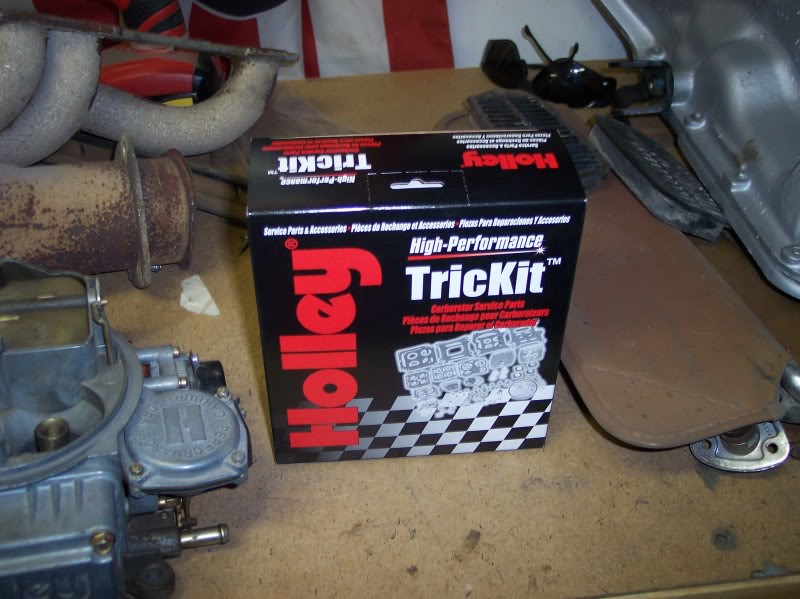
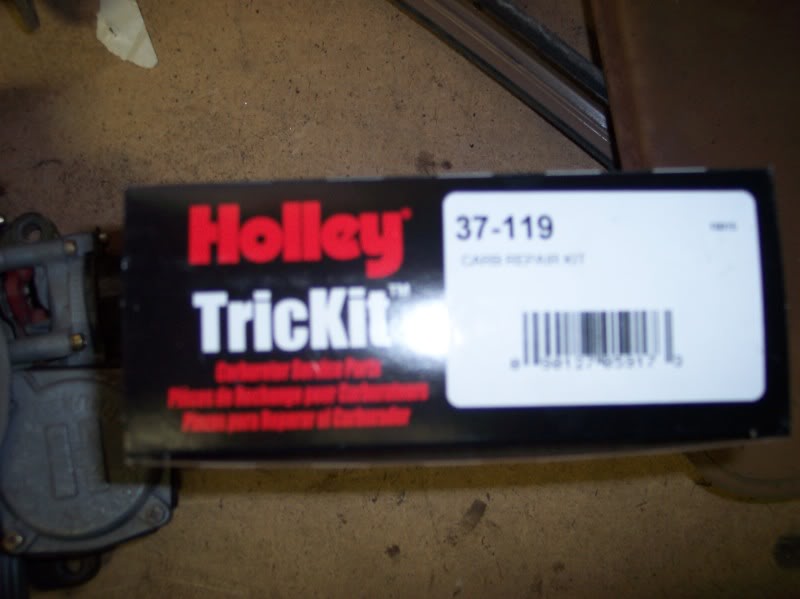
I also got a Holley 600cfm and trick kit for the engine build. I'd like to eventually gather up a 670 avenger and a 750 cfm to see what works best at the end.
Never made it out to the garage tonight, spent some time playing Monopoly City with the family. That is a cool game, skyscrapers, and sewage treatment plants and prisons. Everything is in the Millions of dollars.
Here is the finished product on the back pan. Although a bit dirty from grinding the welds.
Nice not having to switch attachments all the time.
Here is the bad spot in question.
I also got a Holley 600cfm and trick kit for the engine build. I'd like to eventually gather up a 670 avenger and a 750 cfm to see what works best at the end.
Never made it out to the garage tonight, spent some time playing Monopoly City with the family. That is a cool game, skyscrapers, and sewage treatment plants and prisons. Everything is in the Millions of dollars.
Last edited by ATM; May 11, 2010 at 09:37 PM.

3rd Gear Member
Joined: Oct 2007
Posts: 1,108
From: Huntsville, AL
Looking at your holes that you're talking about. If you want to weld them you can go to a welding supply place and get a carbon block. Put it on one side of the hole and weld up the holes and grind them down. I haven't done it personally but that's what I was advised to do with mine.
Oh, and that flapper wheel rocks.
Oh, and that flapper wheel rocks.
Thread Starter
|
3rd Gear Member
Joined: Sep 2009
Posts: 1,062
From: Morris, IL
that flapper wheel did an awesome job on the welds. And it seems like it will last a while too. The carb is a model number PT# 80457S, I don't think it is an 1850, but it will do. As far as the holes go, I am just hoping to cut it out and put new steel in there. I'll see what my father in law wants to do though, he has been doing this for over 30 years, and there is apparently some new stuff that he can use to seal it over. I isn't pinholes anymore though, so I'll have to see.