


My rebuild


Thread Starter
|
1st Gear Member
Joined: Jul 2010
Posts: 135

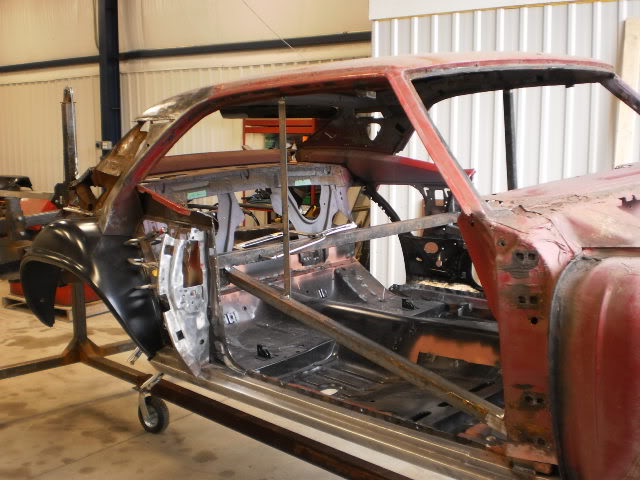
I cut the cage out that I built. I got a little nervous cause the wheel wells are not installed yet so I built a lighter cage and installed it so I can easily get in and out of the car.
I have the passenger side wheel well roughed in. Lots of hammering. I won’t weld it in until I have the quarter panel fitting perfectly.
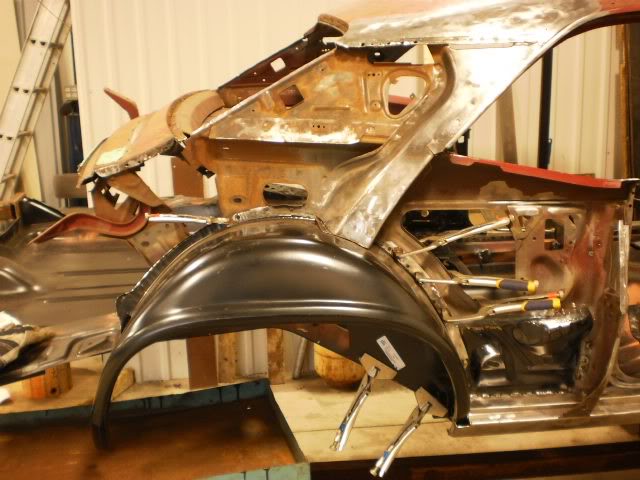
I have the passenger side wheel well roughed in. Lots of hammering. I won’t weld it in until I have the quarter panel fitting perfectly.
Thread Starter
|
1st Gear Member
Joined: Jul 2010
Posts: 135
 . Where exactly are they?
Last edited by ToddB; May 29, 2011 at 05:55 AM.
Thread Starter
|
1st Gear Member
Joined: Jul 2010
Posts: 135

I won’t have her on the road this year but on the upside I will have more time to rebuild the motor and add more “options”


2nd Gear member
Joined: Sep 2009
Posts: 423
From: Missouri
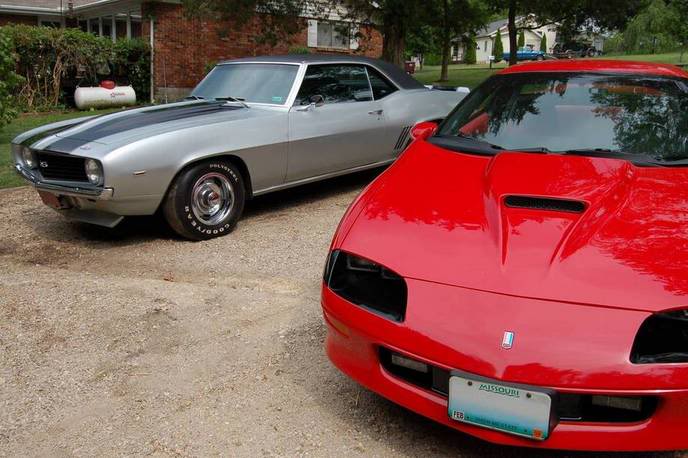
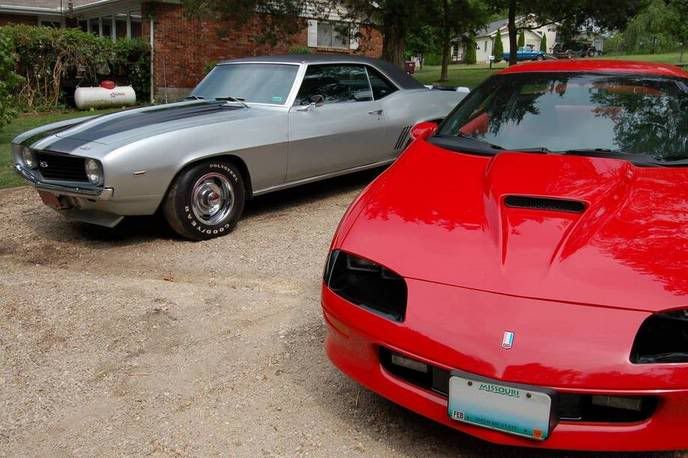
Back in 1971 or 72, my parents were looking to buy a GTO. But, every single one they looked at had issues. They stumbled on this '69 Camaro and decided to buy it. It was a base-model 350 that they brought up to SS specs long before there was such a thing as aftermarket. Every item on it is factory GM. As a kid, I remember going to all these swap meets around Chicago, Arlington Heights, and Indiana to scour for the right parts. All the proper stickers are on it, it has factory cowl-induction with original parts, original interior, and you get the picture.
But, they moved down to Missouri in '84 and the car was barely driven then. It's been in the garage and un-tagged since '88. Now, they're both getting close to retiring and they want to play with the car again. The biggest issue is going to be that dash panel replacement. That's the only spot (besides the exhaust) with rust on it.
For now, we just went through the brakes, put a new transmission pan gasket in, and installed a new accelerator pump. The intake manifold and valve covers could use a repaint, and the undercarriage just needs some cleaning and it will be good to go. We're dealing with a timing issue with it at the moment. It got a Comp Cams upgrade around '82 or '83, and now it wants too much timing to run right. So, that's on the list of things to sort out.
That might be too much of a story though, and I've bored you to tears.
But, they moved down to Missouri in '84 and the car was barely driven then. It's been in the garage and un-tagged since '88. Now, they're both getting close to retiring and they want to play with the car again. The biggest issue is going to be that dash panel replacement. That's the only spot (besides the exhaust) with rust on it.
For now, we just went through the brakes, put a new transmission pan gasket in, and installed a new accelerator pump. The intake manifold and valve covers could use a repaint, and the undercarriage just needs some cleaning and it will be good to go. We're dealing with a timing issue with it at the moment. It got a Comp Cams upgrade around '82 or '83, and now it wants too much timing to run right. So, that's on the list of things to sort out.
That might be too much of a story though, and I've bored you to tears.
Thread Starter
|
1st Gear Member
Joined: Jul 2010
Posts: 135
Back in 1971 or 72, my parents were looking to buy a GTO. But, every single one they looked at had issues. They stumbled on this '69 Camaro and decided to buy it. It was a base-model 350 that they brought up to SS specs long before there was such a thing as aftermarket. Every item on it is factory GM. As a kid, I remember going to all these swap meets around Chicago, Arlington Heights, and Indiana to scour for the right parts. All the proper stickers are on it, it has factory cowl-induction with original parts, original interior, and you get the picture.
But, they moved down to Missouri in '84 and the car was barely driven then. It's been in the garage and un-tagged since '88. Now, they're both getting close to retiring and they want to play with the car again. The biggest issue is going to be that dash panel replacement. That's the only spot (besides the exhaust) with rust on it.
For now, we just went through the brakes, put a new transmission pan gasket in, and installed a new accelerator pump. The intake manifold and valve covers could use a repaint, and the undercarriage just needs some cleaning and it will be good to go. We're dealing with a timing issue with it at the moment. It got a Comp Cams upgrade around '82 or '83, and now it wants too much timing to run right. So, that's on the list of things to sort out.
That might be too much of a story though, and I've bored you to tears.
But, they moved down to Missouri in '84 and the car was barely driven then. It's been in the garage and un-tagged since '88. Now, they're both getting close to retiring and they want to play with the car again. The biggest issue is going to be that dash panel replacement. That's the only spot (besides the exhaust) with rust on it.
For now, we just went through the brakes, put a new transmission pan gasket in, and installed a new accelerator pump. The intake manifold and valve covers could use a repaint, and the undercarriage just needs some cleaning and it will be good to go. We're dealing with a timing issue with it at the moment. It got a Comp Cams upgrade around '82 or '83, and now it wants too much timing to run right. So, that's on the list of things to sort out.
That might be too much of a story though, and I've bored you to tears.
Thread Starter
|
1st Gear Member
Joined: Jul 2010
Posts: 135
With the car level I measured where the rear part of the frame needs to be in relation to the front of the frame using the floor as a reference. The rear was down by a ½ inch. I made a mount and secured the front of the frame and lifted on the back by ¾ of an inch. I’ll bring it down ¼ inch when I weld the quarter panels on.
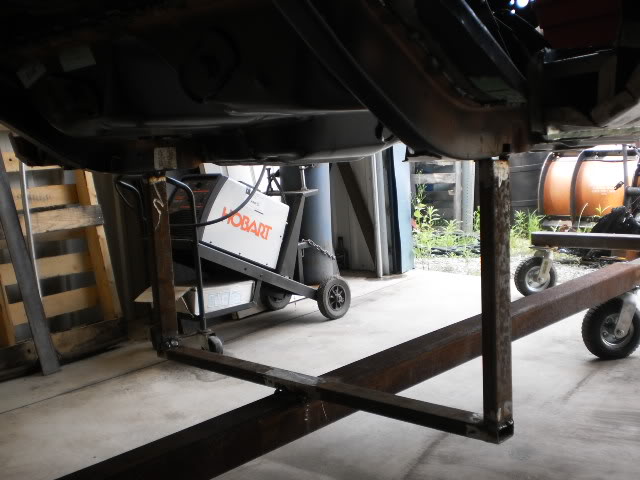
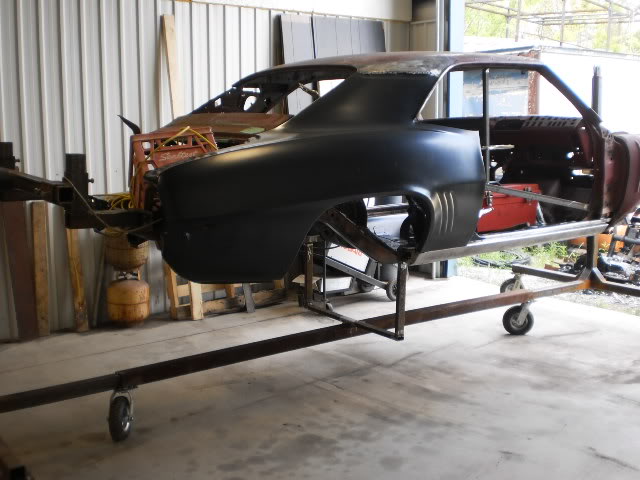
I roughed in the ¼ panel. Still need a few more hours more fitting time before I start on the driver’s side.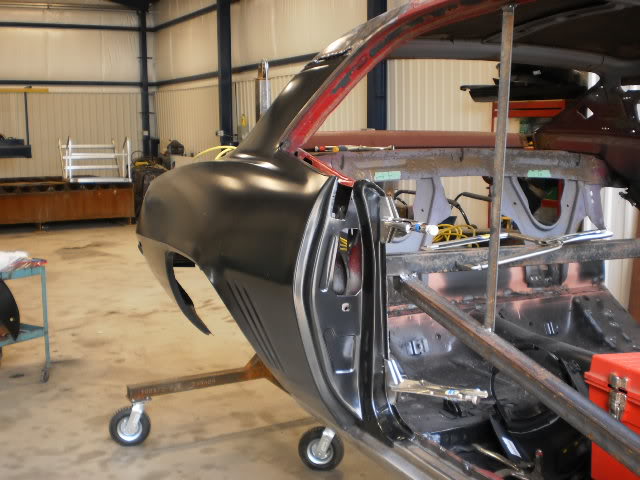
I roughed in the ¼ panel. Still need a few more hours more fitting time before I start on the driver’s side.