My rebuild


Thread Starter
|
1st Gear Member
Joined: Jul 2010
Posts: 135

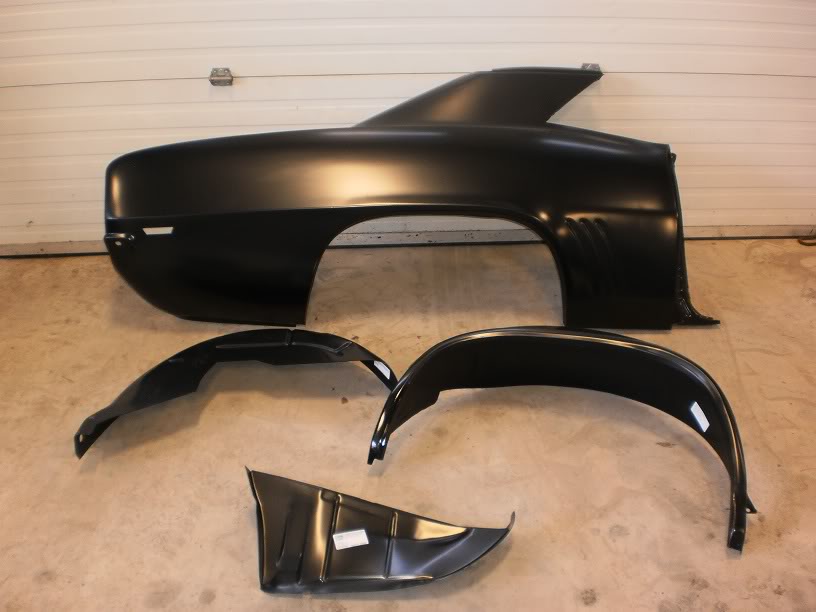
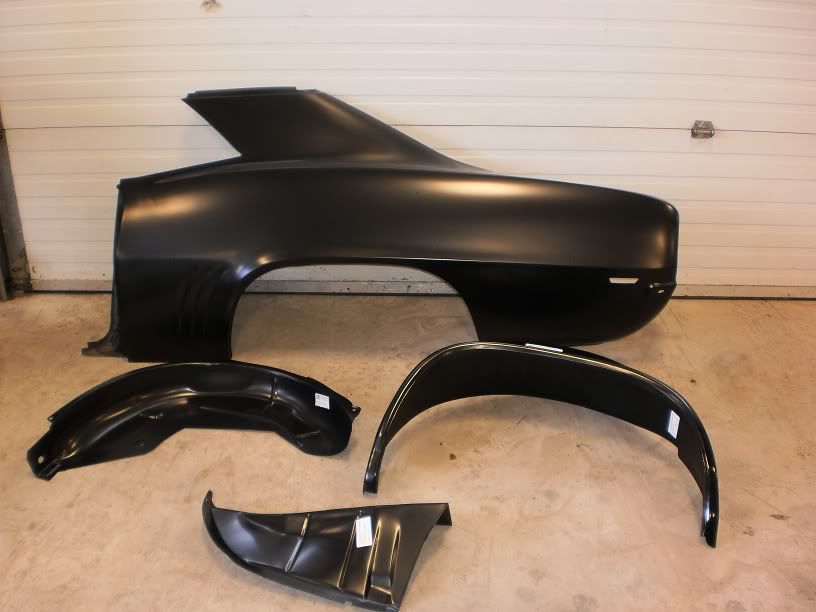
New parts ready to start fitting, passenger side
Drivers side
Starting to prep the Passengers side. I had to shave the trunk pan a little. It was 3/4" too wide
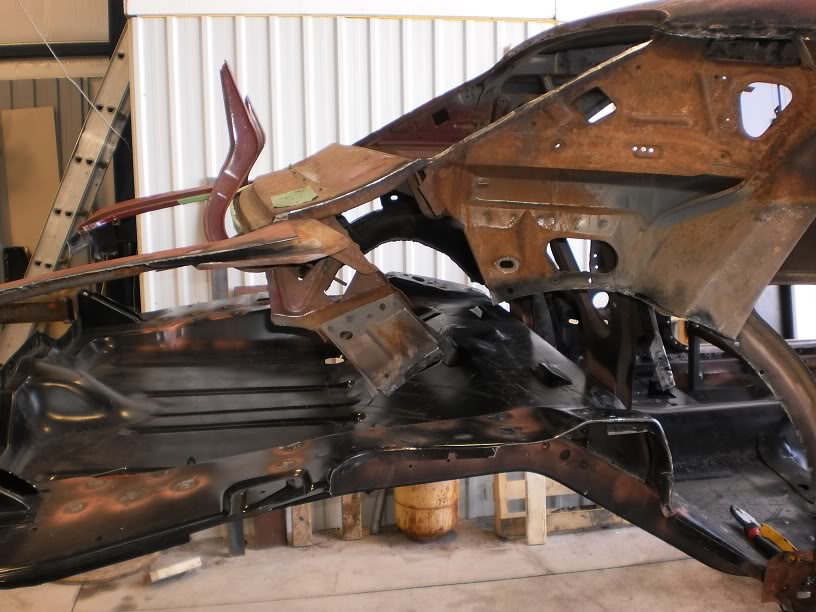
I just set the passenger fender on for some motivation
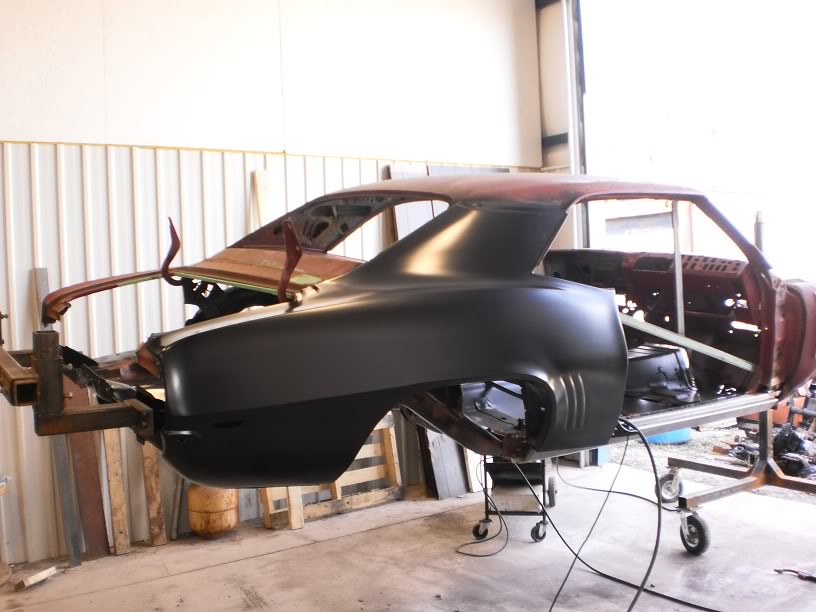
Drivers side
Starting to prep the Passengers side. I had to shave the trunk pan a little. It was 3/4" too wide
I just set the passenger fender on for some motivation
Thread Starter
|
1st Gear Member
Joined: Jul 2010
Posts: 135
I wanted to fix the inner quarters before I started fitting the wheel wells and quarters. I got the passenger side roughed in
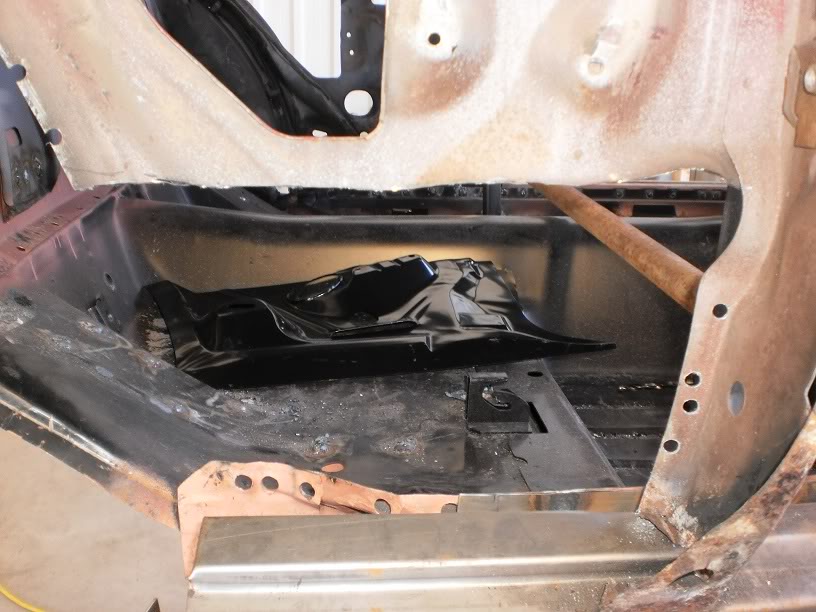
Before and after the rusted pieces
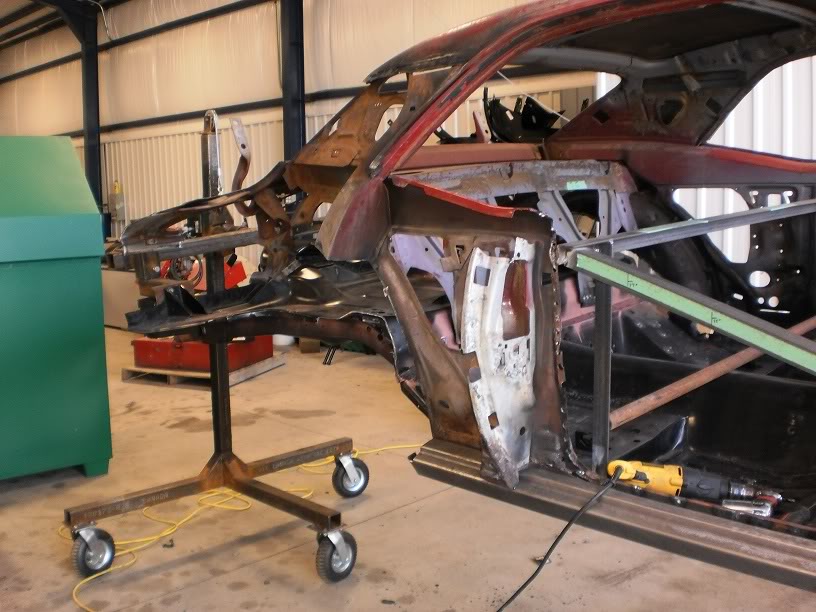
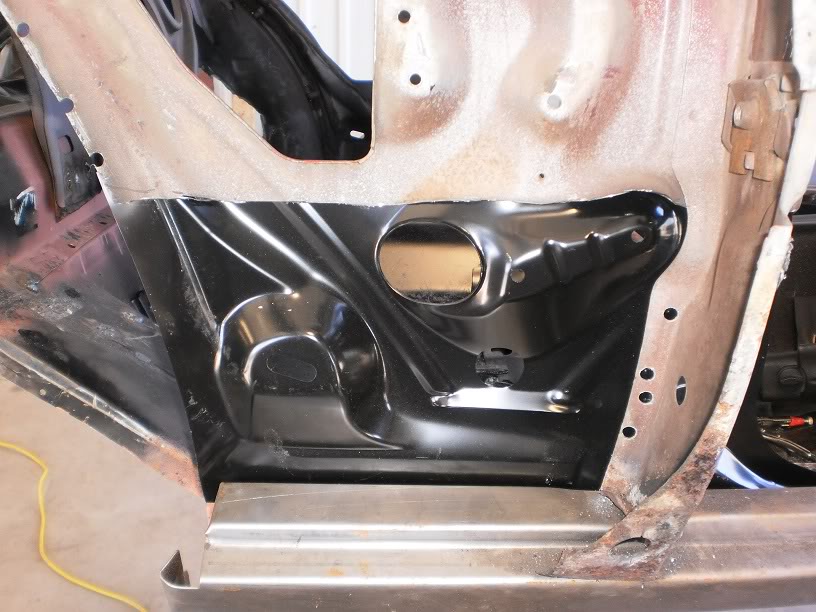
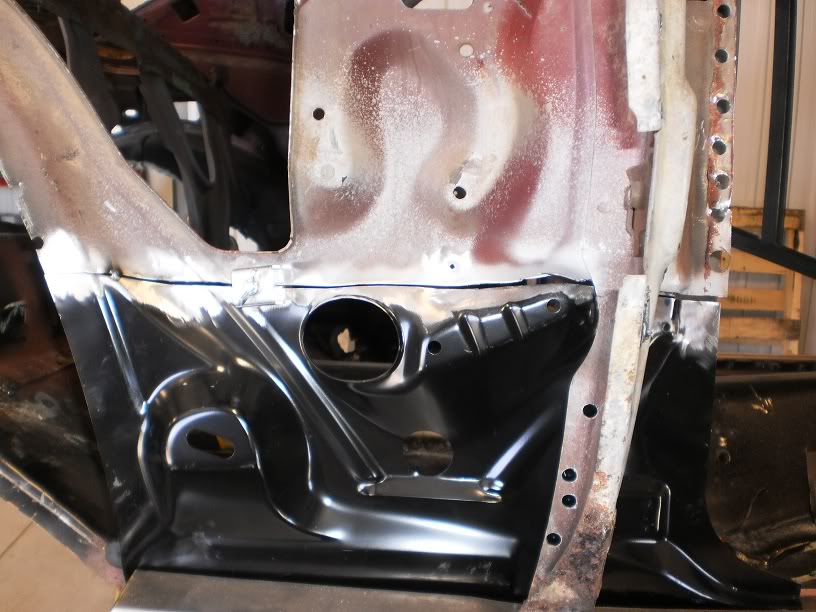
Fitting
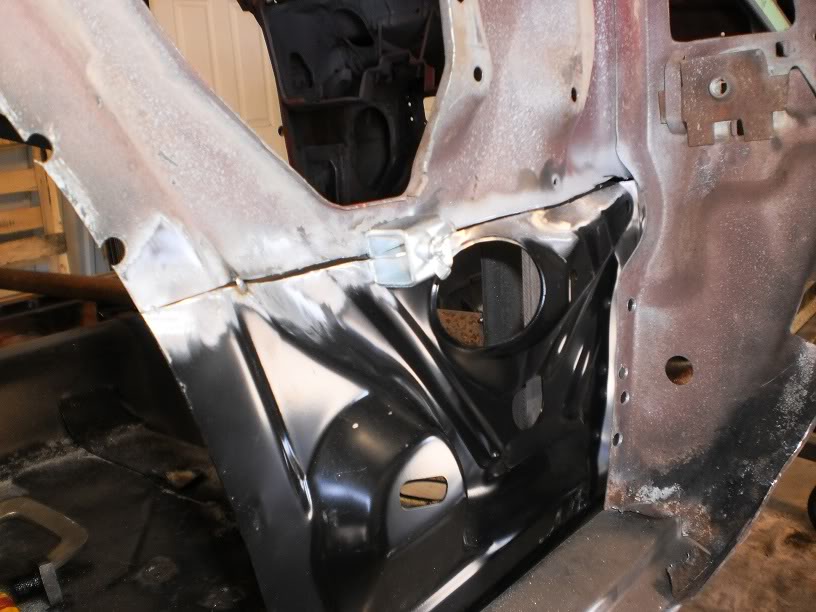
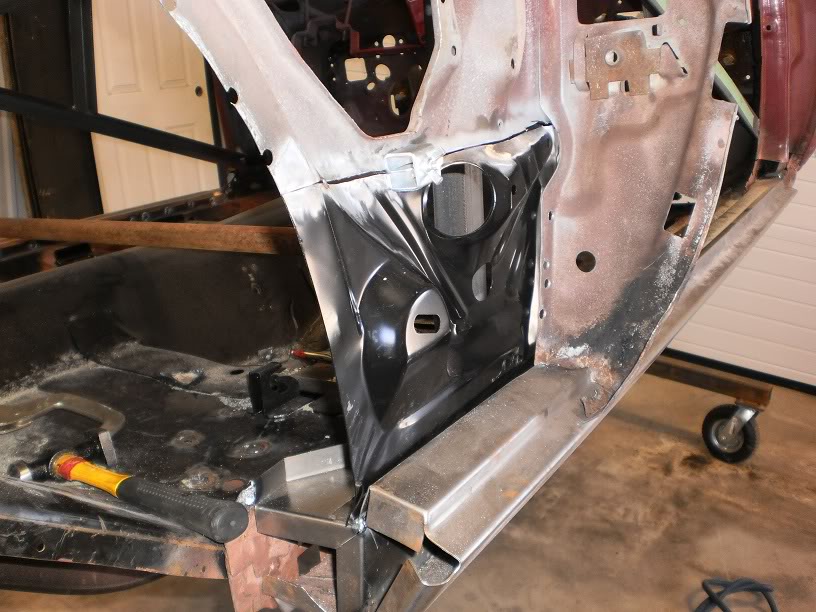
Welding
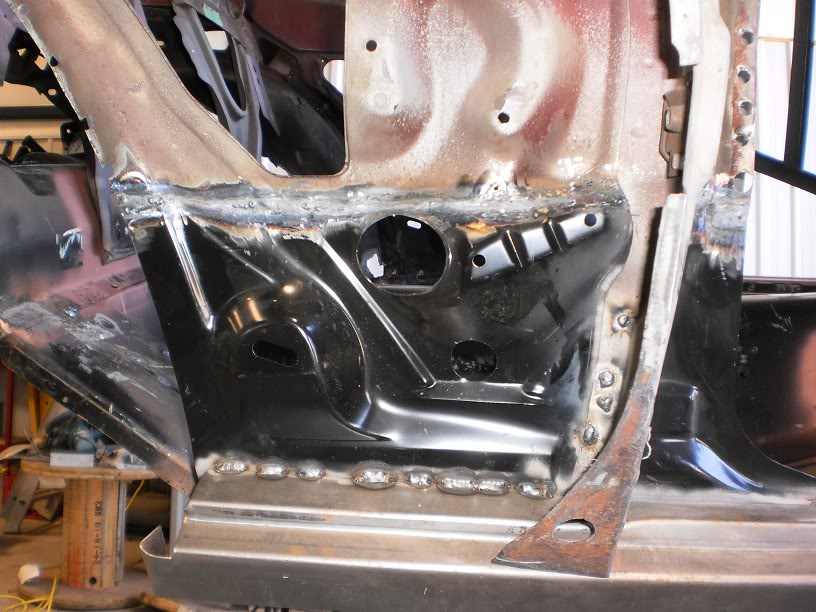
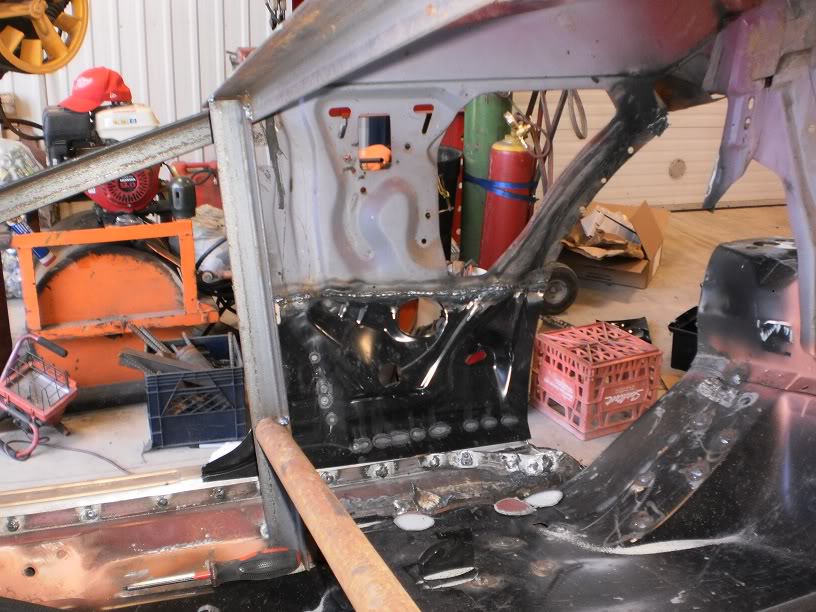
Roughed in
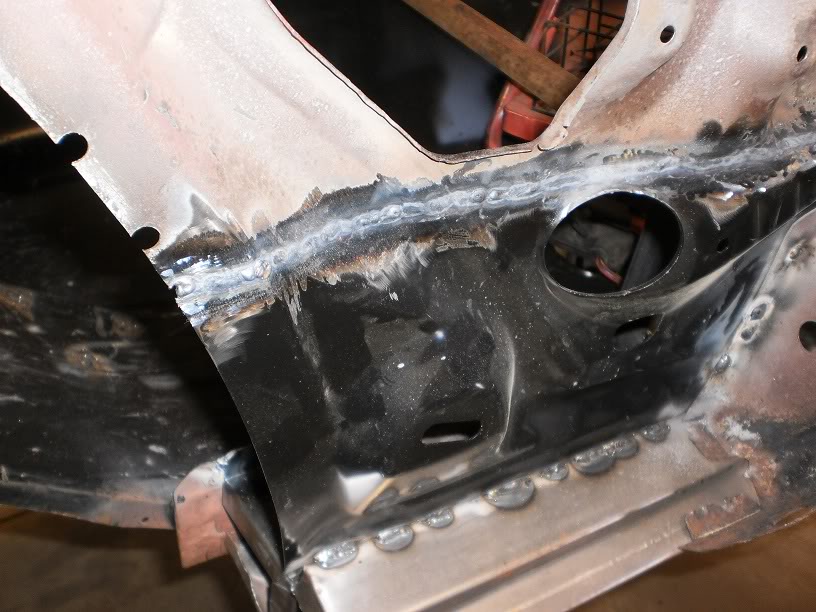
Passenger Seat Pan Welded in
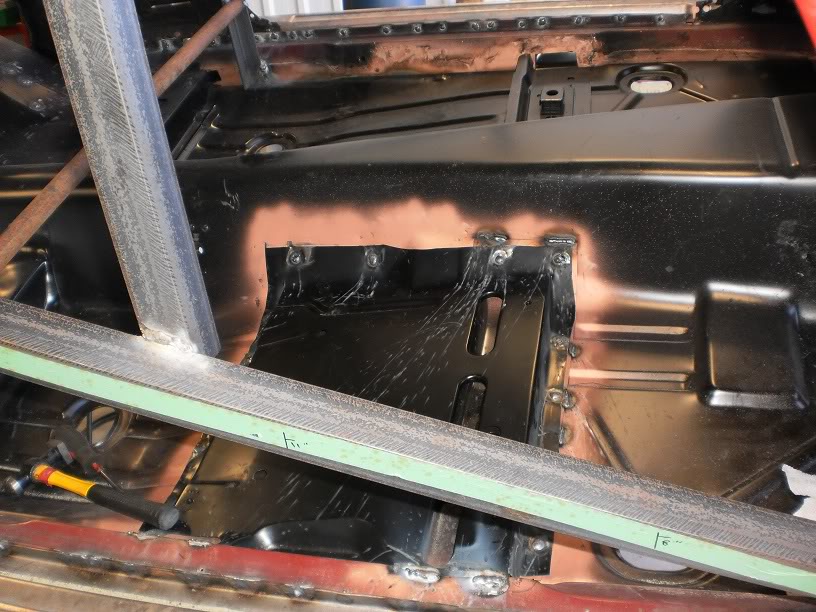
Before and after the rusted pieces
Fitting
Welding
Roughed in
Passenger Seat Pan Welded in

In the Staging Lanes
Joined: Jun 2010
Posts: 90
From: Indiana
Are you feeling it yet?
That pride, or inner most cool, as each step moves forward. You can see things growing from the ashes towards a the next day you get to do something.
I think this is the point where you see the greatest changes with every thing you do.
When I get a really good feeling is when I go through the latest catalog from Classic,Ricks, or NPD (just to mention a few) and I can pass complete sections because I don't need any of those parts any more. The sheet metal being the largest section.
Great progress. It is nice to see one come back from the edge.
That pride, or inner most cool, as each step moves forward. You can see things growing from the ashes towards a the next day you get to do something.
I think this is the point where you see the greatest changes with every thing you do.
When I get a really good feeling is when I go through the latest catalog from Classic,Ricks, or NPD (just to mention a few) and I can pass complete sections because I don't need any of those parts any more. The sheet metal being the largest section.
Great progress.
It is nice to see one come back from the edge.
Thread Starter
|
1st Gear Member
Joined: Jul 2010
Posts: 135
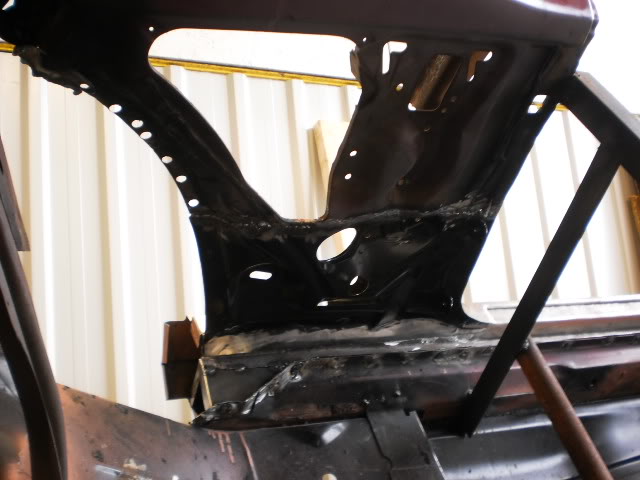
I cut out the old drivers side inner quarter panel and preped it for the new panel
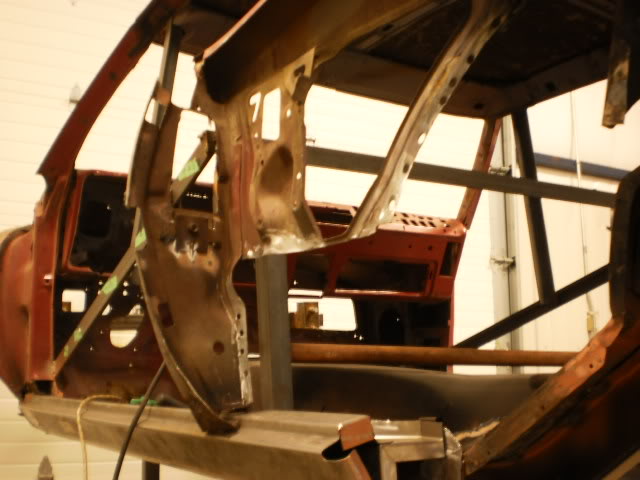
I test fitted then preped the new panel
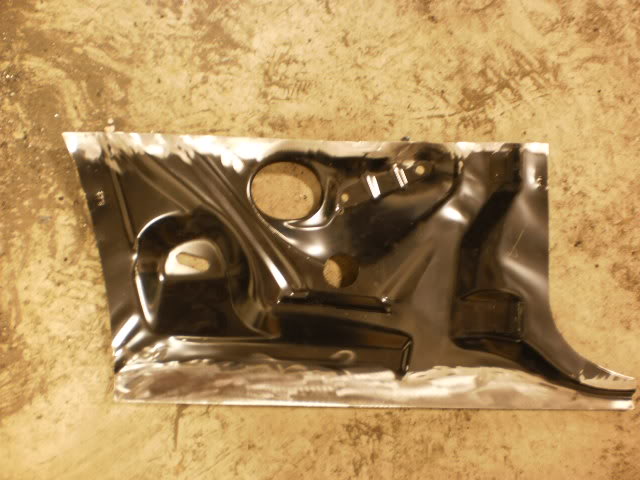
New panel roughed in. Inner quarter panel drivers side looking from inside the car
I test fitted then preped the new panel
New panel roughed in. Inner quarter panel drivers side looking from inside the car
Thread Starter
|
1st Gear Member
Joined: Jul 2010
Posts: 135
Thanks PSY4S
Yup she is starting to take form again, albeit slowly. I hoped to be further along but with last years winter being as harsh as it was I lost valuable weekends to closed roads and treacherous highways. I look at the catalogs all the time too, Got’em, Got’em, Got’em, Need’ em, Got’em. More and more Got’em’s as time goes on for sure.
Yup she is starting to take form again, albeit slowly. I hoped to be further along but with last years winter being as harsh as it was I lost valuable weekends to closed roads and treacherous highways. I look at the catalogs all the time too, Got’em, Got’em, Got’em, Need’ em, Got’em. More and more Got’em’s as time goes on for sure.


2nd Gear member
Joined: Sep 2009
Posts: 423
From: Missouri
That's a great project, and I enjoyed seeing the progress up to this point. You've been doing some amazing work!
My folks have a nice '69, except that the metal dash panel has to be replaced. It's been in storage for many years, and they are just getting it ready to be licensed again. I will be looking forward to watching the steps you take towards resurrecting your Camaro.
My folks have a nice '69, except that the metal dash panel has to be replaced. It's been in storage for many years, and they are just getting it ready to be licensed again. I will be looking forward to watching the steps you take towards resurrecting your Camaro.
Thread Starter
|
1st Gear Member
Joined: Jul 2010
Posts: 135
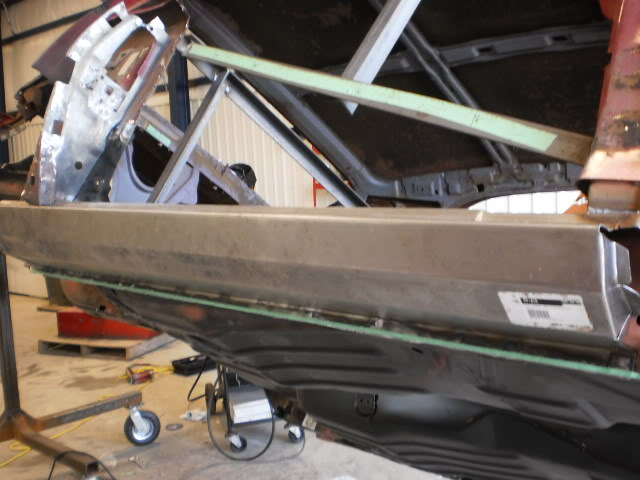
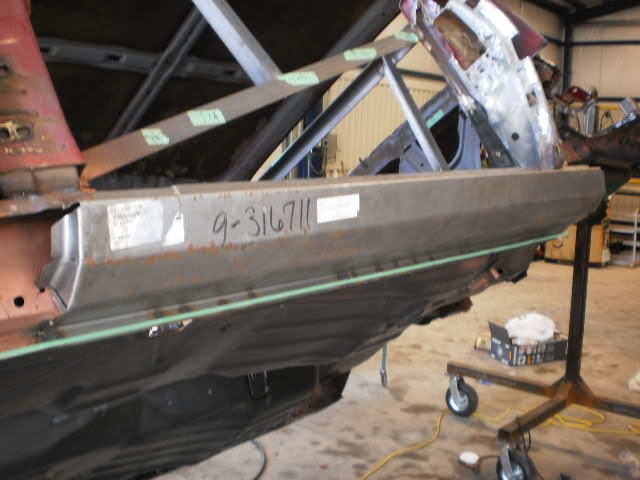
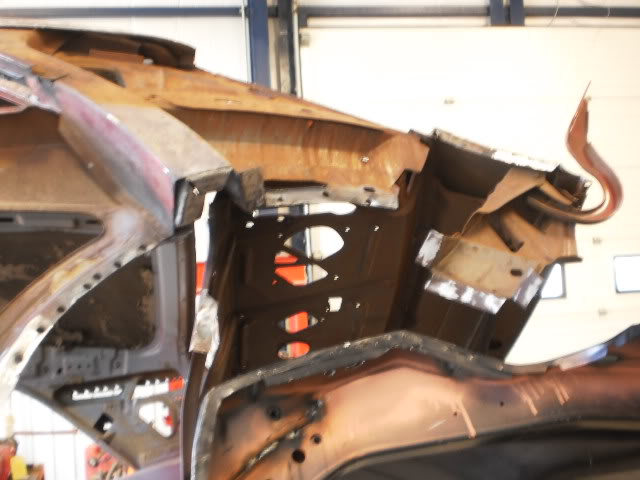
I got the driver side ready to start test fitting the new quarter panel and wheel well.. I also ground the bottom seam on both rocker panels and seam welded inner, outer and floor pan together. It’s just rough right now. I want to cut out the cage I built, so seam welding the rockers will add more strength and the car is less likely to sag when the cage comes out