


My rebuild


Thread Starter
|
1st Gear Member
Joined: Jul 2010
Posts: 135

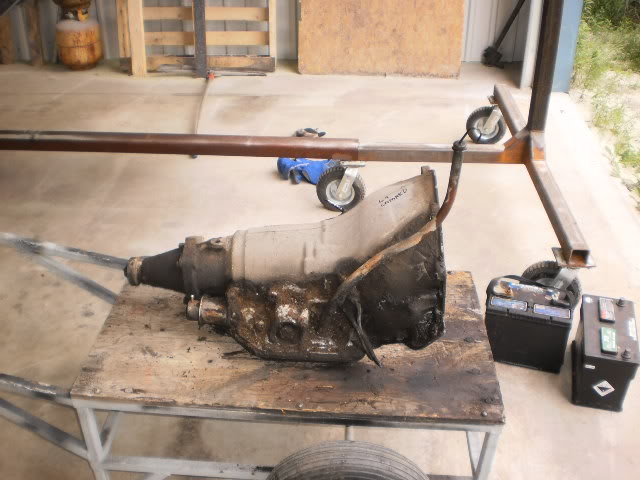
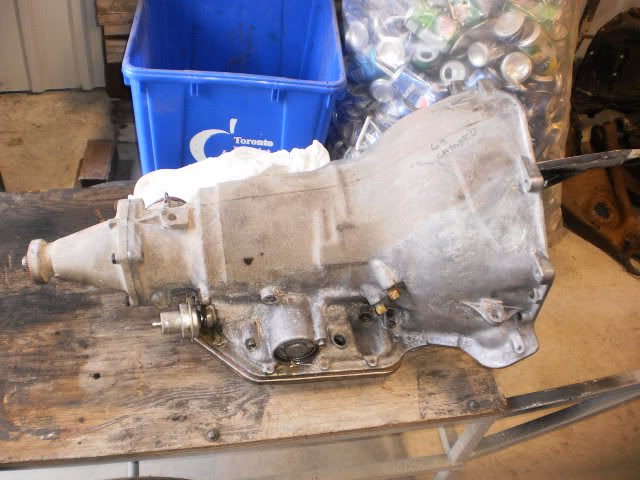
I just got my transmission back. I sent it out last week to get checked over. The guy didn’t find anything broken just some worn out parts.
He replaced them and put all new bushings, seals and gaskets in. He also installed a shift kit. Before and after shots
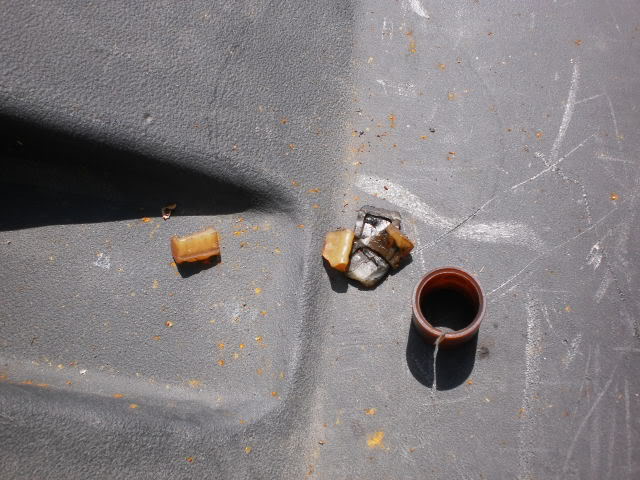
I found all these little Teflon pieces in the oil pan. The Teflon is probably from the original timing gear.
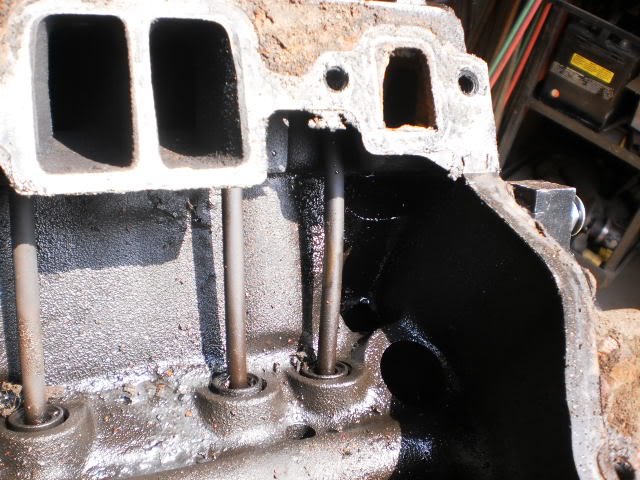
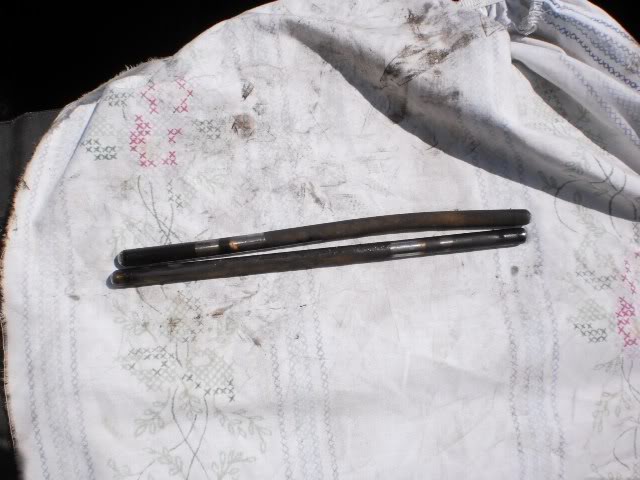
The timing gear was replaced but I don’t think they dropped the oil pan to clean out the debris which is probably why I found this bent push rod
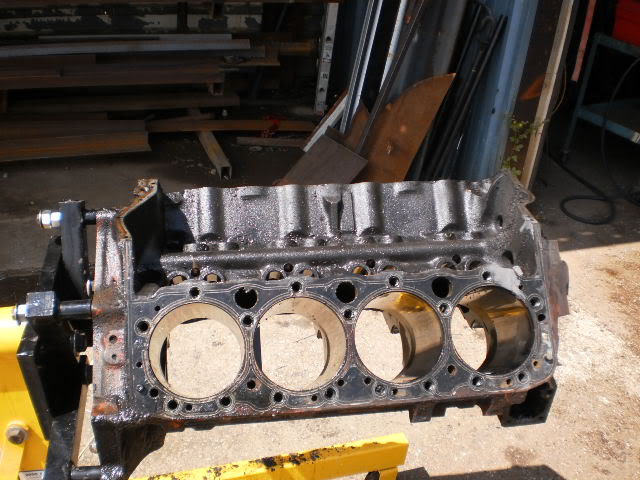
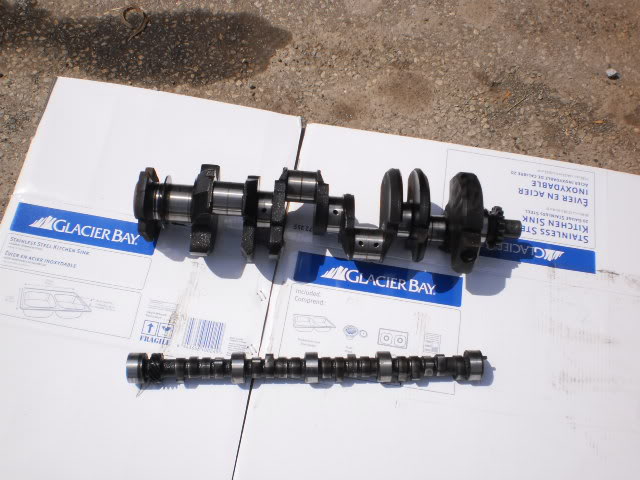
I finished taking the motor apart. It’s in pretty good shape. I’ll send the block out next week to get cleaned then off to the rebuilder.
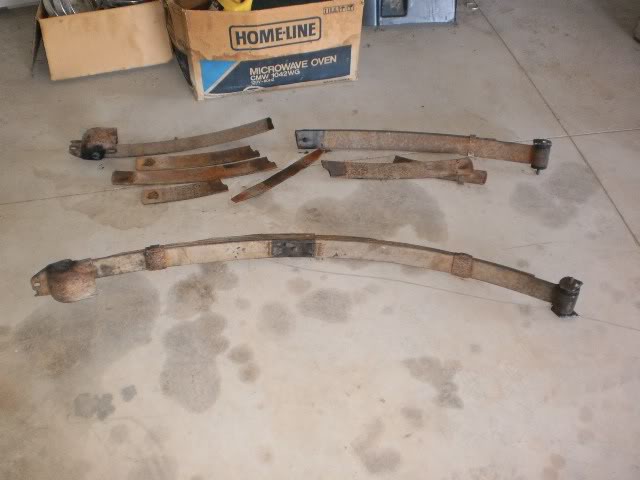
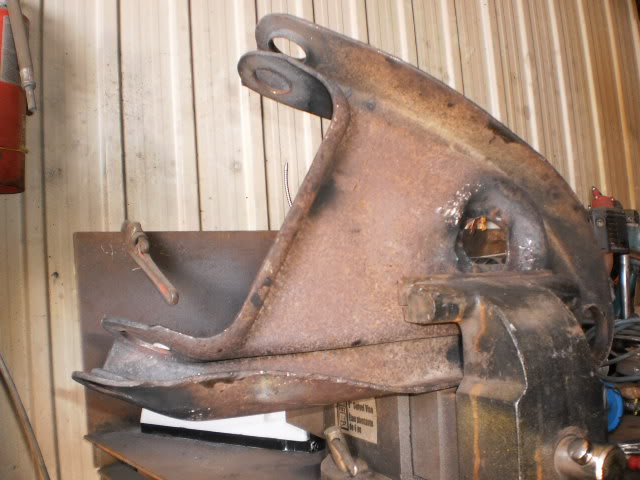
I still have sandblasting to do, hopefully next weekend then I can get back on the body
He replaced them and put all new bushings, seals and gaskets in. He also installed a shift kit. Before and after shots
I found all these little Teflon pieces in the oil pan. The Teflon is probably from the original timing gear.
The timing gear was replaced but I don’t think they dropped the oil pan to clean out the debris which is probably why I found this bent push rod
I finished taking the motor apart. It’s in pretty good shape. I’ll send the block out next week to get cleaned then off to the rebuilder.
I still have sandblasting to do, hopefully next weekend then I can get back on the body
Thread Starter
|
1st Gear Member
Joined: Jul 2010
Posts: 135
Thanks. Take your time. It'll all come together

In the Staging Lanes
Joined: Jun 2010
Posts: 90
From: Indiana
Bent pushrod
What did the valve guides look like? Are you reusing the old heads?
I keep telling people the worst part of my build was the things like this you did not expect. Like every step deeper you go the more you find. Mind is comming back together, but it is like stacking the layers back on the onion after you take out the spoiled center.
It looks like you are making good progress. Keep your post going.

You will win in the end!!!!
I keep telling people the worst part of my build was the things like this you did not expect. Like every step deeper you go the more you find. Mind is comming back together, but it is like stacking the layers back on the onion after you take out the spoiled center.
It looks like you are making good progress. Keep your post going.
You will win in the end!!!!



Thread Starter
|
1st Gear Member
Joined: Jul 2010
Posts: 135
What did the valve guides look like? Are you reusing the old heads?
I keep telling people the worst part of my build was the things like this you did not expect. Like every step deeper you go the more you find. Mind is comming back together, but it is like stacking the layers back on the onion after you take out the spoiled center.
It looks like you are making good progress. Keep your post going.
You will win in the end!!!!
I keep telling people the worst part of my build was the things like this you did not expect. Like every step deeper you go the more you find. Mind is comming back together, but it is like stacking the layers back on the onion after you take out the spoiled center.
It looks like you are making good progress. Keep your post going.
You will win in the end!!!!
Did you modernize the engine at all in yours? I’m thinking about Holley EFI and MSD Ignition
Thread Starter
|
1st Gear Member
Joined: Jul 2010
Posts: 135
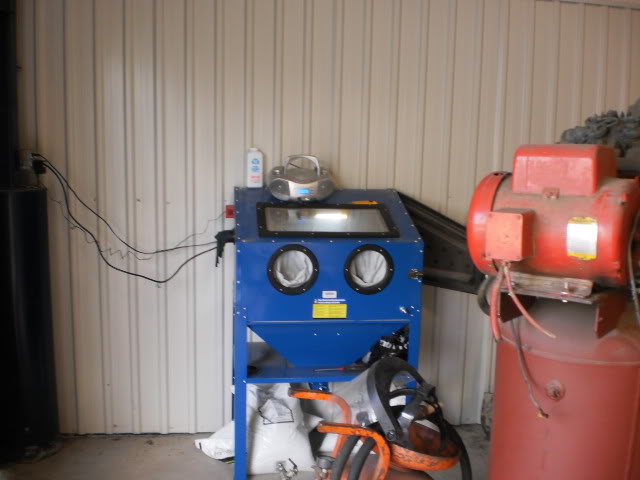
I got my new Sandblasting cabinet put together. More parts to this thing than my car
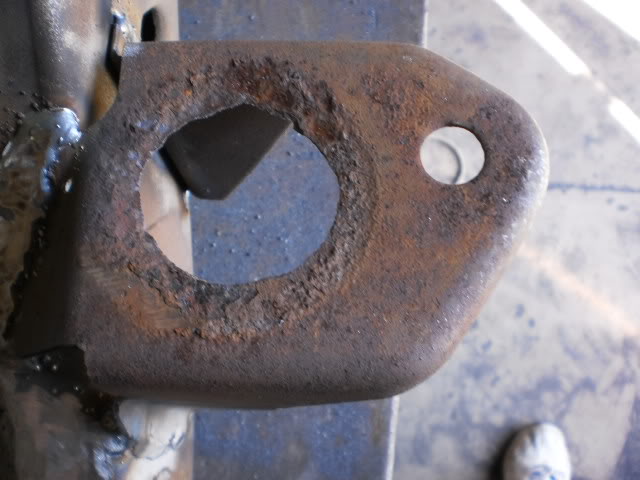
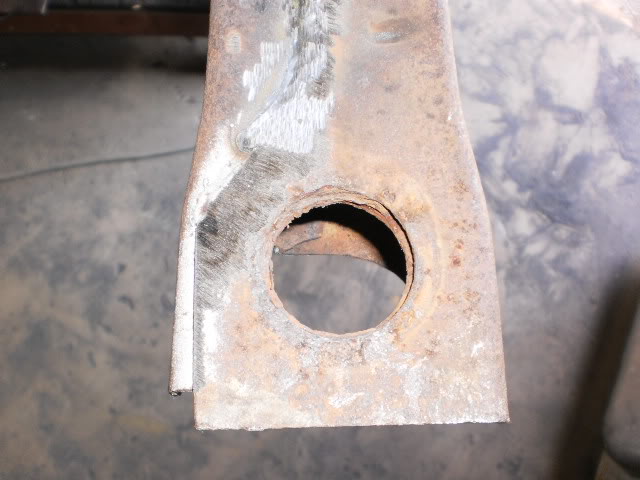
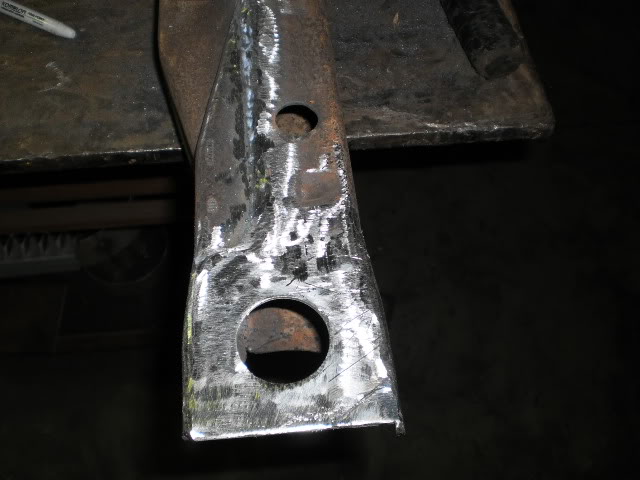
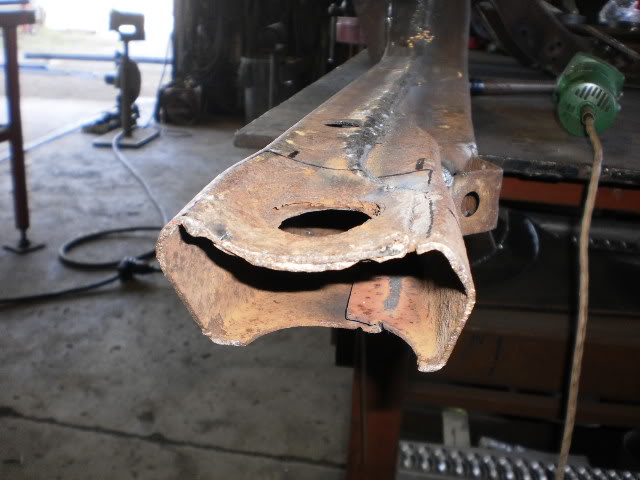
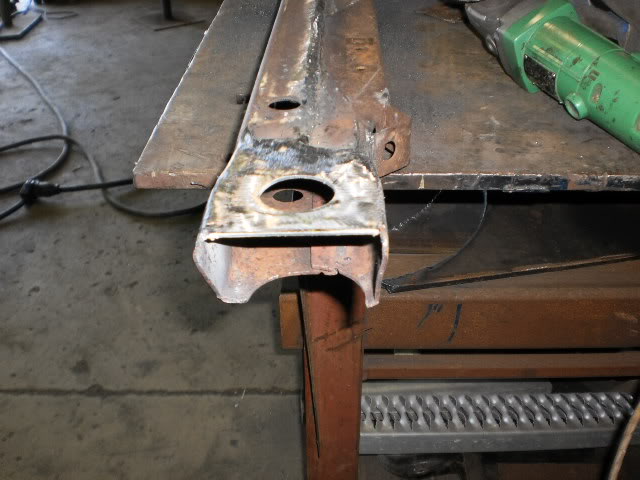
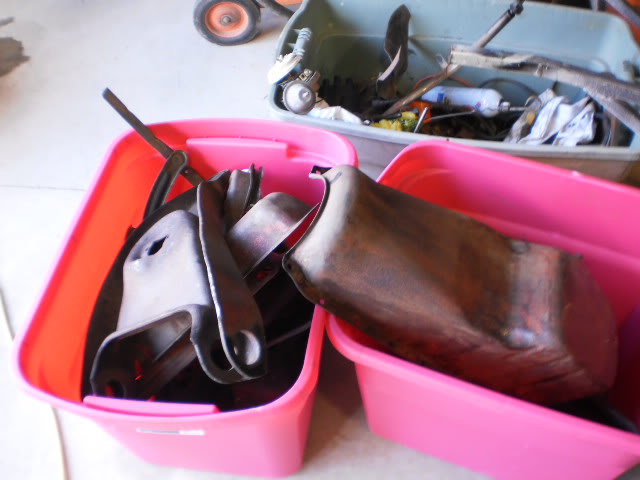
Some before sandblasting
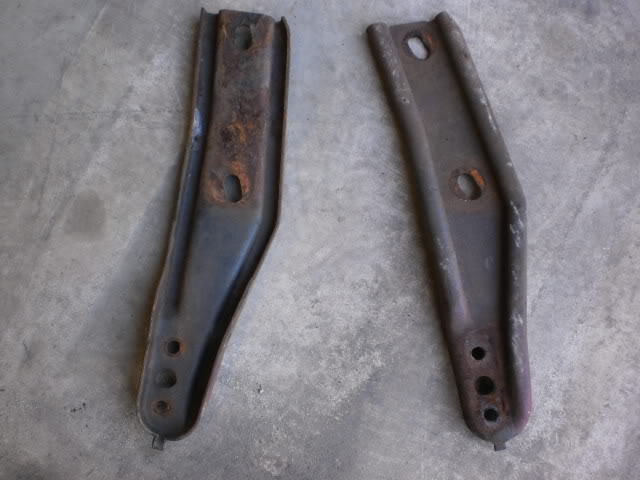
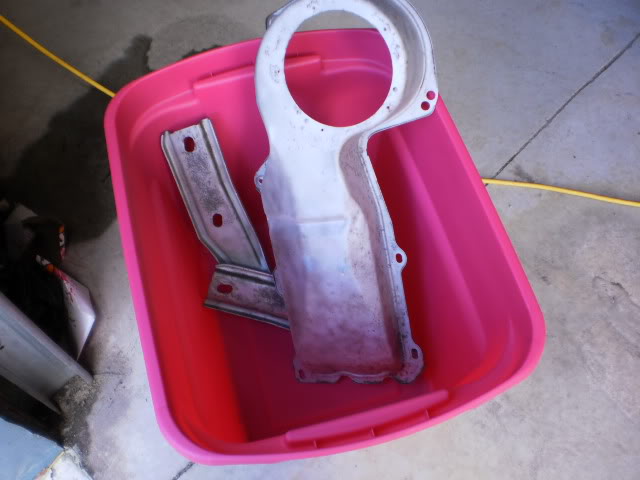
Some after sandblasting
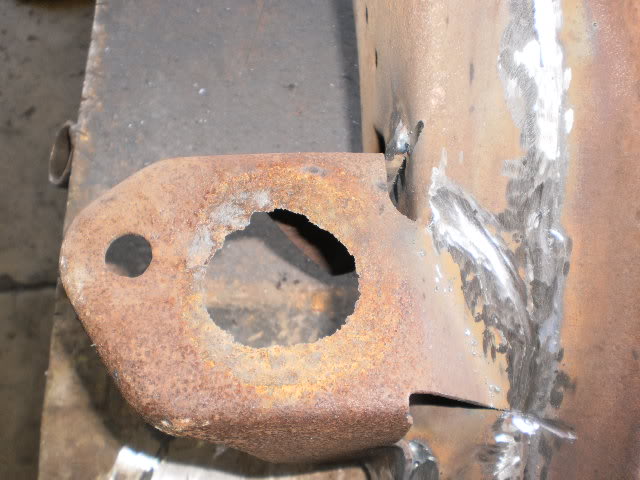
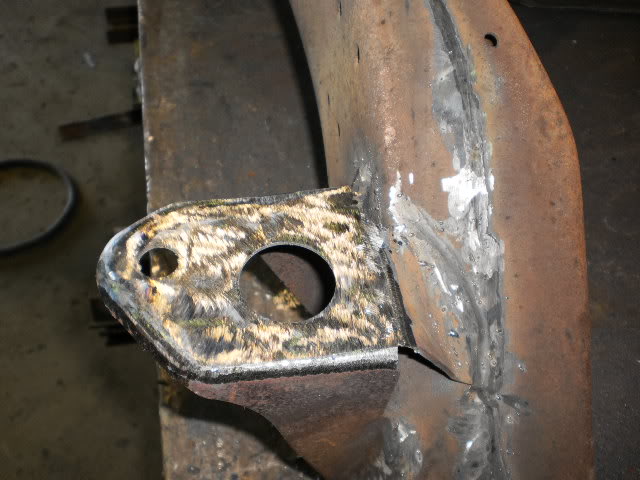
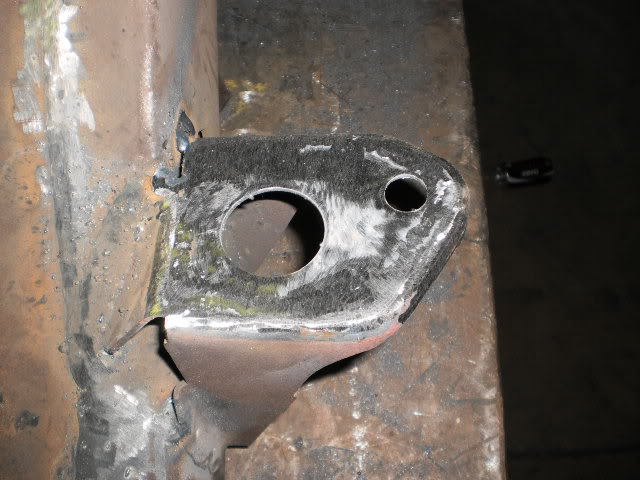
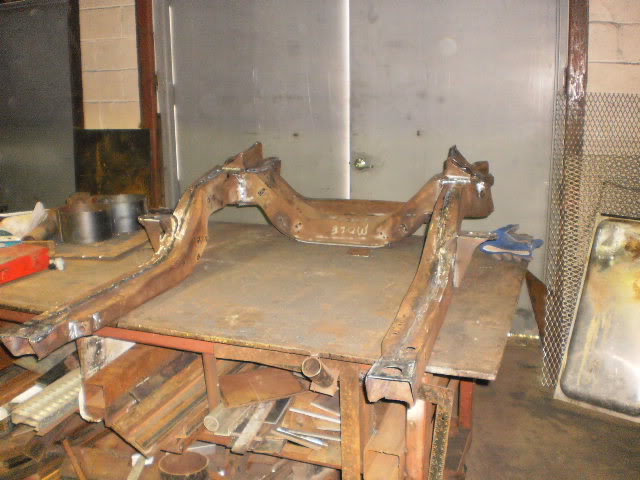
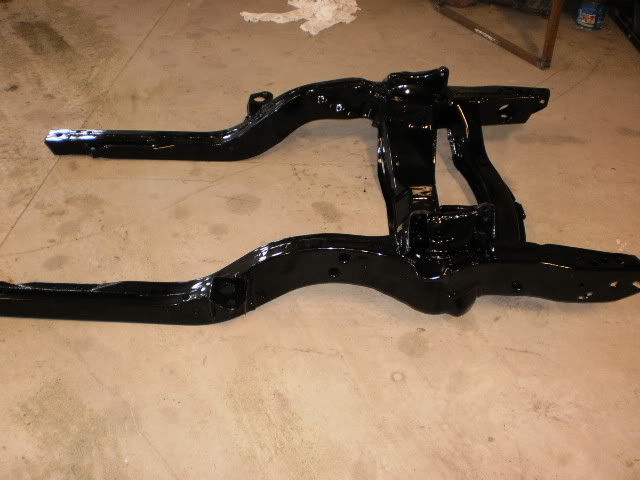
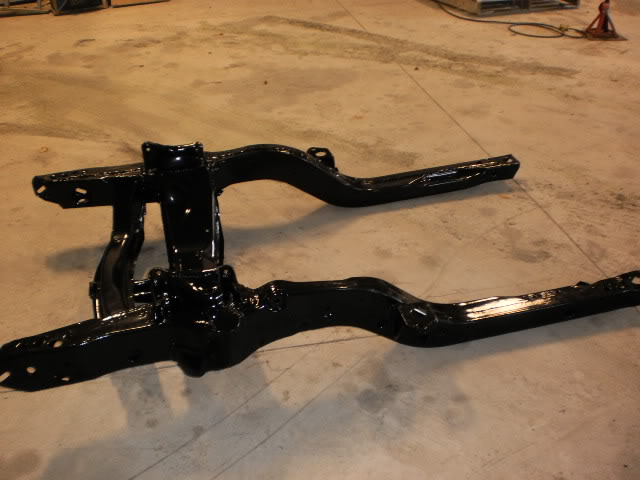
Here is my frame back from the powder coating. It turned out fantastic. It's all seam welded and the mounts are all fixed
Some before sandblasting
Some after sandblasting
Here is my frame back from the powder coating. It turned out fantastic. It's all seam welded and the mounts are all fixed
