


Gas tank project

Thread Starter
|
1st Gear Member
Joined: May 2009
Posts: 136
From: Beautiful Lake Havasu
 Gas tank project
In the early 80's I swapped in a Mustang gas tank because it was larger, wouldn't dump gas on my foot at the fueling station, and there were no repop parts from Classic Industries yet. I got a junkyard tank, cut out the trunk floor, and put in the Mustang tank. Fast forward a few decades, and the old junkyard tank had rusted out. I was going to put in a fuel cell, even got the brackets welded in, but realized it would be a several-month long project, so I got a new 'Stang tank on eBay and am going to just put it all back together.
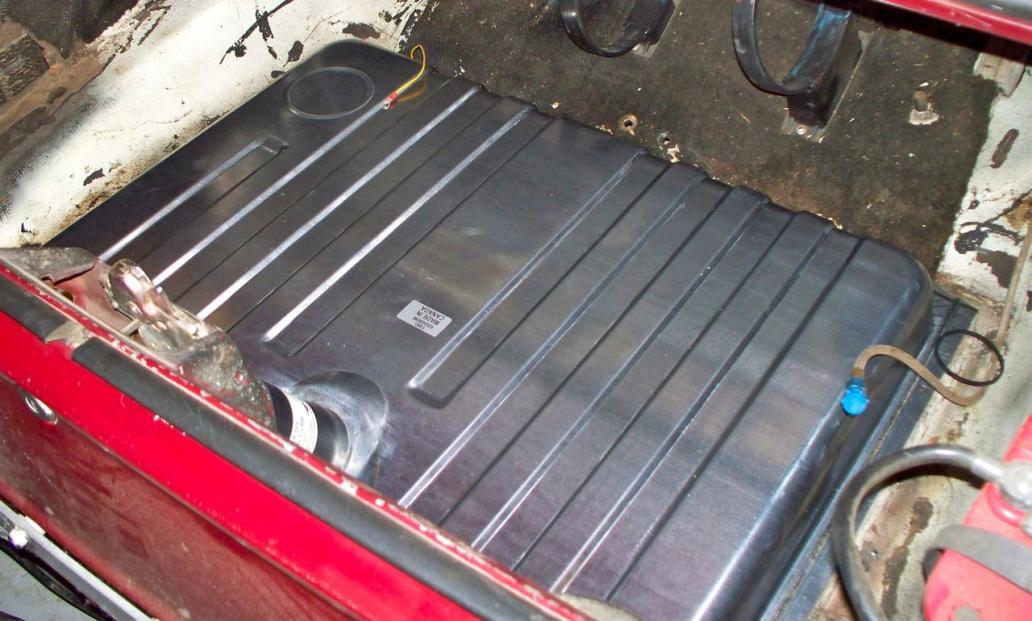
Like any "small" project, it has taken on a life of its own. I didn't like the 80's installed carpet, then I didn't like the welds on the cage tubes to the rear crossmember, then I didn't like the rough riding suspension, or the way I cut out the holes for the tubes. Anyway, I took the mocked up tank back out, and have been working on the details I didn't like.
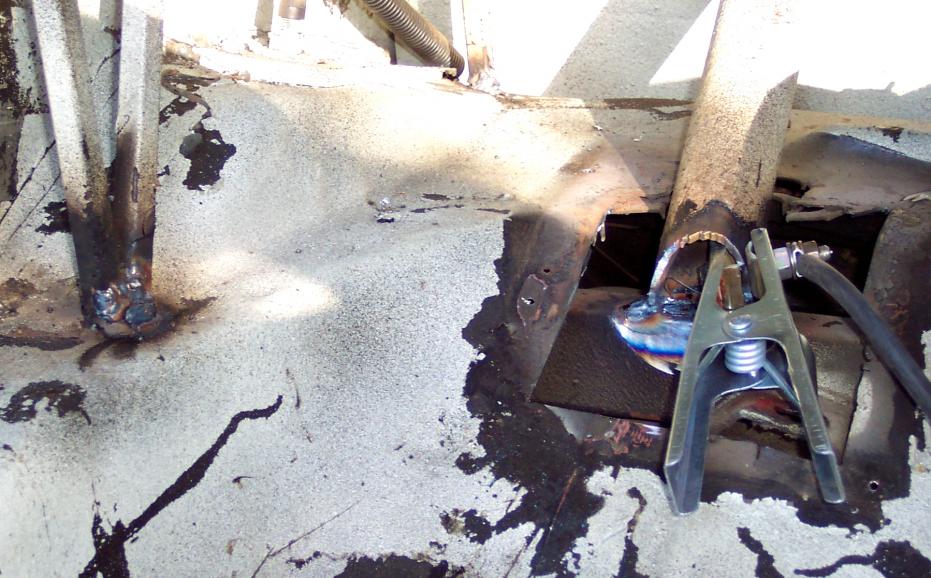
I noticed that the tubes I welded in to brace the package shelf after I cut out the tubs oh so long ago were broken, so i had to weld them back up. Next up is fabrication of a few braces to cap the tubes and tie into the crossmember better. I'm also thinking of getting a "Caltraks bar" to replace the Lakewood slapper bars I bought in 1976 for $10 new in the box.
I already took out the extra set of shocks that came with my Addco kit when I got it in 1980. The shocks still hold N2, but the ride is just too stiff, and with the smaller tires (down from 295/50R-15) I shouldn't have rubbing issues.
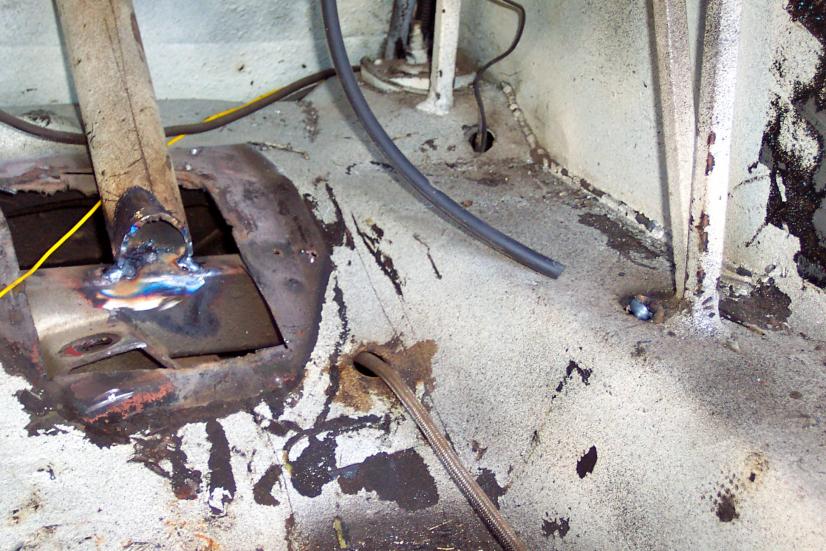
Like any "small" project, it has taken on a life of its own. I didn't like the 80's installed carpet, then I didn't like the welds on the cage tubes to the rear crossmember, then I didn't like the rough riding suspension, or the way I cut out the holes for the tubes. Anyway, I took the mocked up tank back out, and have been working on the details I didn't like.
I noticed that the tubes I welded in to brace the package shelf after I cut out the tubs oh so long ago were broken, so i had to weld them back up. Next up is fabrication of a few braces to cap the tubes and tie into the crossmember better. I'm also thinking of getting a "Caltraks bar" to replace the Lakewood slapper bars I bought in 1976 for $10 new in the box.
I already took out the extra set of shocks that came with my Addco kit when I got it in 1980. The shocks still hold N2, but the ride is just too stiff, and with the smaller tires (down from 295/50R-15) I shouldn't have rubbing issues.
Thread Starter
|
1st Gear Member
Joined: May 2009
Posts: 136
From: Beautiful Lake Havasu
Didn't finish
OK, I didn't get completely finished, but I got quite a ways.
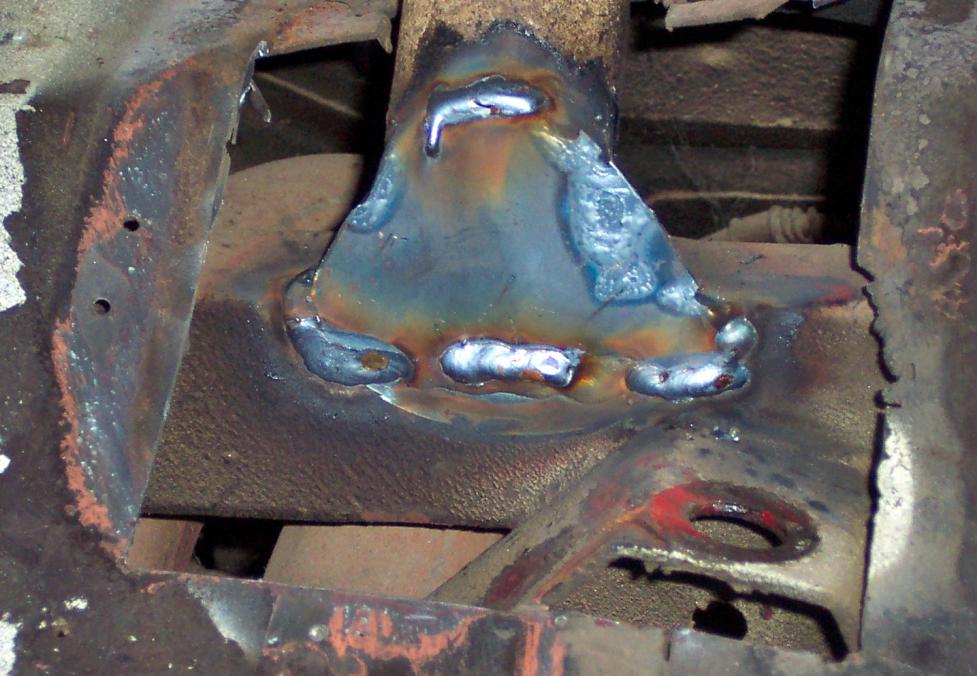
I capped the rollcage tubes and gusseted them into the crossmember with one piece of metal. Then I painted everything, put the panels back in, and finally got the tank in just now. I had a few delays for paint drying and such, so I finished up the engine compartment work. Hopefully there won't be too many leaks.
Capped, before the finish work.
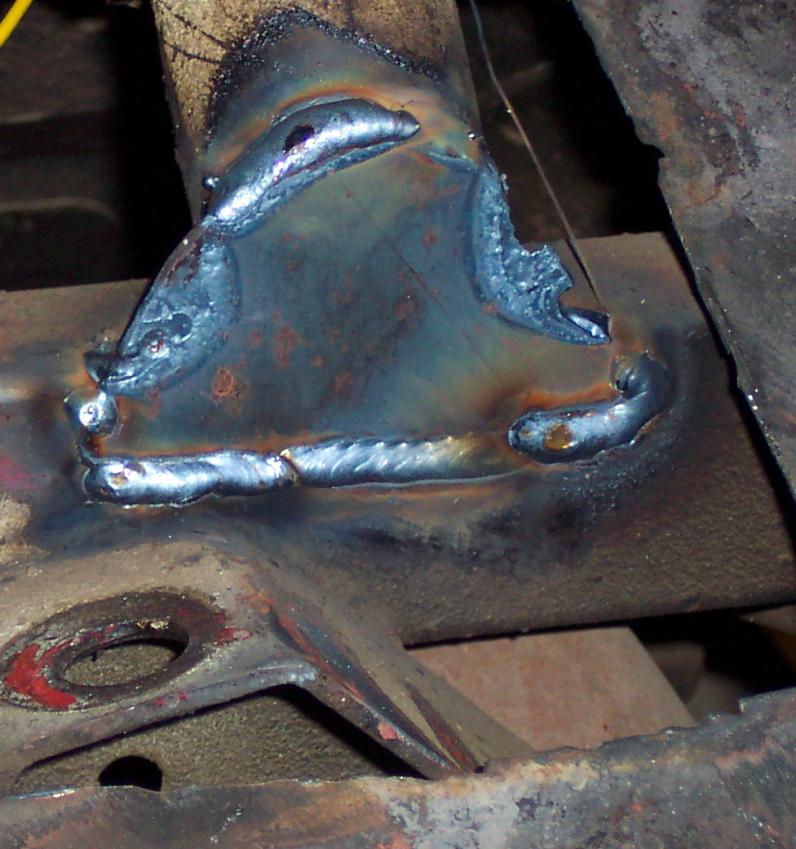
Cleaned up some, with primer.
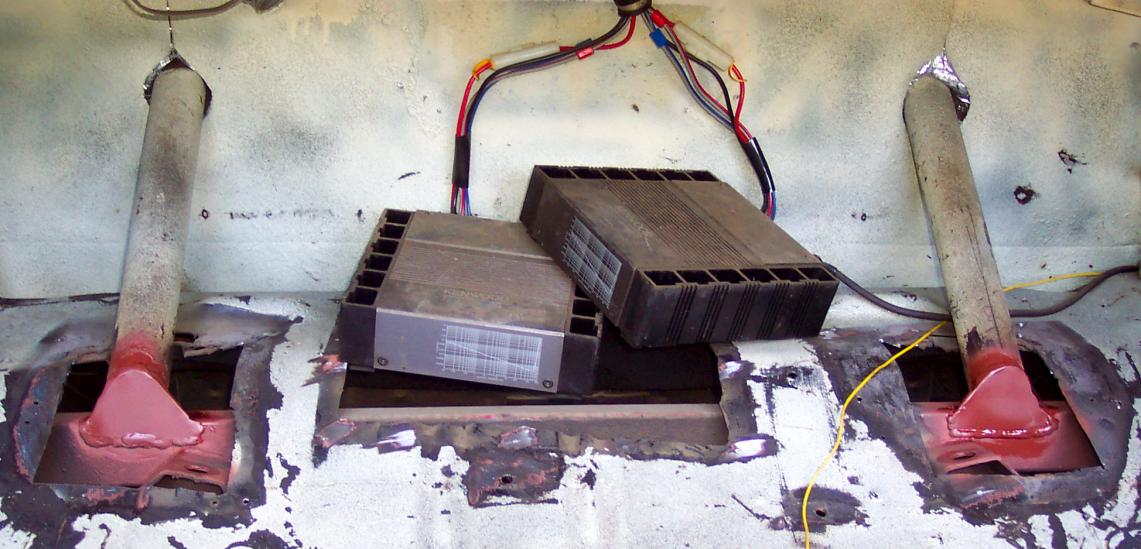
Panels and amps back in place.
I capped the rollcage tubes and gusseted them into the crossmember with one piece of metal. Then I painted everything, put the panels back in, and finally got the tank in just now. I had a few delays for paint drying and such, so I finished up the engine compartment work. Hopefully there won't be too many leaks.
Capped, before the finish work.
Cleaned up some, with primer.
Panels and amps back in place.
Thread Starter
|
1st Gear Member
Joined: May 2009
Posts: 136
From: Beautiful Lake Havasu
The shot from the last post. Amps and panels back in place. I also shot it with hammertone gray.
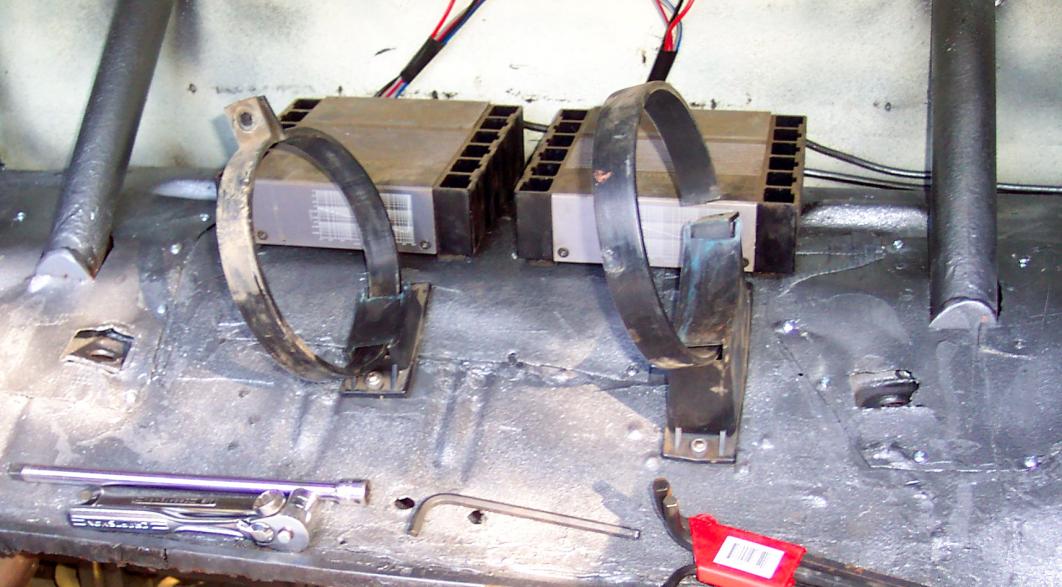
The brackets are for the nitrous bottle.
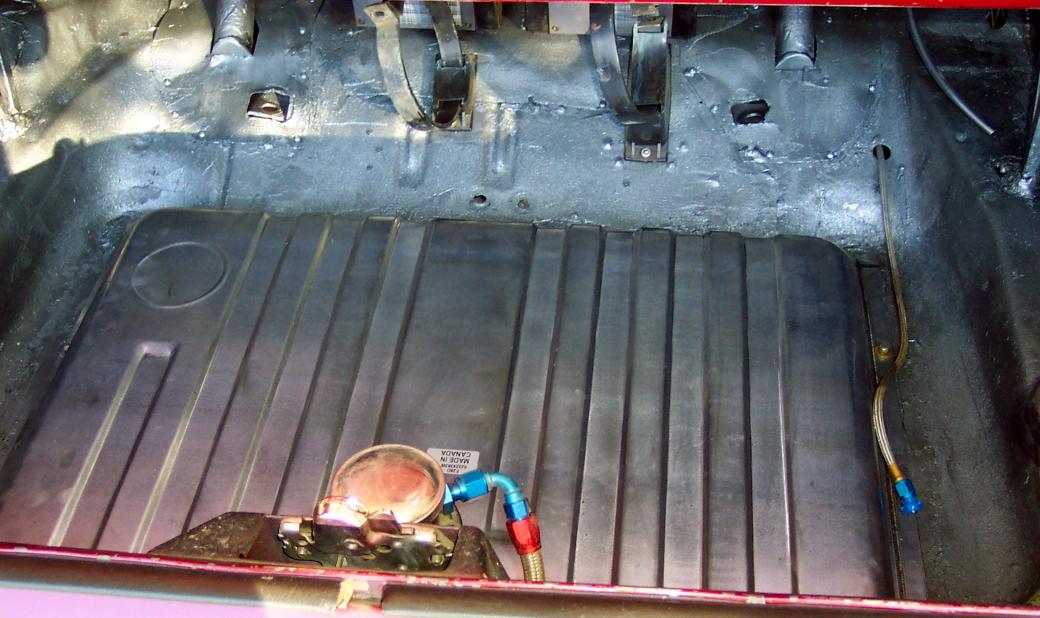
Perhaps a bit shaky to fill inside the trunk, but how can it be worse than running the gas all over the ground?
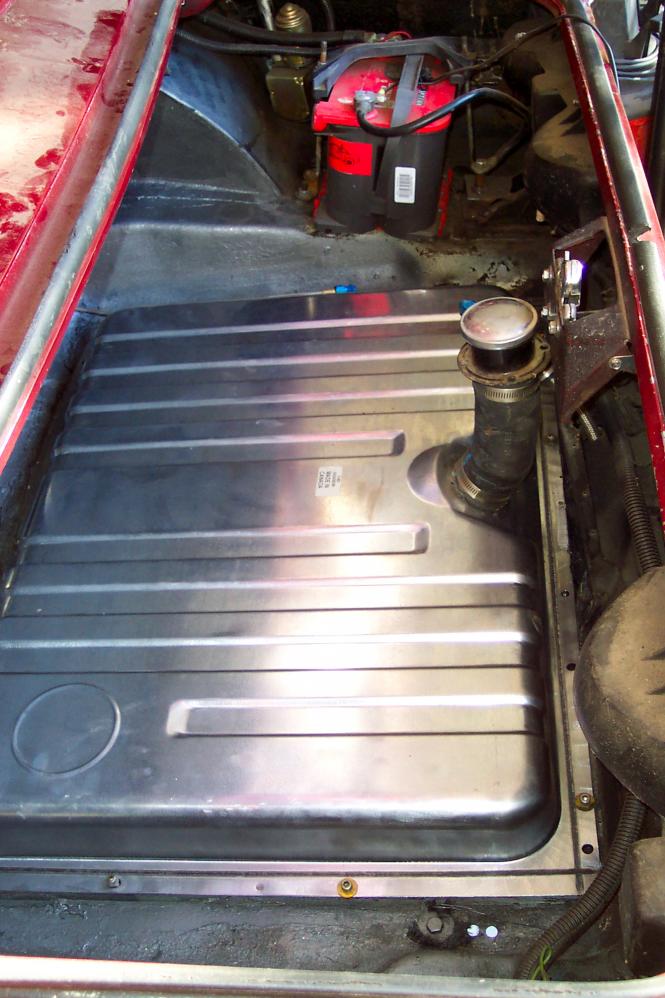
The brackets are for the nitrous bottle.
Perhaps a bit shaky to fill inside the trunk, but how can it be worse than running the gas all over the ground?
Thread Starter
|
1st Gear Member
Joined: May 2009
Posts: 136
From: Beautiful Lake Havasu
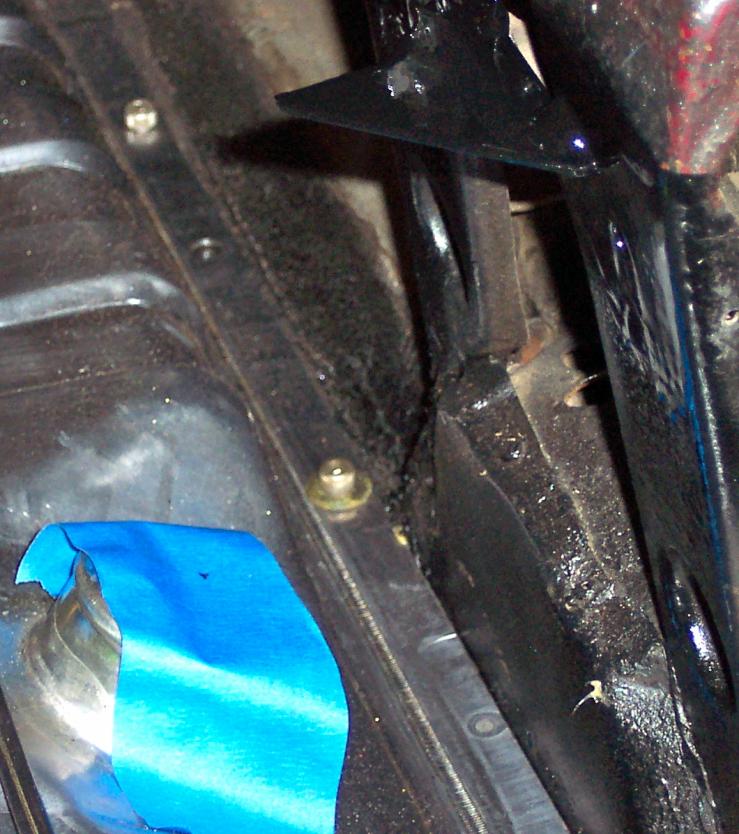
The filler mount. Made it out of light guage steel, then welded it onto the truck opener brace. Two holes drilled for the filler to mount. The blue masking tape keeps debris out while messing with the mount.
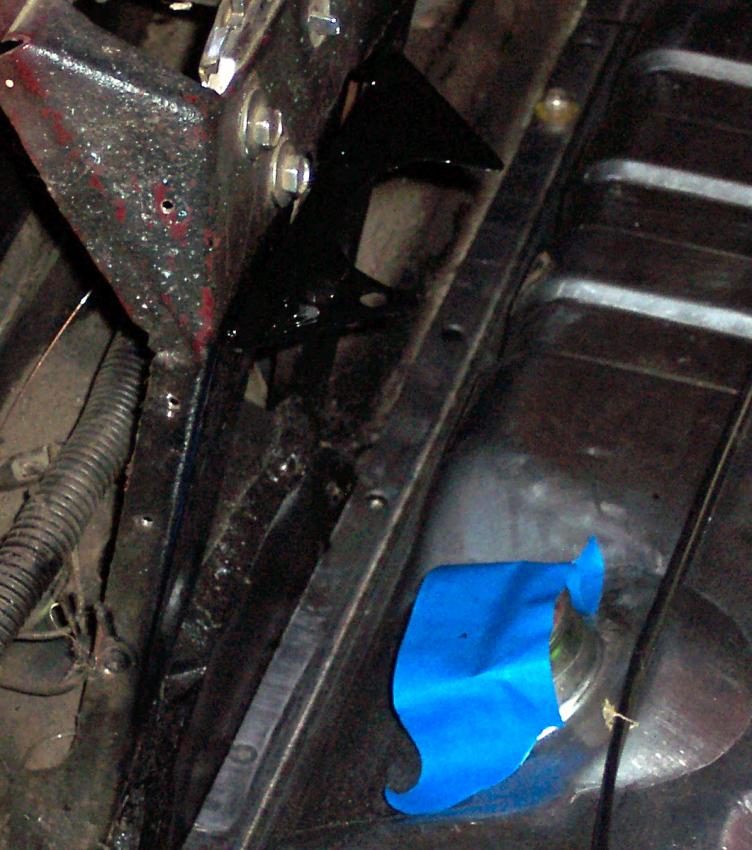
The other direction. Didn't put a lot of weld on it, not much strain on this piece.
Filling the tank with high-octane mix I siphoned out of the rock crawler. I had to take its tank apart anyway...
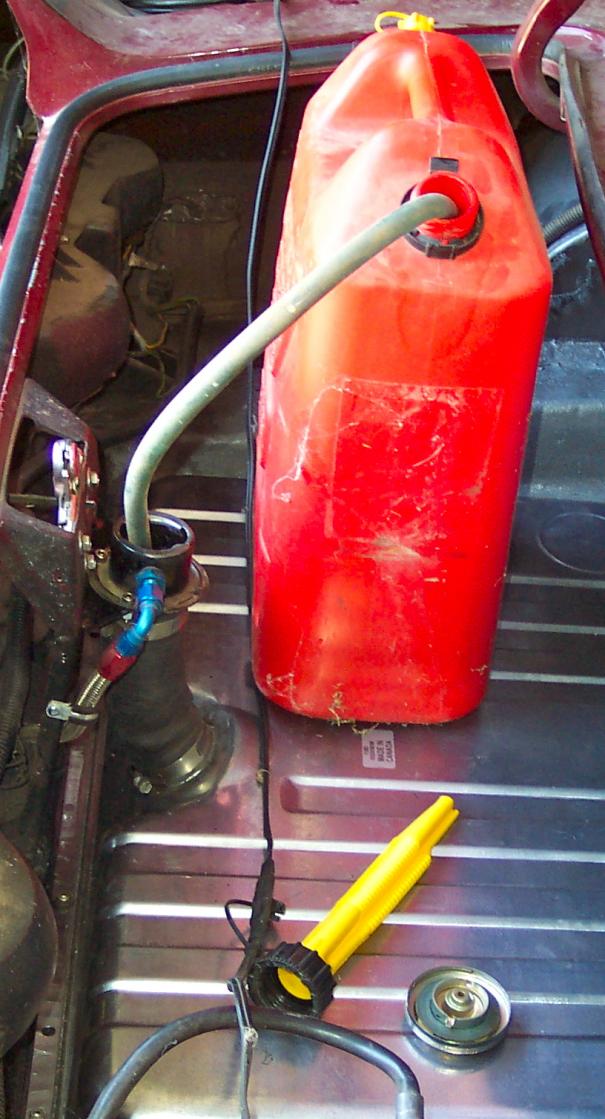
The other direction. Didn't put a lot of weld on it, not much strain on this piece.
Filling the tank with high-octane mix I siphoned out of the rock crawler. I had to take its tank apart anyway...
Thread Starter
|
1st Gear Member
Joined: May 2009
Posts: 136
From: Beautiful Lake Havasu
Put 15 gallons in it, primed the fuel sytem and found a leak in the front float bowl. Got that tightened up and cleaned up, and no more leaks. Fired it right up after a quick oil prime. It sat so long the idle circuit seems a bit rough, may have to redo the carb, but it is ready to roll. Now I just have to select and install seats, weld in the rest of the cage, plate the subframe connectors to the floorboards and connect them to the main hoop, change out the rear speakers, and I'm ready to go.
Thread Starter
|
1st Gear Member
Joined: May 2009
Posts: 136
From: Beautiful Lake Havasu
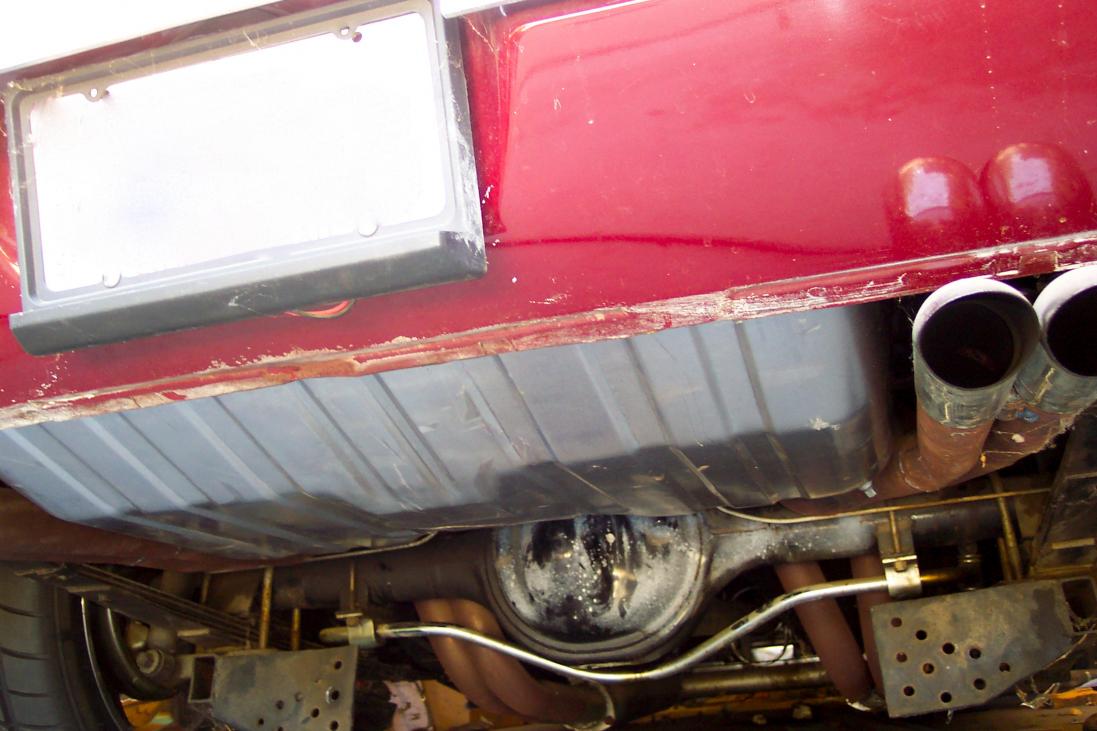
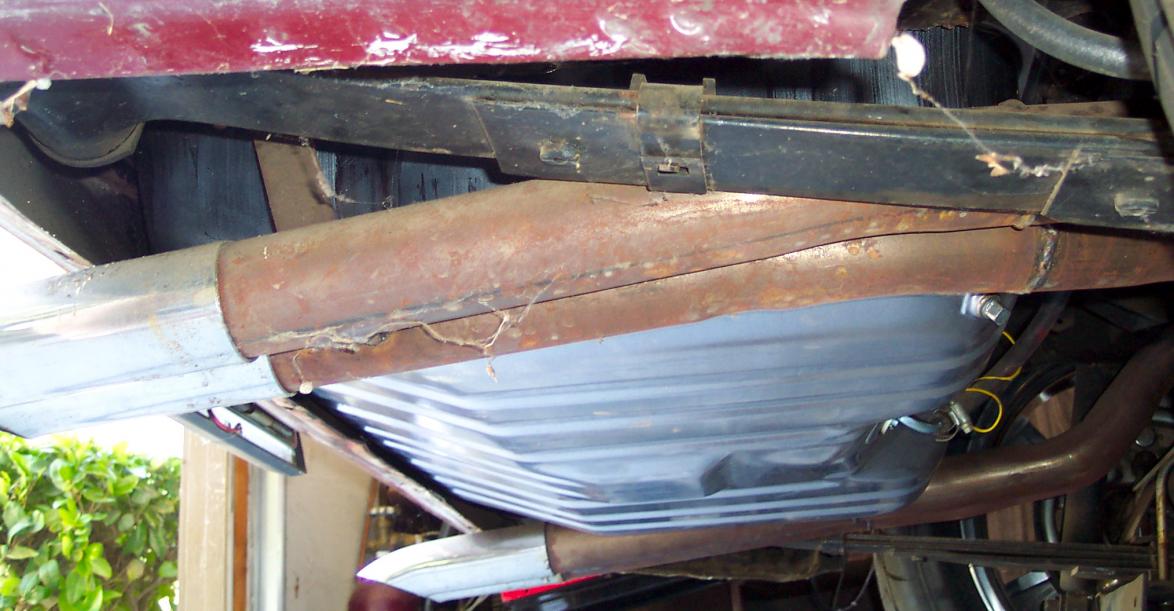
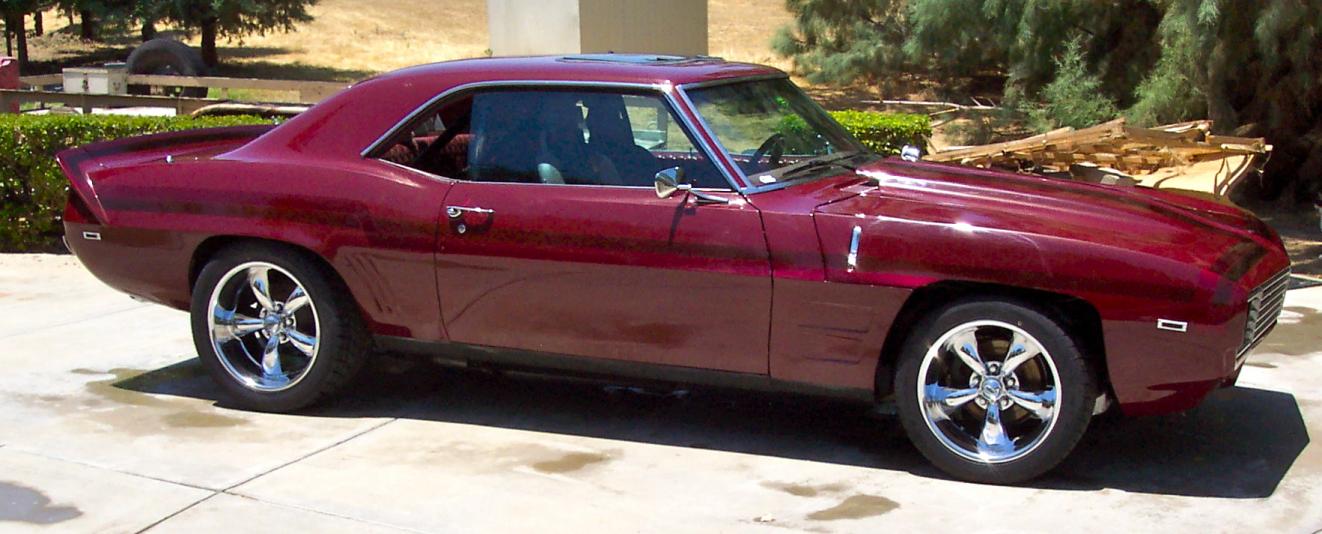
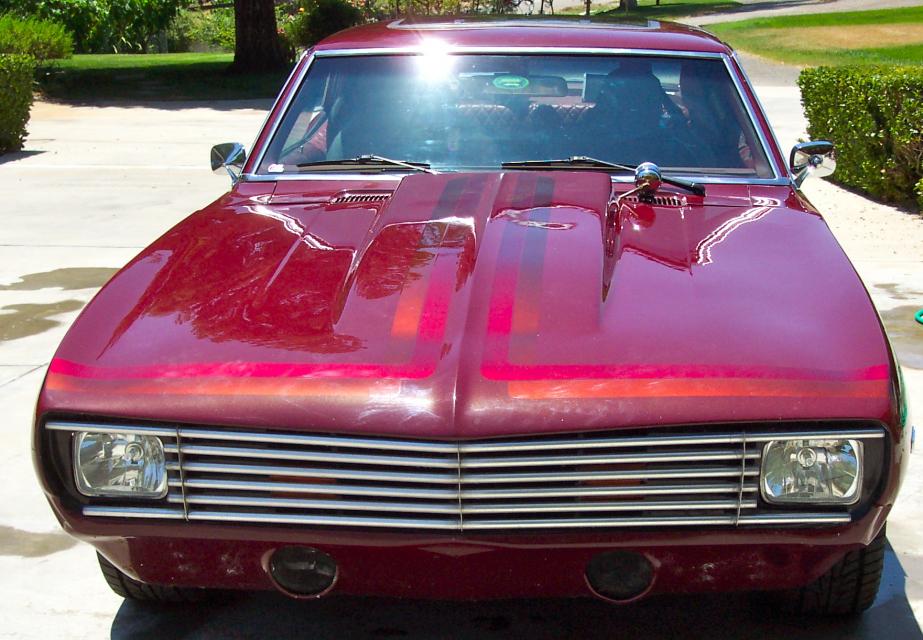
In case anyone was wondering what a Mustang tank looked like from below. I took it out and washed it today - probably about the tenth time it's been washed since it was painted in '84. It has always been covered except for the past few years.


Thread
Thread Starter
Forum
Replies
Last Post


