
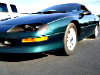
Raider's 1994 Build Project

Thats what I thought but that doesnt explain why my snap-on mt2500 wont read it. Pretty sure problem is ignition too. 99% sure its the opti so I am going to replace that along with plugs and wires.
Anybody know what the cause of my scanner not reading is? Also as I was driving it last night I noticed that the trip meter does not work. THoughts on fixing this or how hard is it to do a 97 cluster swap? I have to take it apart anyway as I am getting 6LE faces.
Did a little research. Found this old thread for you.
https://camaroforums.com/forum/93-02...60/#post545392
https://camaroforums.com/forum/93-02...60/#post545392
Thanks MK, I will look into that. Any ideas on the trip? I remember reading a swap thread on a 97 cluster but I can't seem to find it anymore. Don't know if its worth fixing mine and if I have to replace it I might as well go with the newer style.
Slight update:
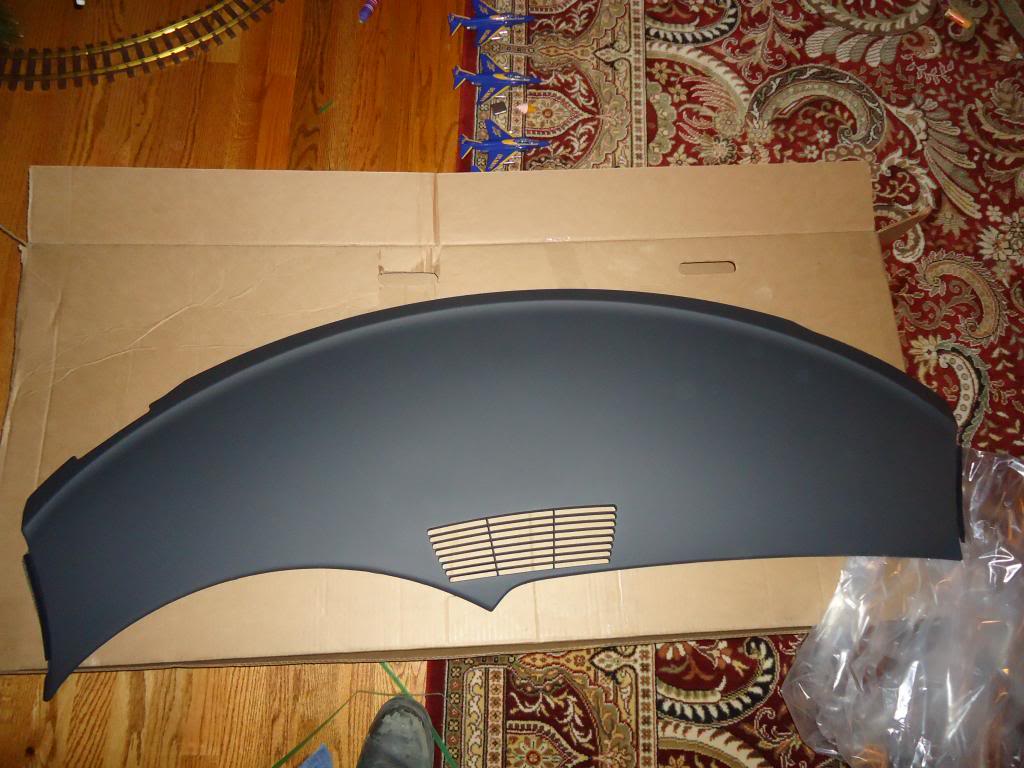
My new dash came in from Jim Butler Chevrolet today. Paid $280 shipped to my door.
Also managed to snag a set of 6LE style genuine leather seats with the brackets for $370 shipped to my door. Thats less then half! I will post pics when those show up.
Slight update:
My new dash came in from Jim Butler Chevrolet today. Paid $280 shipped to my door.
Also managed to snag a set of 6LE style genuine leather seats with the brackets for $370 shipped to my door. Thats less then half! I will post pics when those show up.

Senior Moderator
January 2010 ROTM Winner
January 2010 ROTM Winner
Joined: Oct 2007
Posts: 18,306
From: The 'Burbs of Chicago

Nice new, uncracked dash. If I were me, I would doctor up the attachment tabs so they're not such a tight fit in case you ever need to remove it again without cracking it.
I though about this ^^ Or even making a template out of it and having one made out of aluminum or something. Either way it isn't going to be installed for quite awhile. Probably be the last thing I put back in the car. Just wanted to get one while I could.
Weekend Update:
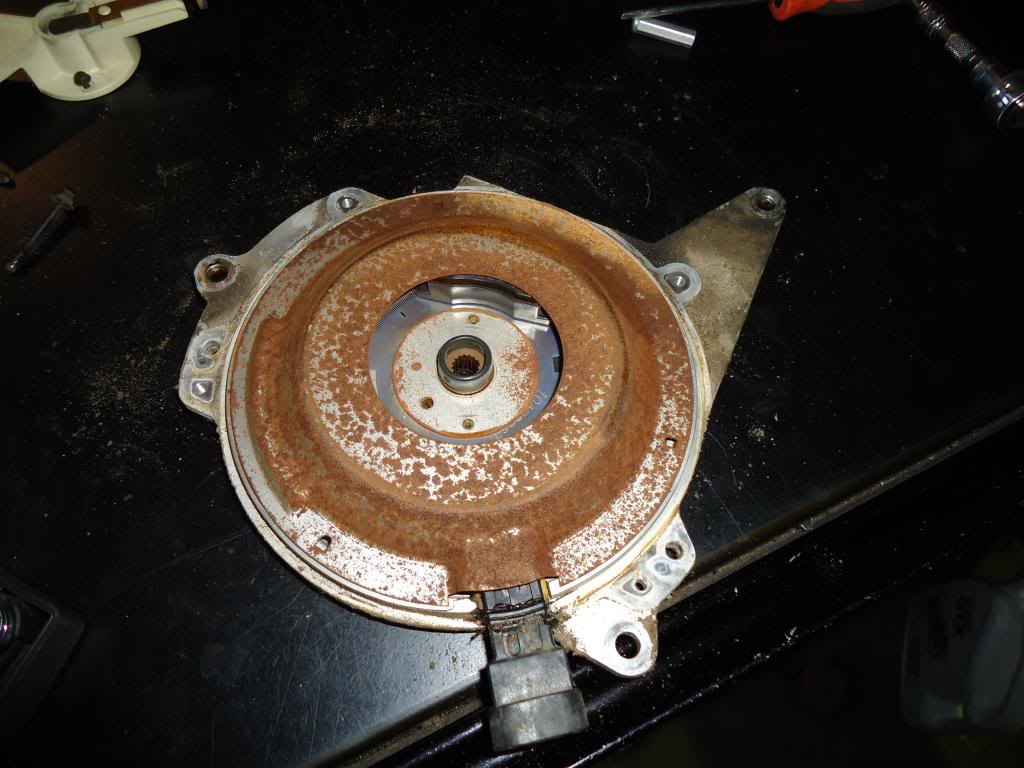
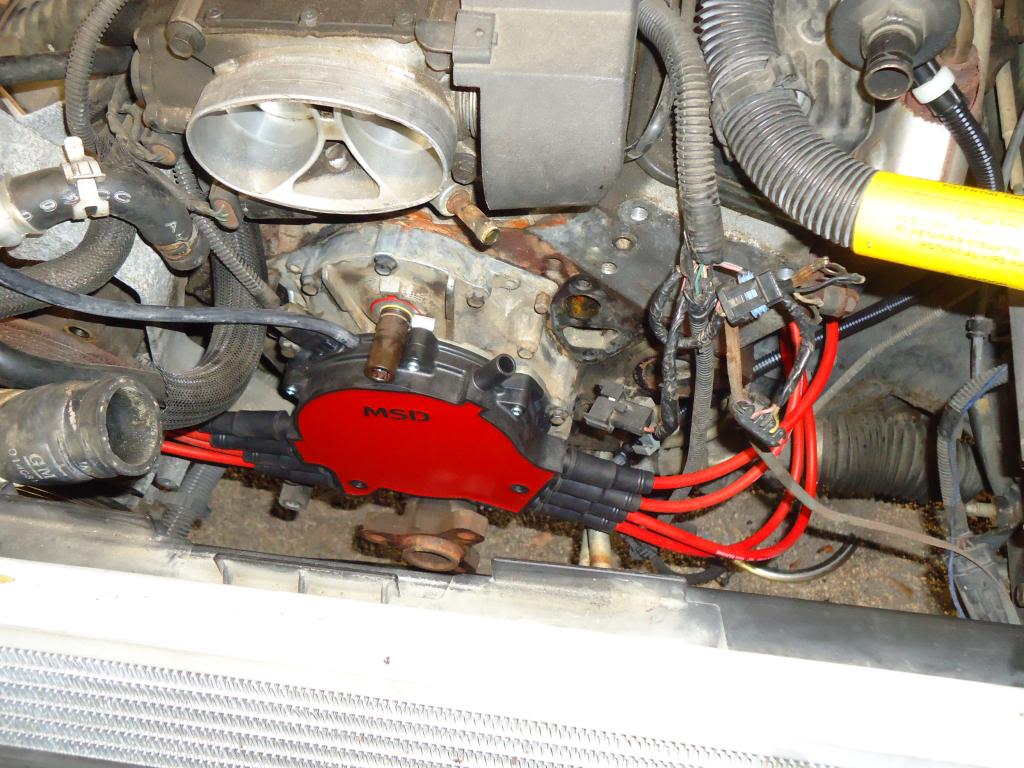
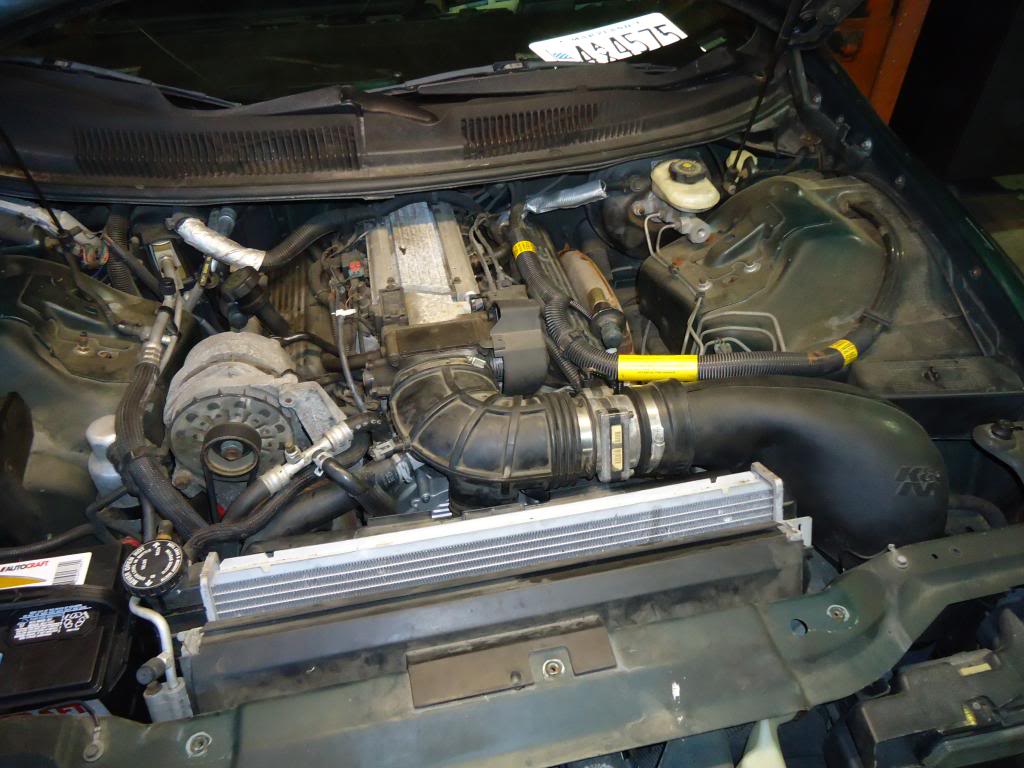
So I replaced the opti and water-pump this weekend and got my first taste as to what a PITA it is. The only thing that didn't get done was the opti harness as it didn't show up in time even though I paid for expedited shipping.
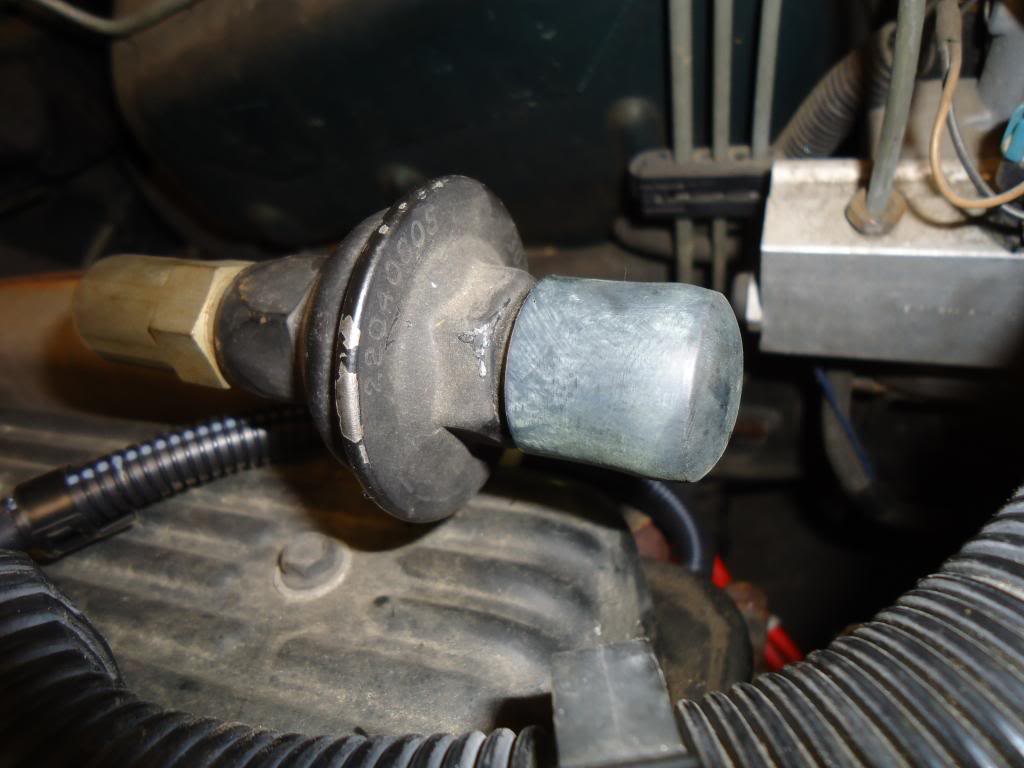
Original opti, looks like I found my culprit:
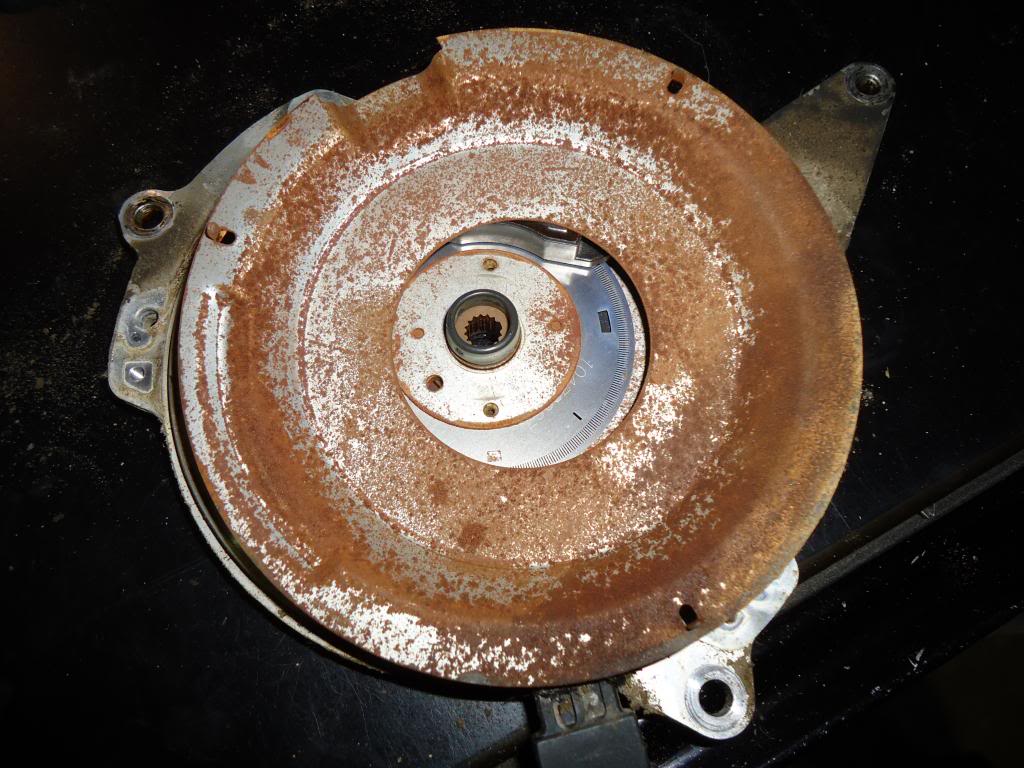
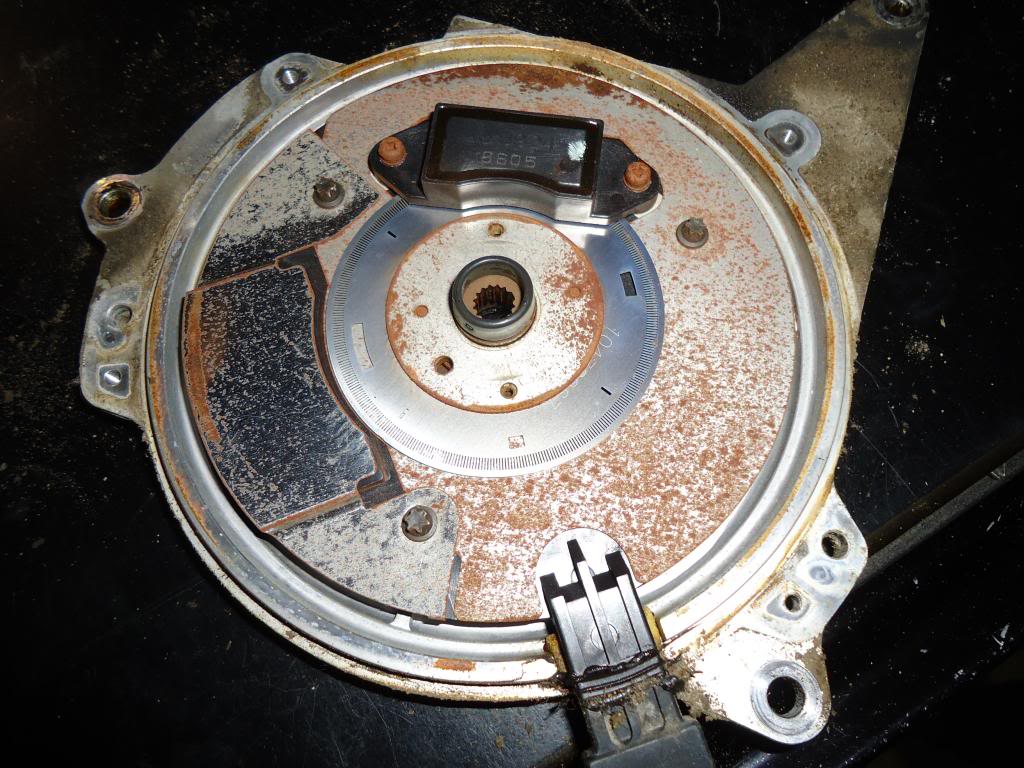
The new one had a broken tab on the spacer disk thing so I had to Sandblast the old one and reuse it.
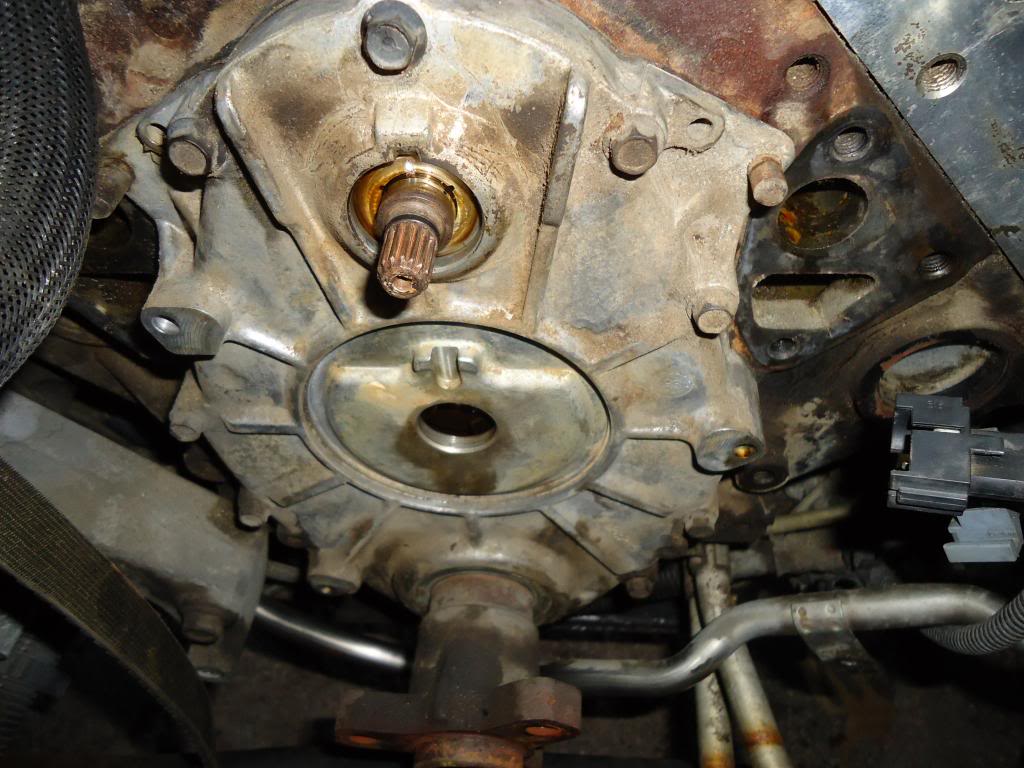
Going back together:
Replaced all the seals and stuff too with the help of craby and 69's marker cap idea. Ended up removing the air pump as the check valves had stuck open and were back feeding into it. Blocked the hoses off with some rubber caps I found at Autozone:
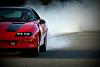
I replaced the third brake light bulbs and that solved my abs inop light. Low coolant light is tripping on and off, I am assuming the sensor is bad? SES light still intermittently throws. tried scanning with the advice MK left but still not getting an accurate read. It didn't give me any codes but my scanner said something about FLAG: ESC left failure, ESC right failure, and ESC both failure????????? She drives great now though. No more stuttering or hopping about.
So I replaced the opti and water-pump this weekend and got my first taste as to what a PITA it is. The only thing that didn't get done was the opti harness as it didn't show up in time even though I paid for expedited shipping.
Original opti, looks like I found my culprit:
The new one had a broken tab on the spacer disk thing so I had to Sandblast the old one and reuse it.
Going back together:
Replaced all the seals and stuff too with the help of craby and 69's marker cap idea.
I replaced the third brake light bulbs and that solved my abs inop light. Low coolant light is tripping on and off, I am assuming the sensor is bad? SES light still intermittently throws. tried scanning with the advice MK left but still not getting an accurate read. It didn't give me any codes but my scanner said something about FLAG: ESC left failure, ESC right failure, and ESC both failure?????????
She drives great now though. No more stuttering or hopping about.

Weekend Update:
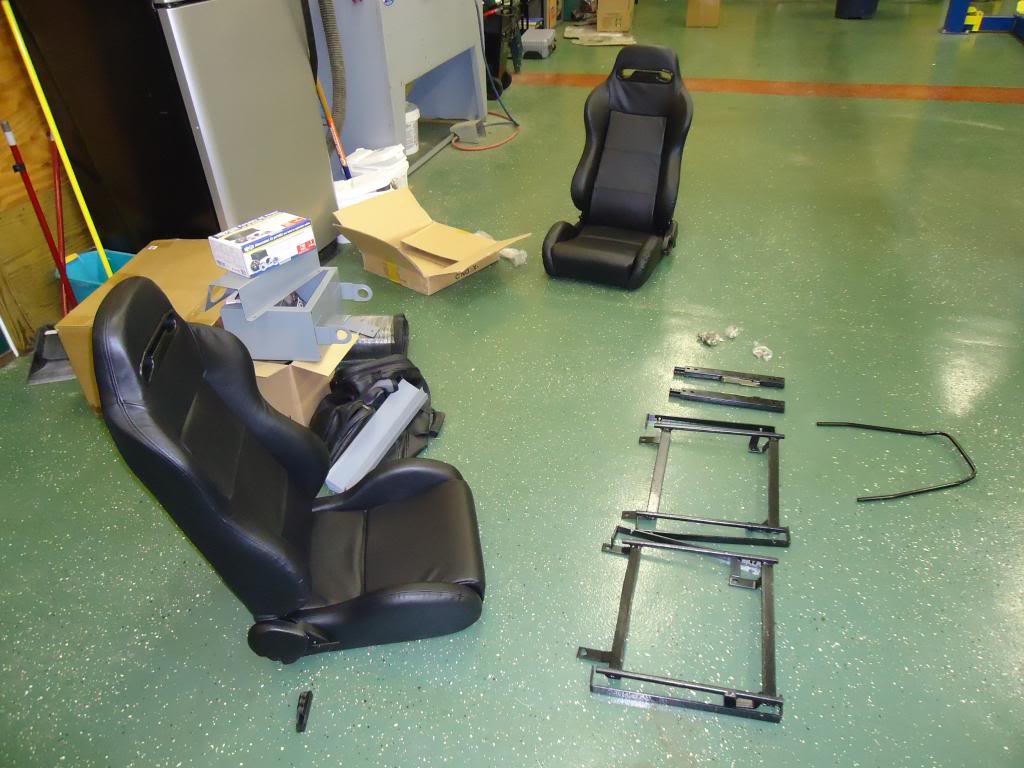
So I didn't get everything done that I wanted to but I did get my seats and with the help of a buddy got those installed Friday night. What an absolute pain!
Seats when I got them:
Nothing about this install was easy. Everything had to be extensively modified and it took some careful thinking and inginuity to do. I don't recommend doing this if you are a beginner.
After the drivers seat was first test fitted:
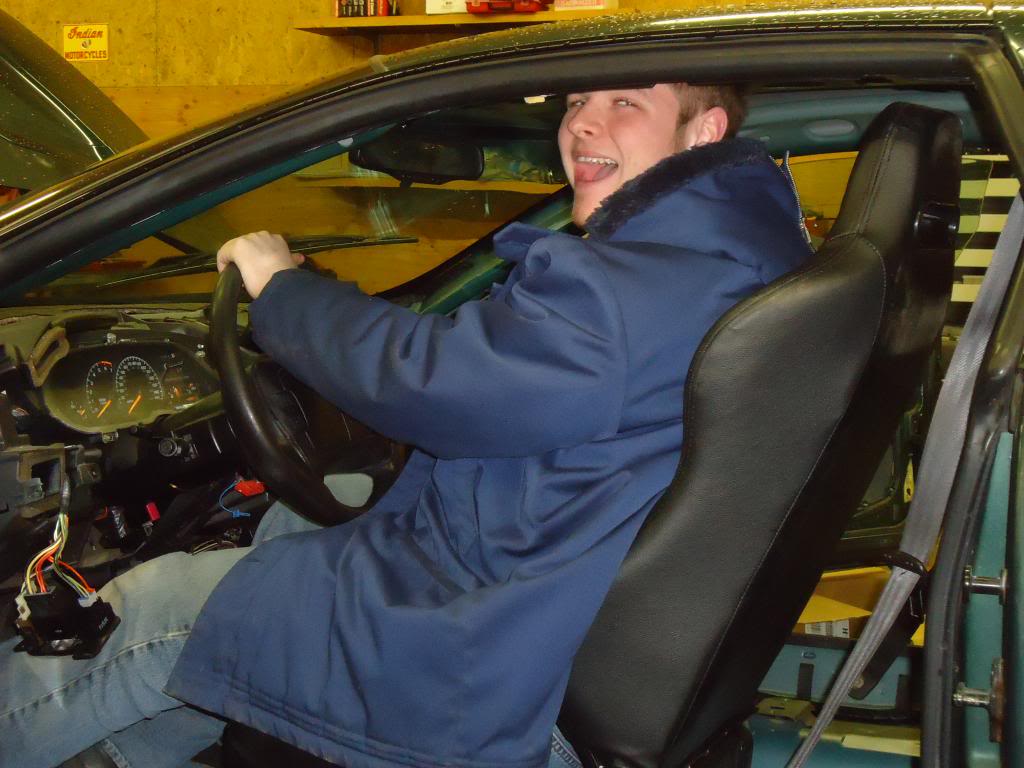
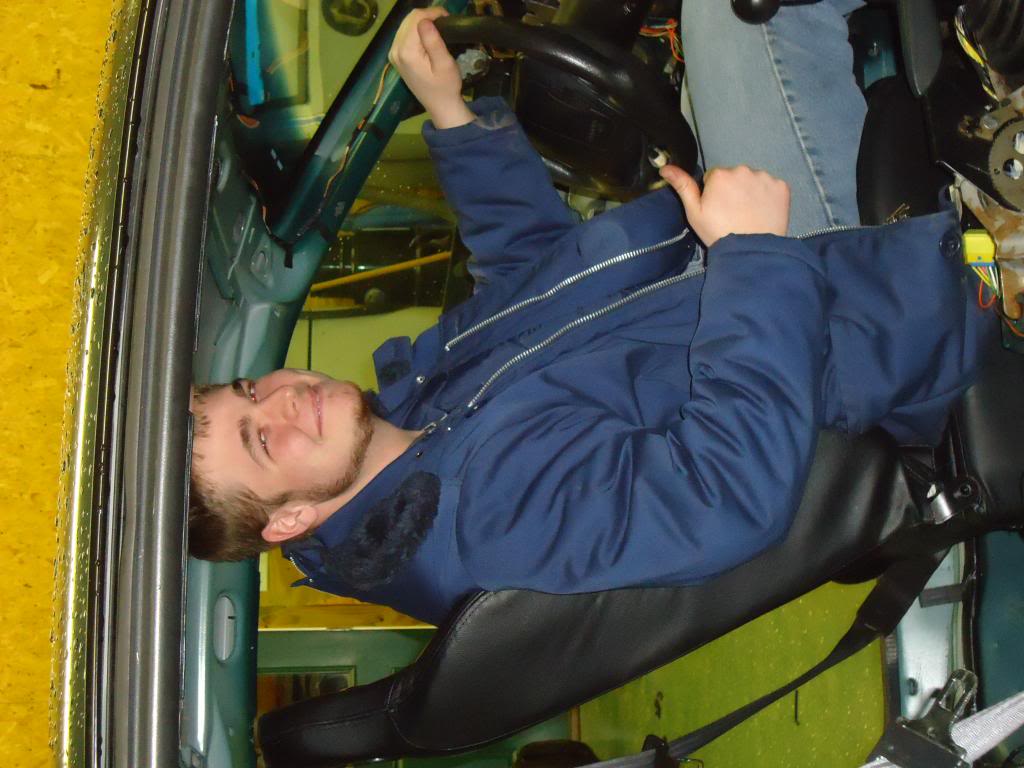
As you can tell my head was slammed right against the roof of the car. This was because the custom brackets were a lot taller then the stock setup, and due to the mounting tabs, did not allow for height adjustment.
So modifications had to be performed:

After much cutting and changing all the hardware they went in at an acceptable level. I will probably get nice brackets later on down the road. probably 6LE's as they sit at the factory height.
Done:
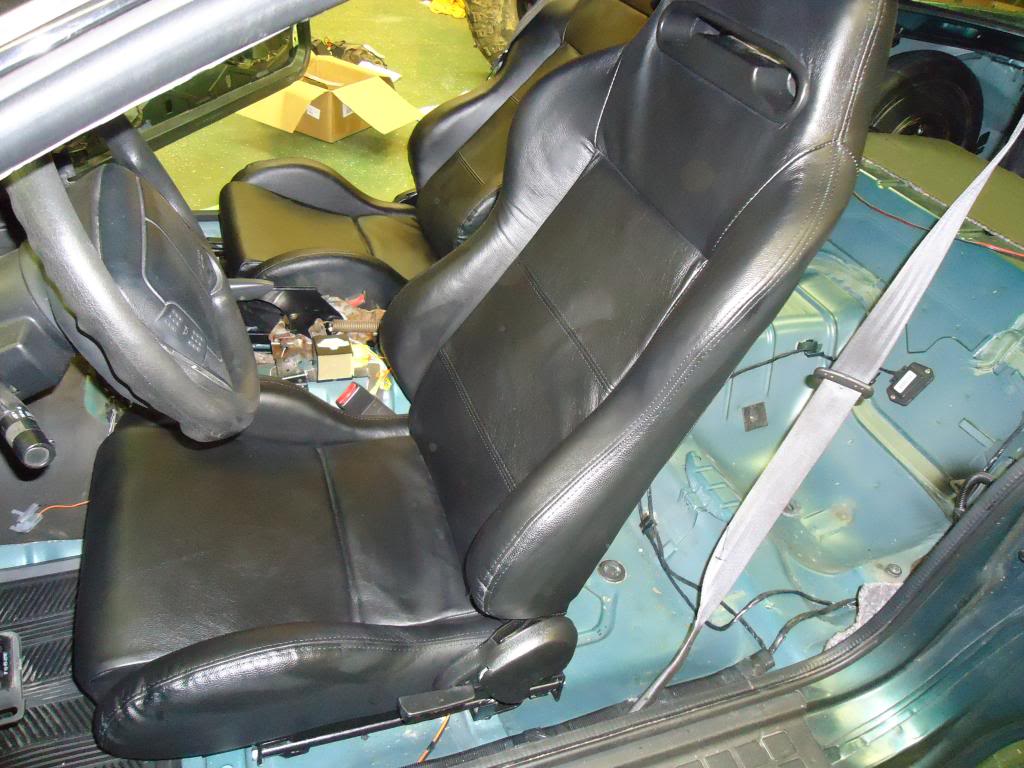
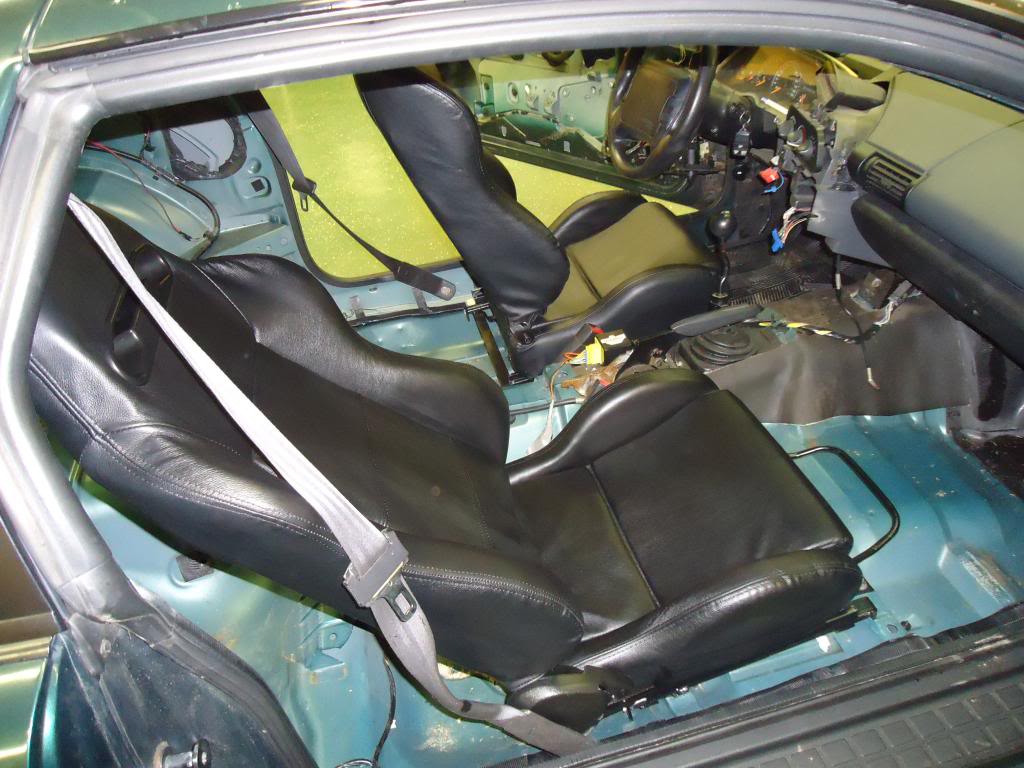
All in all I liked the outcome and the challenge of the install was actually kind of fun. They are now truly "custom". I have some more things but I will post those later in another update. I now have some other issues that need addressed.
So I didn't get everything done that I wanted to but I did get my seats and with the help of a buddy got those installed Friday night. What an absolute pain!
Seats when I got them:
Nothing about this install was easy. Everything had to be extensively modified and it took some careful thinking and inginuity to do. I don't recommend doing this if you are a beginner.
After the drivers seat was first test fitted:
As you can tell my head was slammed right against the roof of the car. This was because the custom brackets were a lot taller then the stock setup, and due to the mounting tabs, did not allow for height adjustment.
So modifications had to be performed:
After much cutting and changing all the hardware they went in at an acceptable level. I will probably get nice brackets later on down the road. probably 6LE's as they sit at the factory height.
Done:
All in all I liked the outcome and the challenge of the install was actually kind of fun. They are now truly "custom". I have some more things but I will post those later in another update. I now have some other issues that need addressed.
Quick update. Wanted to have everything done and pictures uploaded for my weekly update but The clutch install isn't finished yet. Ran into a lot of problems. Going to try and finish tomorrow night after I get off work.