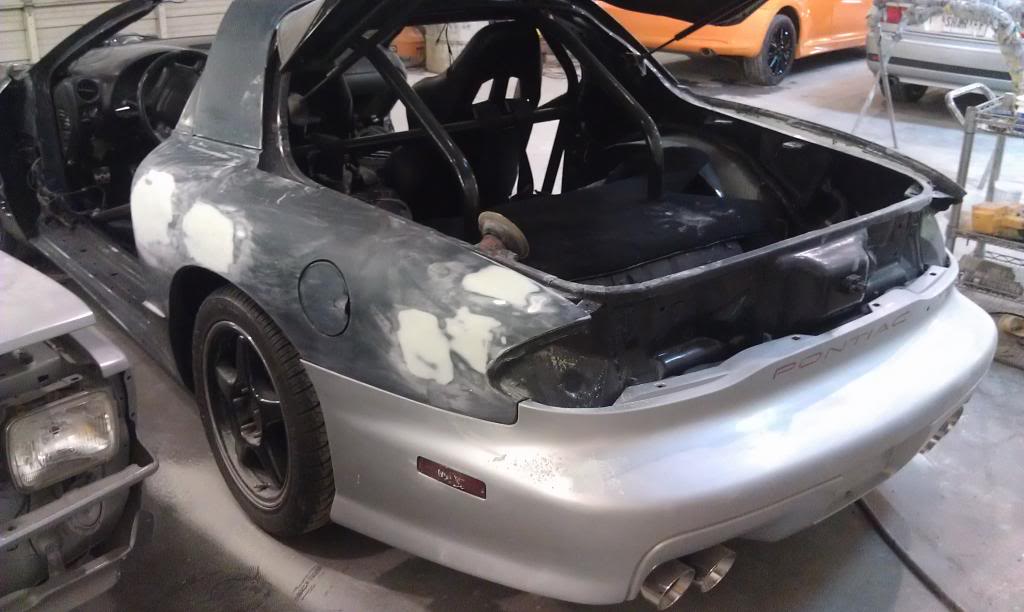
Project Frankenbird

Thread Tools
 
Search this Thread
 
Old Mar 27, 2013 | 08:35 AM
  #41  
ls1camino's Avatar
Thread Starter
|
In the Staging Lanes
Joined: Jan 2012
Posts: 40
Default

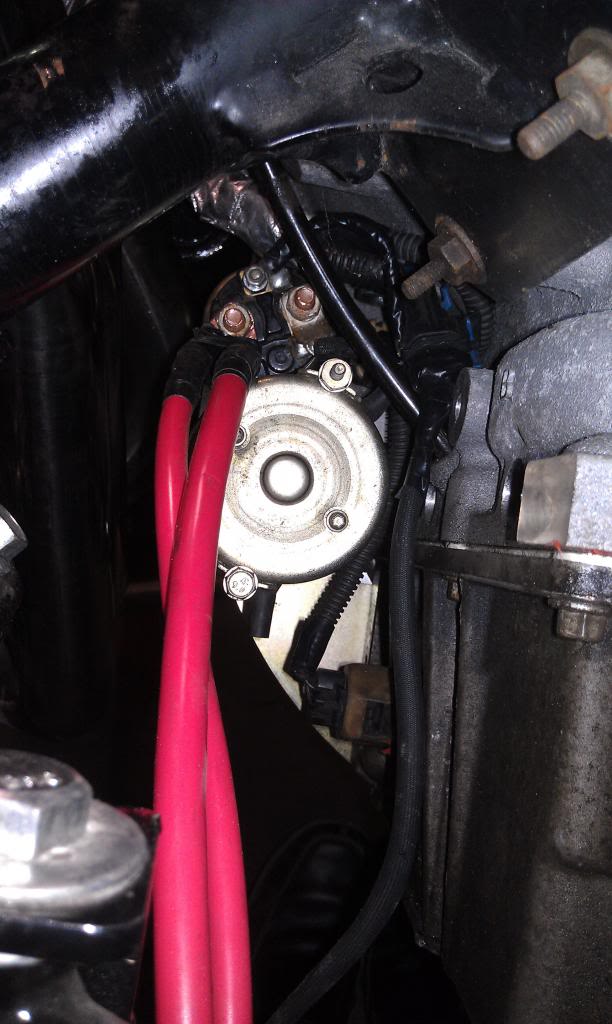
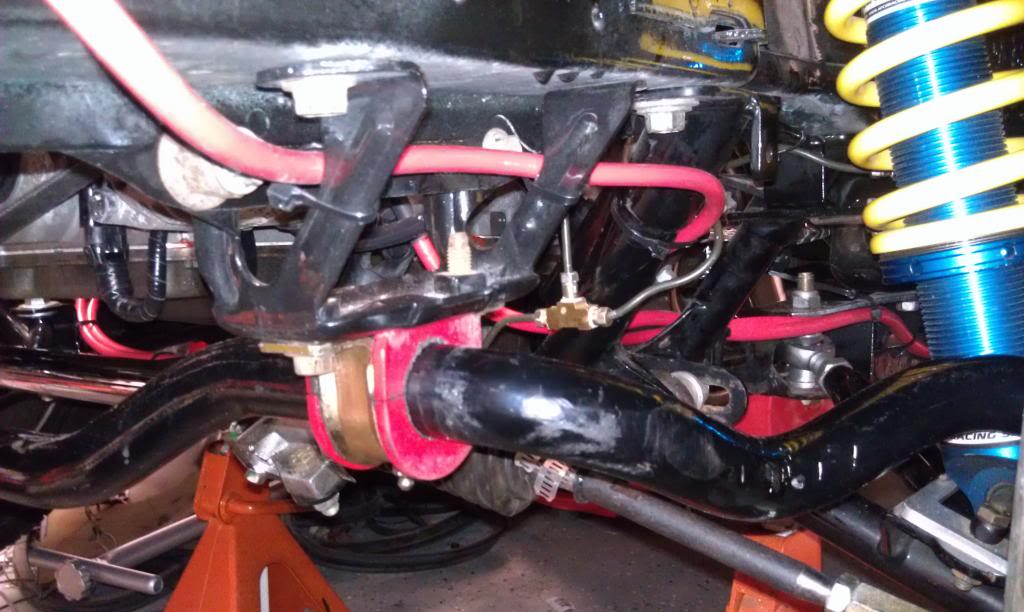
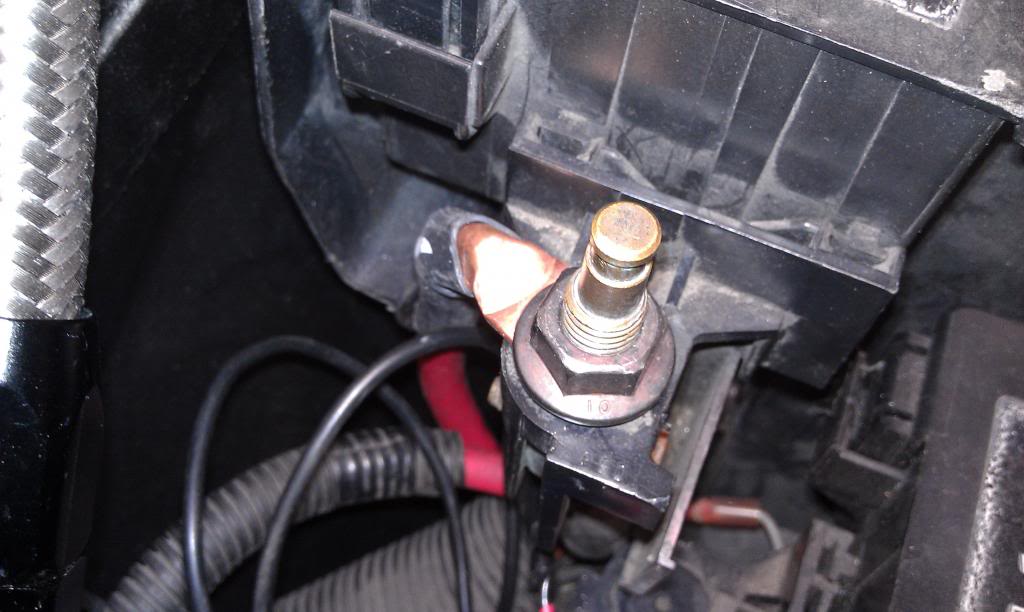
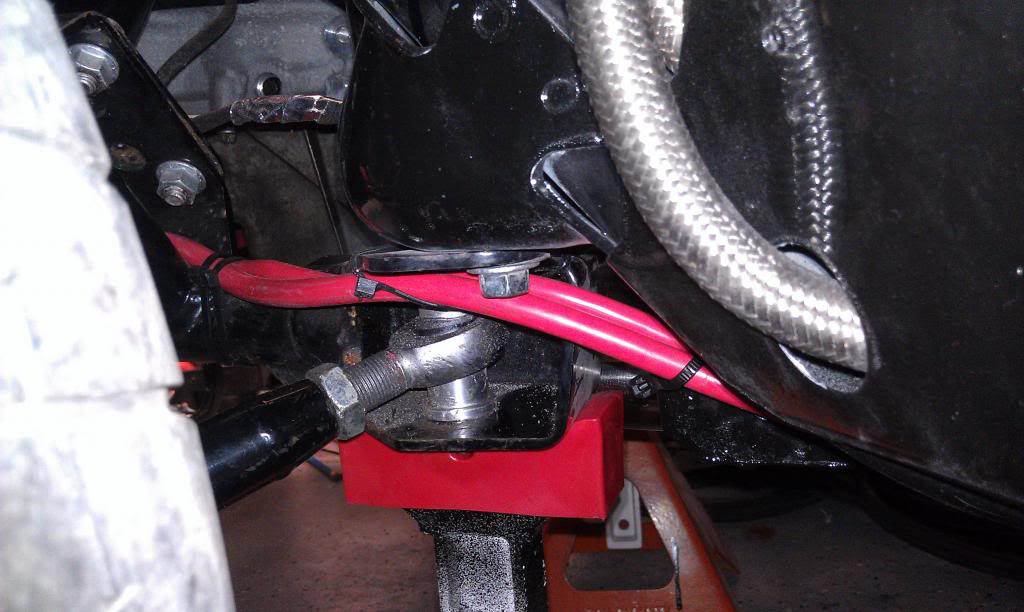
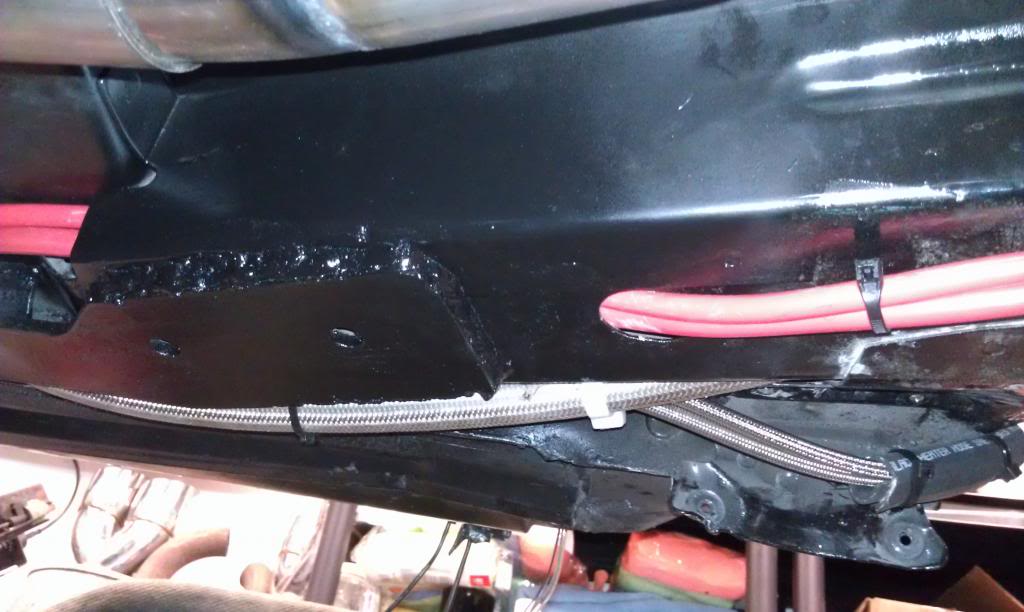
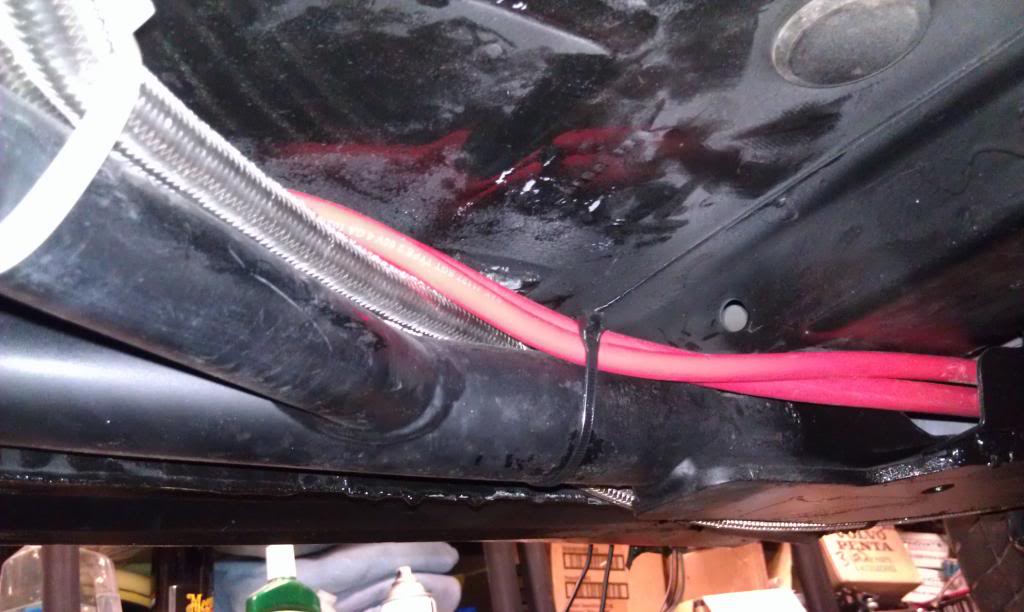
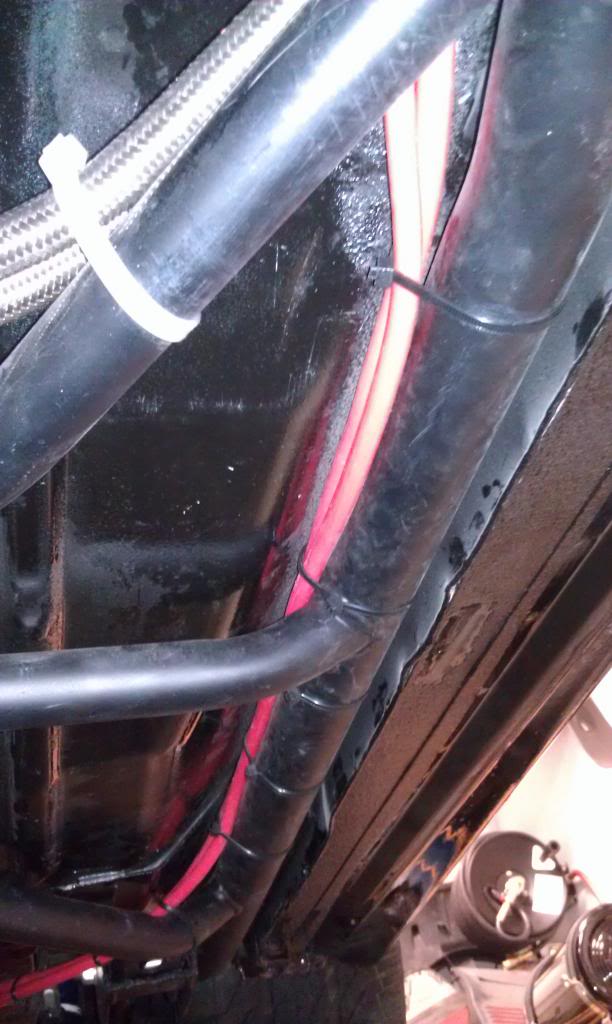
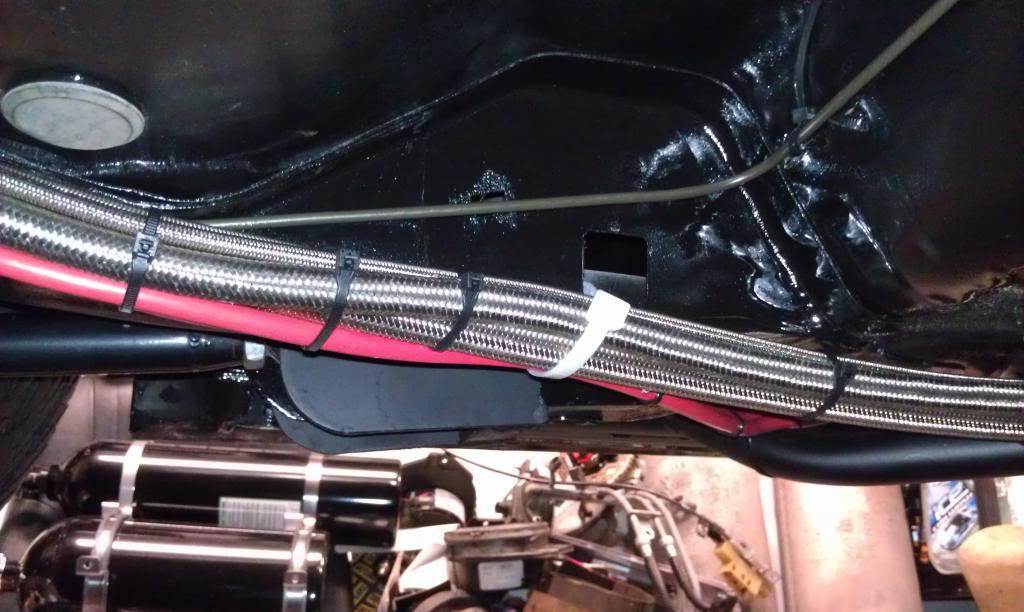
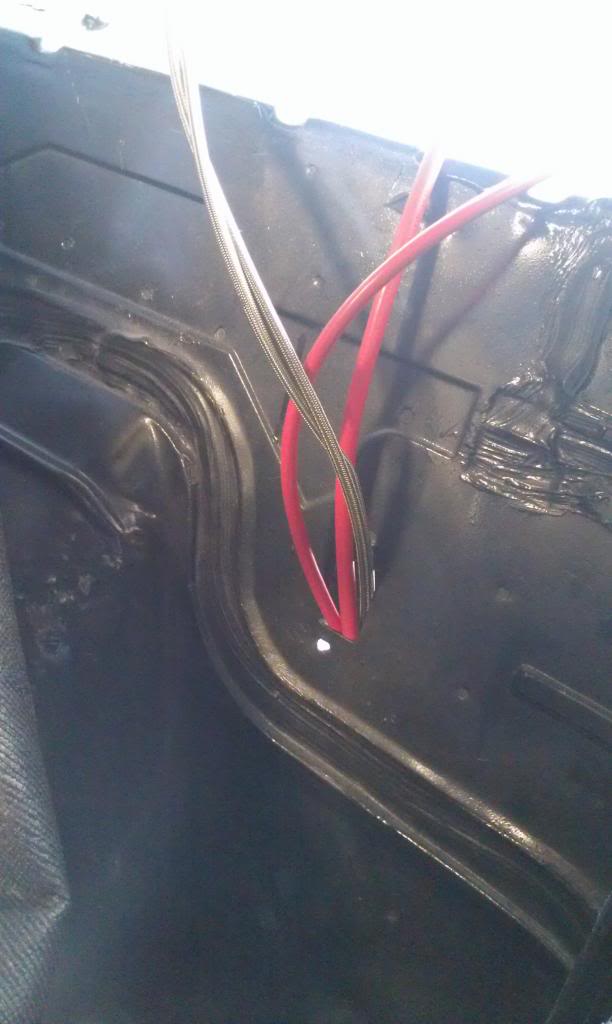
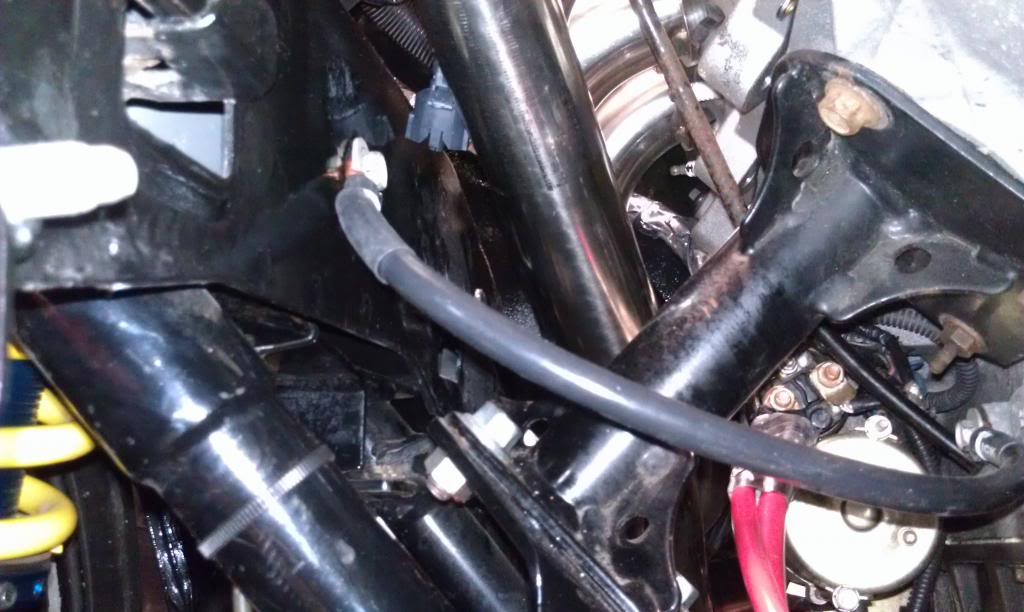
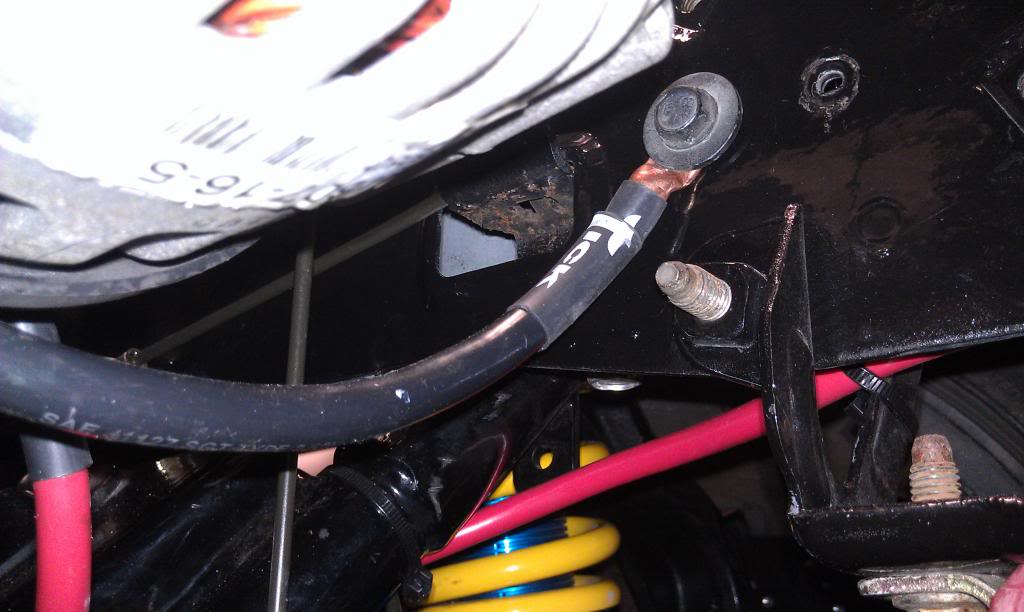
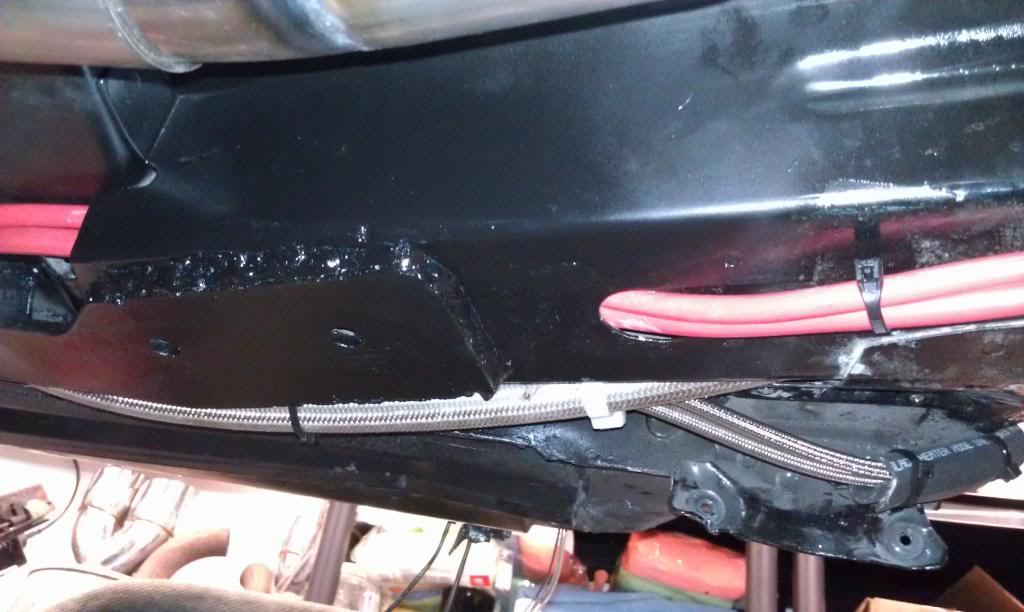
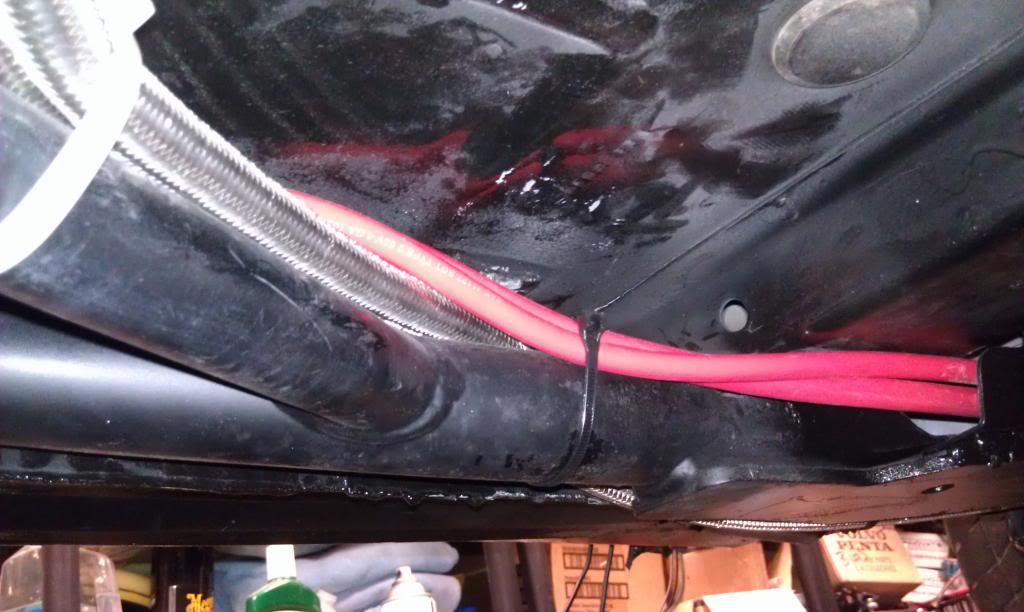
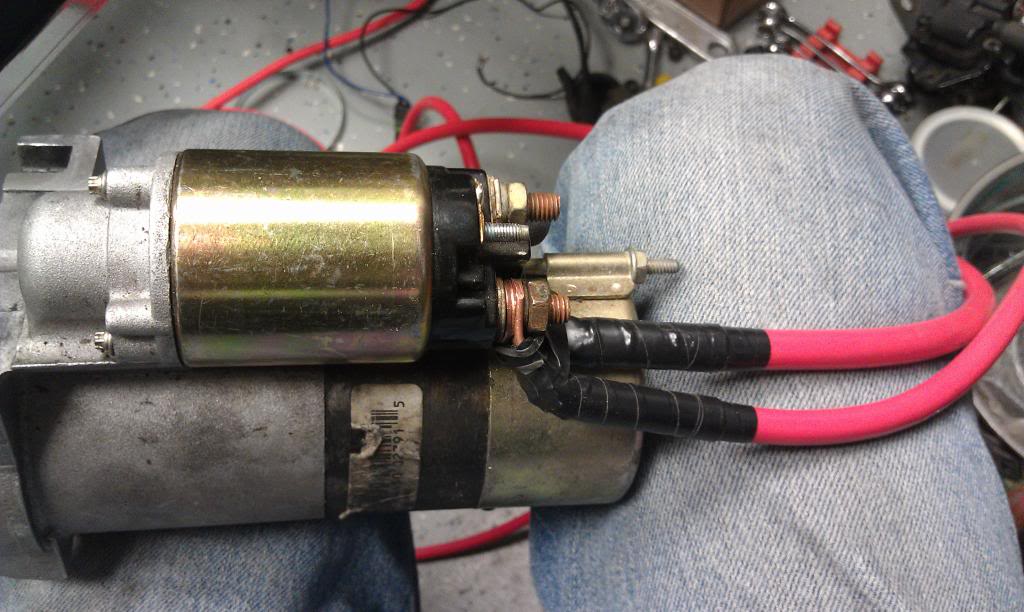
Next project was moving the battery to the rear hatch, adding a push/pull disconnect switch, and running wires for the starter, alternator, and fuse box. Ground wires from the frame to the motor were also installed. The entire wiring kit was bought from Tick Performance. I decided to use the kit because I didn't want to do guess work with the wire length. There are two wires from the disconnect switch going to the engine bay. One goes directly to the alternator and the other goes to the starter. The fuse box wire comes from the starter. The car is going back to the speed shop today to get the disconnect switch installed (I'm fairly sure I will not drill the hole in the right place and have to drill two or more to get it right.
Name:  IMG_0160.jpg
Views: 127
Size:  96.0 KB
Name:  IMG_0161.jpg
Views: 90
Size:  77.2 KB
Name:  IMG_0162.jpg
Views: 137
Size:  96.4 KB
Name:  IMG_0163.jpg
Views: 93
Size:  71.7 KB
Name:  IMG_0164.jpg
Views: 100
Size:  80.3 KB
Name:  IMG_0165.jpg
Views: 120
Size:  74.7 KB
Name:  IMG_0166.jpg
Views: 115
Size:  79.3 KB
Name:  IMG_0167.jpg
Views: 102
Size:  80.0 KB
Name:  IMG_0168.jpg
Views: 127
Size:  88.3 KB
Name:  IMG_0169.jpg
Views: 103
Size:  89.7 KB
Name:  IMG_0170.jpg
Views: 94
Size:  52.2 KB
Name:  IMG_0171.jpg
Views: 125
Size:  83.6 KB
Name:  IMG_0172.jpg
Views: 89
Size:  71.3 KB
 
Old Mar 27, 2013 | 08:36 AM
  #42  
ls1camino's Avatar
Thread Starter
|
In the Staging Lanes
Joined: Jan 2012
Posts: 40
Default

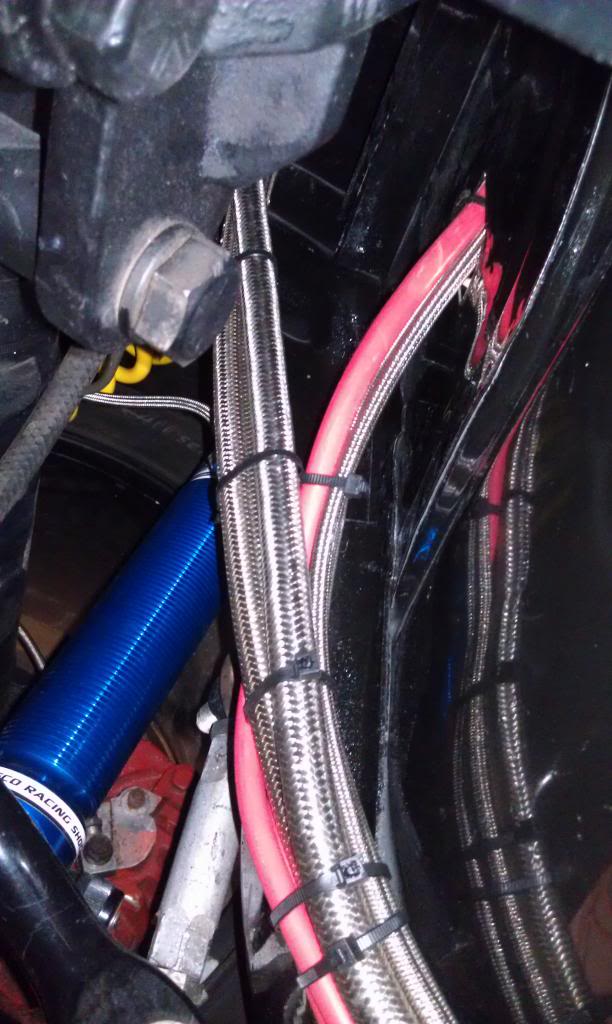
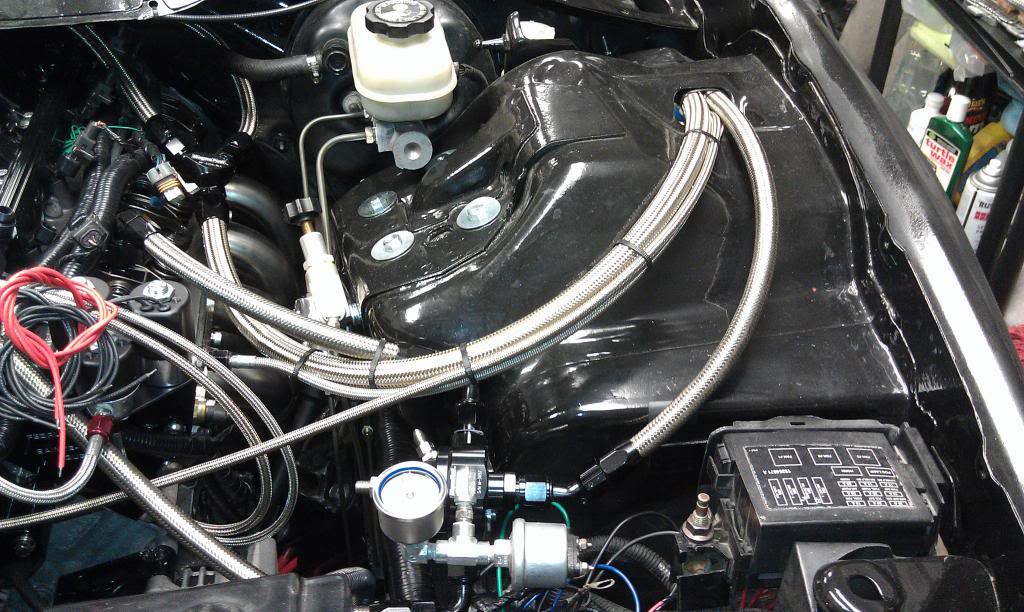
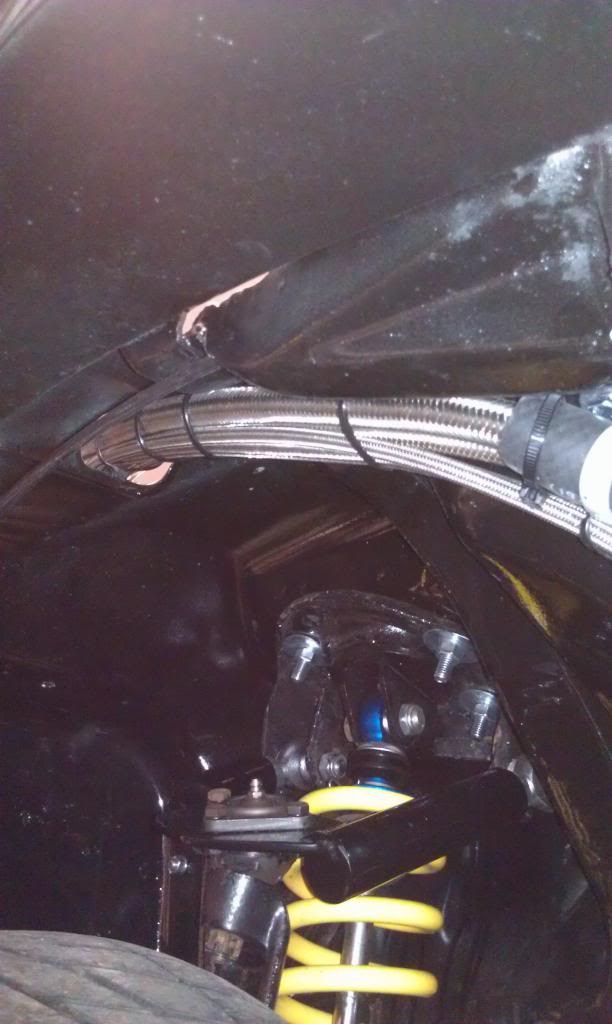
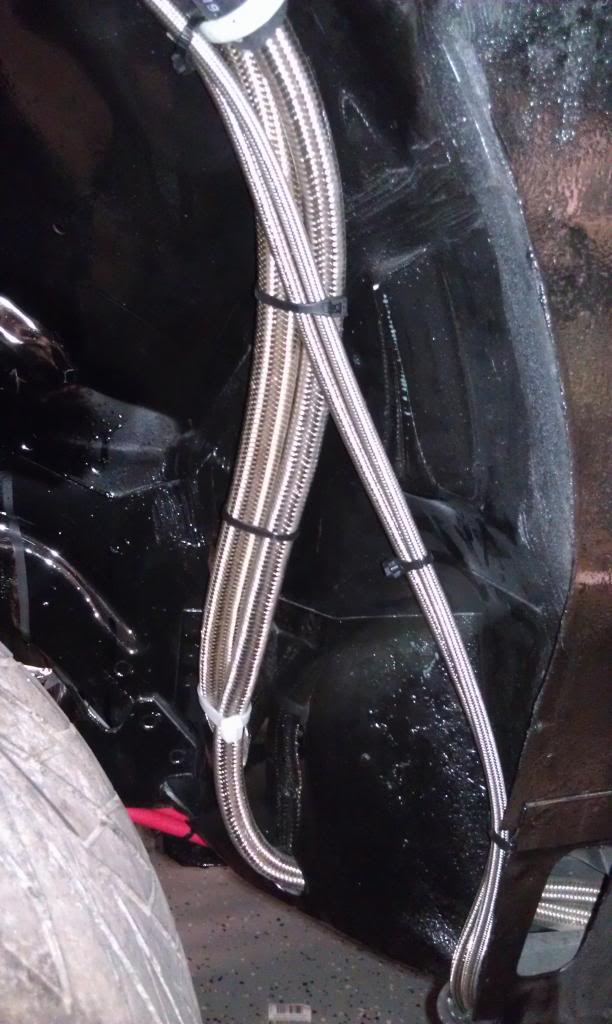
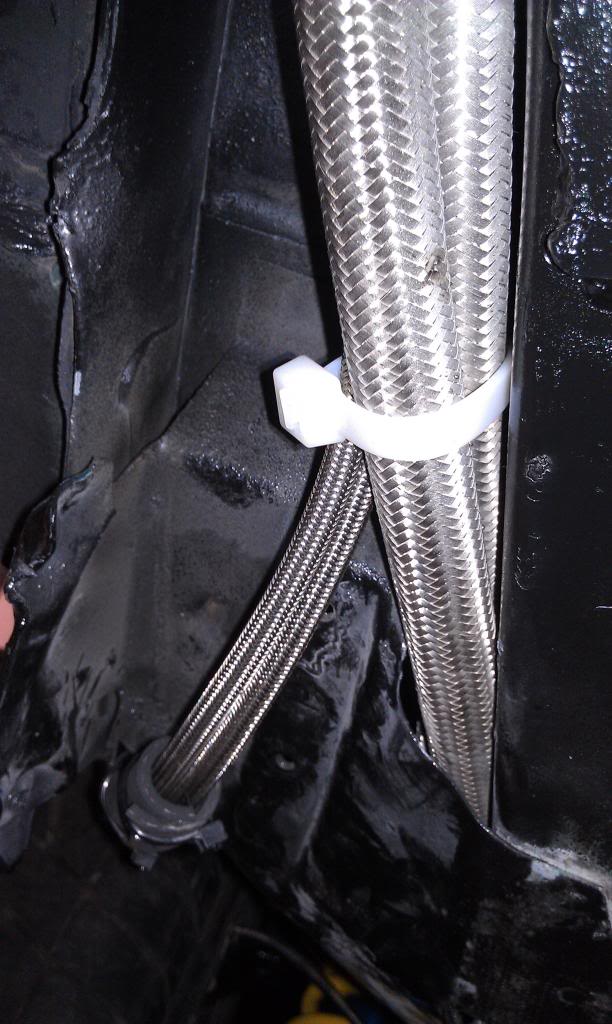
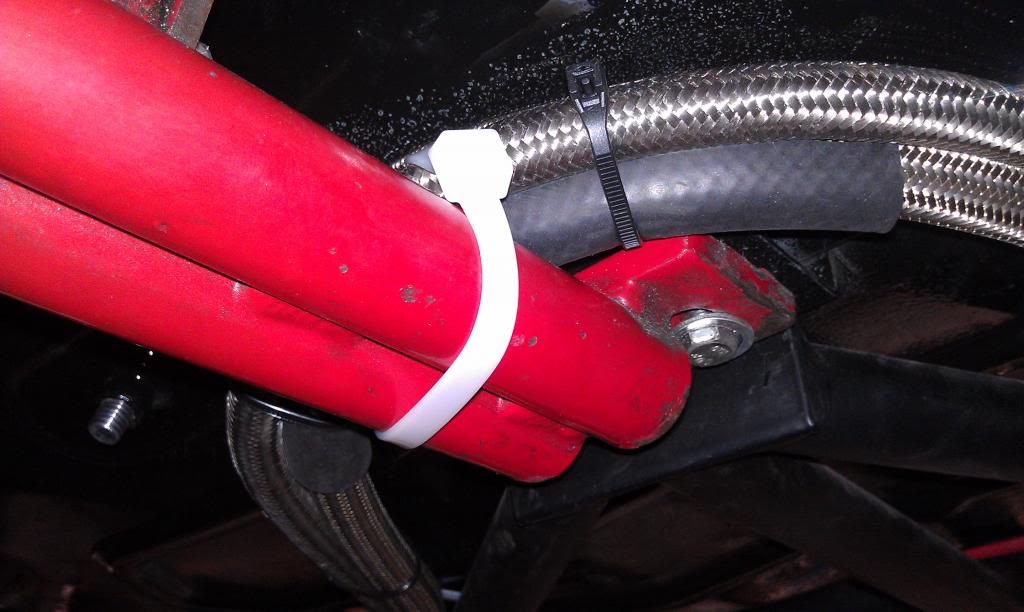
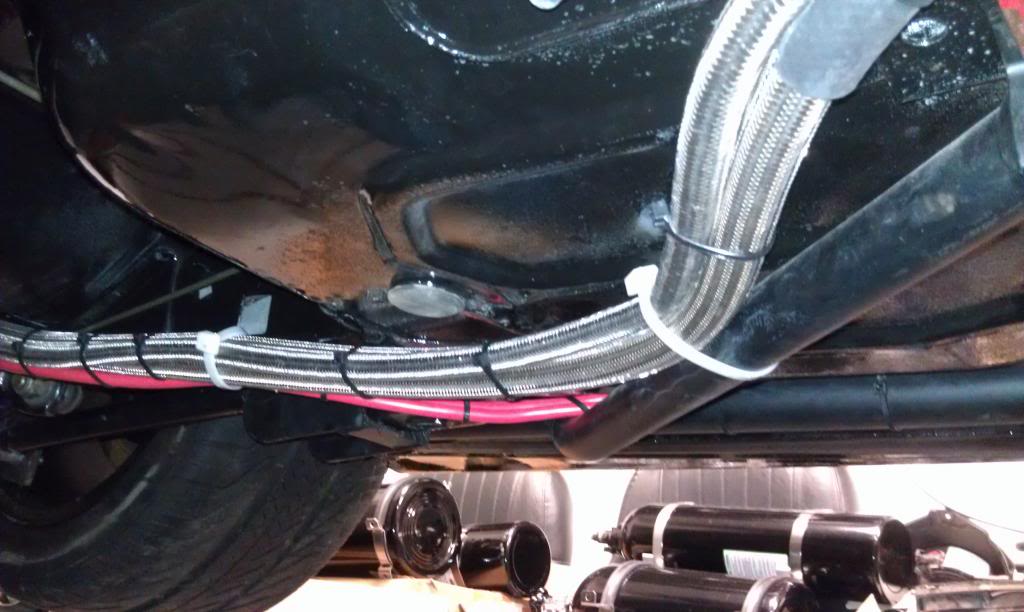
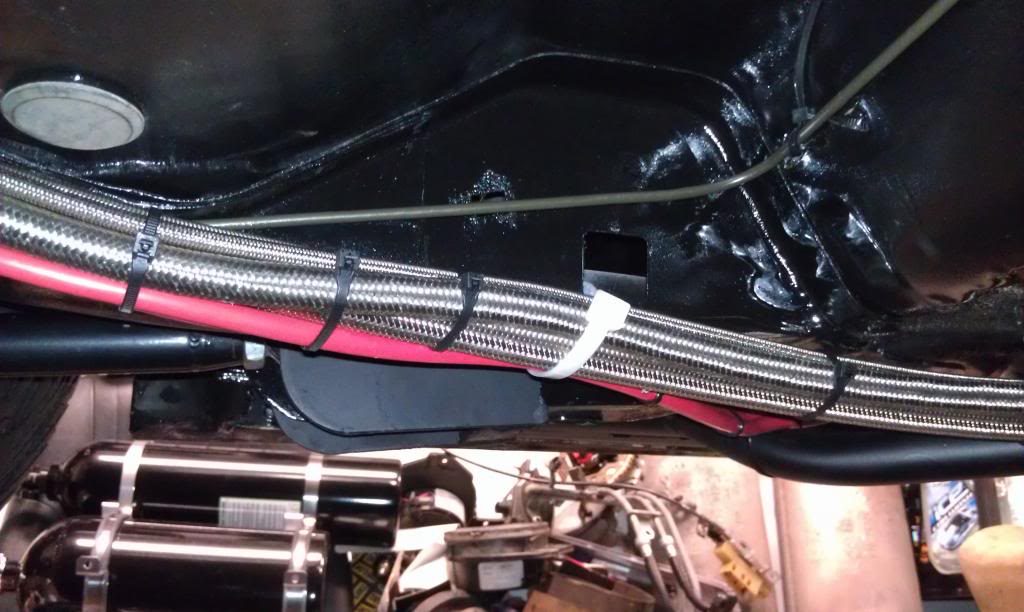
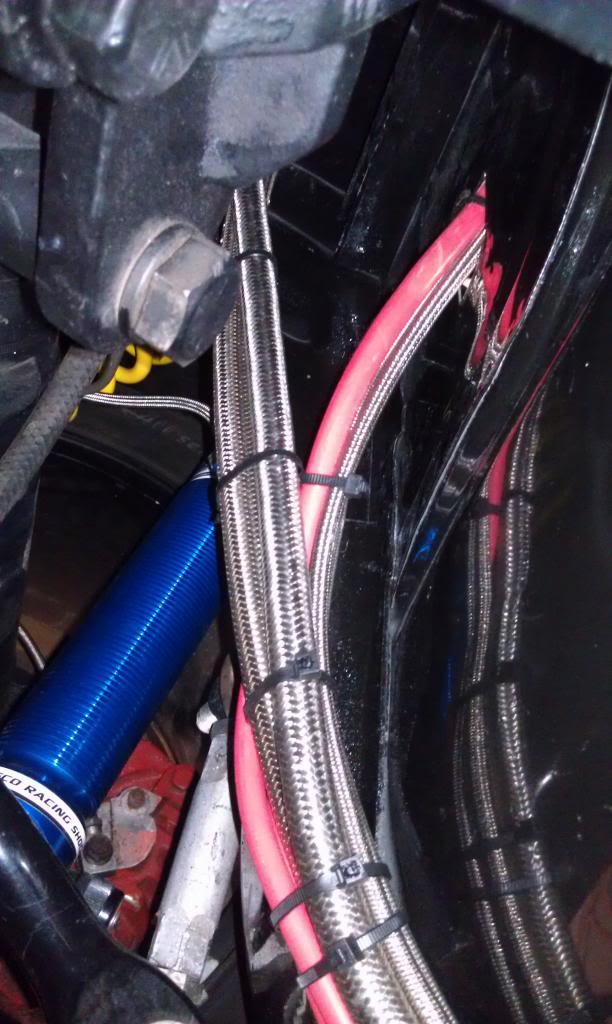
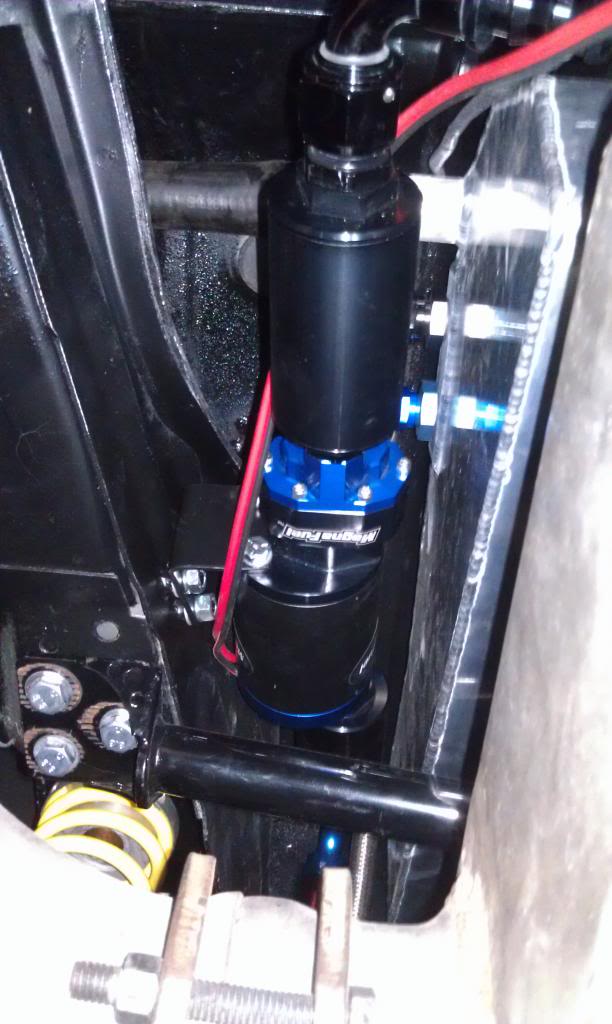
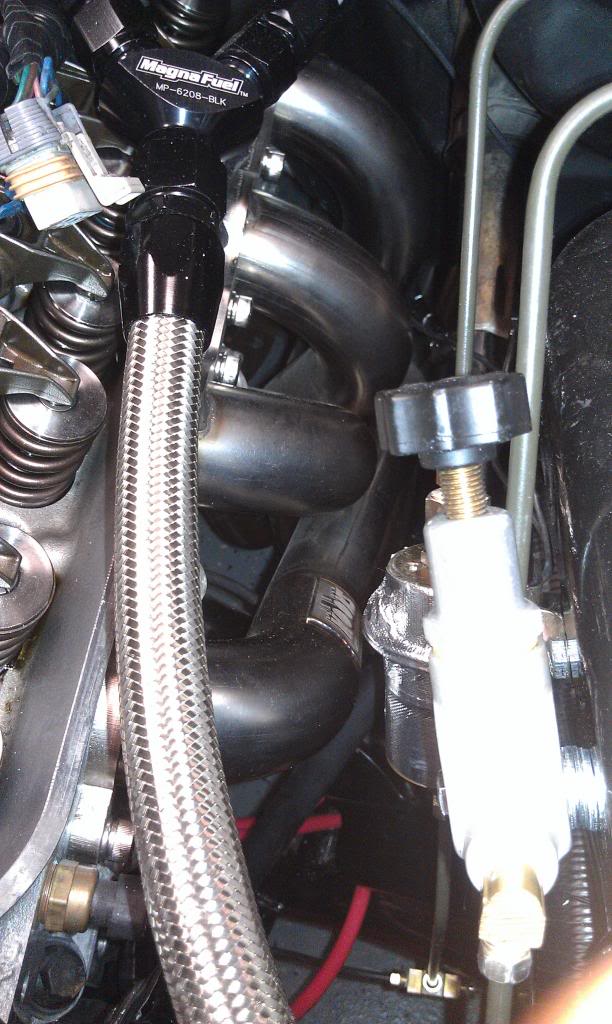
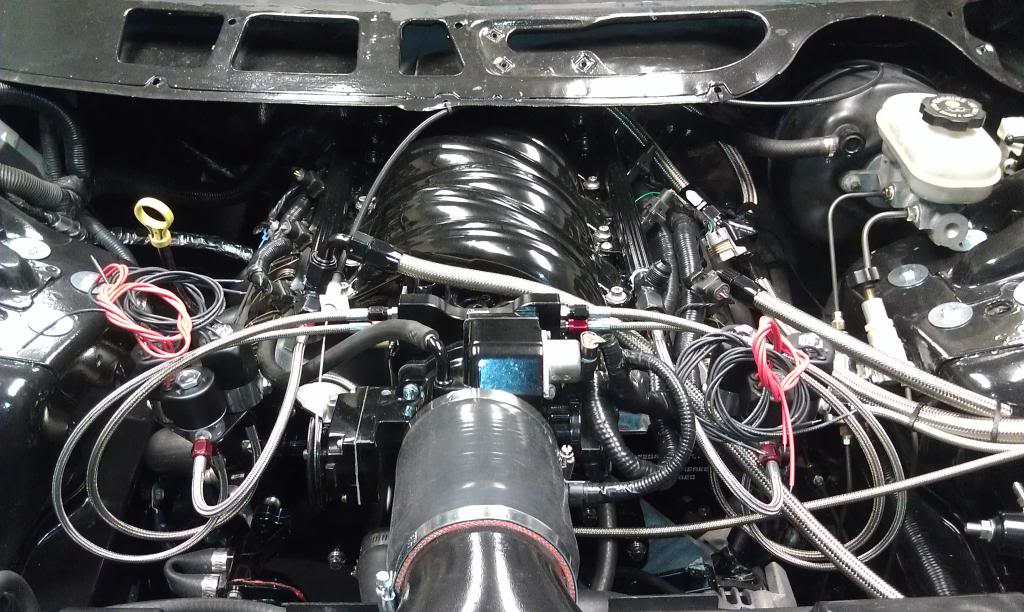
Since I added a fuel cell in place of the stock fuel tank, I am now using an external pump and braided line. Here is everything after it has been assembled. This was one of the most difficult projects I have ever done. The lines don't want to bend (kind of the point of braided line, bu still), and getting all of the fittings just right took a lot of time of assembling and disassembling.
Name:  IMG_0173.jpg
Views: 120
Size:  130.0 KB
Name:  IMG_0174.jpg
Views: 91
Size:  135.7 KB
Name:  IMG_0175.jpg
Views: 85
Size:  58.9 KB
Name:  IMG_0176.jpg
Views: 91
Size:  85.3 KB
Name:  IMG_0177.jpg
Views: 95
Size:  97.0 KB
Name:  IMG_0178.jpg
Views: 116
Size:  74.7 KB
Name:  IMG_0179.jpg
Views: 106
Size:  79.3 KB
Name:  IMG_0180.jpg
Views: 132
Size:  73.8 KB
Name:  IMG_0181.jpg
Views: 104
Size:  77.8 KB
Name:  IMG_0182.jpg
Views: 124
Size:  88.3 KB
Name:  IMG_0183.jpg
Views: 106
Size:  89.7 KB
Name:  IMG_0184.jpg
Views: 157
Size:  75.6 KB
 
Old Mar 27, 2013 | 08:37 AM
  #43  
ls1camino's Avatar
Thread Starter
|
In the Staging Lanes
Joined: Jan 2012
Posts: 40
Default

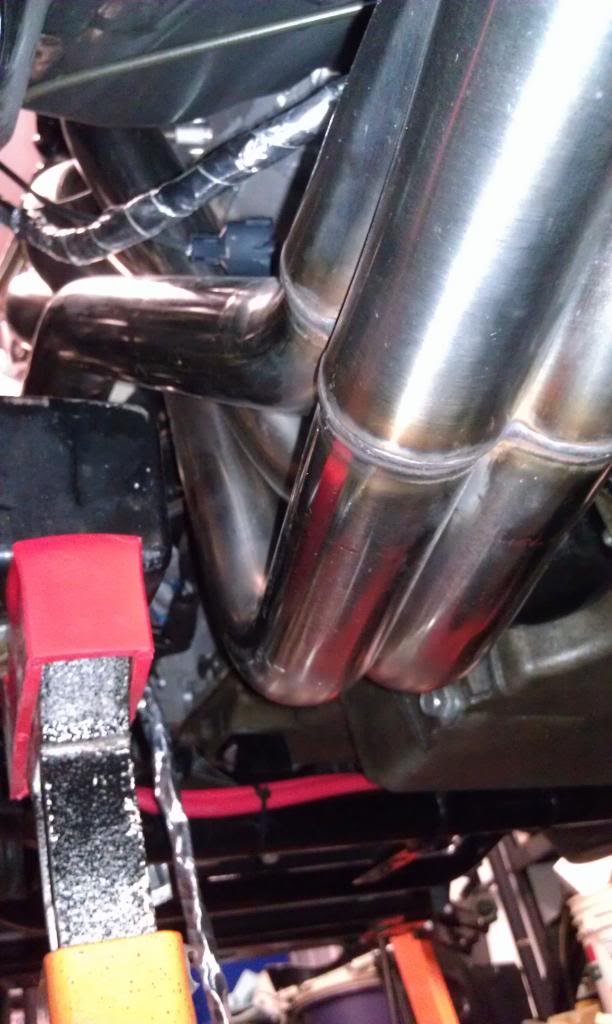
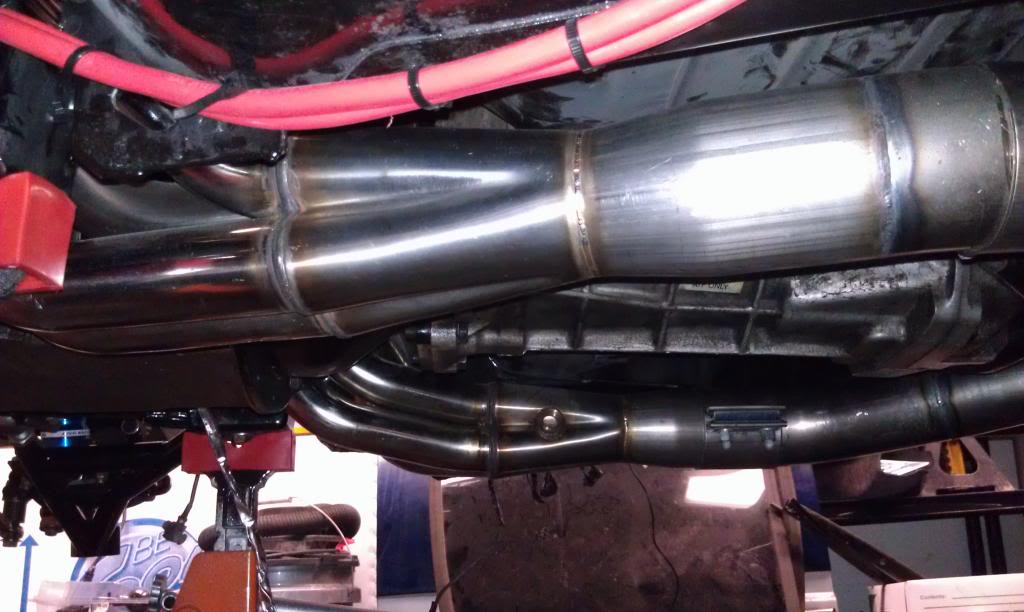
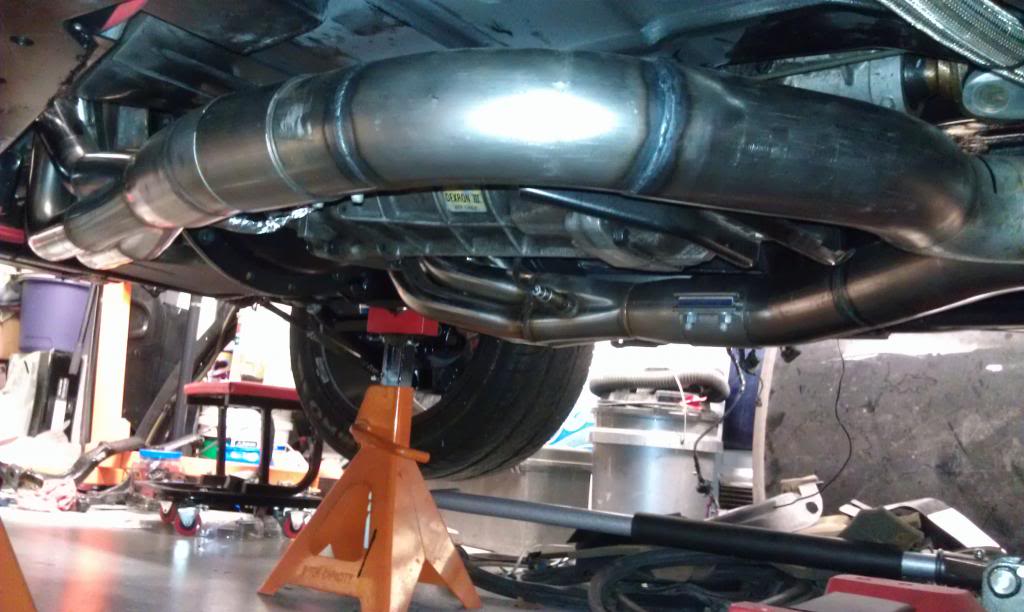
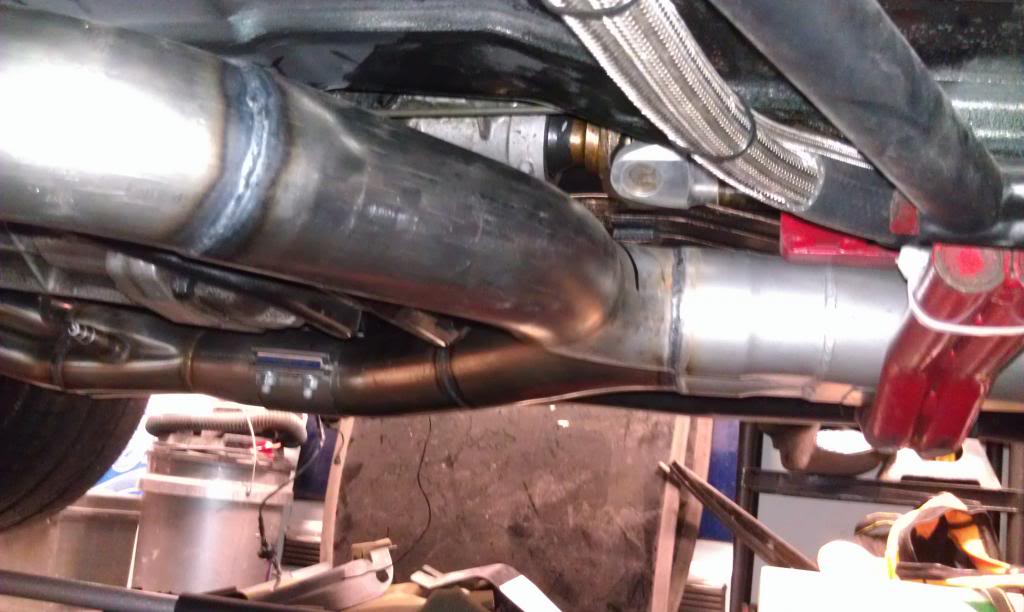
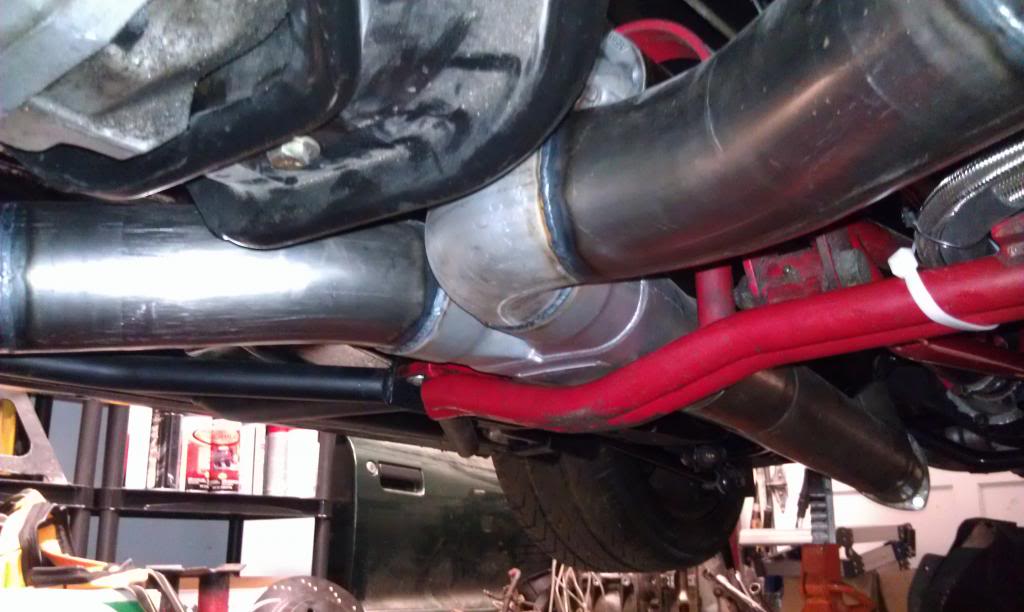
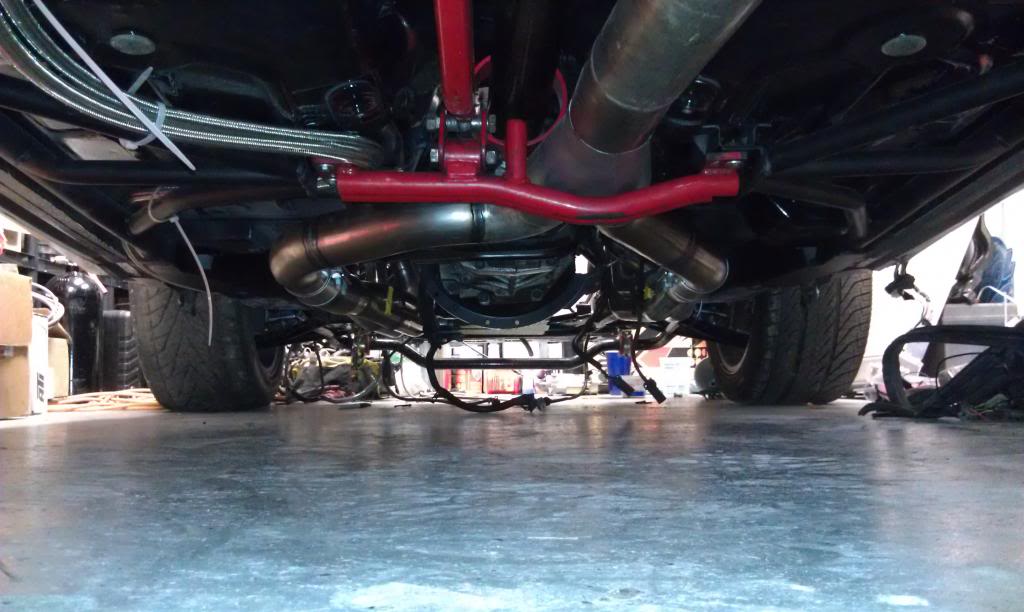
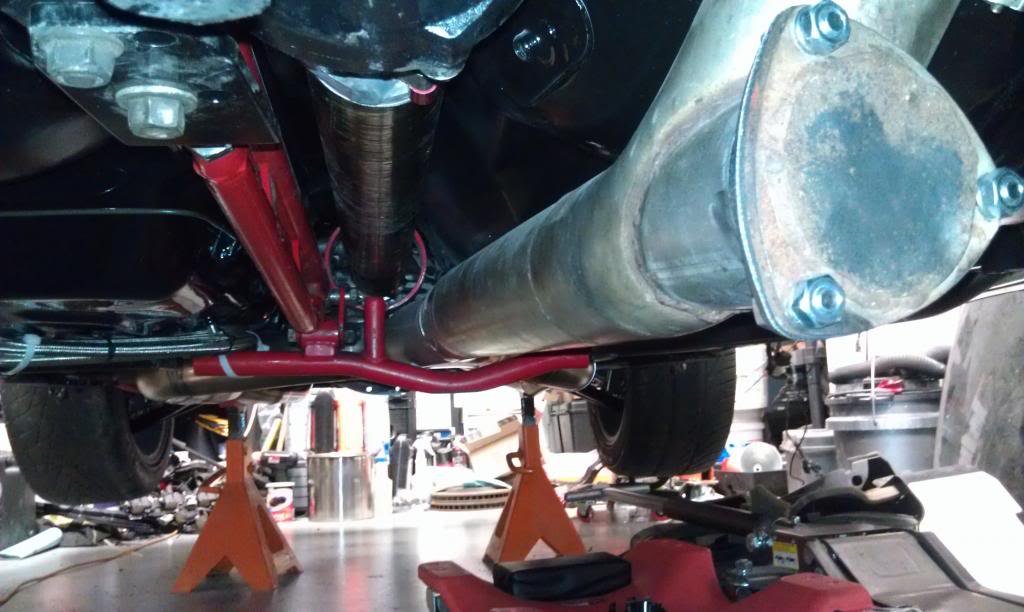
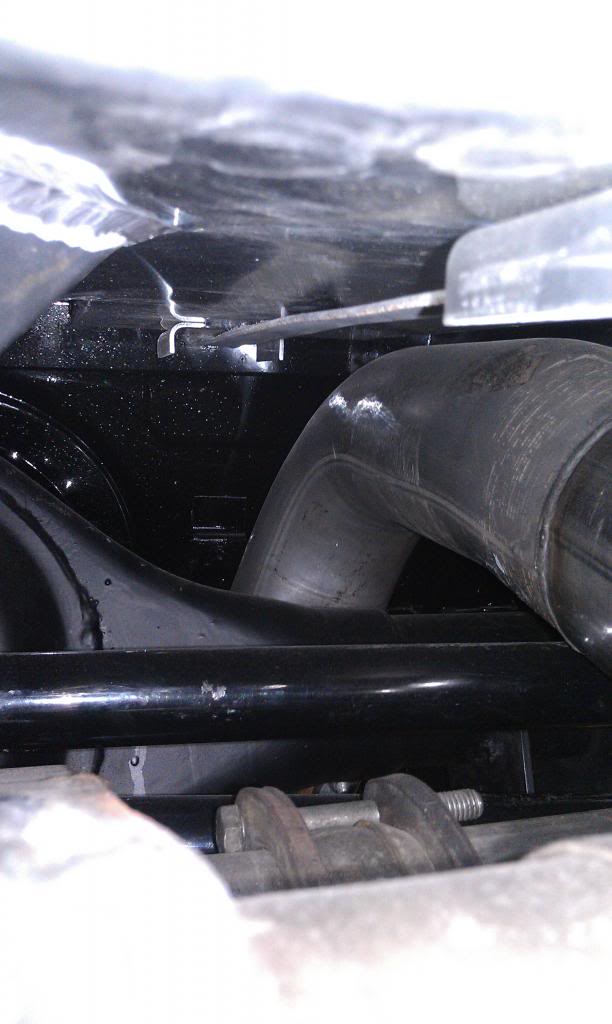
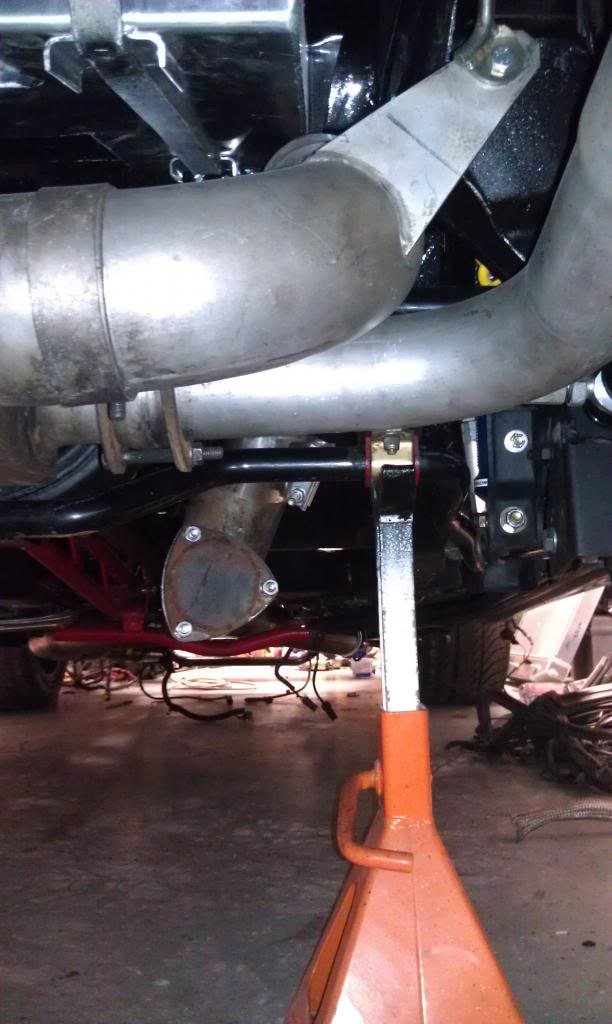
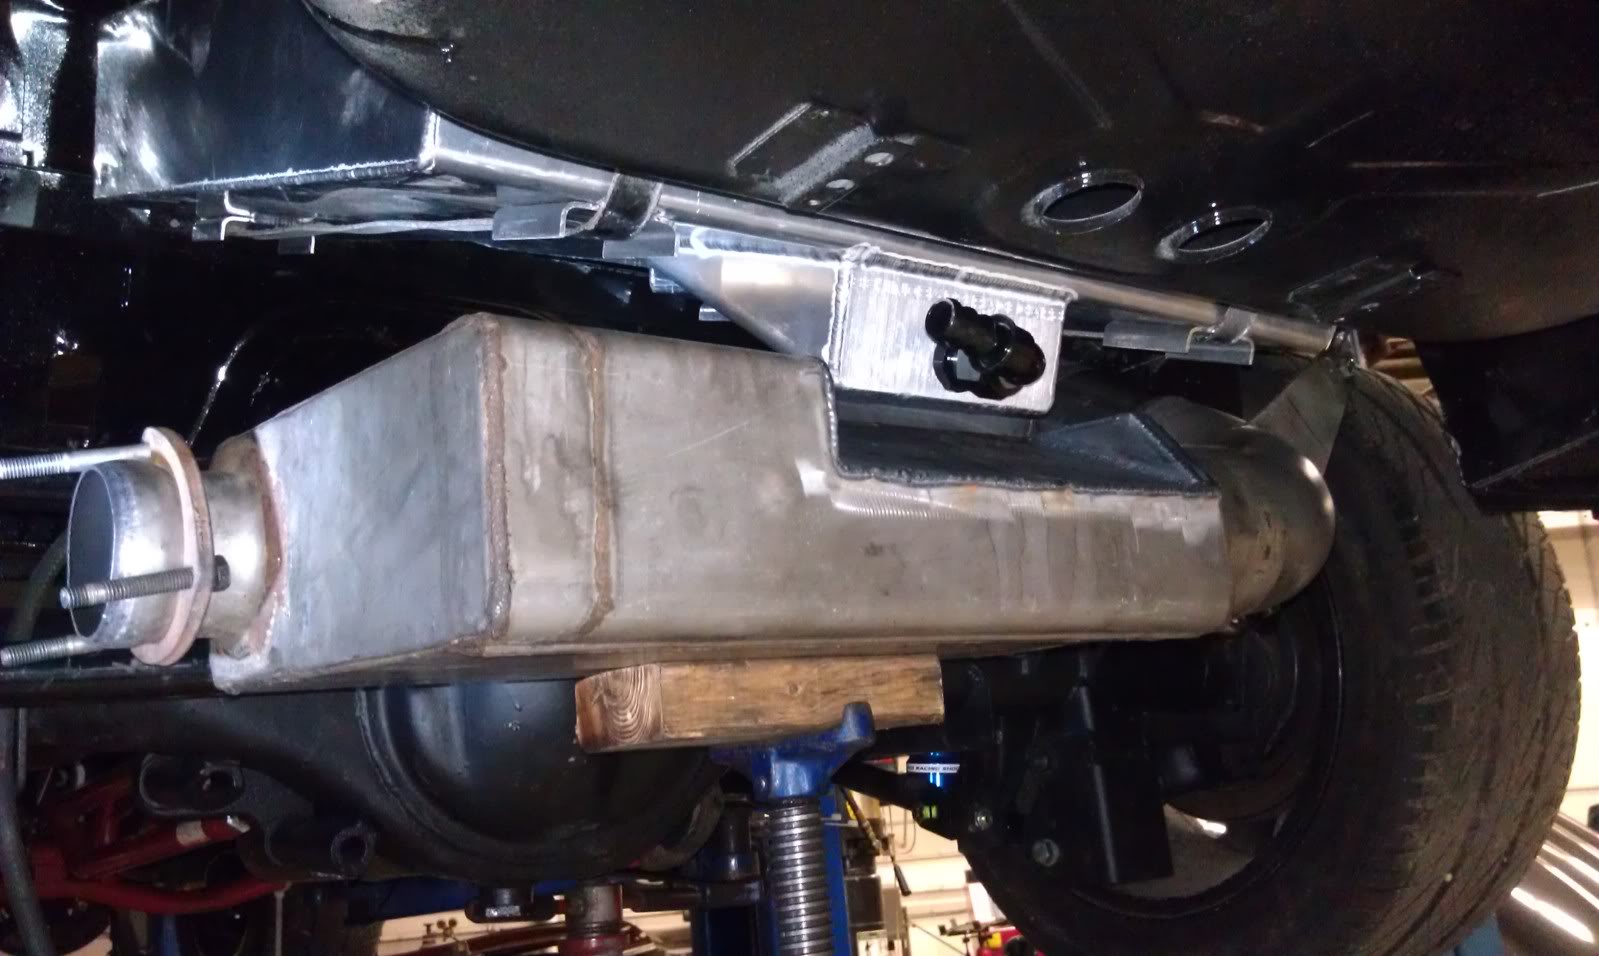
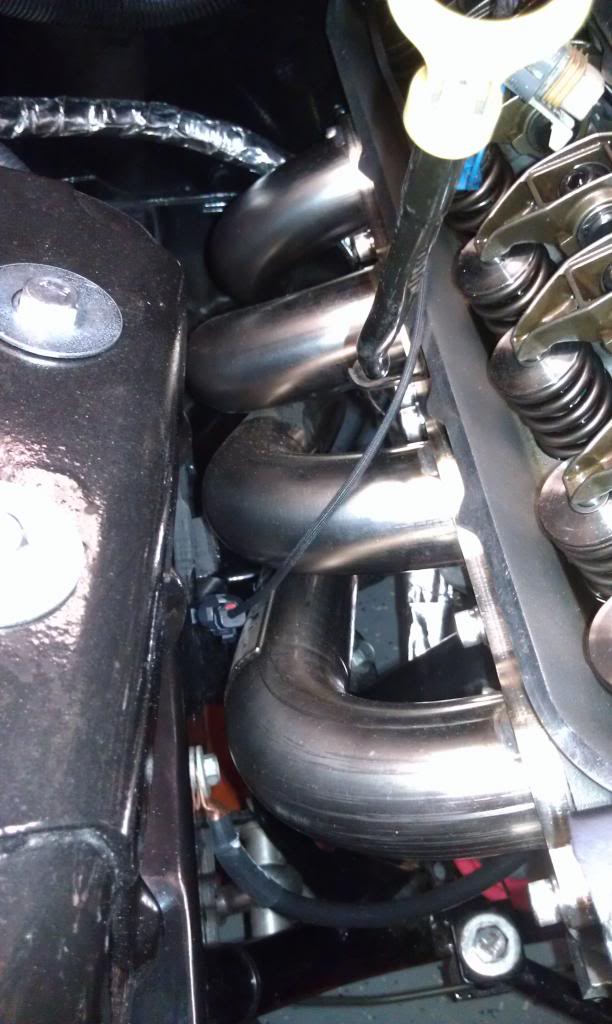
Lastly is the exhaust I had fabricated. I already had the 4" "catback" on my Trans Am before the wreck, but this time I decided to upgrade to Kooks 2" primary headers from the 1 3/4" headers I was using since the car was stock five years ago. These new headers have a 3.5" collector, so my old 3" y-pipe would not work. I needed a 3.5" y-pipe made to fit the headers and the 4" exhaust, because no company makes a 3.5" y-pipe...Kooks and ARH both have a 3" y-pipe that opens up to 3.5" to slip over their headers, but that kind of defeats the purpose of getting the 3.5 collector. The fabricated y-pipe is made from 3.5" mandrel bent tubing and comes together with a flowmaster merge at the torque arm mount.
Name:  IMG_0185.jpg
Views: 112
Size:  81.4 KB
Name:  IMG_0186.jpg
Views: 107
Size:  105.9 KB
Name:  IMG_0187.jpg
Views: 105
Size:  76.2 KB
Name:  IMG_0188.jpg
Views: 123
Size:  79.7 KB
Name:  IMG_0189.jpg
Views: 129
Size:  84.0 KB
Name:  IMG_0190.jpg
Views: 104
Size:  77.3 KB
Name:  IMG_0191.jpg
Views: 97
Size:  74.8 KB
Name:  IMG_0192.jpg
Views: 105
Size:  82.7 KB
Name:  IMG_0193.jpg
Views: 97
Size:  82.5 KB
Name:  IMG_0194.jpg
Views: 97
Size:  57.7 KB
Name:  IMG_0195.jpg
Views: 98
Size:  70.9 KB
Name:  IMG_0132.jpg
Views: 130
Size:  154.1 KB
 
Old Mar 28, 2013 | 03:50 PM
  #44  
afronippleyo's Avatar
Newbie
Joined: Sep 2012
Posts: 23
From: Modesto, CA
Default

How far from completion are you? I just spent the last hour or so reading your thread and WOW. good job!!
 
Old Mar 29, 2013 | 08:29 AM
  #45  
ls1camino's Avatar
Thread Starter
|
In the Staging Lanes
Joined: Jan 2012
Posts: 40
Default

Originally Posted by afronippleyo
How far from completion are you? I just spent the last hour or so reading your thread and WOW. good job!!
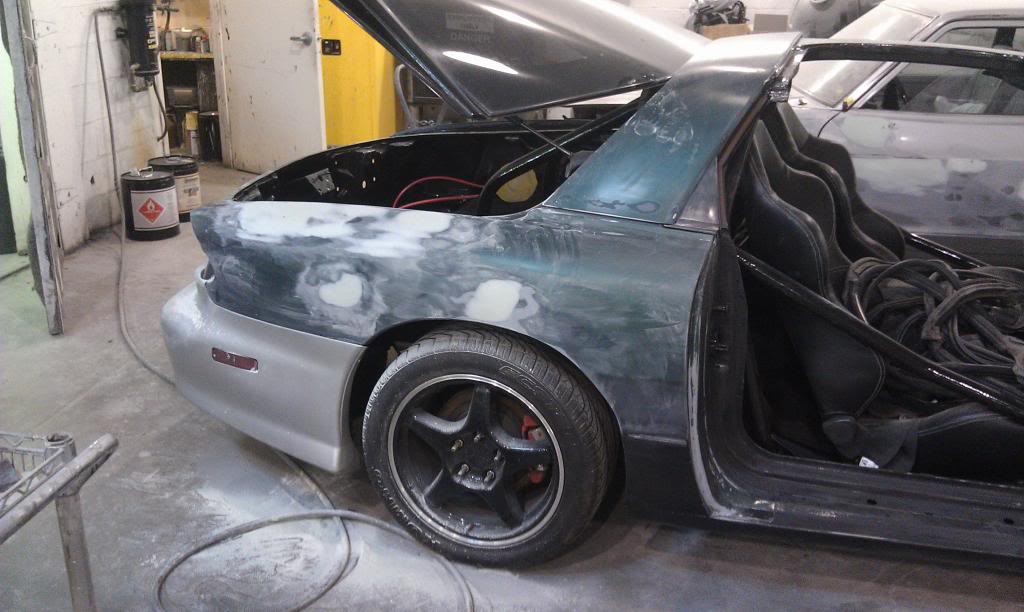
A couple weeks. I have a very short list of things to do, but they are things like installing gauges, painting the car, installing body panels, alignment, etc.
 
Old Mar 29, 2013 | 02:10 PM
  #46  
Scooch's Avatar
Super Scooch
January 2009 ROTM
Joined: Aug 2005
Posts: 2,455
From: South Carolina
Default

everything looks great. cant wait to see that thing roll out. more pics!
 
Old Mar 30, 2013 | 05:43 AM
  #47  
Camambro's Avatar
April 2012 ROTM
Joined: Jun 2011
Posts: 625
From: Hamilton NJ
ROTM Winner's Club
Default

Yeah pretty sweet can't wait for more pics
 
Old Apr 24, 2013 | 01:33 PM
  #48  
ls1camino's Avatar
Thread Starter
|
In the Staging Lanes
Joined: Jan 2012
Posts: 40
Default

Name:  IMAG0301-1.jpg
Views: 133
Size:  85.1 KB

Name:  IMAG0302-1.jpg
Views: 91
Size:  73.7 KB
 
Old Apr 25, 2013 | 06:07 PM
  #49  
afronippleyo's Avatar
Newbie
Joined: Sep 2012
Posts: 23
From: Modesto, CA
Default

come on. You can't just tease us like that. haha
 
Old Apr 29, 2013 | 09:23 PM
  #50  
Bandit 43's Avatar
2nd Gear member
Joined: Nov 2010
Posts: 326
From: NYC
Default

Beautiful build! I can't wait to see the bird take flight.


All times are GMT -5. The time now is 05:53 PM.