
Chaotic's Progress Thread


Overdrive Member
Joined: Apr 2010
Posts: 3,354
From: Spanaway, WA
3.4 was old skool fuel injection that used only the MAP for the air monitoring. It was limited in how it would be able to adjust the AF ratio and how the fuel mapping worked. The engine determined the fuel requirements using readings from the MAP, TPS, RPM, and then the O2 sensor. This worked ok but it was hard to get ideal fuel ratios under all conditions, and since GM programed the computer to err on the side of effeciency you lose power. I have heard of the 3.8L OBDII computer being adapted to this engine and the gains are noticable. That requires adding sensors and other goodies to the engine. I think the guy that did it eventually did the 3500 head swap as well and made a really nice running 3.4L
Massey
Massey

Thread Starter
|
September 2011 ROTM
Joined: May 2010
Posts: 3,402
From: Missouri
ROTM Winner's Club
3 | 74-x: Wedge Base LED bulb | $ 1.19 |
74-W: Cool White
------------------------------------------------------------
1 | NEOx-xHP: NEOx High Power LED Instrument bulb| $ 2.29 |
NEO3-WHP: 3mm NEO3-xHP Cool White
------------------------------------------------------------
2 | 4410-x9: 9 LED Festoon bulb | $ 4.74 |
4410-CW9: Cool White 2.25
------------------------------------------------------------
7 | WLED-x5: 5 LED Wide Angle Wedge Base Bulb| $ 3.94 |
WLED-CW5: Cool White 0.95
------------------------------------------------------------
1 | RL4410-xHP9 Rigid Loop Festoon bulb | $ 5.95 |
Cool White RL4410-CWHP9 1.00
Just ordered a bunch of LED's to replace ALL of my enterior lights! I'll let you guys know when they get here. I also plan on doing a write up on the gauge light swap for early 4th gen Camaro's. I know there is a lot of confusion about how it is done on the earlier 4th gens. So I'll clear the air with a detailed write up when I do mine. Hopefully it will be made into a sticky

Fourth Generation Moderator
October 2009 ROTM
October 2009 ROTM
iTrader: (1)
Joined: Nov 2007
Posts: 10,561
From: Eastern PA,
ROTM Winner's Club
3.4 was old skool fuel injection that used only the MAP for the air monitoring. It was limited in how it would be able to adjust the AF ratio and how the fuel mapping worked. The engine determined the fuel requirements using readings from the MAP, TPS, RPM, and then the O2 sensor. This worked ok but it was hard to get ideal fuel ratios under all conditions, and since GM programed the computer to err on the side of effeciency you lose power. I have heard of the 3.8L OBDII computer being adapted to this engine and the gains are noticable. That requires adding sensors and other goodies to the engine. I think the guy that did it eventually did the 3500 head swap as well and made a really nice running 3.4L
Massey
Massey

In the Staging Lanes
Joined: Jun 2009
Posts: 93
Just ordered a bunch of LED's to replace ALL of my enterior lights! I'll let you guys know when they get here. I also plan on doing a write up on the gauge light swap for early 4th gen Camaro's. I know there is a lot of confusion about how it is done on the earlier 4th gens. So I'll clear the air with a detailed write up when I do mine. Hopefully it will be made into a sticky
Thread Starter
|
September 2011 ROTM
Joined: May 2010
Posts: 3,402
From: Missouri
ROTM Winner's Club
It shouldn't be too hard. I'll do a detailed write up on it when I do mine and hopefully that will help some people out.
Last edited by Chaotic94; Jan 28, 2011 at 10:24 PM.

Overdrive Member
Joined: Apr 2010
Posts: 3,354
From: Spanaway, WA
You dont notice the loss of power but you dont get the full potential of the engine. Yes I remember doing a couple of prom swaps (that is all they would let me do the master tech did the rest) I remember the TPI engines were really sensitive to this.
Massey
Thread Starter
|
September 2011 ROTM
Joined: May 2010
Posts: 3,402
From: Missouri
ROTM Winner's Club
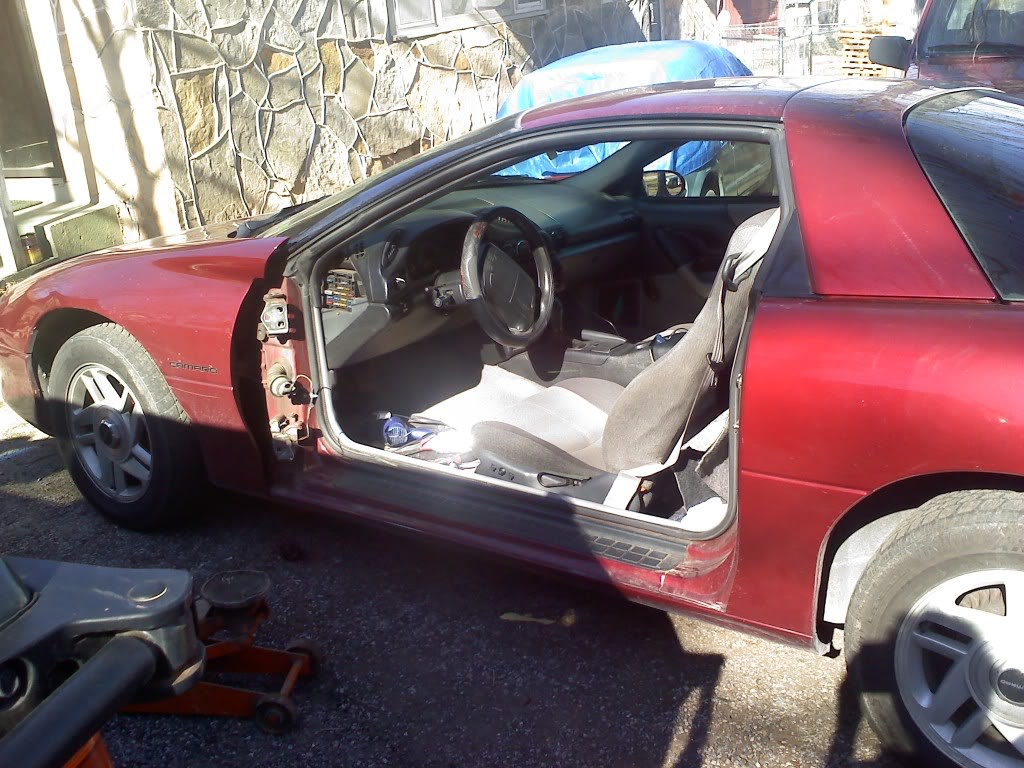
I installed my new door today! Here's what I started with:
http://www.youtube.com/watch?v=eDwJiHJ5mWw
Then I ripped that sucker off!
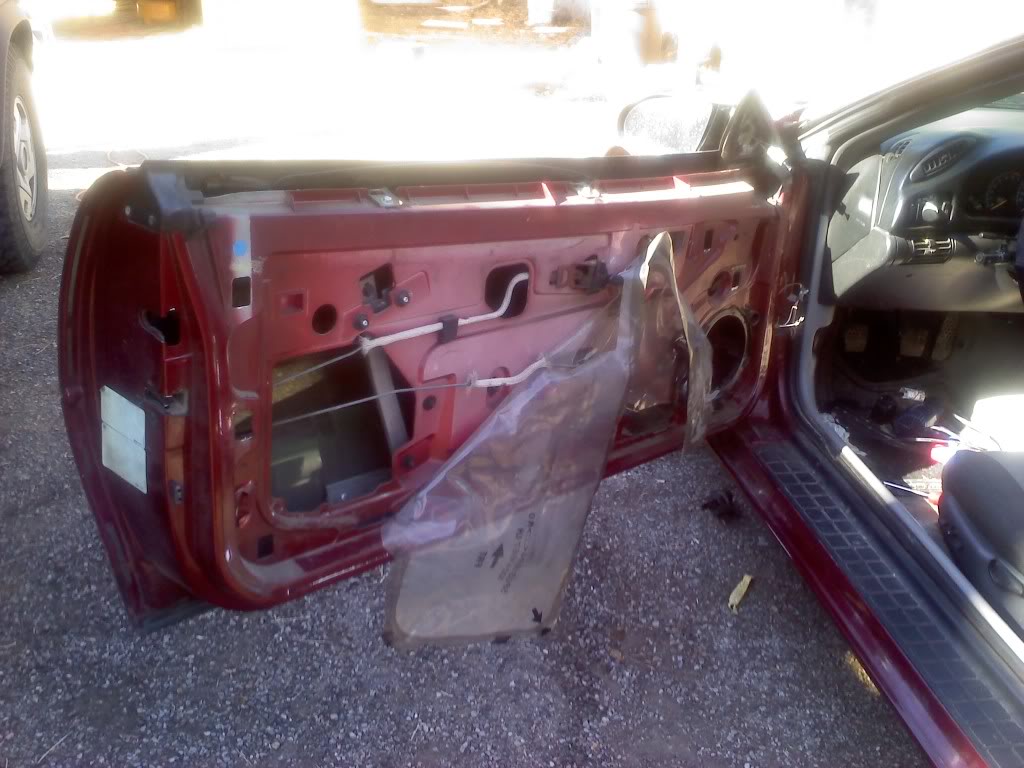
I put the new door on and ripped the guts out of it to swap in my manual stuff. I decided against power windows and locks. Too much hassle
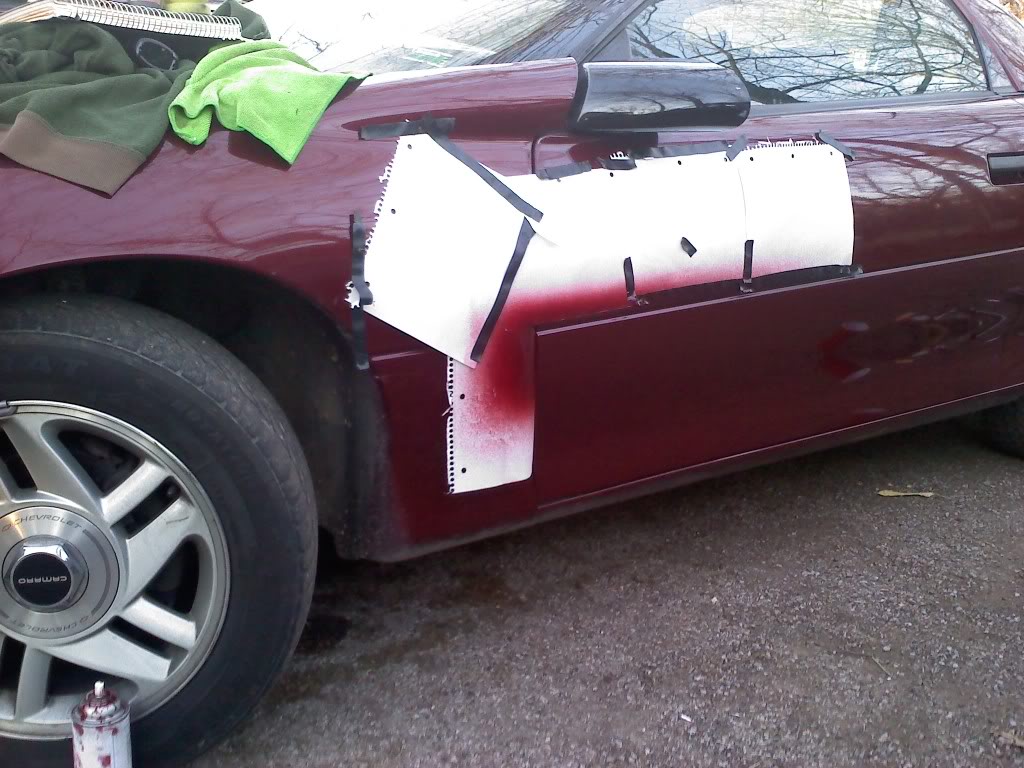
When I was pulling off the side moulding on the new door, it peeled some of the paint with it so I bought a can of rattle can paint mixed to my color code and started spraying
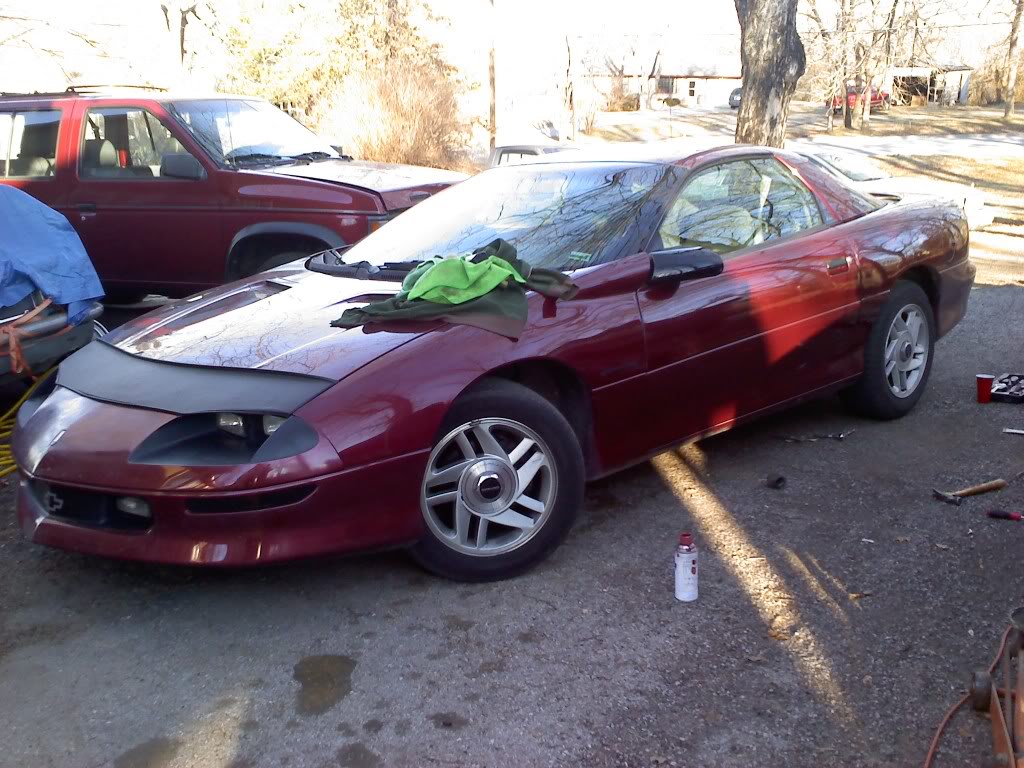
Here's what I have for now. I will buff it out tomorrow
http://www.youtube.com/watch?v=eDwJiHJ5mWw
Then I ripped that sucker off!
I put the new door on and ripped the guts out of it to swap in my manual stuff. I decided against power windows and locks. Too much hassle
When I was pulling off the side moulding on the new door, it peeled some of the paint with it so I bought a can of rattle can paint mixed to my color code and started spraying
Here's what I have for now. I will buff it out tomorrow
