


So here it goes, my project thread (2nd gen)


Thread Starter
|
Overdrive Member
Joined: Nov 2009
Posts: 4,848
From: off the grid

With the body bolts slightly loose the whole thing moves pretty freely while layin on my back. You would be amazed how much play there is in these things. It moves about a 1/2" in any directiion.

Second Generation Moderator
Feb 2010 ROTM winner
Jan 2013 ROTM winner
Feb 2010 ROTM winner
Jan 2013 ROTM winner
Joined: Aug 2008
Posts: 9,097
From: Portland, Or
ROTM Winner's Club
It is amazing how much adjustment is in the frame mounts! Doing it by yourself is tough! Best to get help from someone just to hold one end of the tape. It will go much faster!
Thread Starter
|
Overdrive Member
Joined: Nov 2009
Posts: 4,848
From: off the grid
Well I could bring myself to lay on the cold floor today so I threw some parts on the front end. I also started the four speed swap.
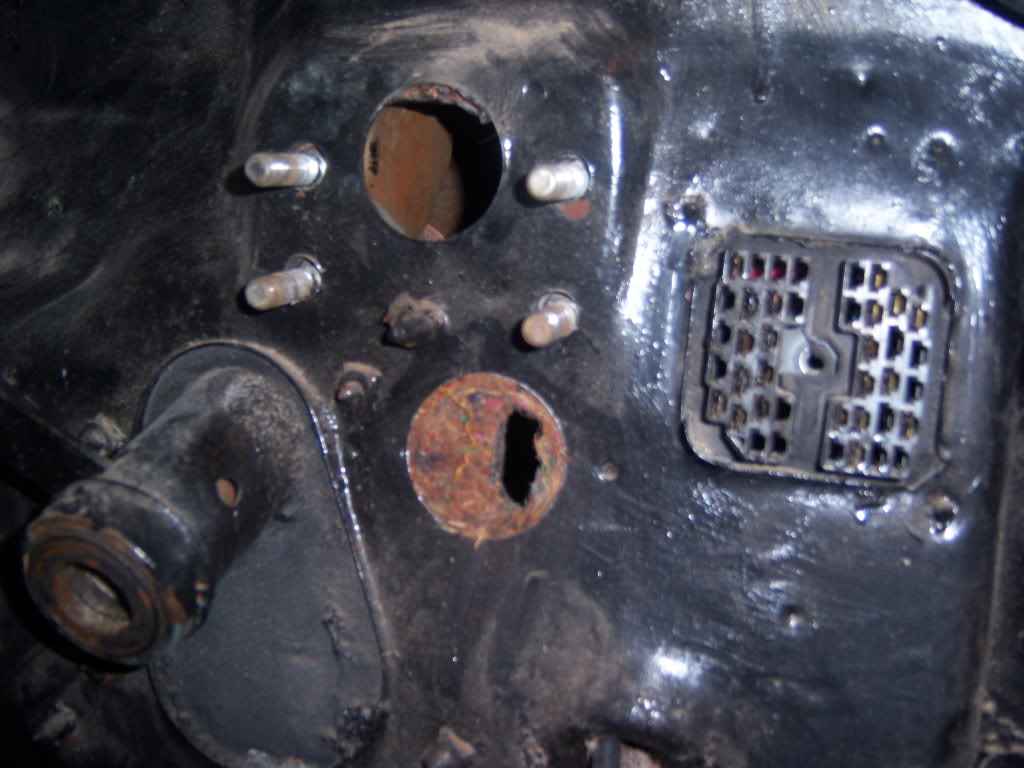
As luck would have it, when I cut the clutch pedals out of a car going on 11 years ago I cut a chunk of the fire wall out. The car didn't have a steering colume in it so I used a sawzall to hack it out. Eleven years later that peice is the perfect template to cut a hole in my firewall. WOW good luck huh?

I found a hole saw(thanks dad) the same size as the hole in the piece and then bolted it in place of the master cylinder.

Worked perfect. See the slot for the rod?
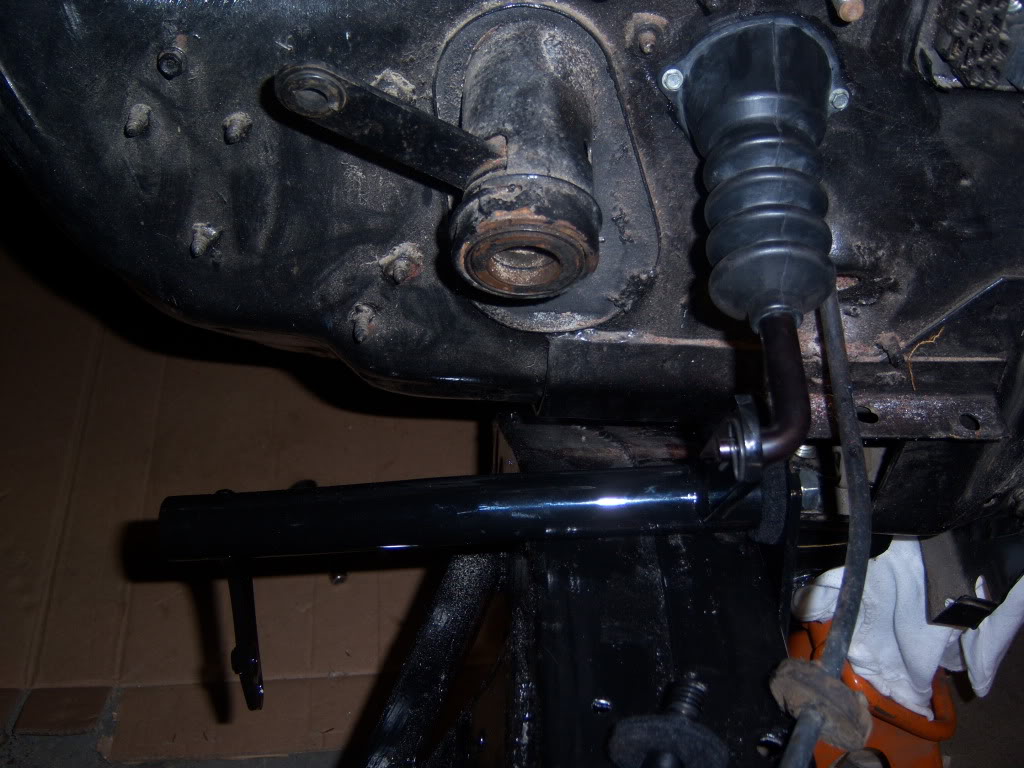
I then bolted up the z- bar assembly. I thought there was access holes from the back of the frame but it turns out I needed self tapping body bolts (thanks again dad). I had to rob some from the truck I just sold my dad.
I also had time to bolt the upper a arms on and install the ball joints in them. I did mock up the steering box but the bolts I bought were 1/2-13 x 4 1/2 and the new box has metric holes. Here are a couple more pics of the way I left it for today.

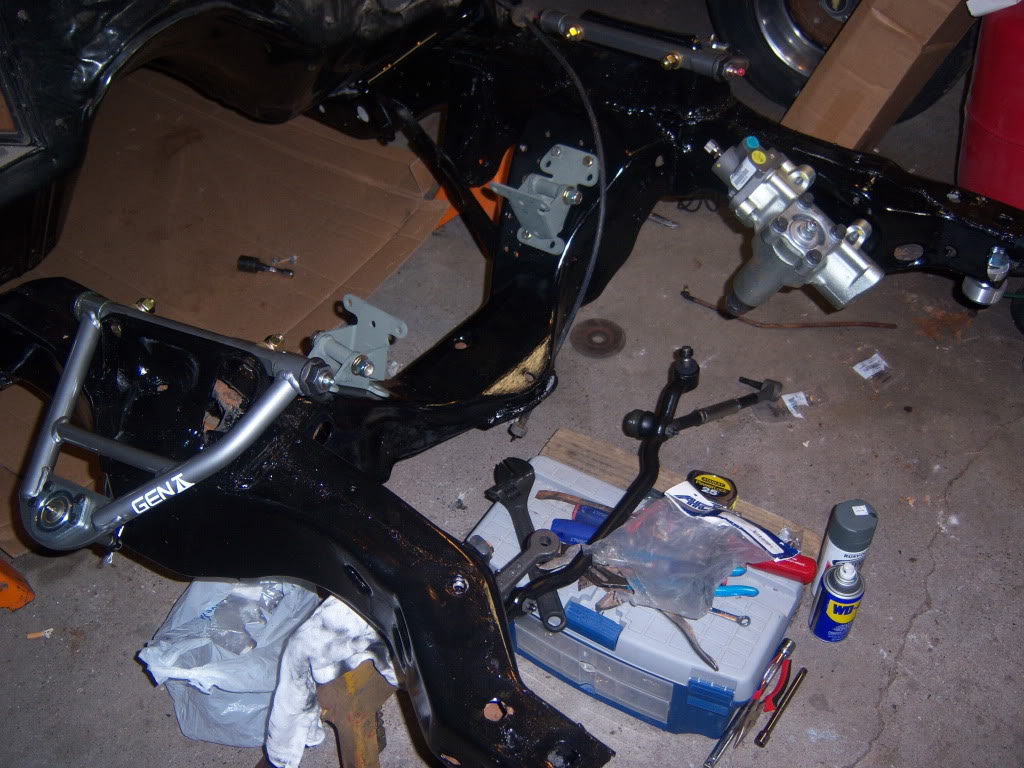
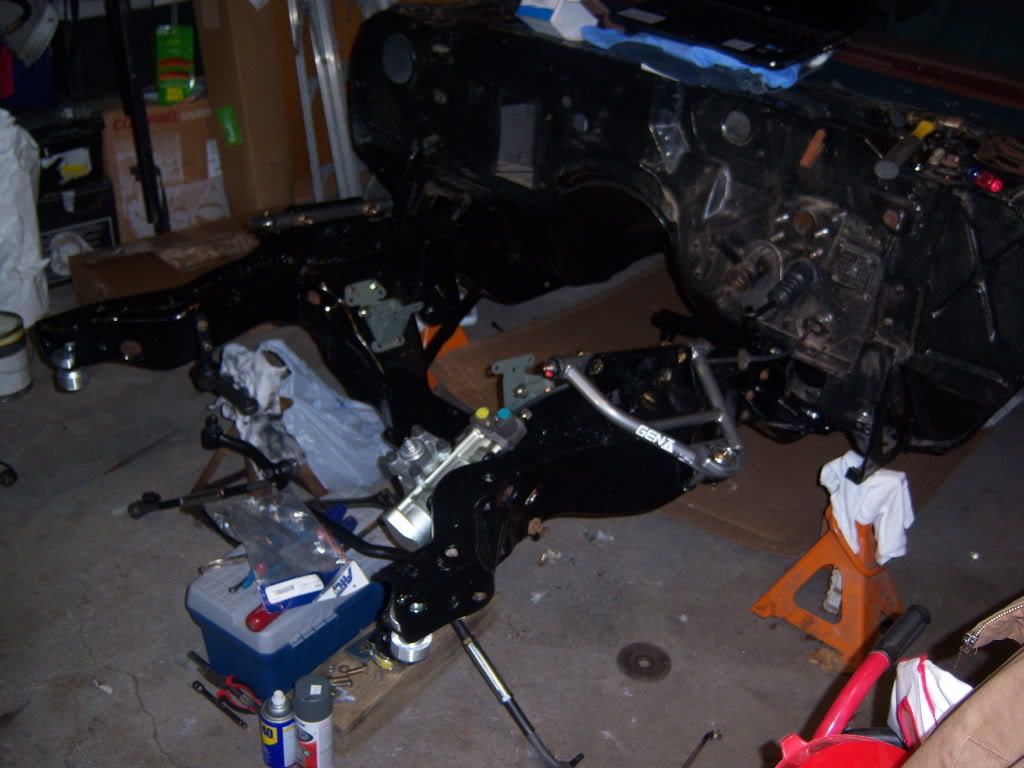
Please excuse the mess, all I have is basiclly the space the car takes up to work in.
As luck would have it, when I cut the clutch pedals out of a car going on 11 years ago I cut a chunk of the fire wall out. The car didn't have a steering colume in it so I used a sawzall to hack it out. Eleven years later that peice is the perfect template to cut a hole in my firewall. WOW good luck huh?
I found a hole saw(thanks dad) the same size as the hole in the piece and then bolted it in place of the master cylinder.
Worked perfect. See the slot for the rod?
I then bolted up the z- bar assembly. I thought there was access holes from the back of the frame but it turns out I needed self tapping body bolts (thanks again dad). I had to rob some from the truck I just sold my dad.
I also had time to bolt the upper a arms on and install the ball joints in them. I did mock up the steering box but the bolts I bought were 1/2-13 x 4 1/2 and the new box has metric holes. Here are a couple more pics of the way I left it for today.
Please excuse the mess, all I have is basiclly the space the car takes up to work in.


Thread Starter
|
Overdrive Member
Joined: Nov 2009
Posts: 4,848
From: off the grid
Its really my dads garage. It is 2 1/2 stalls but with the camaro and the 85 shorty I sold him there isn't much room. Me cleaning the garage was the deal for letting me keep my car there. I'm really picky about keeping my tools straight too. I spin wrenches all for a living and can't afford to loose time hunting for my tools. The little crappy tool box is the road kit I made myself when I drove to Indy to pic the car up. I preaty much brought every tool I could think of. Didn't need any, but if I didn't bring them all hell would have broke loose. Thanks for the compliments. I'm still waiting on the lower control arms. I did paint my springs red with Duplicolor Caliper Paint but the valve was splattering paint everywhere and it looked like crap. So then I grabbed a can of red that was in the cabinet in the garage, it turned out pink.
Thread Starter
|
Overdrive Member
Joined: Nov 2009
Posts: 4,848
From: off the grid
I think its around 50or 60 bucks. I got these at a swap meet for $5 uppers and lowers. They sell them like that. uppers are like 25 and lowers are like 30. It would be easy to verify, summit has them. A word of advice though, even if there new check around the welds for cracks and especially if there used.

