
So here it goes, my project thread (2nd gen)


Thread Starter
|
Overdrive Member
Joined: Nov 2009
Posts: 4,848
From: off the grid
LOL Don't try it with the shifter on the tranny like I did. I left the bracket on there so I could see where to start cutting. The plate I had to bolt to the fire wall to locate the hole worked real good. Depending on where you got your pedals from there will be some swaping stuff around. Like brake rod pivots.

Second Generation Moderator
Feb 2010 ROTM winner
Jan 2013 ROTM winner
Feb 2010 ROTM winner
Jan 2013 ROTM winner
Joined: Aug 2008
Posts: 9,097
From: Portland, Or
ROTM Winner's Club
Thanks Damon! I'm building a flat firewall on the Austin and I need to fabricate everything. I got a really nice throttle setup that's fully adjustable in every way, but need a cable to work with it. The tunnelram pulls straight down to open throttle, and a cable is easier, cheaper, and cleaner than a bell crank.
Thread Starter
|
Overdrive Member
Joined: Nov 2009
Posts: 4,848
From: off the grid
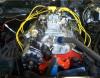
Man I'm beat, I did alot of little things today and some bigger stuff too. Vall, I'm second guessing the throttle cable. I was tightening mine today and snapped the aluiminum threads. I'll get another tomorrow. Finished putting the clutch linkage in and the return spring. Tightened the motor mounts, I had to leave them loose to get enough play to get the uppers and lowers together. I finised installing the rear sway bar after having to elongate the holes. The guy I talked to at protouring fbody said to drill the holes to 9/16" but I put them in a mill at work and used a 1/2" end mill to get the spread to 4". Mounted my 6AL box after finding a good home. Zip screwed the new heater box in. I'll go back and seal it up after I'm done mocking things up.
I stripped the engine harness off the 78. I'm thinking it will be easier to use with no a/c wires. Pull the gauge cluster too. The 78 has the U14 gauges and the 80s looks like every onther 80s car, 85mph speedo and a large by hugh gas gauge. I think I can swap the gauges to the 80s bezel but I'm not sure. I'll find out after the kids are in bed. I found a good write up on how to change around the harness plug for this. Keeping my fingers crossed.
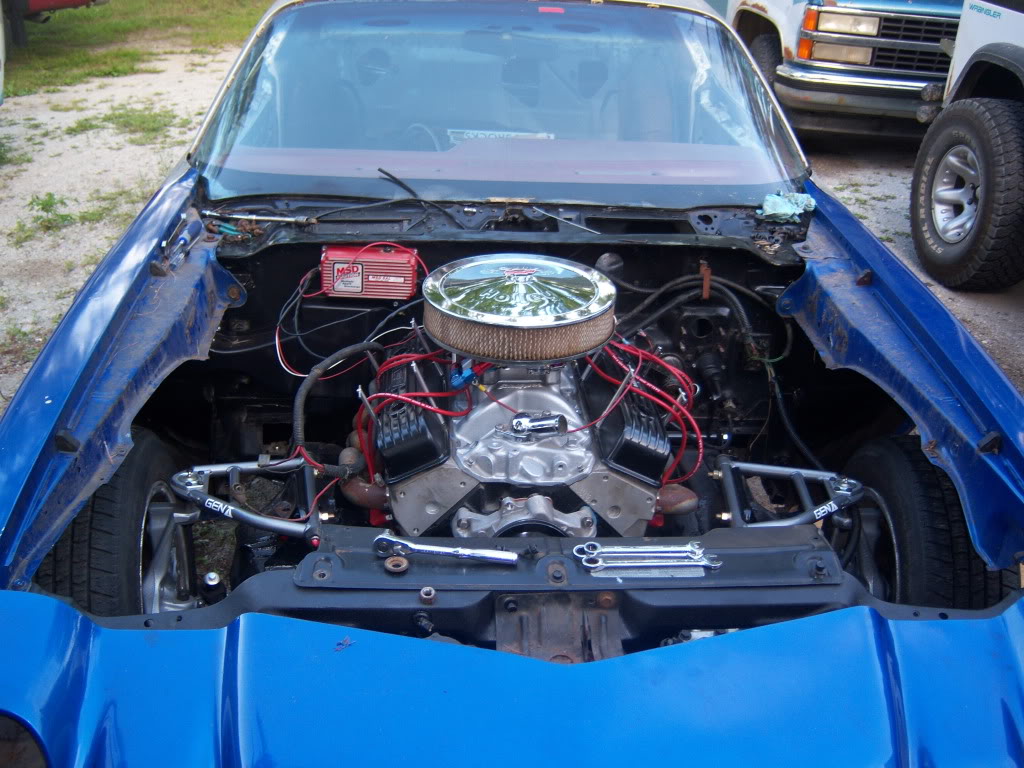
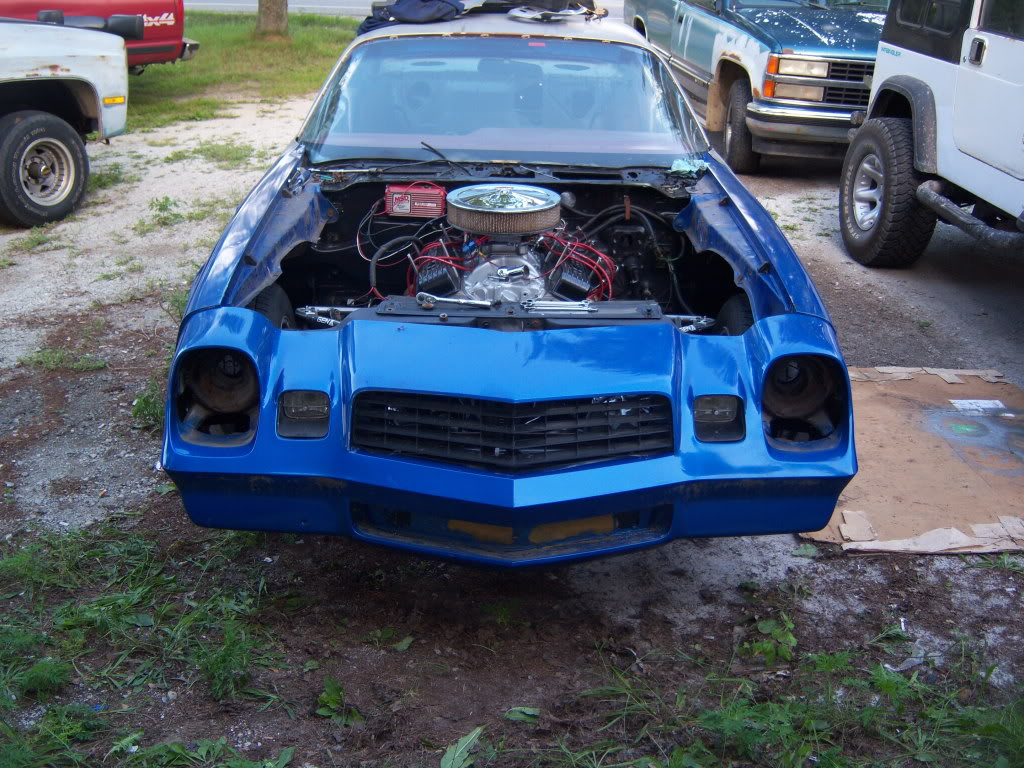
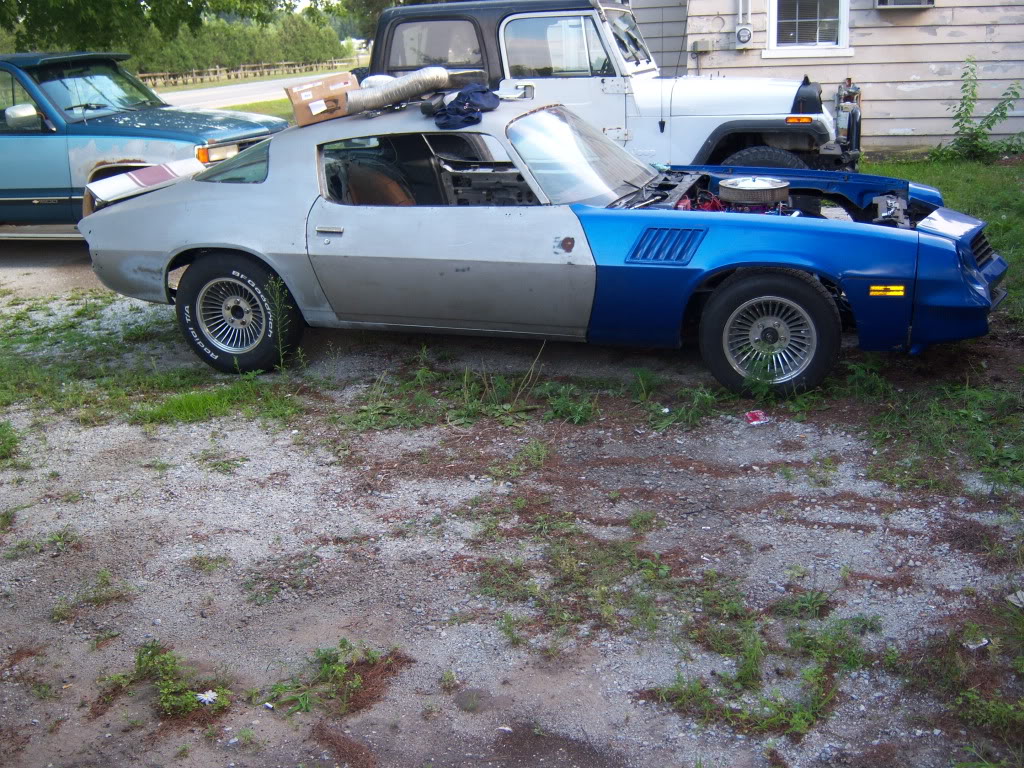
And now for the heavy lifting. I took the front clip from the 78 and got a good start on lining it up. I ran out of shims and was already two hours late for dinner. The woman is pissed again. I do it every weekend. I streched a peice of masking tape between the two fenders and confirmed the stock Z hood is a no go. The nose with the bumper still inside is no joke when tring to fit it on the car. I have to get the sterring colume from the 78 and figure out what to do for fuel. I was going to put the cell in the trunk but I can't bring myself to cut up the trunk.
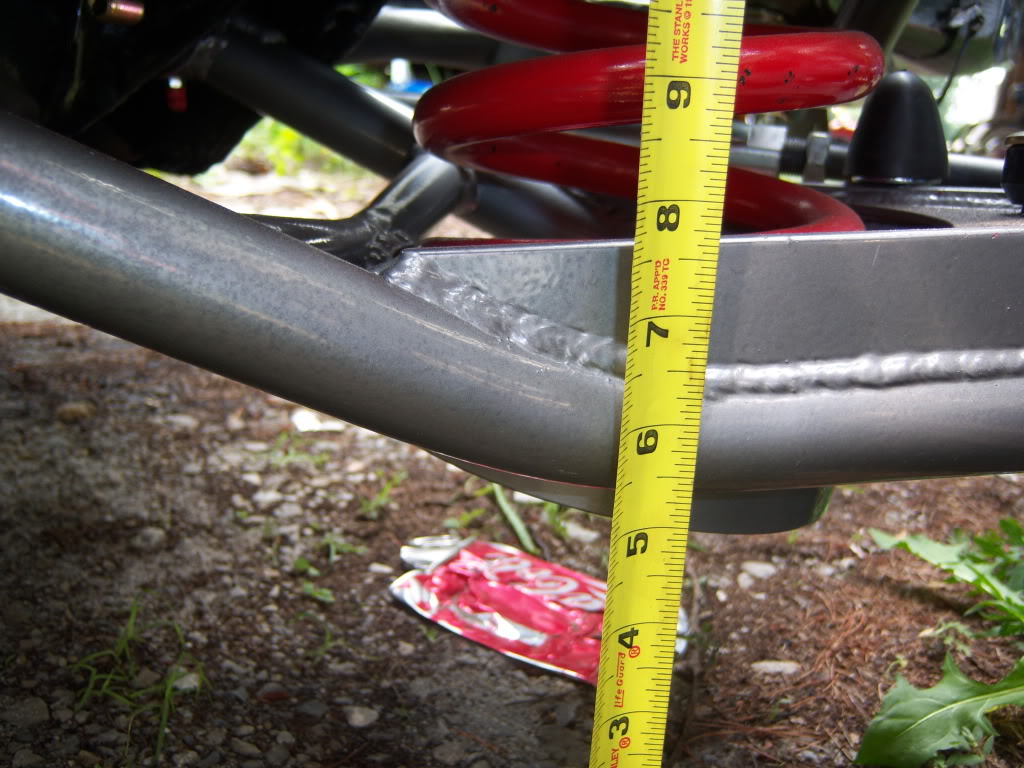
Can anyone measure from the tip of the nose to the ground for me? Mine is 12 1/2", just wondering how low it is. The bottom of the control arm is 6" from the deck.
Well enough jabbering here are some pics...

I stripped the engine harness off the 78. I'm thinking it will be easier to use with no a/c wires. Pull the gauge cluster too. The 78 has the U14 gauges and the 80s looks like every onther 80s car, 85mph speedo and a large by hugh gas gauge. I think I can swap the gauges to the 80s bezel but I'm not sure. I'll find out after the kids are in bed. I found a good write up on how to change around the harness plug for this. Keeping my fingers crossed.
And now for the heavy lifting. I took the front clip from the 78 and got a good start on lining it up. I ran out of shims and was already two hours late for dinner. The woman is pissed again. I do it every weekend. I streched a peice of masking tape between the two fenders and confirmed the stock Z hood is a no go. The nose with the bumper still inside is no joke when tring to fit it on the car. I have to get the sterring colume from the 78 and figure out what to do for fuel. I was going to put the cell in the trunk but I can't bring myself to cut up the trunk.
Can anyone measure from the tip of the nose to the ground for me? Mine is 12 1/2", just wondering how low it is. The bottom of the control arm is 6" from the deck.
Well enough jabbering here are some pics...
Second Generation Moderator
Feb 2010 ROTM winner
Jan 2013 ROTM winner
Feb 2010 ROTM winner
Jan 2013 ROTM winner
Joined: Aug 2008
Posts: 9,097
From: Portland, Or
ROTM Winner's Club
Getting closer to being a driver huh Damon? Hope the new throttle cable holds up! I was helping my neighbor put the EZ wiring harness kit in his Austin Sat. and we plan to get that cable for his also if it works.
I'm not sure what measurement you're taking? "from the tip of the nose"? Do you mean the nose of the front bumper, or something else??
I'm not sure what measurement you're taking? "from the tip of the nose"? Do you mean the nose of the front bumper, or something else??
Thread Starter
|
Overdrive Member
Joined: Nov 2009
Posts: 4,848
From: off the grid
Umm I kind of broke my cable. It seams they don't like to be overtightened. It is just a aluminum tube thats threaded and has a matching nut for the inside of the car. Gotta get a new one, no gorilla grip this time. As for the measurement, yes the middle of the bumper. I would think a later second gen is lower than yours. I don't think its a good comparison. The lower a arm measurement may be though. Mine is about 5 1/2" to the bottom were it goes out to meet the ball joint. The spring cup is about 1"-1 1/2" lower than that. Thanks for the comments. I may not go far, but I will go somewere in it before snow flies.

i just went and measured mine for ya...its 21 1/4" from the middle point of the front bumper (above the lower grill below the top grill[that point]) to the ground and 27 3/4" from the top of the rear wheel arch to the ground on mine....hope that helps im not sure if its stock but its probably pretty close
