
My 1970 Camaro w/ 572 Build
#81
 09-15-2011, 09:30 PM


Join Date: Aug 2008
Location: Portland, Or
Posts: 9,097
You could easily build something also with a 1/2" pipe nipple brazed to the side of a piece of tubing to feed the heater hose.
The whole idea of an electric water pump is to free up HP, and I doubt you need to free any up, you've got plenty. The drawback with a street vehicle is you have an alternator and the electric pump draws a good sized load on the alternator, which draws more HP to turn under heavy current draws. So it's really a wash, and the elctric pump ends up being a decoration that looks really cool, but doesn't save any HP.
If it were mine I'd see if I could peddle it as it should bring enough money to buy a really nice hi flow aluminum water pump that will allow the heater hoses, and look good too.
#82
09-16-2011, 12:19 AM

At the strip it is awesome to be able to leave the pump and fan running to cool down between rounds. I won a race that way because they were pretty much hot lapping me. The other guy couldn't cool down fast enough. I was almost cold in minutes.
#83
10-03-2011, 10:55 PM

I think i found a solution for my heating issue. To start with there are high performanece thermostat that allow some flow all of the time even the the thermostat is closed. I believe i am going to buy one or two of these and play around with them. I am going to drill a few holes in the thermostat very carefully in order to allow more flow when the thermostat is closed. I would rather err on the side of cooling down to much then not cooling down enough. I figure if people run coolant restrictors then this should work out just fine.
As for my heater core. I looked on a few websites and found a Male-Male nipple with 1/2" FNPT port welded in it. This way i dont have to mock up something that looks like crap. The fitting will go into my lower rad port and will hopefully allow me to keep things neat and tidy. I just need to get home from work here and measure my rad fittings on the new rad. I assume that they are going to be the same size as stock. Now that i think about it does anyone know what size of rad hoses are on an early 80s 350 chev? The other heater line i will plumb into the one remaining port on my intake manifold. I am going to try and track down the most inexpensive (i refuse to say cheap) place that sells the aeroquip stainless braded lines. I will then install the field attachable ends on the hose and it should help tidy the engine compartment up.
With the rear end inside of the shop it is time to start ordering the front brake setup. I have tried to contact wilwood but cant seem to get through to them on email or the form on their website. It looks like i will have to phone them when im back in north america. I have 12.19" brakes on the back and need their suggestion which parts to go on the front end of the car. I also will need to buy a new sharp looking master cylinder and proportioning valve. I have never worked on automotive brakes before so i am kind of in the dark here. I am hoping that if i put the same brakes in the front of the car as in the back it will still be balanced nicely. The absolute maximum size of wheels i want to run are 18", the 12.19" brakes in the back require 16" wheels.
I am definately kicking myself for not getting the rear end and the headers in the car last time i was home. If i would have gotten this done then i would have had the car at the welding shop right now getting the roll cage and the exhaust put it. Unfortunately it is starting to look like i wont be able to drive the car this year because it is going to snow soon.
My tentative timeline now sits like this
October 24th - Arrive home from work
October 30th - Send car to the welding shop for exhaust and roll cage
I dont know how long it will take them but i assume it will not be fast so...
November 14th - get car back from welding shop
After this point i still need to do the following
Install rad and tranny cooler and lines
Install shifter linkage
Finish bolting up the March pulley set and mounts
Dynomat the entire car (not needed to drive)
Install the interior (not needed to drive)
Install new front brakes (not needed to drive as my current setup works)
Install new brake components (master, lines, proportioning valve)
Purchase and install new drive line
Purchase and install a cown induction hood
I goto mexico on November 18th and leave to come to work the day after i get home.
So i am a bit dissapointed because the only reason i am not going to get to drive the car this year is my own laziness and stupidity
#85
10-04-2011, 03:18 AM
Well thanks anyways for trying. I am pretty certain that this is going to work. My biggest concern with this system is i do not have a bypass hose. This is why i am going to drill out the thermostat.
#86
10-14-2011, 08:46 PM
Alright so Im down to 12 days left of working over here and i hope to start working on the car again when i get home.
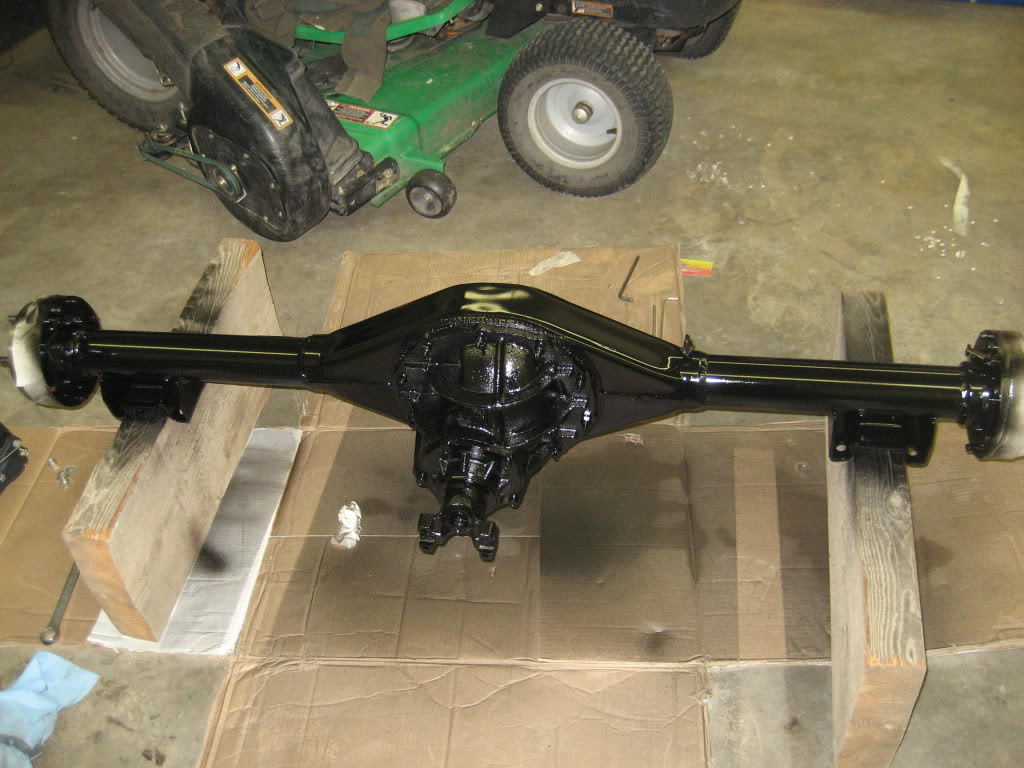
The first item on the list is to install the new rear end. Will rattle can black hold up to the occasional drive? I dont plan on driving the car in the rain or the now so i was thinking some sort of direct to metal chassis black should be fine to paint the new differential with.
What do you guys think?
#89
11-08-2011, 01:04 AM
Well as I should have guessed I'm not getting as much done on my car as I had planned this time home. I have gotten a couple little items figured out but at the same time in other areas have fallen a bit behind.
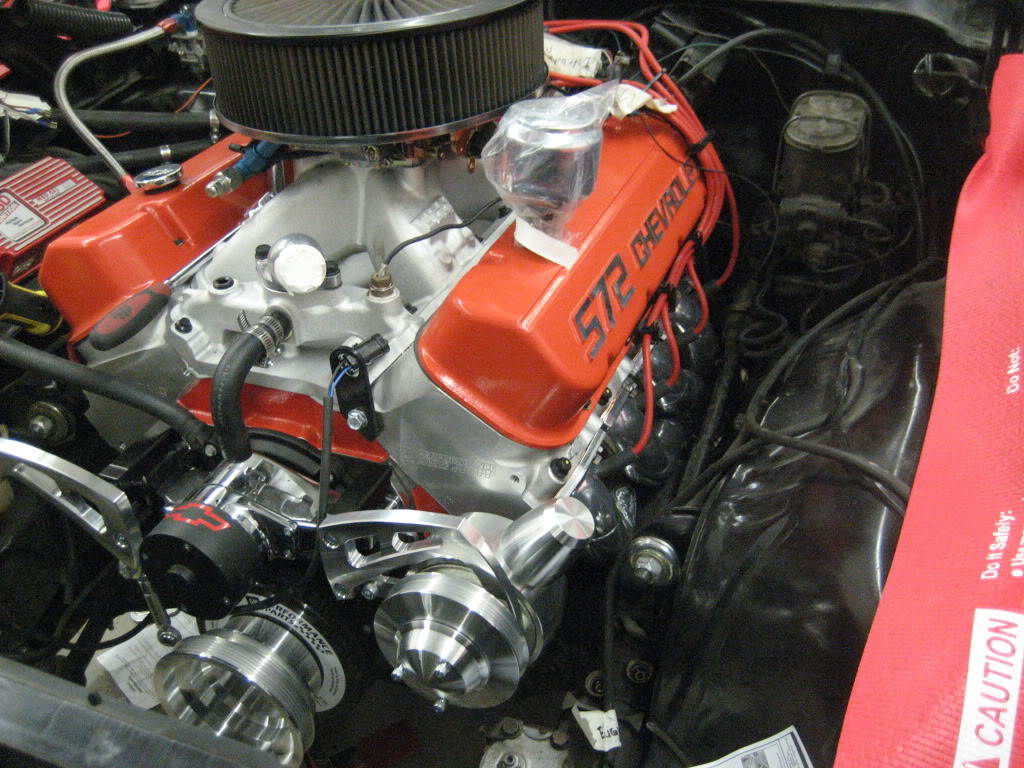
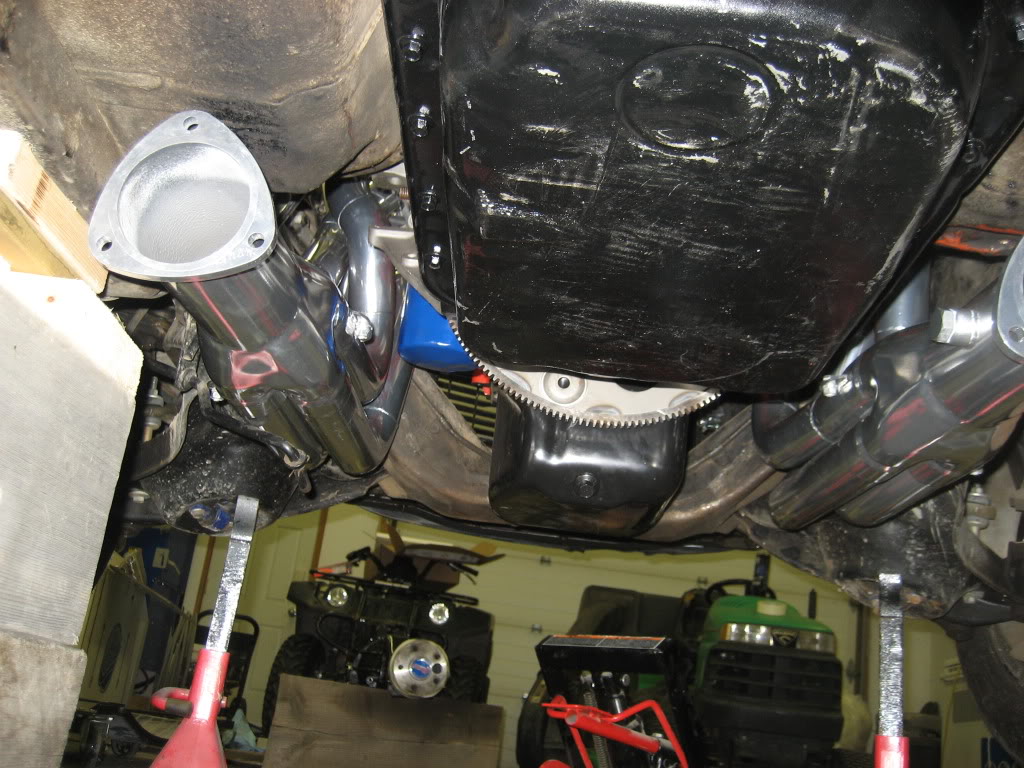
First thing I did when I got home was installed the headers. I am thoroughly impressed with the fit and the quality of headers from Dan Lemons. The girlfriend was out in the shop with me laying on a creeper in her knee length white cotton jacket. We finished the install in a few hours and everything worked and fit very, very nicely. I will be perfectly honest and say I wish that I installed the starter before I torqued the header bolts. I will have to loosen them back off and install the starter next time I'm out there. Here are a couple pictures. These were definitely worth the money.
I got around to painting the new rear end using rattle can black. It looks nice now but I will have to wait and see how it holds up to rock chips and abuse. Rather then masking everything off I pulled the brakes to make things easier. This will also allow me to get this car rolling again as the existing rims and tires will not fit on the Wilwood discs. I yanked the old rear end out. This was fairly easy as the rear springs were brand new�13 or so years ago when I first updated the car.

I have run into another problem with my March bracket and pulley kit. The kit that I bought (and that was recommended to me by a March salesment) does not fit with my engine. The power steering side looks great and fits real nicely. The alternator side will not work. The bolt that goes through the front alternator bracket, then the alternator does not line up with the head because of the engine being a tall deck. I am going to have to come up with a plate that bolts to two of the head bolts and then has threads for the alternator bolt. I can make something here that works but am going to have a very hard time making it look nice.
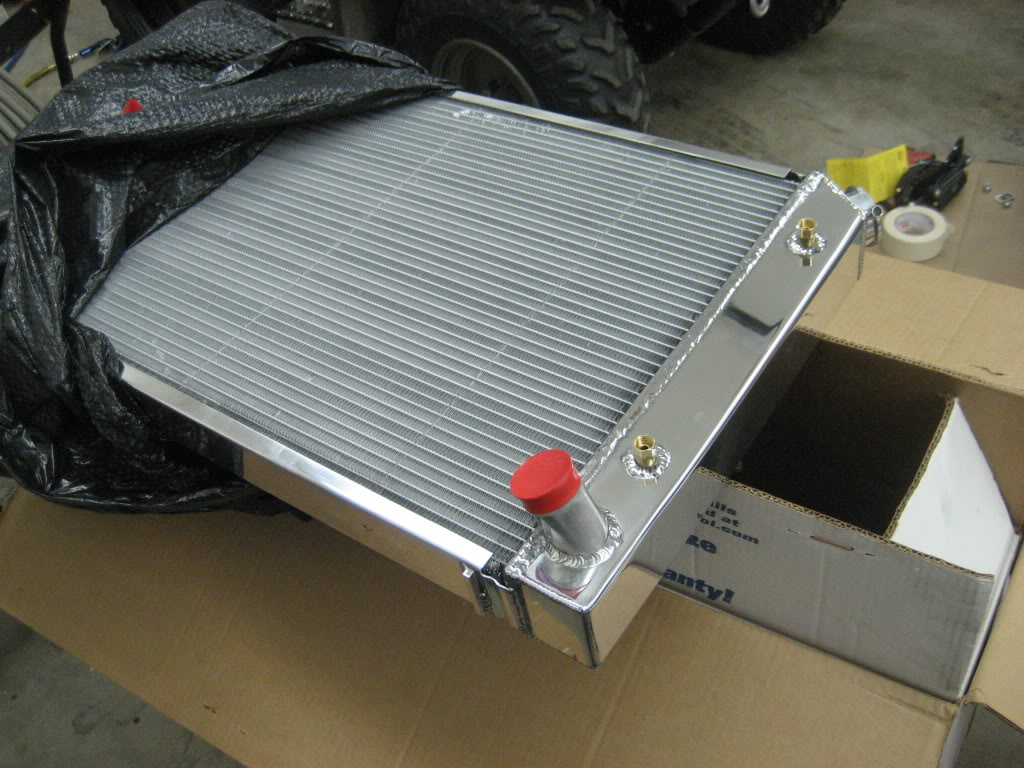
I have picked up the new rad as well. I haven�t pulled out all of the boxes that are included but I did have a peek at the rad to see what its going to look like. Well�its shiny!
And now for the fun part. We have realized that this car is not going to be on the road this year it was time to order some more parts. Tonight I have requested pricing from Fatman Fabrications for a four link rear with coil overs, new steering box, tubular front control arms and all of the components needed for the Wilwood front conversion with 6 piston calipers. This will also be equipped with coil overs. This is the nail in the coffin for the build this year. Unfortunately I will not be driving this car until spring now, but I will keep updating as I go.
As always any input or ideas are greatly appreciated.
First thing I did when I got home was installed the headers. I am thoroughly impressed with the fit and the quality of headers from Dan Lemons. The girlfriend was out in the shop with me laying on a creeper in her knee length white cotton jacket. We finished the install in a few hours and everything worked and fit very, very nicely. I will be perfectly honest and say I wish that I installed the starter before I torqued the header bolts. I will have to loosen them back off and install the starter next time I'm out there. Here are a couple pictures. These were definitely worth the money.
I got around to painting the new rear end using rattle can black. It looks nice now but I will have to wait and see how it holds up to rock chips and abuse. Rather then masking everything off I pulled the brakes to make things easier. This will also allow me to get this car rolling again as the existing rims and tires will not fit on the Wilwood discs. I yanked the old rear end out. This was fairly easy as the rear springs were brand new�13 or so years ago when I first updated the car.
I have run into another problem with my March bracket and pulley kit. The kit that I bought (and that was recommended to me by a March salesment) does not fit with my engine. The power steering side looks great and fits real nicely. The alternator side will not work. The bolt that goes through the front alternator bracket, then the alternator does not line up with the head because of the engine being a tall deck. I am going to have to come up with a plate that bolts to two of the head bolts and then has threads for the alternator bolt. I can make something here that works but am going to have a very hard time making it look nice.
I have picked up the new rad as well. I haven�t pulled out all of the boxes that are included but I did have a peek at the rad to see what its going to look like. Well�its shiny!
And now for the fun part. We have realized that this car is not going to be on the road this year it was time to order some more parts. Tonight I have requested pricing from Fatman Fabrications for a four link rear with coil overs, new steering box, tubular front control arms and all of the components needed for the Wilwood front conversion with 6 piston calipers. This will also be equipped with coil overs. This is the nail in the coffin for the build this year. Unfortunately I will not be driving this car until spring now, but I will keep updating as I go.
As always any input or ideas are greatly appreciated.
Last edited by Sudstoy; 11-08-2011 at 01:07 AM.