
Installing a LS1 in my 1977 Camaro


#53
 08-04-2011, 10:21 PM

They were fabbing the cold air intake today so my first look at it will be in the morning. Should be interesting.
Once it is back, the finish work will begin. Lots to do yet!!
#54
08-05-2011, 09:12 PM
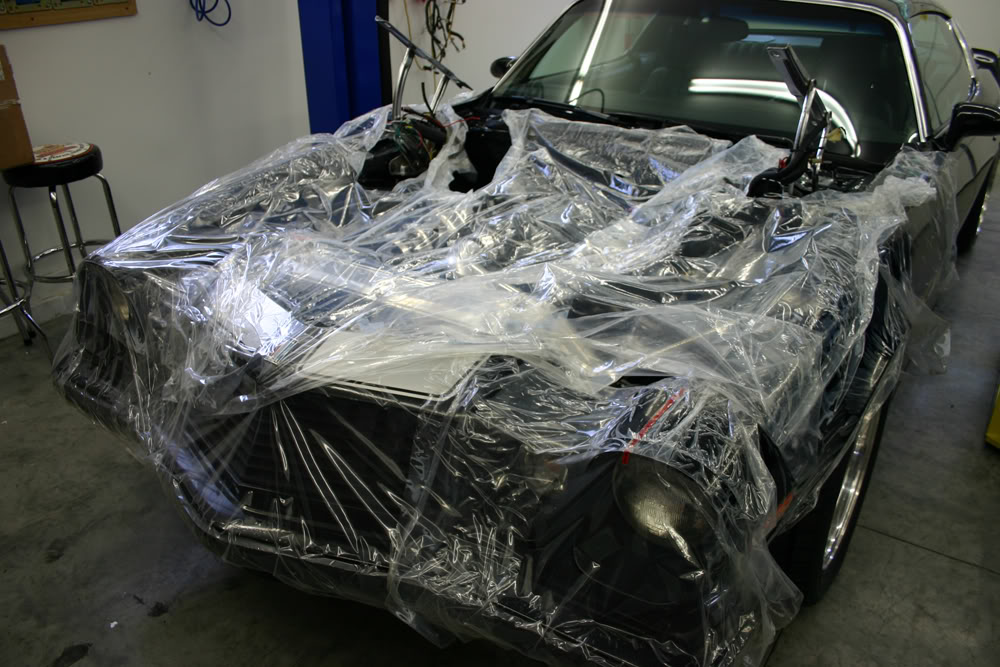
My friend Reese and I picked up the Camaro today. It has not rained in the morning for at least a month, but, of course, it did today. To protect the fenders while they are working on the car, Kooks uses this 3M plastic that has an adhesive on one side. It comes in 3' x 100' rolls. They had it on the fenders and, to protect the motor, we also stuck some on the entire front end of the car. It worked. NASCAR teams use it. I will have to get some of this.
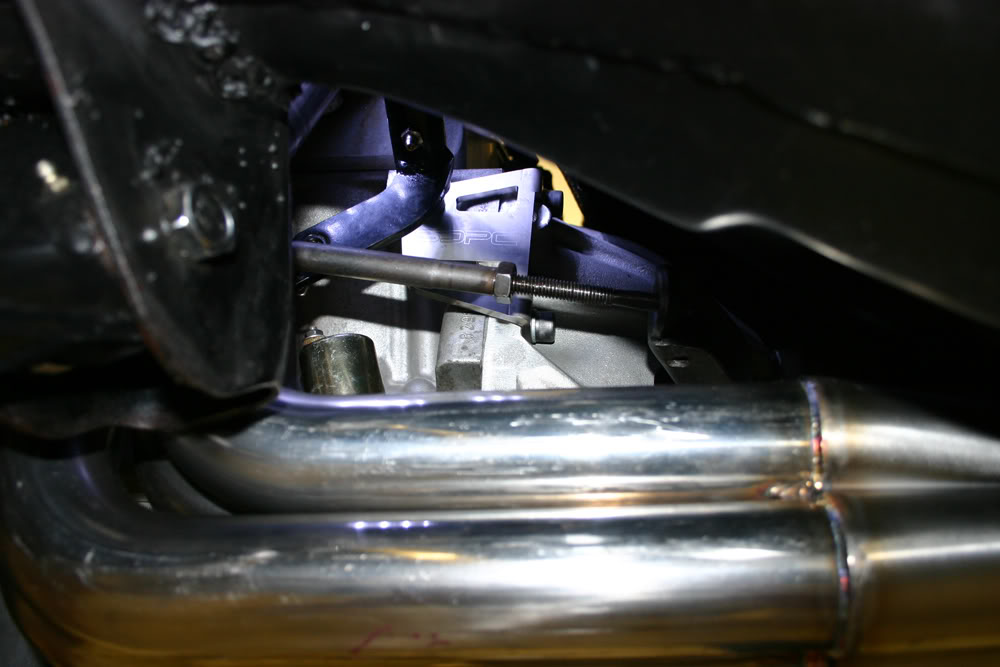
Both Reese and I were very pleased with how the exhaust turned out. It is a full 3" stainless steel from front to rear and it fits perfectly.
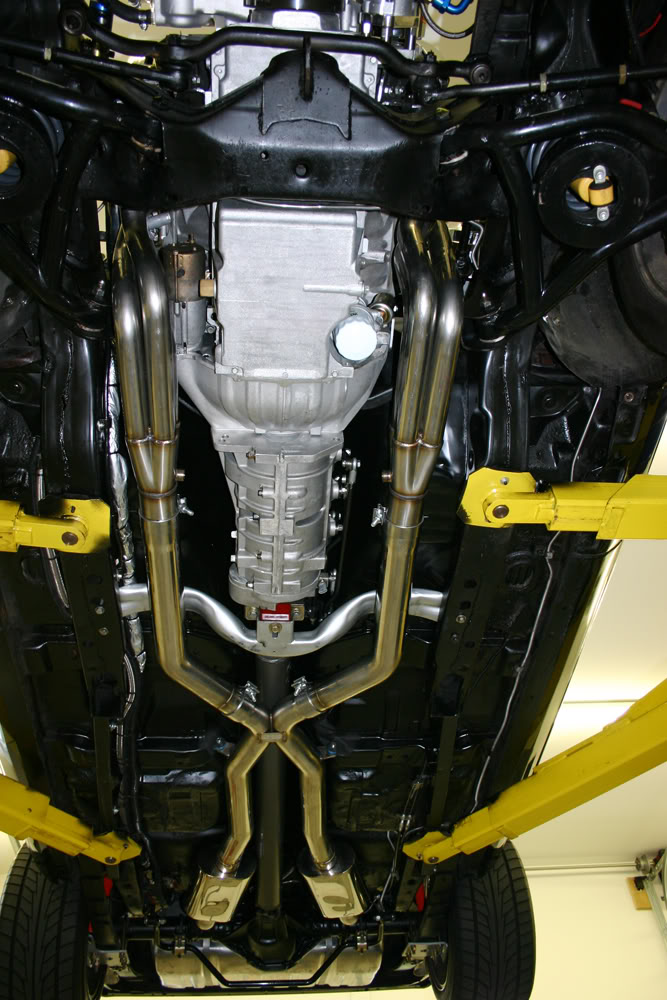
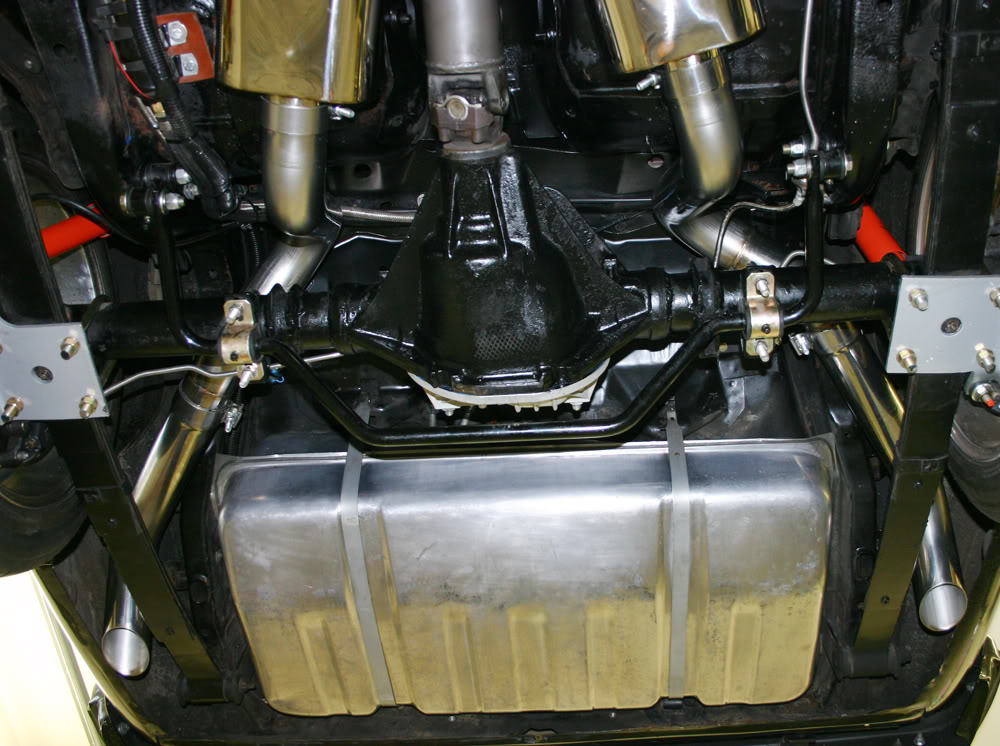
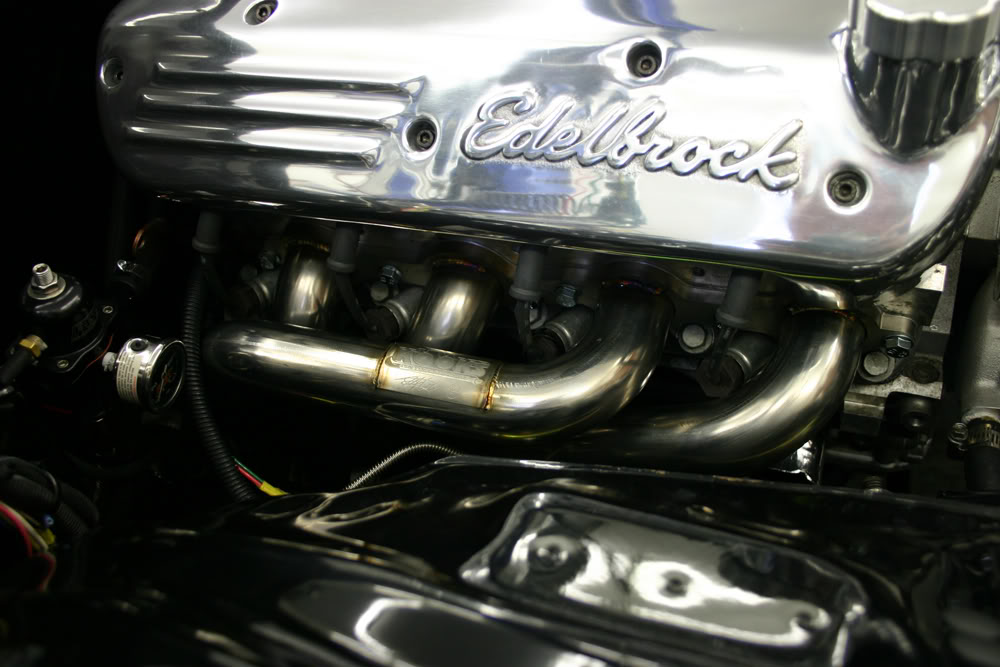
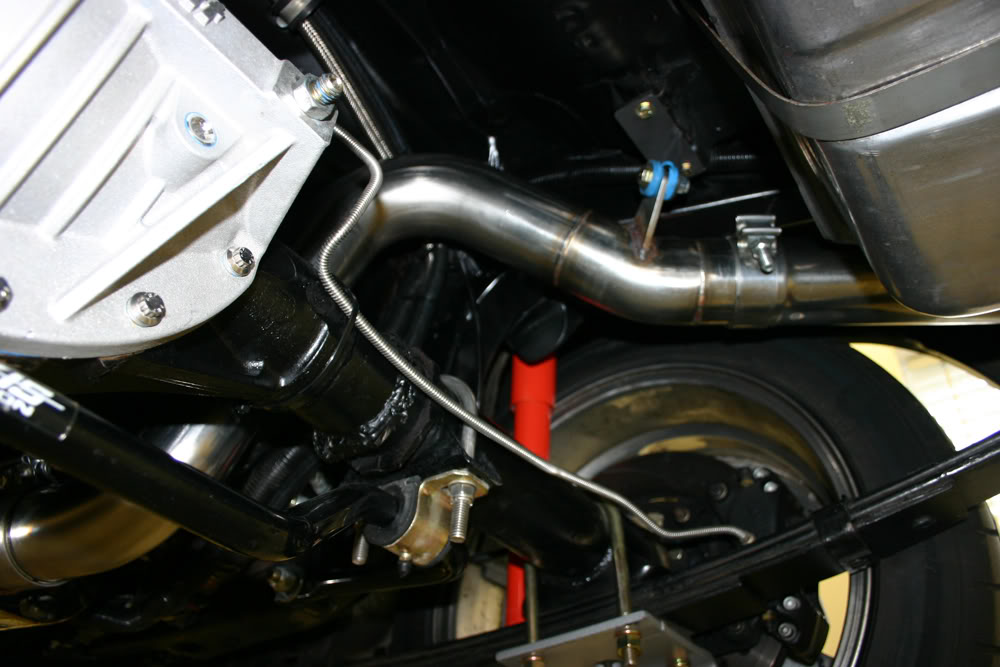
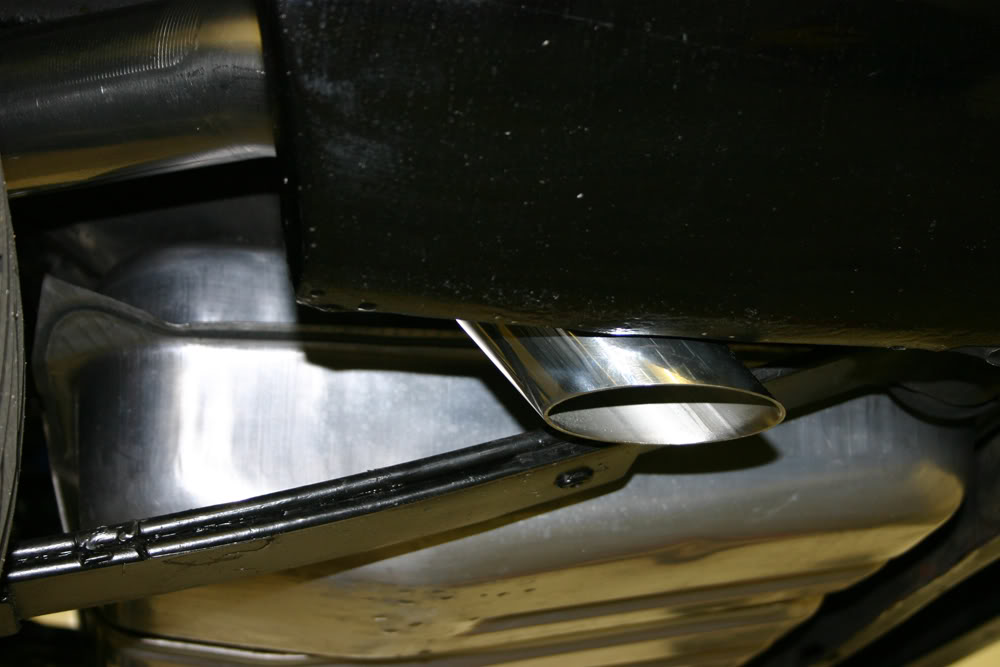
Both Reese and I were very pleased with how the exhaust turned out. It is a full 3" stainless steel from front to rear and it fits perfectly.
#55
08-05-2011, 09:33 PM
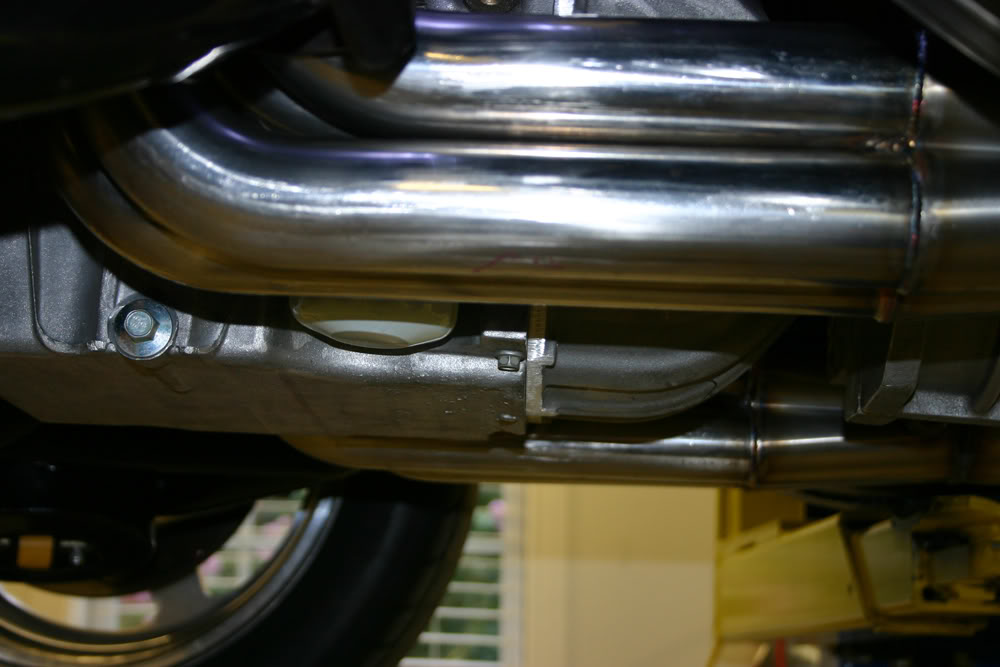
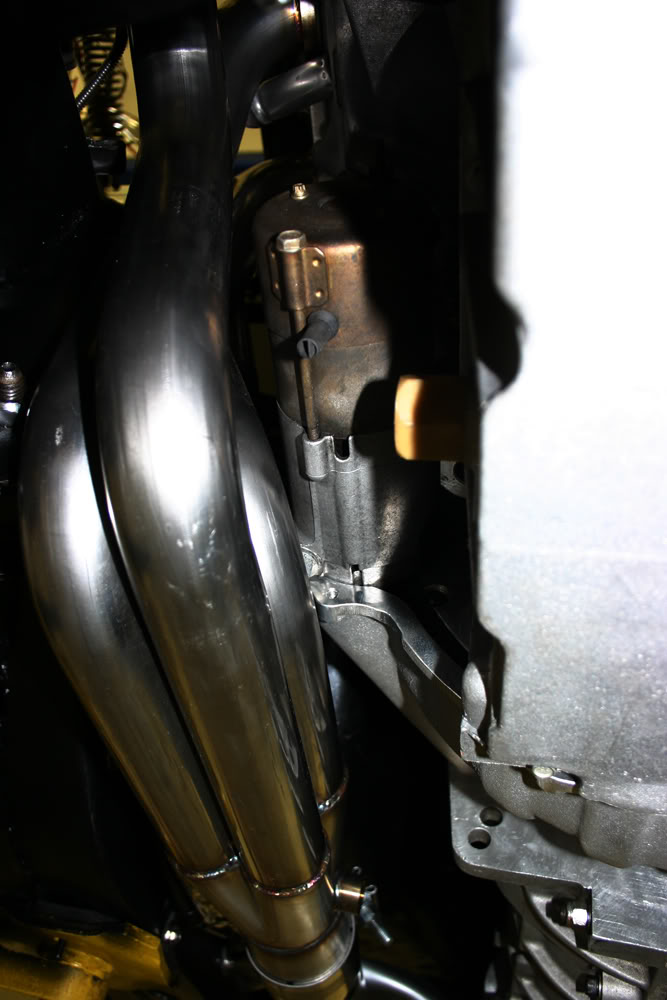
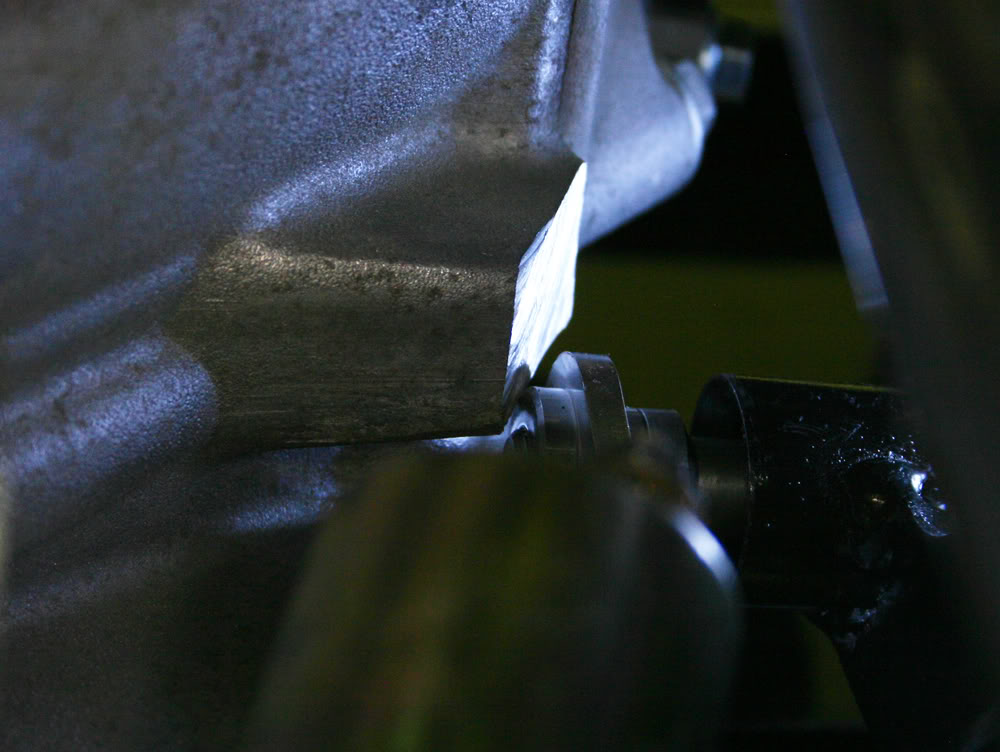
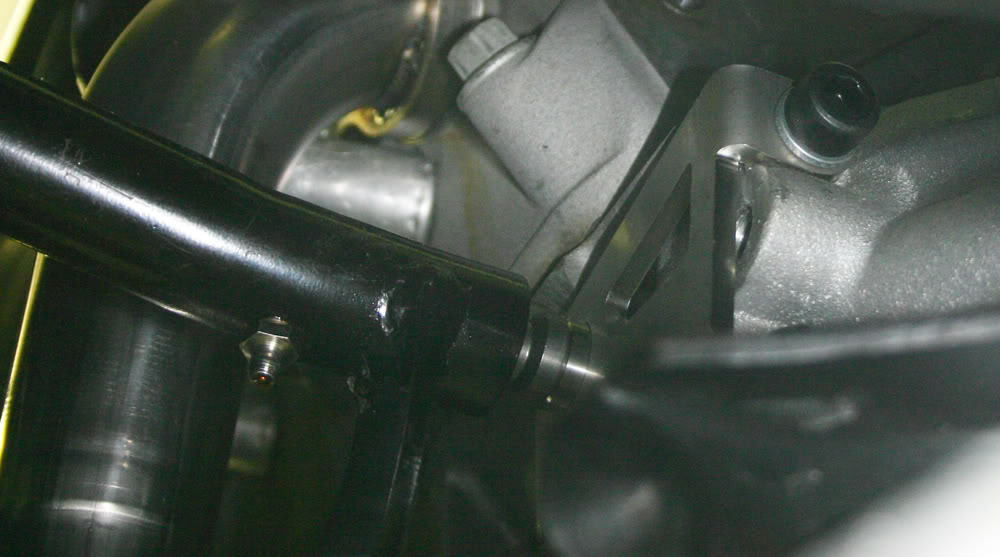
Since the pivot ball adapter for LS motors arrived late, Kooks installed it so they could design the headers. To mount the adapter, you remove two bolts on the bellhousing. However, once the adapter was mounted, there was interference from a square block of aluminum on the side of the block. It was about 1" square and deep. Part of this block would need to be removed before the adapter would fit. The sales manager at Kooks has a friend at GM with much knowledge of the LS motors. He called him to see if there were any issues with removing part of this block. The GM guy assured him that he could cut away. You can see the results in one of the photos below.
http://i188.photobucket.com/albums/z...votball2sm.jpg
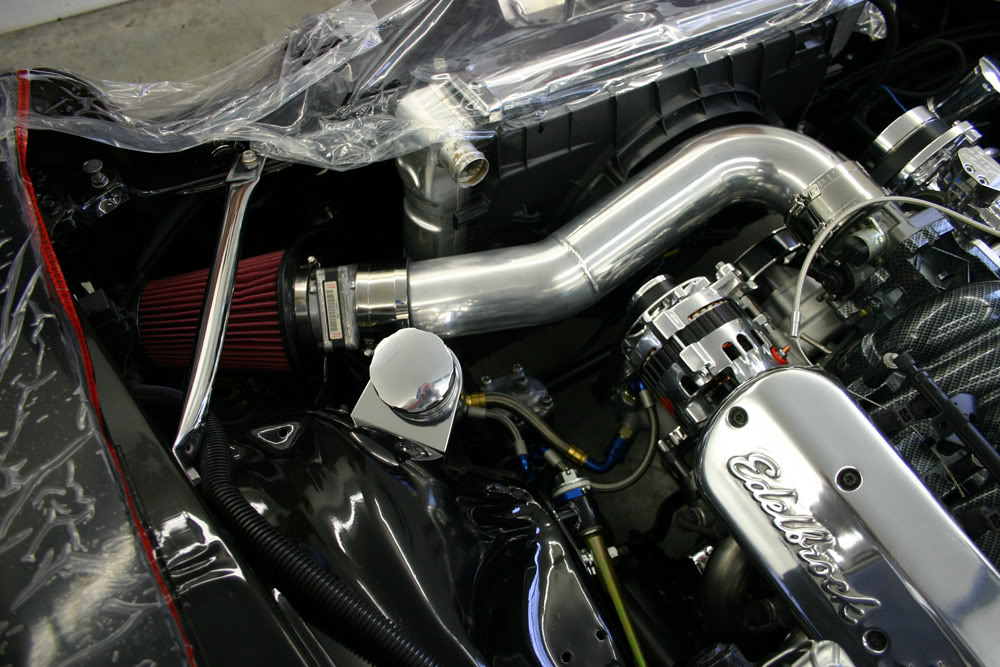
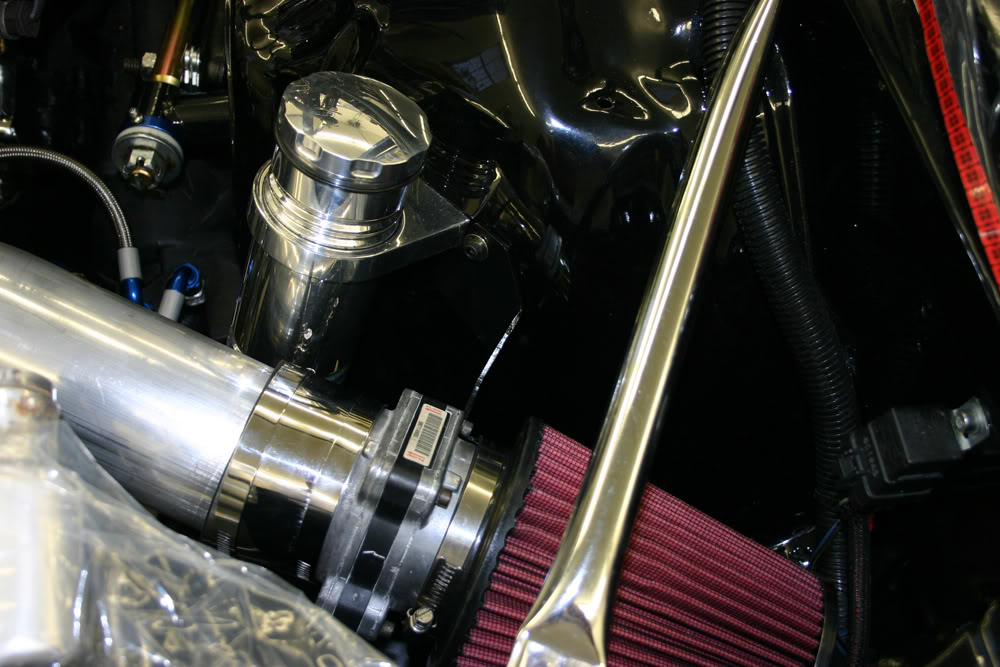
Kooks also fabricated the air intake from 5" aluminum pipe.

http://i188.photobucket.com/albums/z...votball2sm.jpg
Kooks also fabricated the air intake from 5" aluminum pipe.
#56
08-05-2011, 10:07 PM
Kooks always takes photos of their projects. They put all 67 of them on a disc for me. If you are interested, you can see them at:
Kooks Custom Headers Photos of 1977 Camaro pictures by jerhofer - Photobucket
I cannot say enough about how they treated me on this whole project. They had a Camaro convertible for Travis Kvapil along with a Mustang "R" race car driven by Jack Roush, Jr sitting in their shop area today. They commonly have cars there that are owned by big hitters.
In spite of dealing with these types of people, they treated me like a long lost friend every time I visited. And that treatment began with the receptionist, Kerrie. Both George, the sales manager, and Mark, the salesman who I initiated this project with, were always helpful. Everyone always had very kind words about the car which are always appreciated.
Today, I was told a very personal story that I cannot share. The story showed that the people who run Kooks are great family people who take care of people where there is a crisis. After hearing the story, I came away with even more respect for the organization.

#58
08-06-2011, 02:14 AM
Artwork, pure and simple. Dare I ask what this cost? I know its kind of tacky to ask, but this is a far cry from the run of the mill exhaust shop I use. Any way after seeing what they can do and how you were treated. I would buy my headers there if i were doing the swap.
#59
08-06-2011, 06:02 AM
Artwork, pure and simple. Dare I ask what this cost? I know its kind of tacky to ask, but this is a far cry from the run of the mill exhaust shop I use. Any way after seeing what they can do and how you were treated. I would buy my headers there if i were doing the swap.
In the past, they have been very heavily involved with current Corvette's, Camaro's, Mustang's and other performance cars as well as the drag race and NASCAR scene. They are just now getting into the older cars and the swap scene. Expect to see more offerings for older cars from them. Mark, the salesman I have been speaking with, came from Detroit Speed so he brings that experience.
When I told George, the sales manager, that I had never heard of them before this project, he smiled and said that the were the fourth largest header manufacturer and was happily speculating about their prospects after they had increased their name awareness.
#60
08-06-2011, 06:24 PM
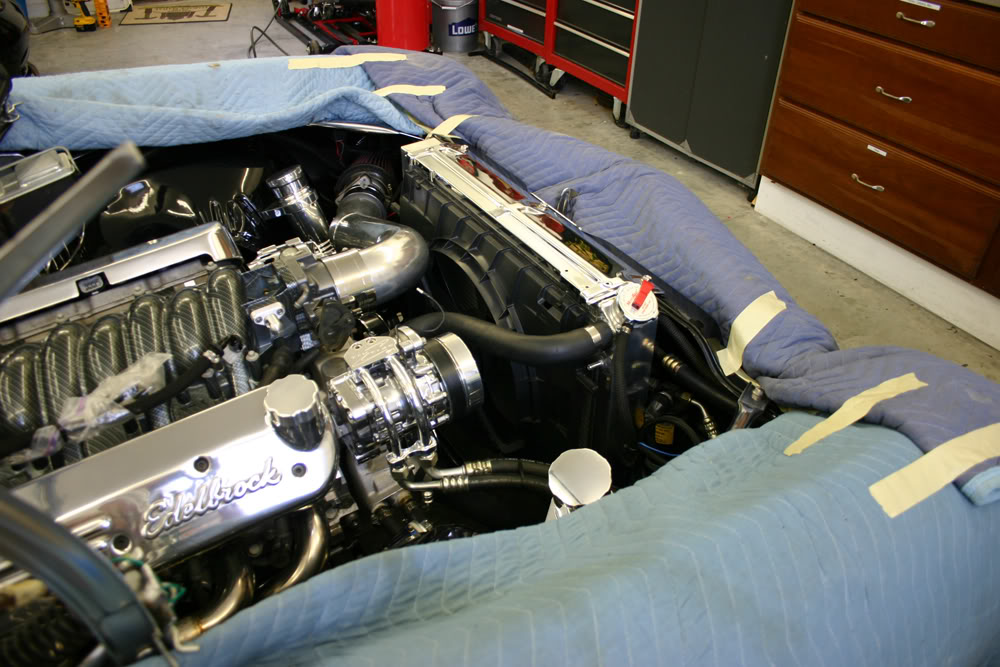
I didn't get as much done today as I had hoped. I discovered the new radiator was slightly thicker than the old one.
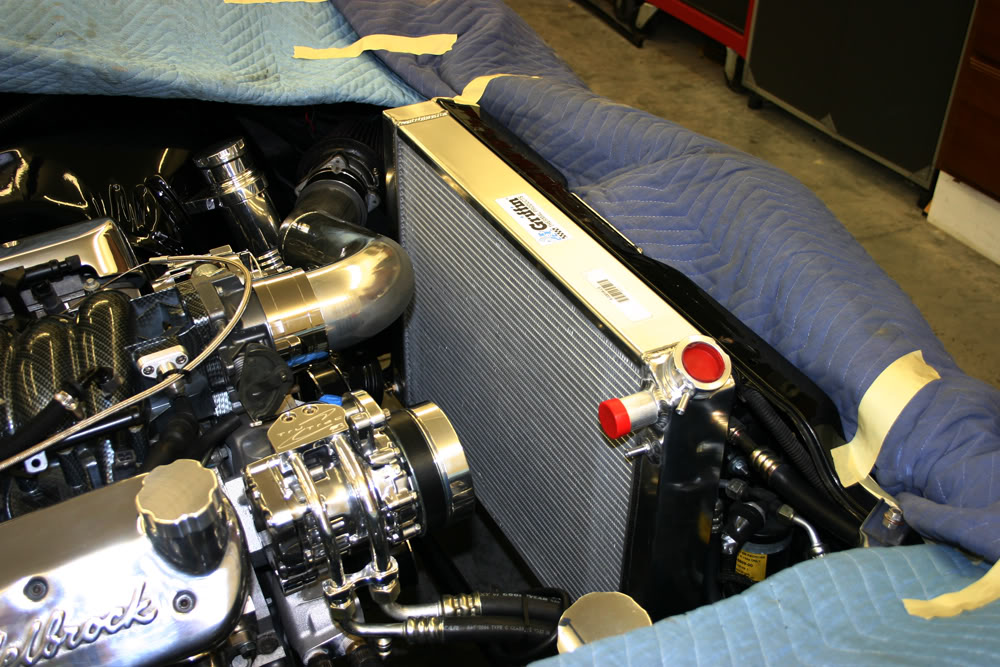
This meant I had to hog out the holes on the chrome radiator support cover. I got carried away and had to get a new one. Fortunately, NPD has a store in Charlotte and they had one in stock. But I wasted an hour and a half getting it. And then my buddy called and needed help with his motorcycle.
I finally got the holes enlarged and the cover fitted.
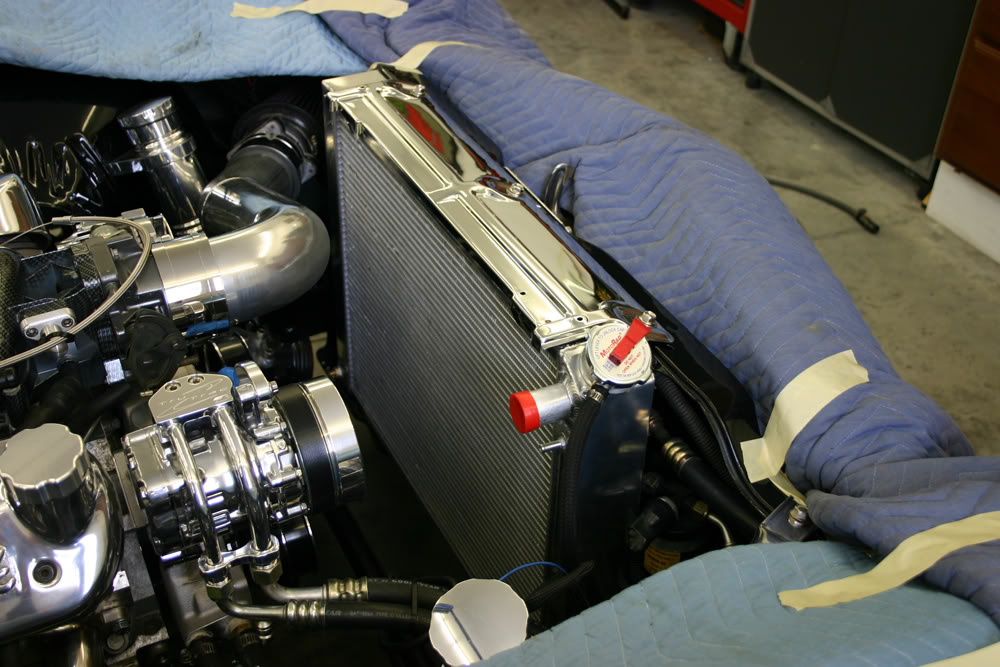
Next up was installing the fan.
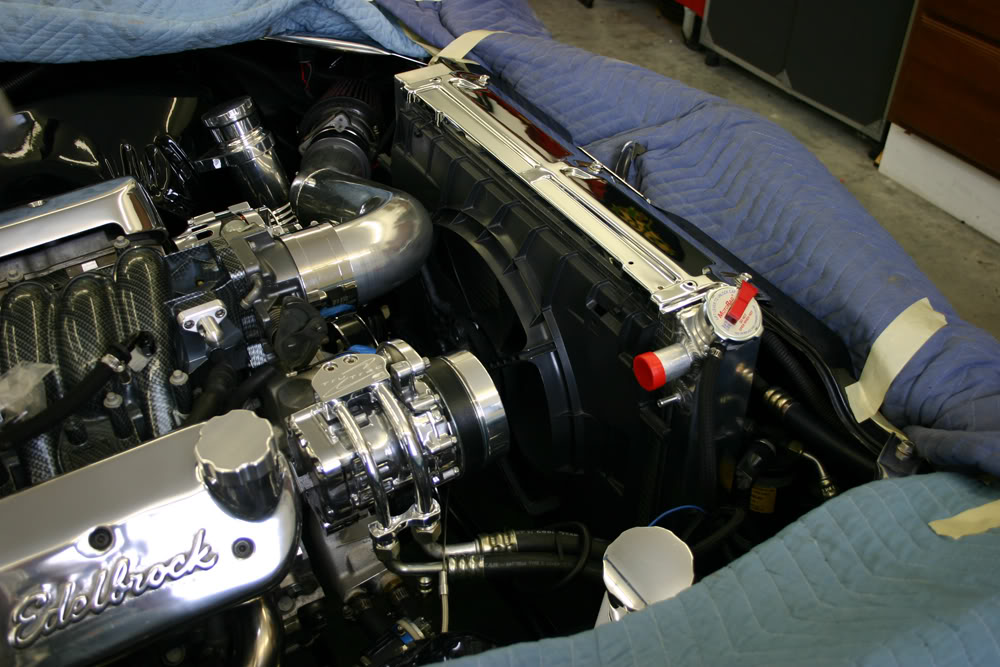
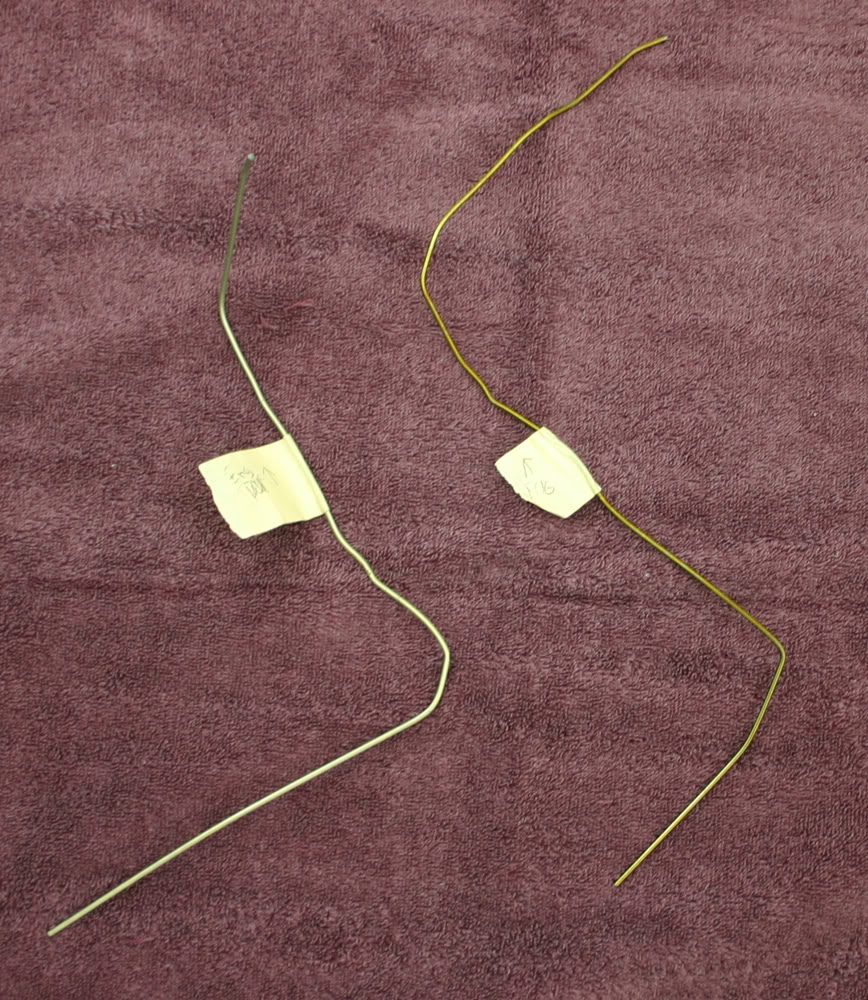
Now it was time to figure out the hose sizes. I got a couple coat hangers and cut and shaped them to simulate the hose sizes.
I then spent about an hour at the local AutoZone looking at radiator hoses. I found one that I was sure would work for the upper hose and two prospects for the lower hose.
After cutting a couple inches off the upper hose, it fit perfectly.
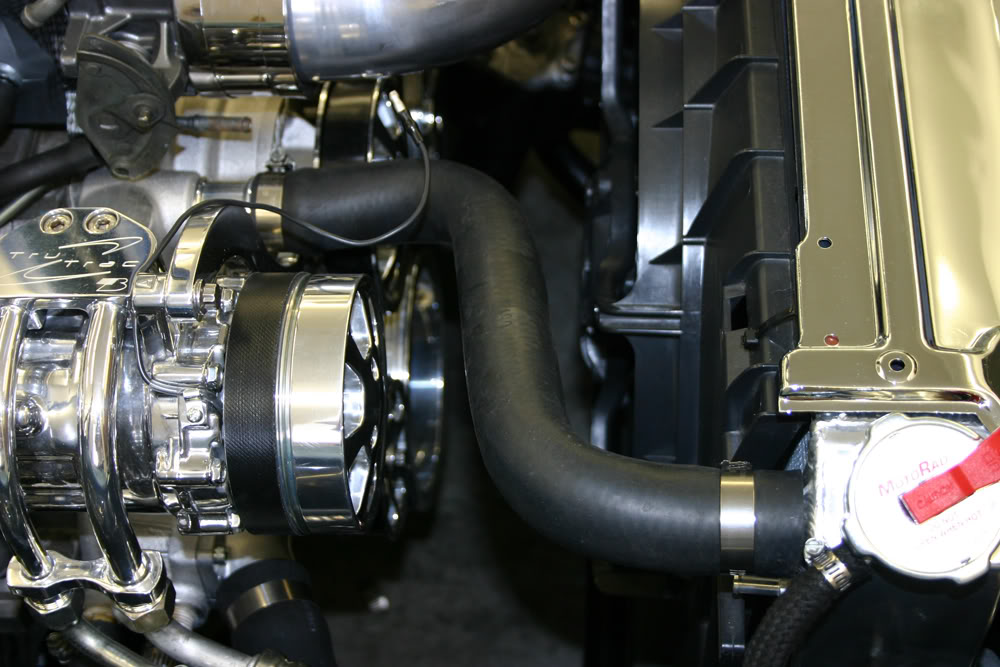
The bottom hose was a bit more of a challenge. I ruled out the one hose and then had to cut out a section of the second hose. After some cutting and trimming, it worked well.
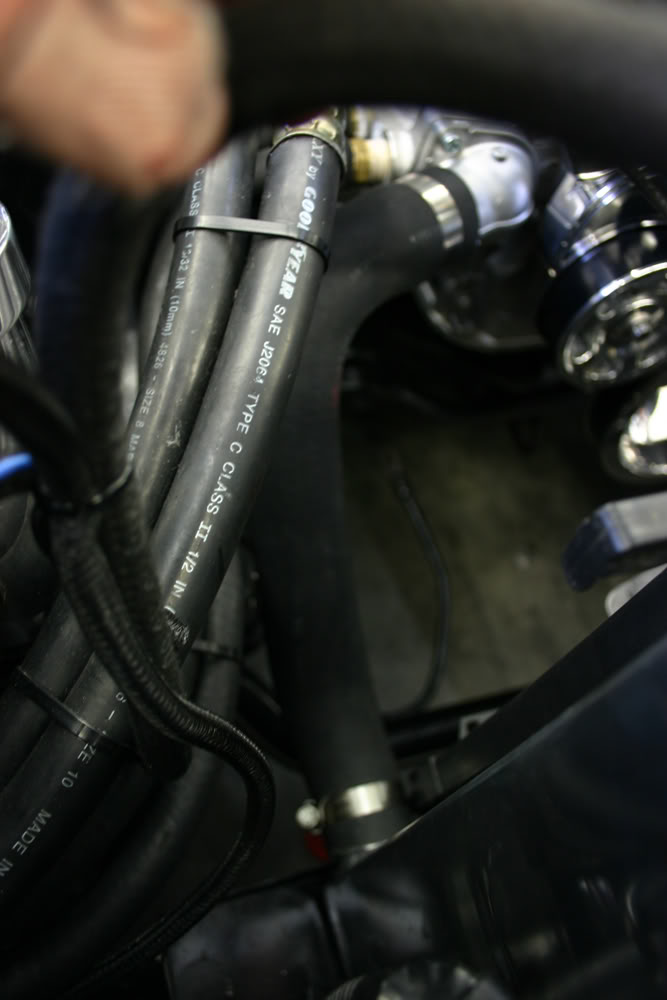
They look factory which was the intention. The lower hose was a Dayco #72088 and the upper hose was a Dayco #71951.
Next up is installing the new fuel rails. It will probably be Monday as Sunday is usually 'wifey" day. We try to do something together even if it is only going out to eat. It looks like it will be too warm to hike, an activity we enjoy.
This meant I had to hog out the holes on the chrome radiator support cover. I got carried away and had to get a new one. Fortunately, NPD has a store in Charlotte and they had one in stock. But I wasted an hour and a half getting it. And then my buddy called and needed help with his motorcycle.
I finally got the holes enlarged and the cover fitted.
Next up was installing the fan.
Now it was time to figure out the hose sizes. I got a couple coat hangers and cut and shaped them to simulate the hose sizes.
I then spent about an hour at the local AutoZone looking at radiator hoses. I found one that I was sure would work for the upper hose and two prospects for the lower hose.
After cutting a couple inches off the upper hose, it fit perfectly.
The bottom hose was a bit more of a challenge. I ruled out the one hose and then had to cut out a section of the second hose. After some cutting and trimming, it worked well.
They look factory which was the intention. The lower hose was a Dayco #72088 and the upper hose was a Dayco #71951.
Next up is installing the new fuel rails. It will probably be Monday as Sunday is usually 'wifey" day. We try to do something together even if it is only going out to eat. It looks like it will be too warm to hike, an activity we enjoy.