
79 Camaro Project
#731
 07-02-2012, 07:18 PM

I pulled the passenger side control arms off of the parts car tonight and cleaned them up and painted them. Tomorrow I'll do a bit of detail painting on them and pull the suspension off of the project car and put this stuff on it. The 4th of July should finish the suspension swap out, I'll even get the steering stuff back on. At that point I'll be back to waiting on bodywork and an engine to get finished.
One thing is for sure, I"m getting really good at taking springs in and out. It really isn't a big deal at all.
One thing is for sure, I"m getting really good at taking springs in and out. It really isn't a big deal at all.

#733
07-03-2012, 12:25 PM

Join Date: Aug 2008
Location: Portland, Or
Posts: 9,097
That's what I usually do anyway, as pushing and steering doesn't work too well alone. I usually roll the tire by hand and turn it as I need.
#735
07-03-2012, 03:44 PM
Join Date: Aug 2008
Location: Portland, Or
Posts: 9,097
Depends on whether I'm pushing it forwards or backwards! With 10 degrees of negative kingpin angle it is set up to straighten itself when I let go of the steering wheel, so backing up I get a similar "flop" to the wheels, like a rail does. That makes the tires drag a bit in reverse, so pushing it back with wheels straight is great, but the more they turn the harder it is to push.
#737
07-03-2012, 07:28 PM
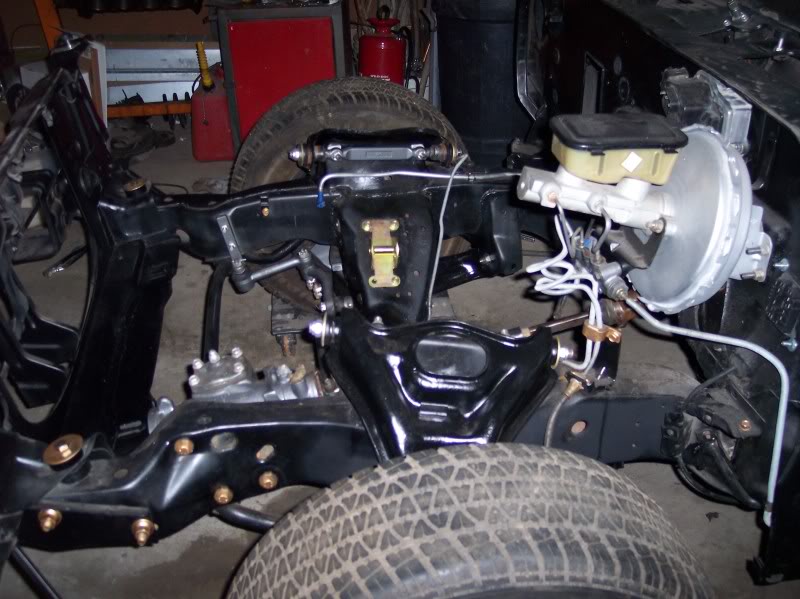
Spent a couple of hours tonight and pulled the passenger Sid control arms off of the car. I vacuumed out the subframe from all the sand in there also. I managed to get nuts on all of the front sway bar bolts too, they only thread into the frame! I've not read that before... It could get crazy, makes me wonder about the rear sway bar? I may have to pull it off and drill a pilot hole through the trunk, use a hole saw to drill down again and put some nuts on them too if there isn't any. I also got the area under my control arms all cleaned up and paint too. Hope to get it back together tomorrow.
#738
07-04-2012, 05:53 AM
Join Date: Aug 2008
Location: Portland, Or
Posts: 9,097
My rear swaybar had nuts inserts welded into the frame to bolt into. I've added swaybars to a couple friend's Camaros in the rear and just holesawed an access hole to the outside of the frame to be able to slide nuts inside the frame for attaching the swaybar. Then used KO seals and RTV to seal the holes afterwards.
Just center the hole between the two mounting holes and you can easily reach both from one access hole.
Just center the hole between the two mounting holes and you can easily reach both from one access hole.
#739
07-04-2012, 09:38 AM
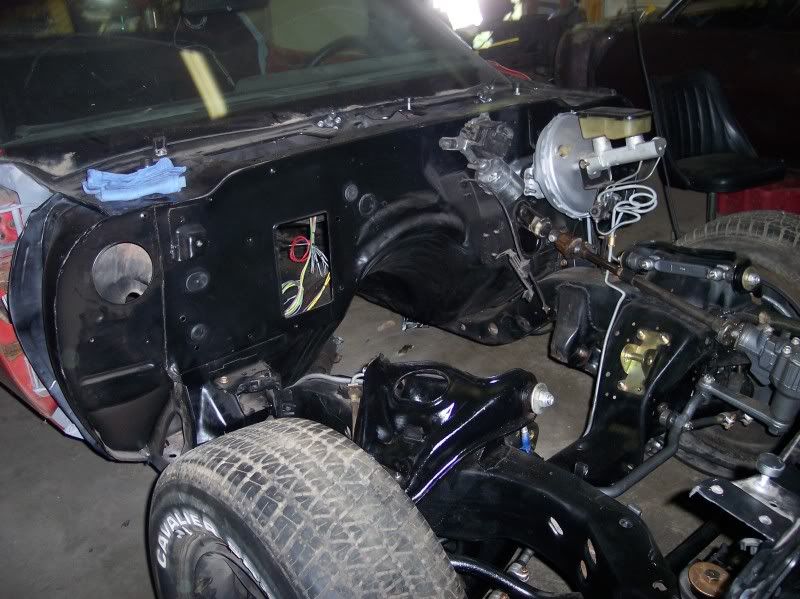
Finally finished with the control arm swap out. I initially did not do this because I thought that it would take too long and that I had an engine on the way. The engine is delayed a bit, no big deal, I'm sure I will be able to find plenty of things to keep me busy. Really bodywork needs to happen, and the windows need cleaned up and urethaned in, everything could use a good wipe down, I could soundproof the interior, gut the doors and clean the tracks up... Plenty of things to get crazy about. I also got the parts car control arms and some old springs I had laying around installed, I ruined a couple of the nuts in all of this swapping around of parts, so I was not able to fully get the steering linkage installed in the parts car, I'm sure something will come up, I would like for the wheels to work together so I am able to push the thing around. So here is another milestone completed for me, front end is completely rebuilt with new stuff.
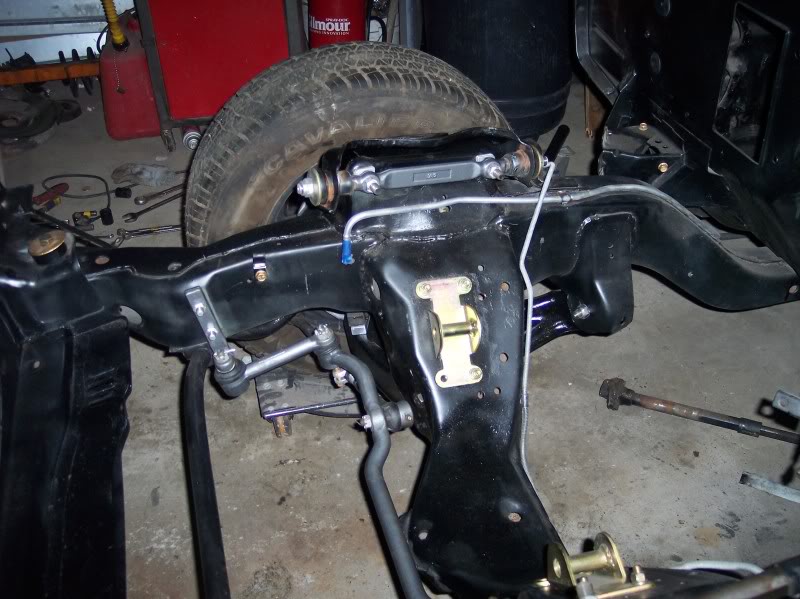
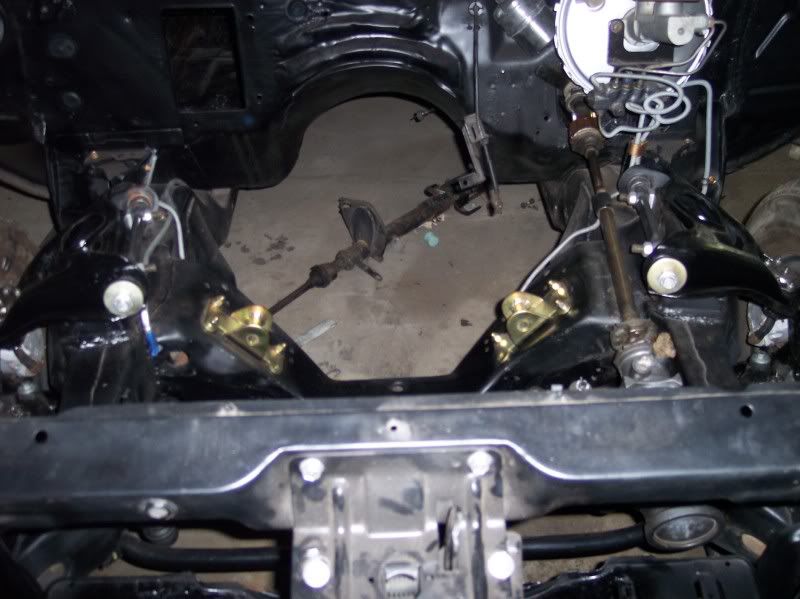
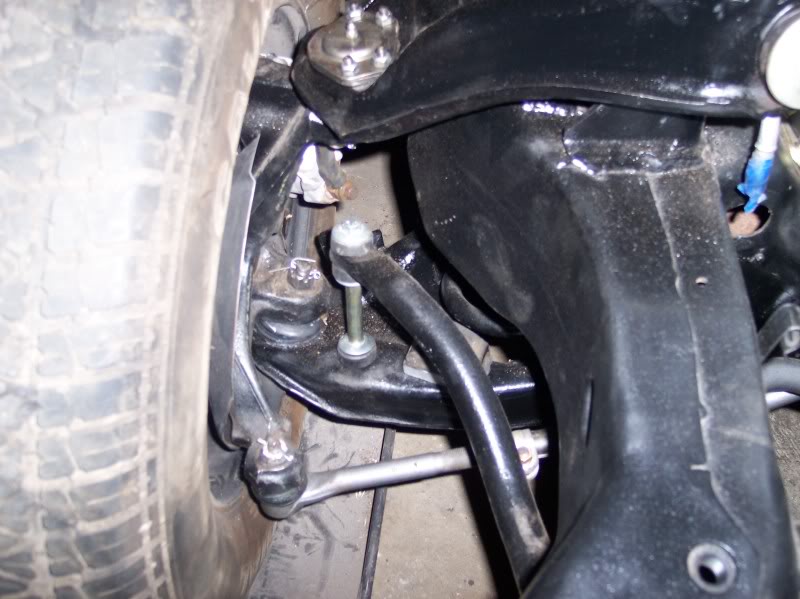
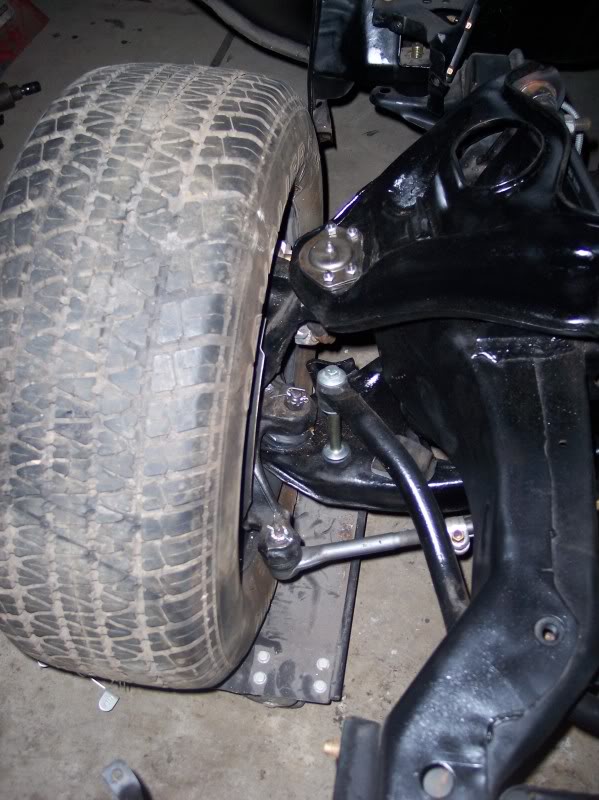

And this is where it sits right now. I need to spend a day cleaning the garage again.
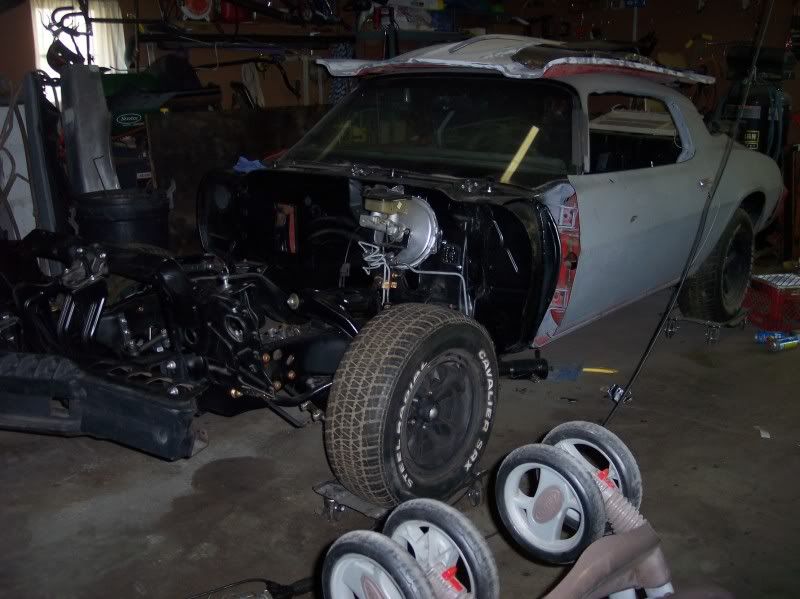
And this is where it sits right now. I need to spend a day cleaning the garage again.
#740
07-04-2012, 09:40 AM
My rear swaybar had nuts inserts welded into the frame to bolt into. I've added swaybars to a couple friend's Camaros in the rear and just holesawed an access hole to the outside of the frame to be able to slide nuts inside the frame for attaching the swaybar. Then used KO seals and RTV to seal the holes afterwards.
Just center the hole between the two mounting holes and you can easily reach both from one access hole.
Just center the hole between the two mounting holes and you can easily reach both from one access hole.