79 Camaro Project


Overdrive Member
Joined: Nov 2009
Posts: 4,848
From: off the grid
If you plug the vent you can get a vented cap. If not then when you pull fuel to the carb, there will be no air getting. Like chugging a plastic water bottle and it collapses as there is nothing but vacuum.
Thread Starter
|
3rd Gear Member
Joined: Sep 2009
Posts: 1,062
From: Morris, IL
I understand, mainly I was looking for a neat way to terminate the extra holes. Really now I want to leave the vent open for filling up.
Overdrive Member
Joined: Nov 2009
Posts: 4,848
From: off the grid
Here's a left field approach.
Air tool muffler on the end of a compression fitting.


Tighten the compression fitting on the vent tube and thread the muffler into it. It will let air in and out and block some dirt. A filter would be better. I was just reading a tech article in CHP that was talking about a vent filter. The writer said he cleans his regularly because the vent is sucking air in along with dirt witch gets into the gas. Never thought of it myself, I have seen many filters on fuel cells. I just though they were a neat way to terminate the hose.
Air tool muffler on the end of a compression fitting.
Tighten the compression fitting on the vent tube and thread the muffler into it. It will let air in and out and block some dirt. A filter would be better. I was just reading a tech article in CHP that was talking about a vent filter. The writer said he cleans his regularly because the vent is sucking air in along with dirt witch gets into the gas. Never thought of it myself, I have seen many filters on fuel cells. I just though they were a neat way to terminate the hose.

Second Generation Moderator
Feb 2010 ROTM winner
Jan 2013 ROTM winner
Feb 2010 ROTM winner
Jan 2013 ROTM winner
Joined: Aug 2008
Posts: 9,097
From: Portland, Or
ROTM Winner's Club
On my Camaro, and my Austin gasser I ran the line up as high as I could and then attached the end with a grommeted strap. After that I put the ffuel filter in the end of the line. On the Austin my vent line has a trap I bent into the vent line so that it could not siphon if the car ever got ruber side up, then the vent is under the car and below the tank. That keeps the line from sloshing any gas out, but with the end below the tank it will be above the tank if the car rolled over.
Thread Starter
|
3rd Gear Member
Joined: Sep 2009
Posts: 1,062
From: Morris, IL
I like that alot. I'll go that route, run it up my neck, probably make the u-turn with hard pipe and back down again. Won't need a vented cap that way either.
On my Camaro, and my Austin gasser I ran the line up as high as I could and then attached the end with a grommeted strap. After that I put the ffuel filter in the end of the line. On the Austin my vent line has a trap I bent into the vent line so that it could not siphon if the car ever got ruber side up, then the vent is under the car and below the tank. That keeps the line from sloshing any gas out, but with the end below the tank it will be above the tank if the car rolled over.
Thread Starter
|
3rd Gear Member
Joined: Sep 2009
Posts: 1,062
From: Morris, IL
The oldest daughter hung out with me today in the garage, it was a good time spending time with her. I think that she learned alot and at one point asked me if I were a perfectionist? lol.
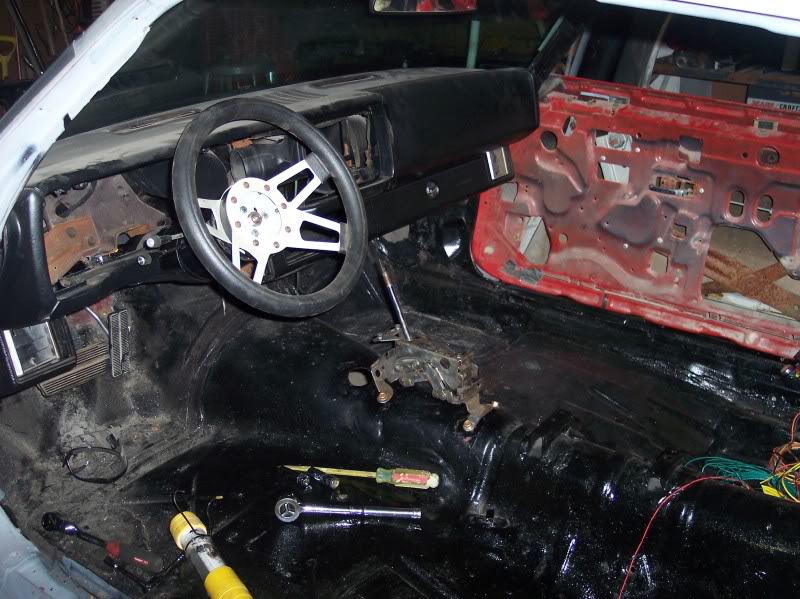
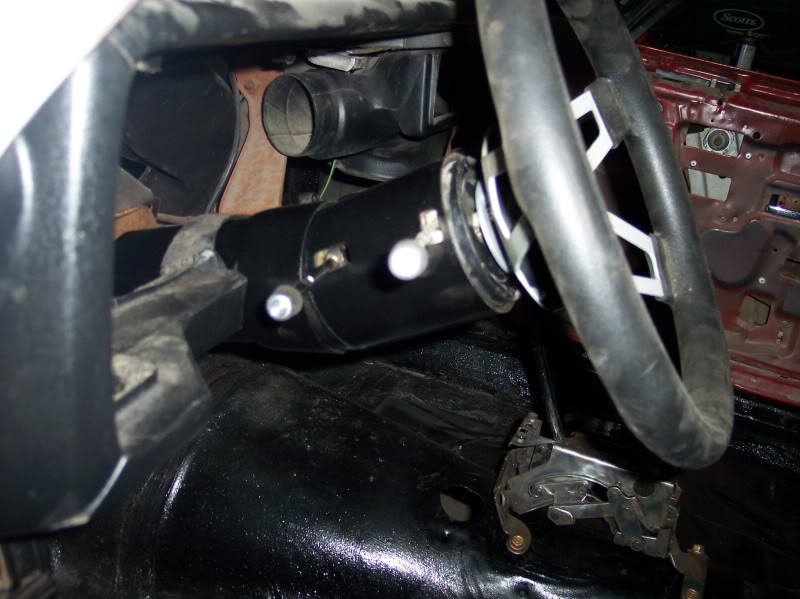
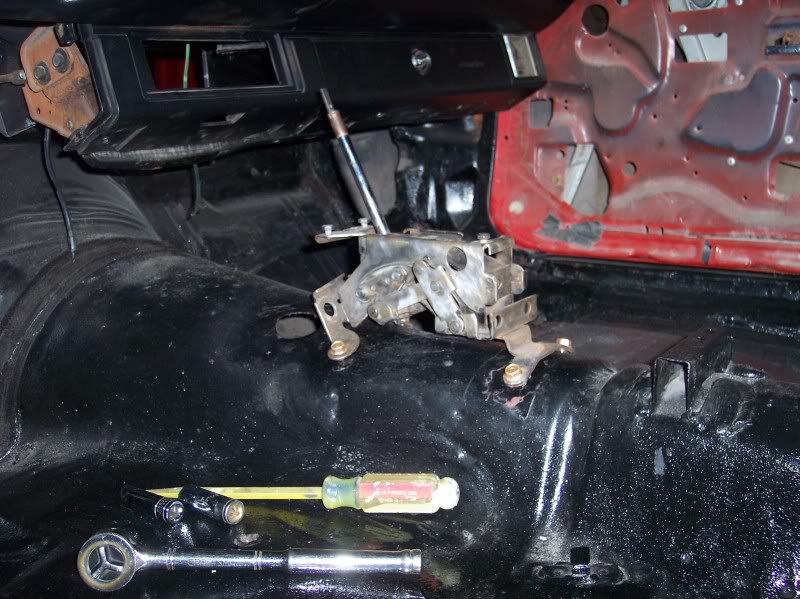
I got the tilt steering column all cleaned up and painted today, it is nice having that done, and put back in, I also put the shifter back in after cleaning that all up, I'll leave the cable out for now, I'd like to get a new one before I get it running, but I've got two of them that are just fine, but not super nice is all.
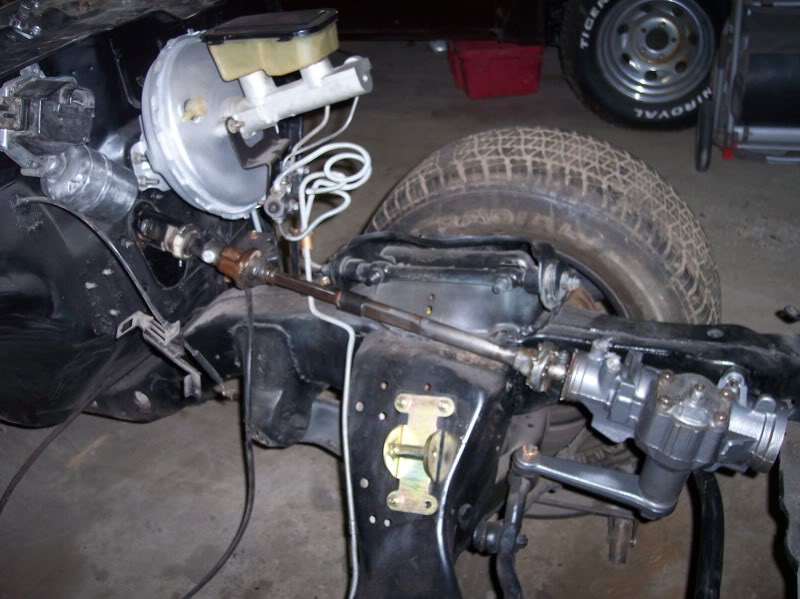
Tomorrow I am going to pull the steering linkage and tie rods etc off and clean them all up and paint them a different color, probably the same color as the gearbox.
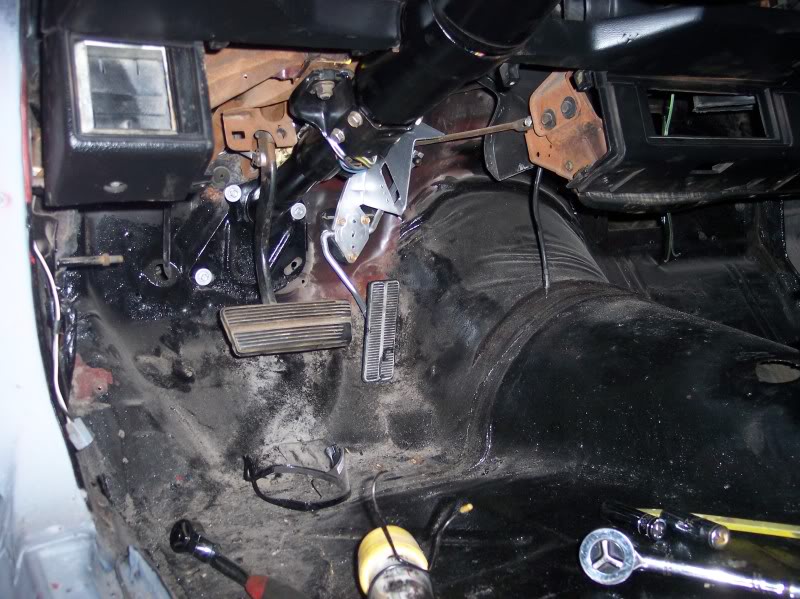
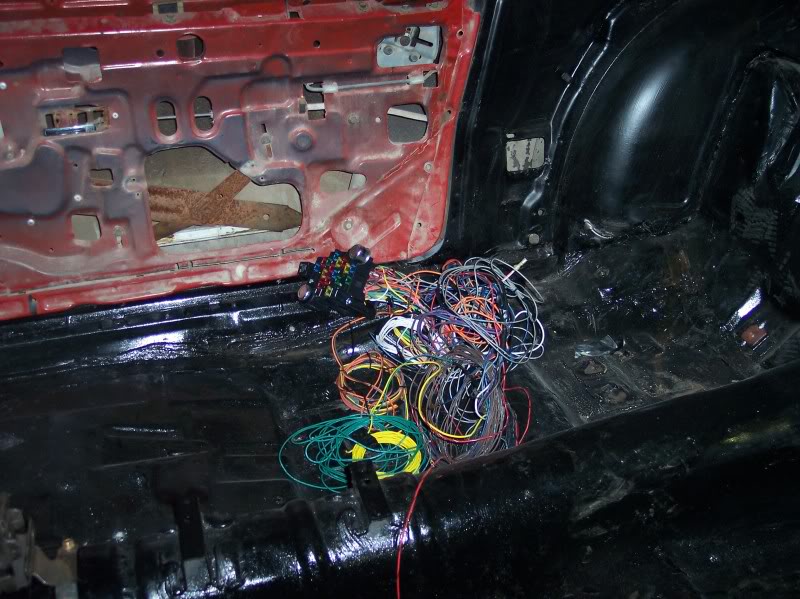
Here is going to be a big project, installing this wiring harness and sorting it all out.
I got the tilt steering column all cleaned up and painted today, it is nice having that done, and put back in, I also put the shifter back in after cleaning that all up, I'll leave the cable out for now, I'd like to get a new one before I get it running, but I've got two of them that are just fine, but not super nice is all.
Tomorrow I am going to pull the steering linkage and tie rods etc off and clean them all up and paint them a different color, probably the same color as the gearbox.
Here is going to be a big project, installing this wiring harness and sorting it all out.
Second Generation Moderator
Feb 2010 ROTM winner
Jan 2013 ROTM winner
Feb 2010 ROTM winner
Jan 2013 ROTM winner
Joined: Aug 2008
Posts: 9,097
From: Portland, Or
ROTM Winner's Club
Which fuse block/harness did you end up getting? Is it a universal, or set up for a GM column? A universal will make it tougher, but a GM friendly will make things much easier when doing the column and turnsignal setup.
I used a Painless system on my friend's car with his GM tilt column and it had wiring and plug in connectors that really made wiring it easy. On my car I used the universal, but I have a generic turnsignal switch, so the universal worked better.
I also made up all my harnesses from the front bumper area, and rear tailight areas first. Then routed them into the cowl area for final splicing. Made the final hookup very easy by having the two harness all finished and marked on the ends. After prewiring all my gauges, I connected everything into the harness and it was done. Don't forget to run a couple extra wires in the harness to the rear also! It will save some headaches and hassle if you ever add an electric pump or anything else at the rear!