
1973 Z28 project rusty gold.
#201
 12-03-2011, 07:26 PM


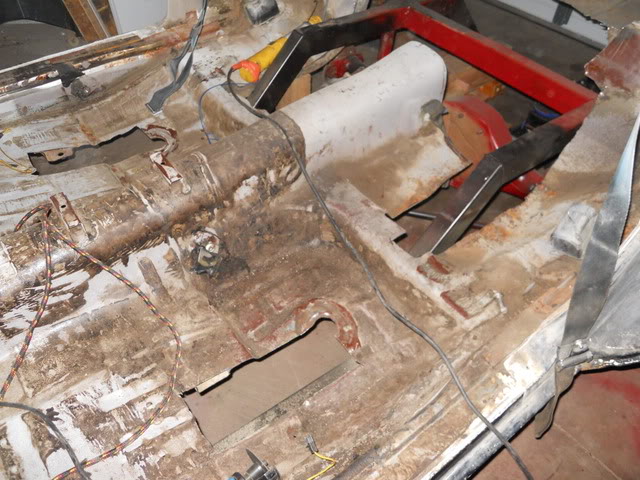
Sorry it's taken me so long to get pics up guys my computer has stopped working now but these pics where a day after my last post. And note when I said I got the frame under the car I ment under it lol I still haven't gotten it mount yet but I've gotten it fitted some more plan to get it on sunday or monday.
#202
12-07-2011, 11:42 AM
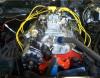
Well my diesel engine fired at school on monday, tore it down completely and built it back up though the semister.
Took me and my engine partner around 3 hours to get it fired, first we thought it was sucking air so we cracked and bled all the lines about 4 times and primed the heck out of it and that didn't work then we checked the fuel filters which we had one filter in wrong, fixed that and it still wouldn't run so we checked the fuel pump cam timing which was the problem.
The fuel pump is supposed to have an automatic timing advance unit on it which moves a helical cut gear in and out using flyweights with RPM but ours has been missing since the collage has had it so we had to guess either to time it with the gear out or in and when we were putting the engine together we had it out and apparently it needed to be in which we didn't know at the time and our instructor said should be the right way with it in the out posistion, lol he tends to mislead so we learn stuff through trouble shooting which isn't all bad. but once we retimed it with the advance gear in it ran great he said it was about perfect so we didn't even have to tune it any and thus my finals for engines class is complete!
But finals week is this upcoming week which means only 1 hour of school a day so I'm gonna work on the camaro!!!!
Hopefully it will actually be semi warm and above 10 degree's which would be nice since the weather has been detering me from getting anything done to it lately.

#204
12-07-2011, 12:48 PM

Join Date: Aug 2008
Location: Portland, Or
Posts: 9,097
Good luck! When you get to mounting the body to the frame, be sure not to weld the rear section to the frame! Make tabs or holes on the body and adjoining frame so you can bolt it in probably 4-6 places using hard rubber or poly biscuits between. That way if it needs to come off for paint, service, or repairs it can always be unbolted.

#208
12-08-2011, 10:35 AM
Join Date: Aug 2008
Location: Portland, Or
Posts: 9,097
I've used them too, but forgot about them until you brought it up. Good idea!
#209
12-25-2011, 02:34 PM
Merry christmas guys!
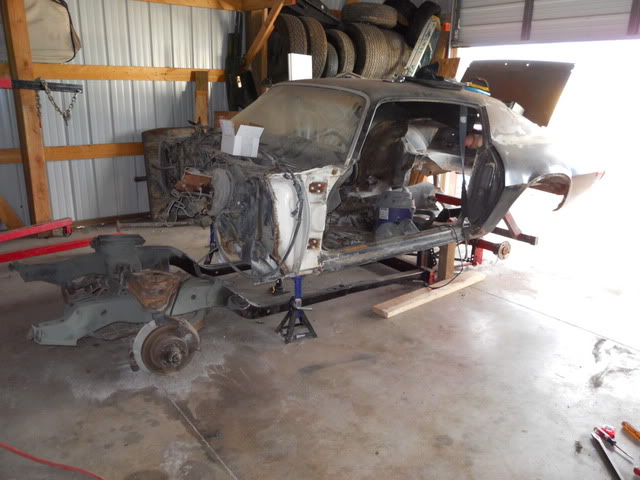
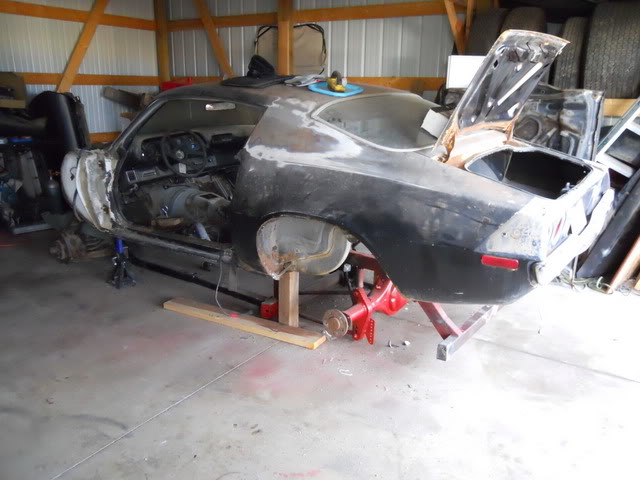
Got some work done on the car today, sat the body down on the frame I've confirmed what I thought with having to remove the rear frame rails for tire clearance. Maybe I'm doing everything wrong putting the cart before the horse building the body around the frame and rear end but it'll work out one way or the other.
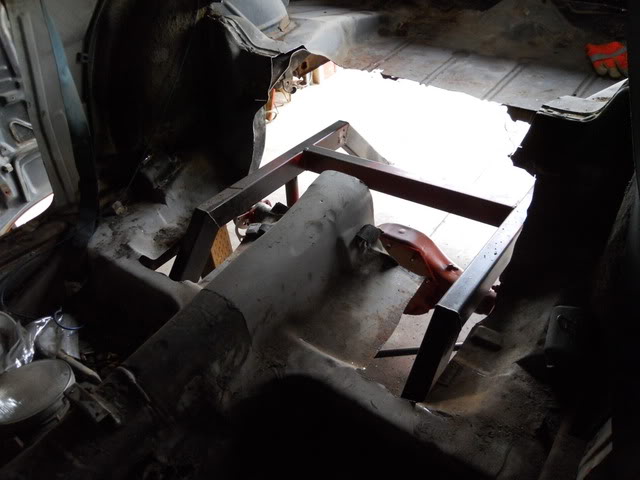
So here's where I'm sitting, the very front of the frame rails are sitting on the new frame keeping the body from sitting down all the way on the new frame so I can't get the body mounted untill I remove the front portion of the frame rails and I'm gonna have to remove most the frame rails for the tires to fit.
I want to mount the body to the frame before removing the frame rails so the body doesn't twist or some such so I'm thinking cut only what I need to get the body on the frame then tie the back end of the body to the new frame, I'm going to fab some shackles to mount from the back of the frame to where the back end of the spring shackles mount to the frame rails that way they can be unbolted.
Then I'll make a cross-brace going from the back of the frame into the trunk area I think that will make it solid enough so I can remove the frame rails, does this seem sound or should I reinforce it more before removing the frame rails and wheel wells?
Got some work done on the car today, sat the body down on the frame I've confirmed what I thought with having to remove the rear frame rails for tire clearance. Maybe I'm doing everything wrong putting the cart before the horse building the body around the frame and rear end but it'll work out one way or the other.
So here's where I'm sitting, the very front of the frame rails are sitting on the new frame keeping the body from sitting down all the way on the new frame so I can't get the body mounted untill I remove the front portion of the frame rails and I'm gonna have to remove most the frame rails for the tires to fit.
I want to mount the body to the frame before removing the frame rails so the body doesn't twist or some such so I'm thinking cut only what I need to get the body on the frame then tie the back end of the body to the new frame, I'm going to fab some shackles to mount from the back of the frame to where the back end of the spring shackles mount to the frame rails that way they can be unbolted.
Then I'll make a cross-brace going from the back of the frame into the trunk area I think that will make it solid enough so I can remove the frame rails, does this seem sound or should I reinforce it more before removing the frame rails and wheel wells?
#210
12-25-2011, 06:58 PM
Join Date: Aug 2008
Location: Portland, Or
Posts: 9,097
I'm not sure what you mean by fabbing shackles to mount the rear to the frame? You have a 4 link suspension I thought, so why would you use spring shackles? Or is this just wrong terminology you're using?
If you're thinking of using something like a spring shackle, but bolting one end to the frame and one end to the old shackle point, then I would rethink that. You don't want both ends bolted as that would allow it to move. You'll want one end welded solid, then bolt the other.
I would also tack weld some scrap steel to various points inside the body prior to cutting out the frame rails or much more sheetmetal. By triangulating the bracing you'll keep the door, trunk, and window openings from moving and giving you fits later.