
1970 build....


Thread Starter
|
In the Staging Lanes
Joined: Dec 2008
Posts: 73
From:
Spent some time today getting some stuff organized and then pulled out the new radiator support to start swapping brackets over to the new one. After seeing just how screwed up the new one is, I got frustrated.
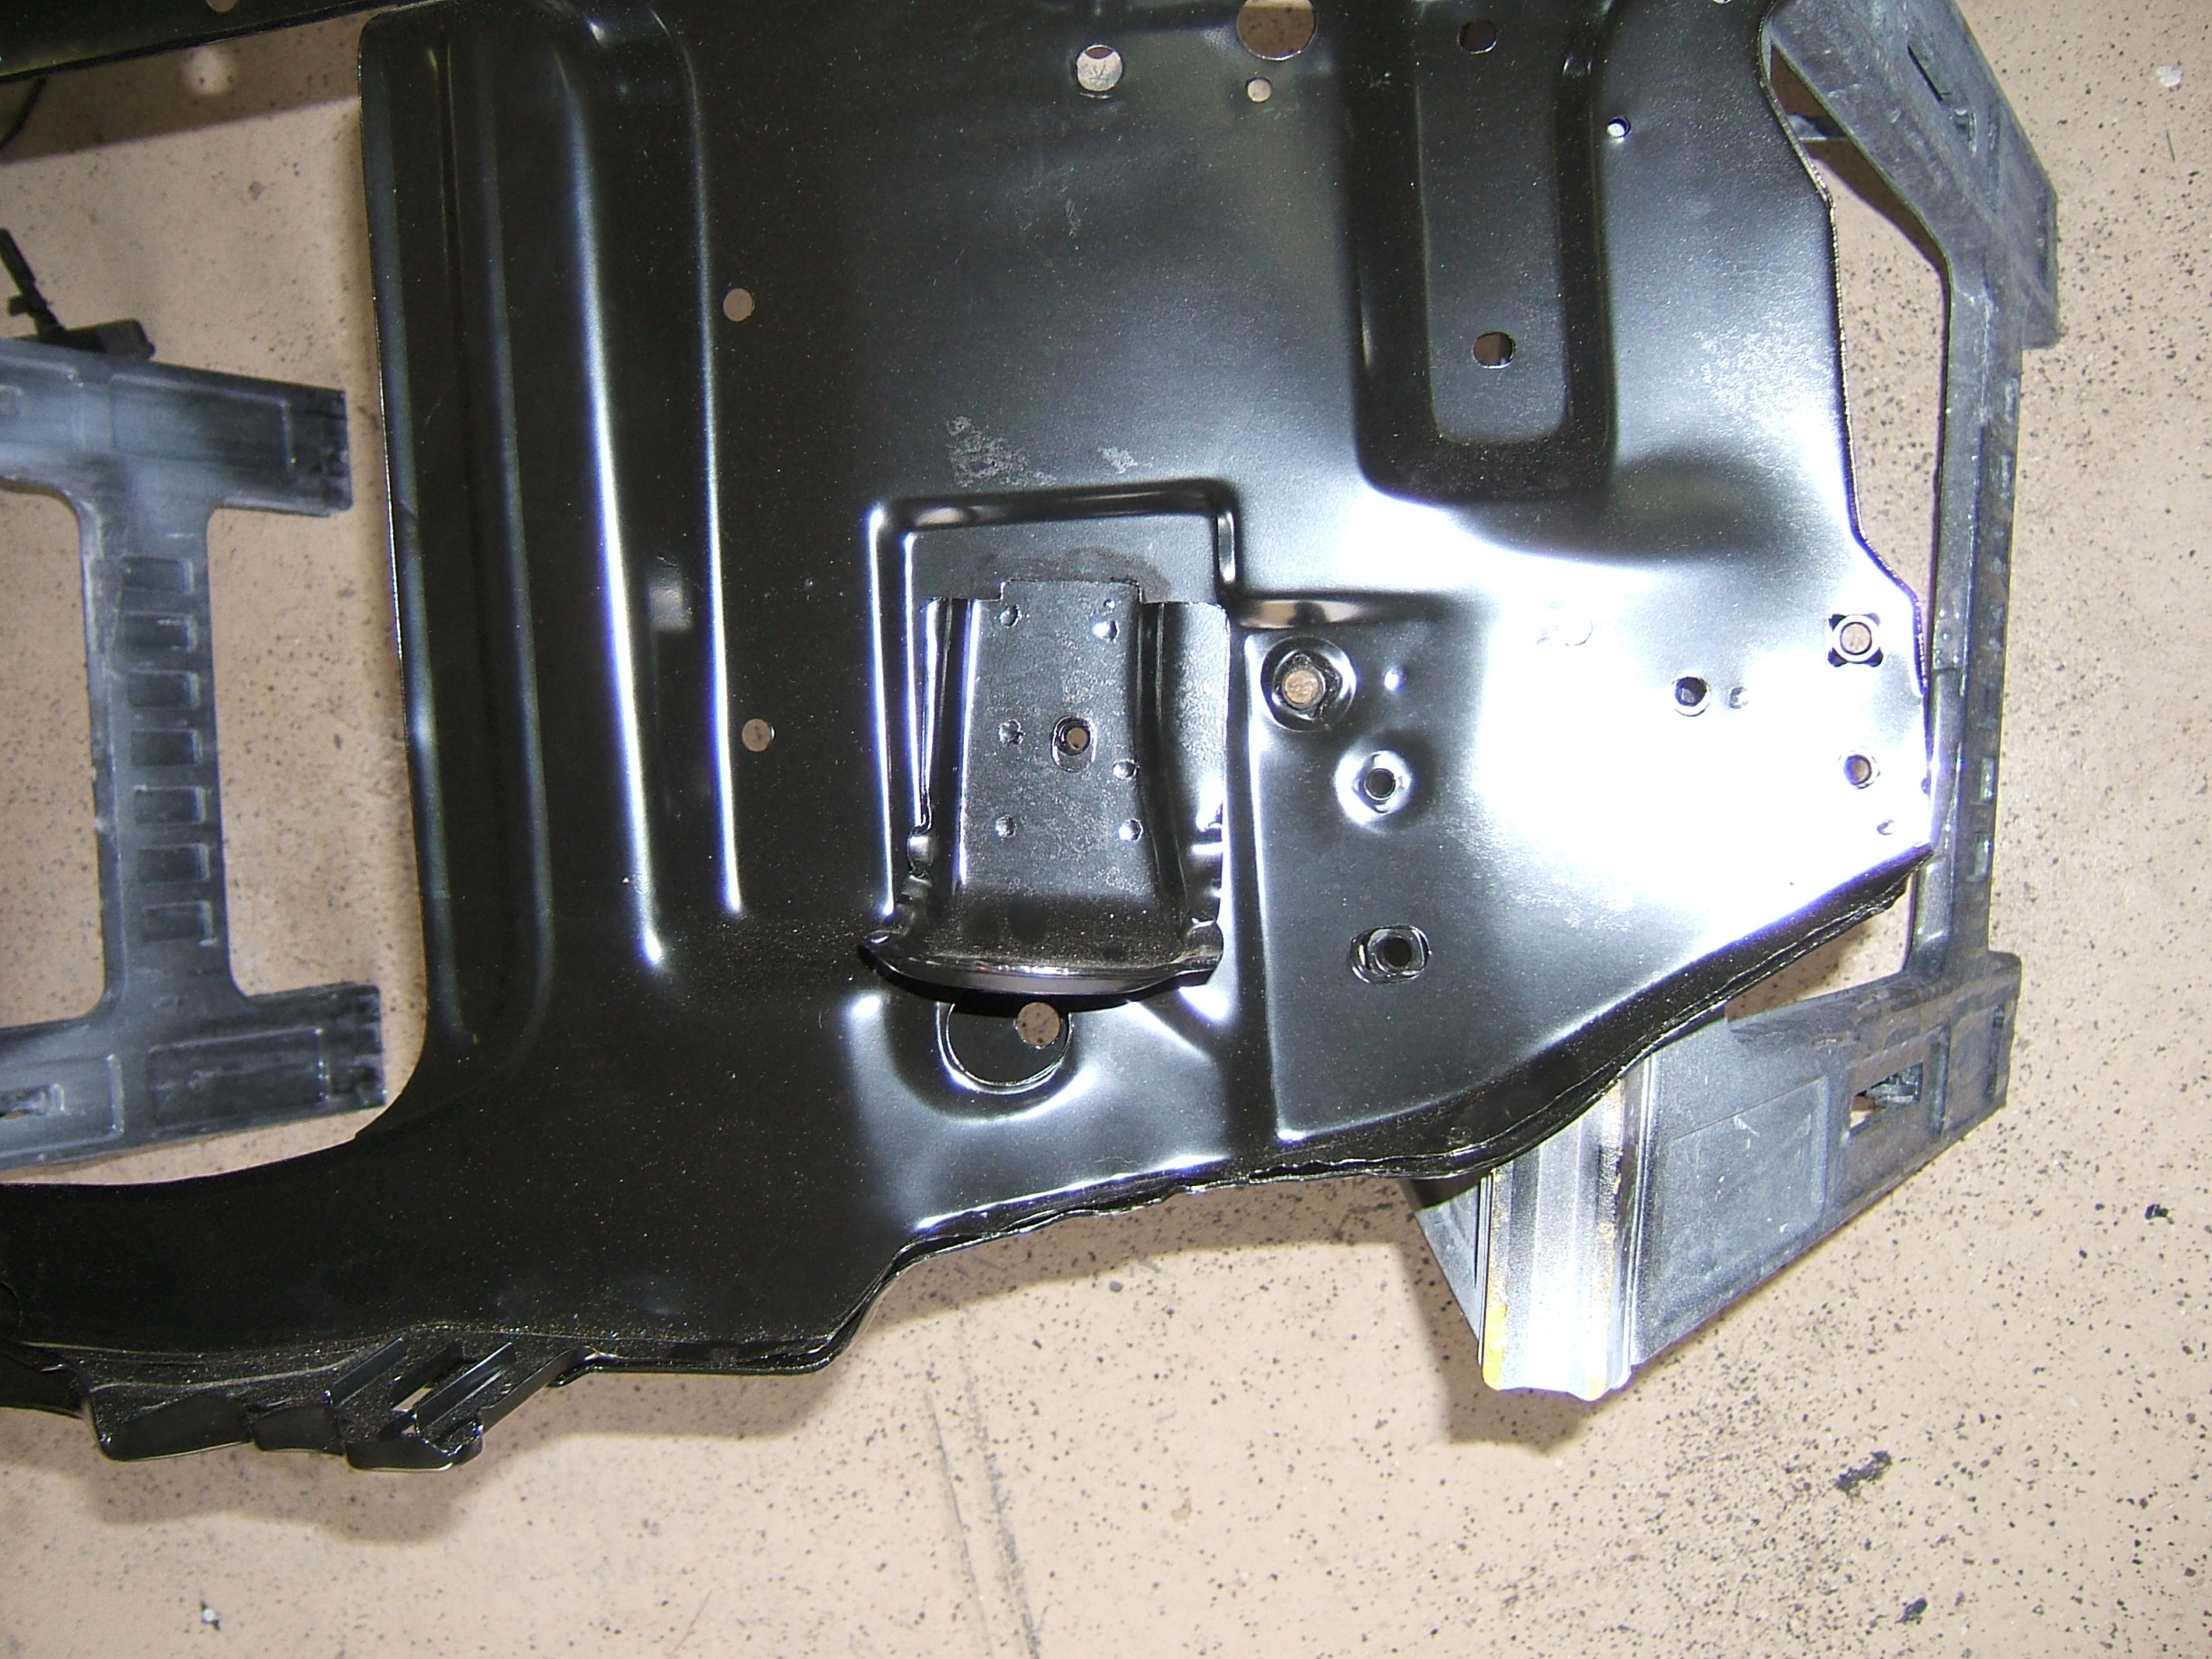
Nuts tacked on where they don't match the holes... I stated enlarging the holes, but instead, I think I am going to grind the tack welds off the nuts and tack then in the correct spots.
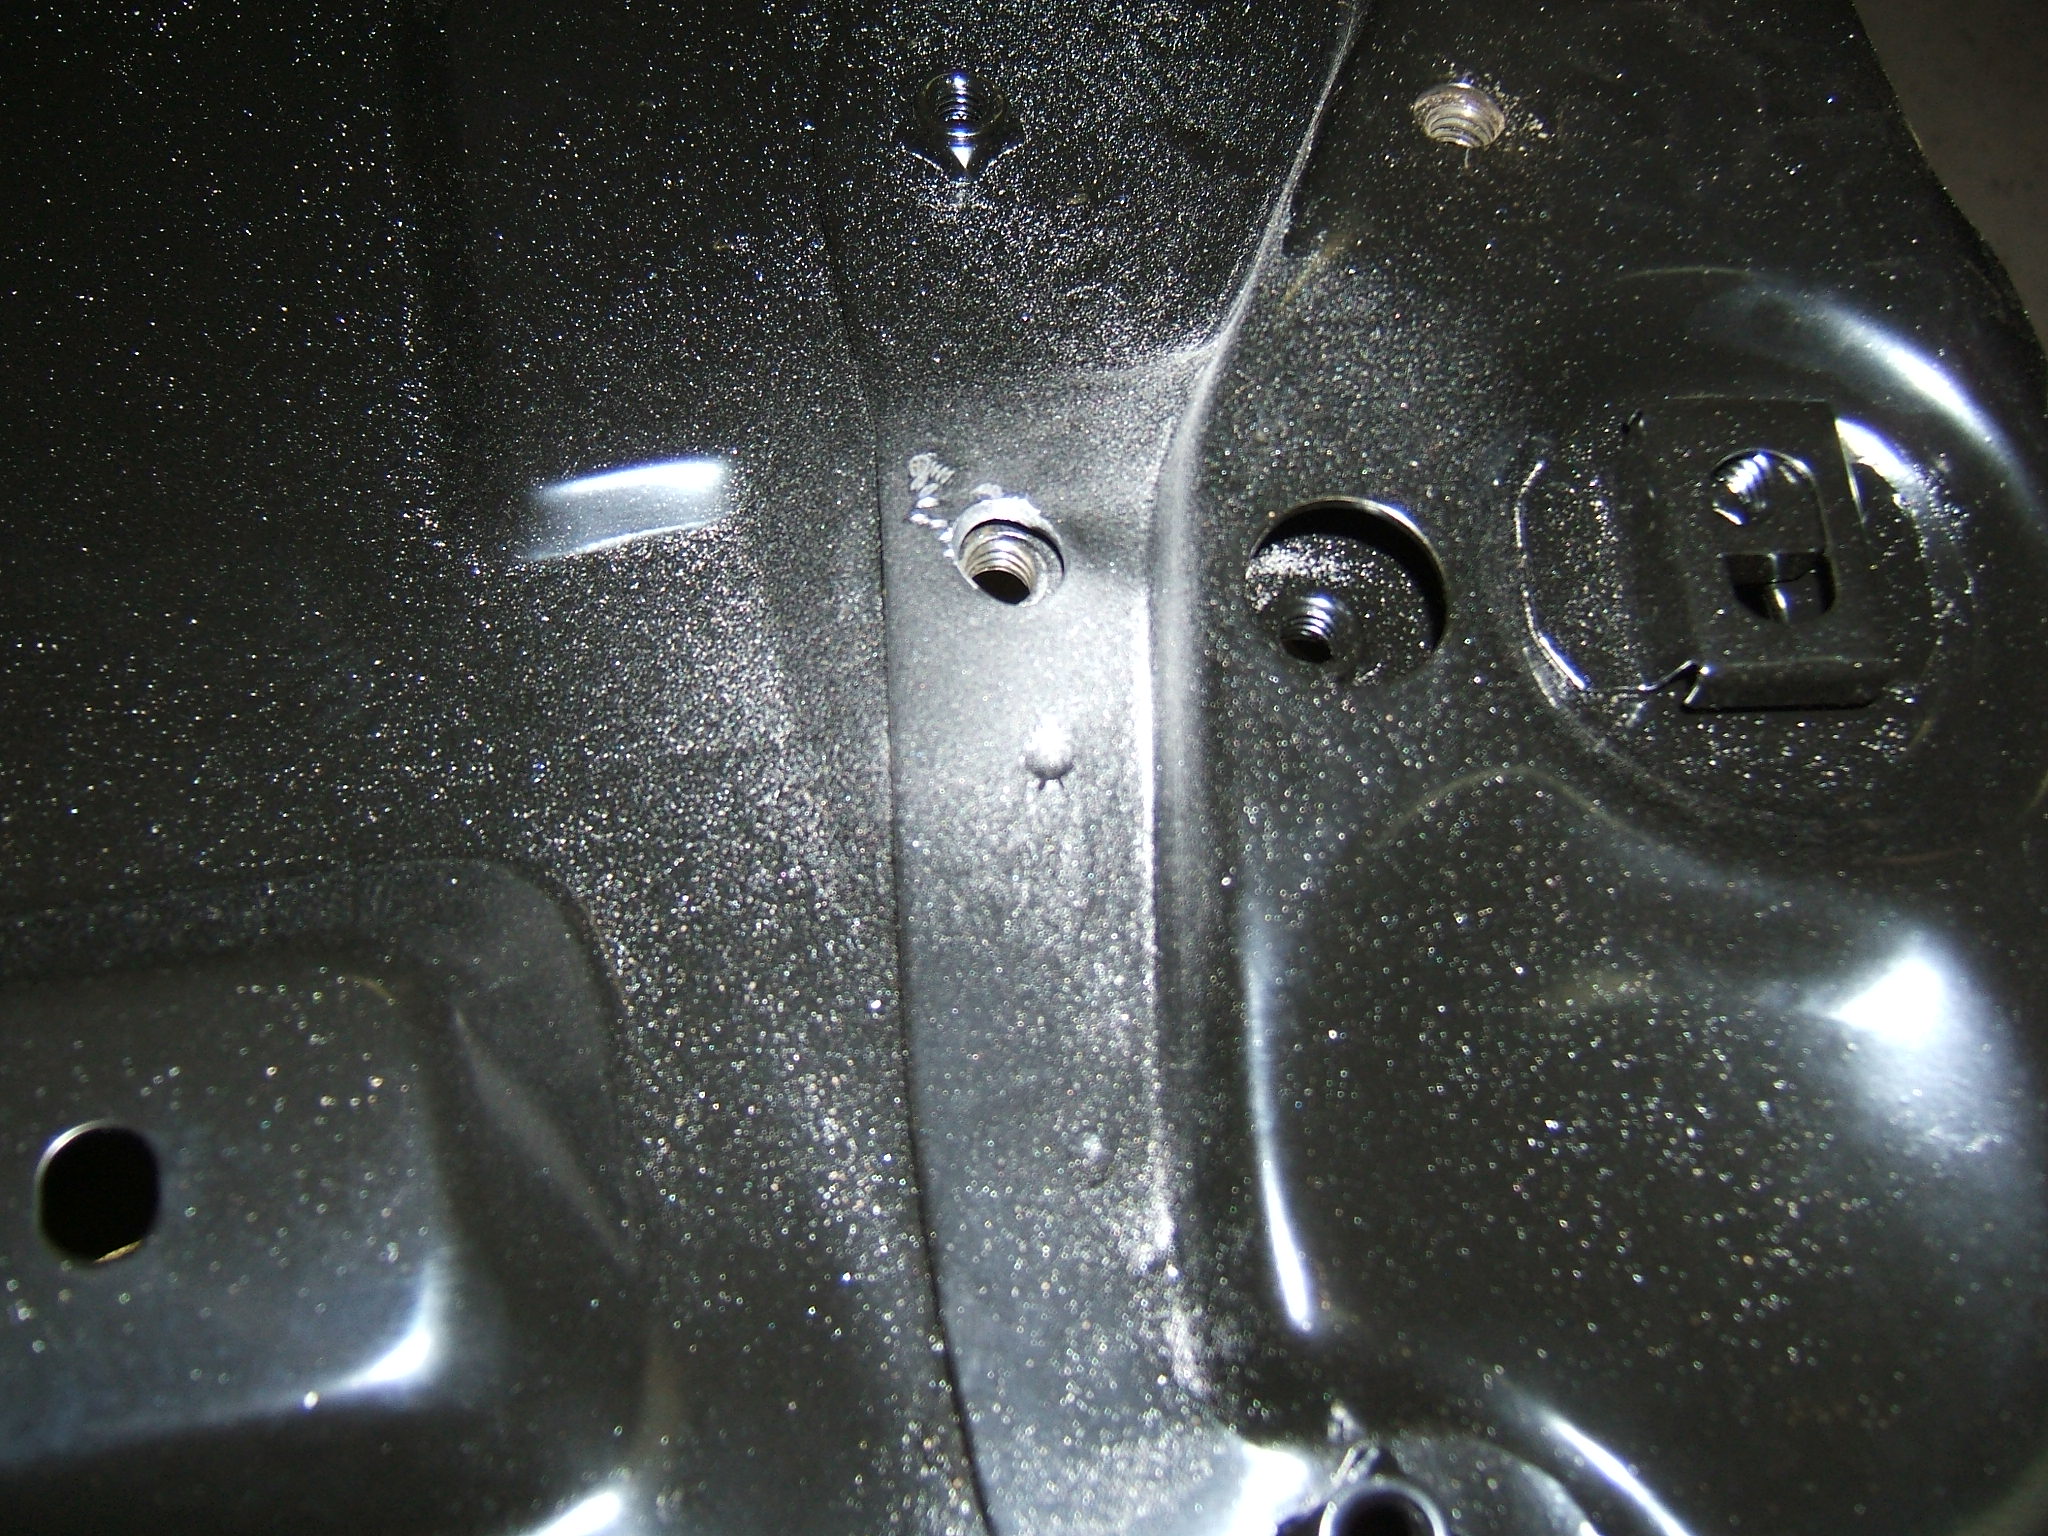
One of the support brackets on crooked as hell. I am going to have to drill the tack welds out and position this correctly.
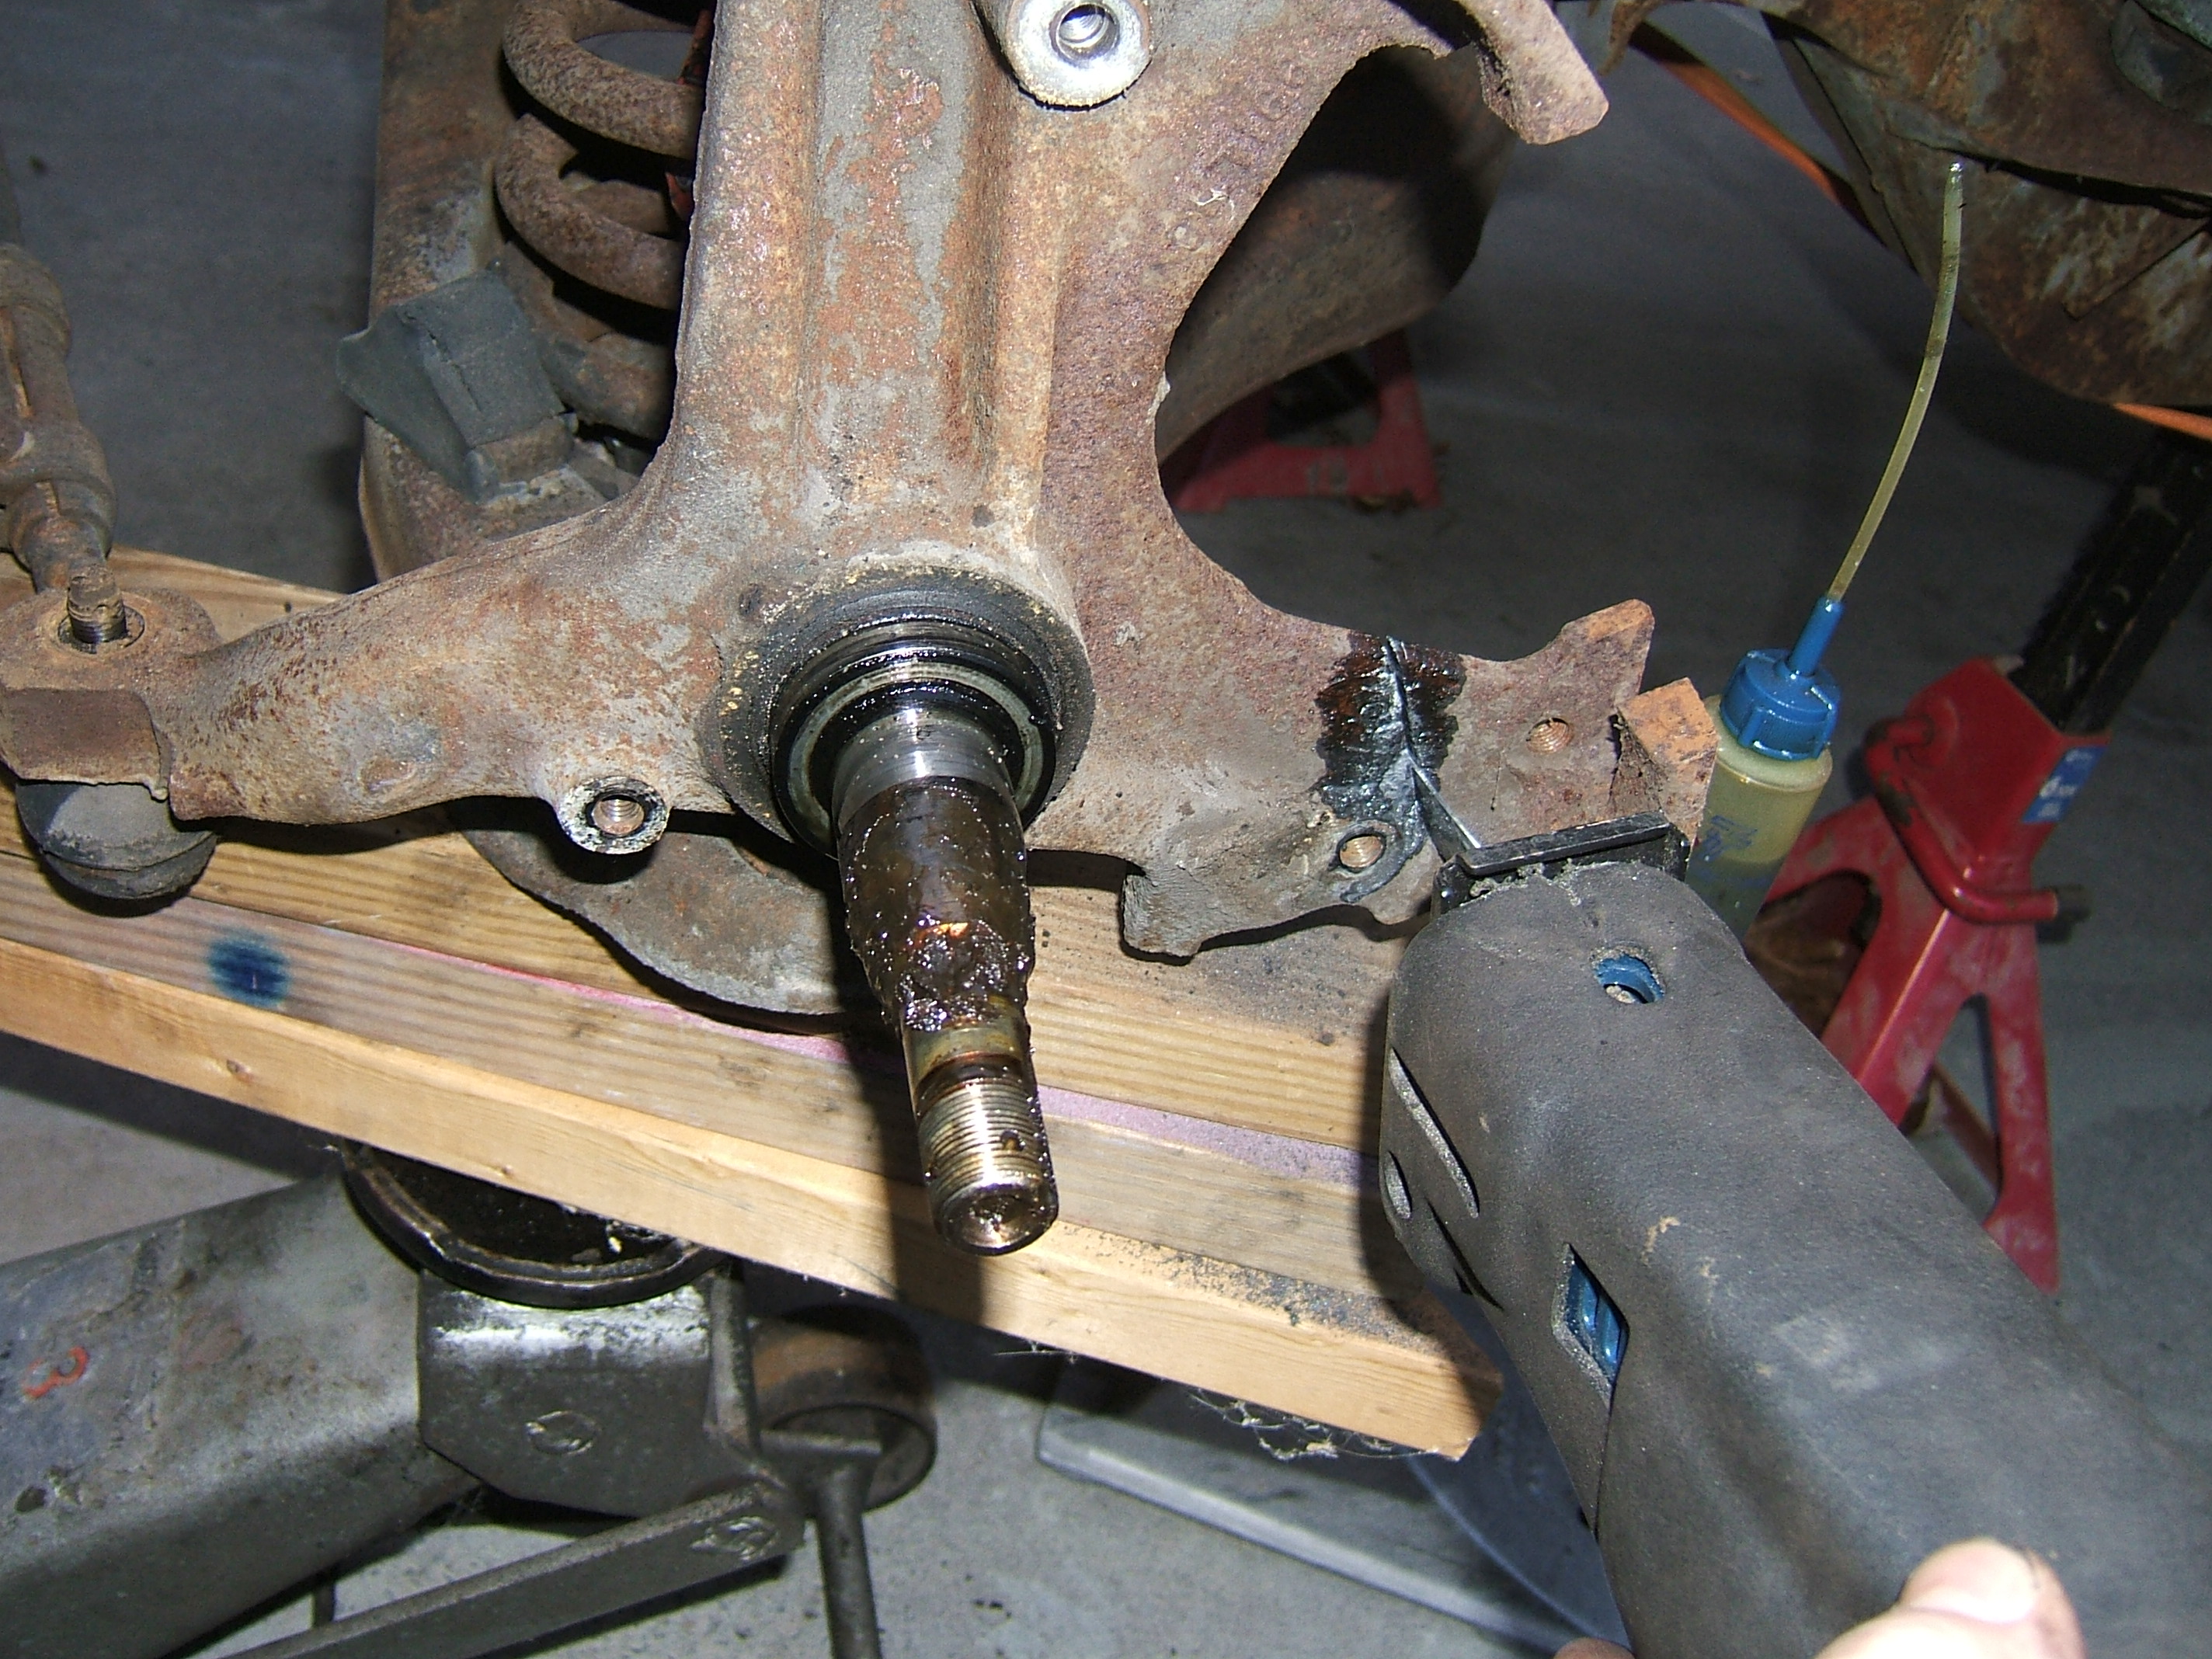
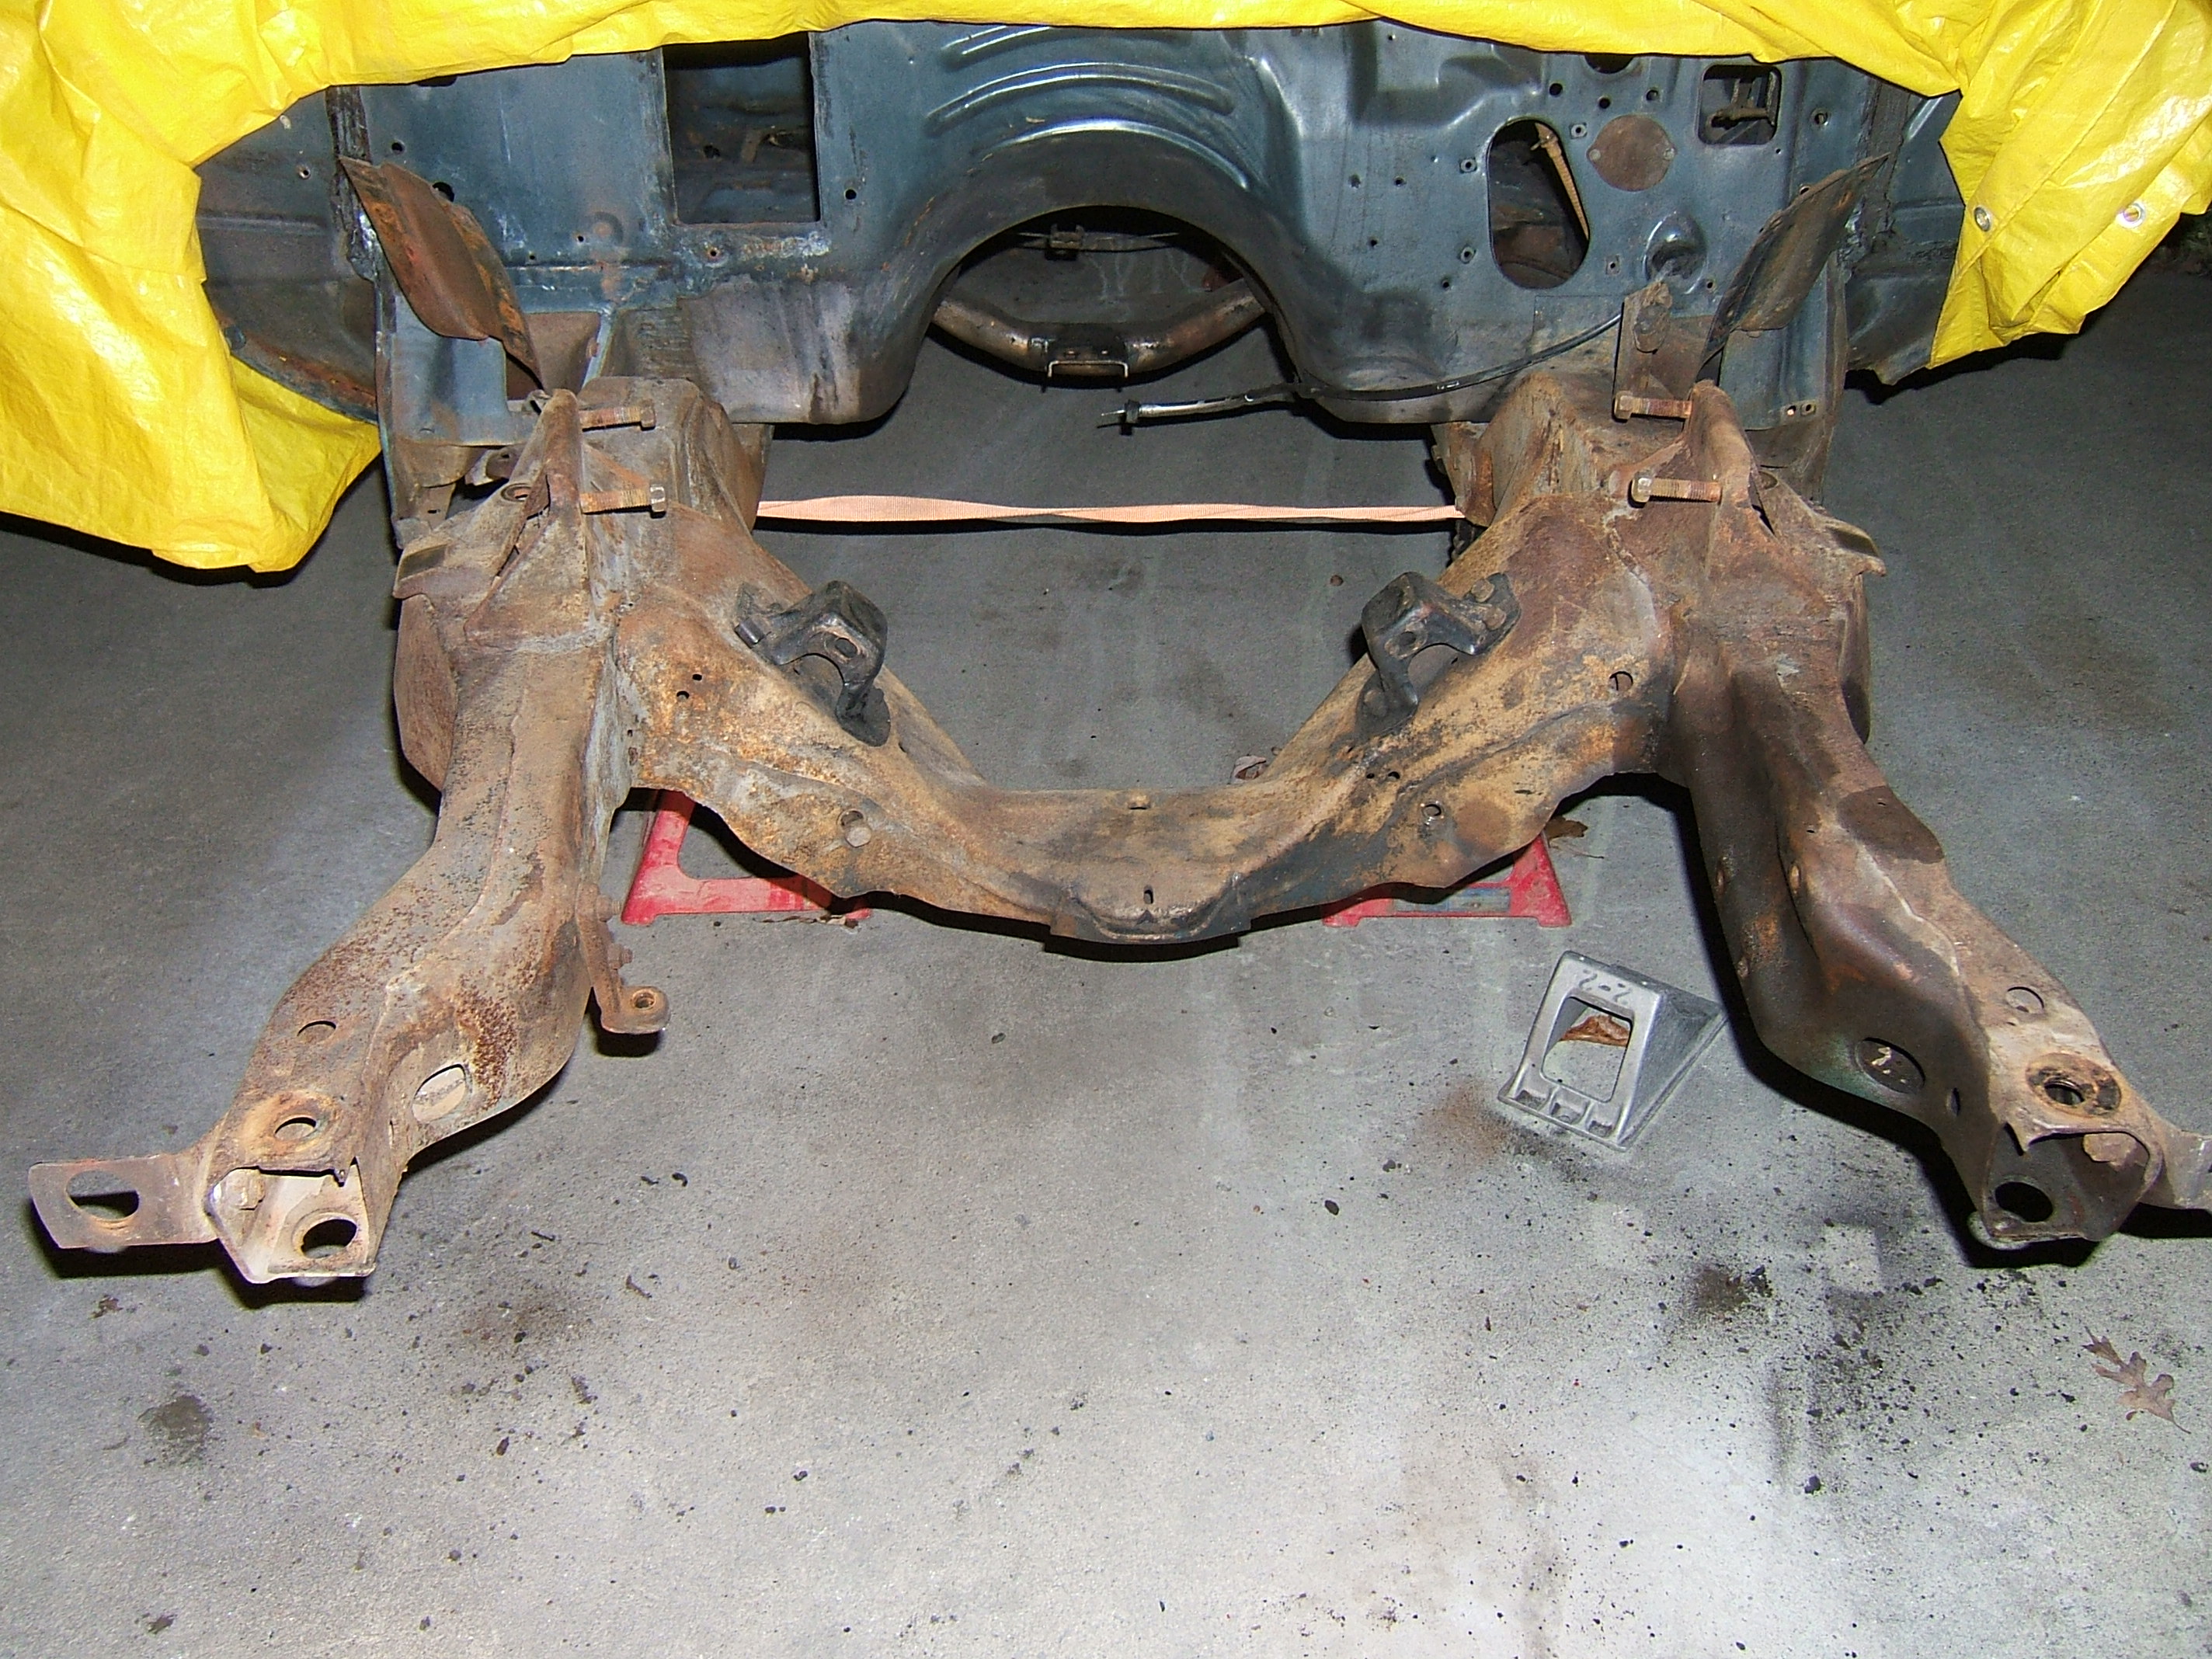
So instead, I started prepping the spindles for the new brakes and then pulled all the front suspension. Tomorrow, I will fit up the new control arms and brakes before pulling the sub frame to prep for paint.
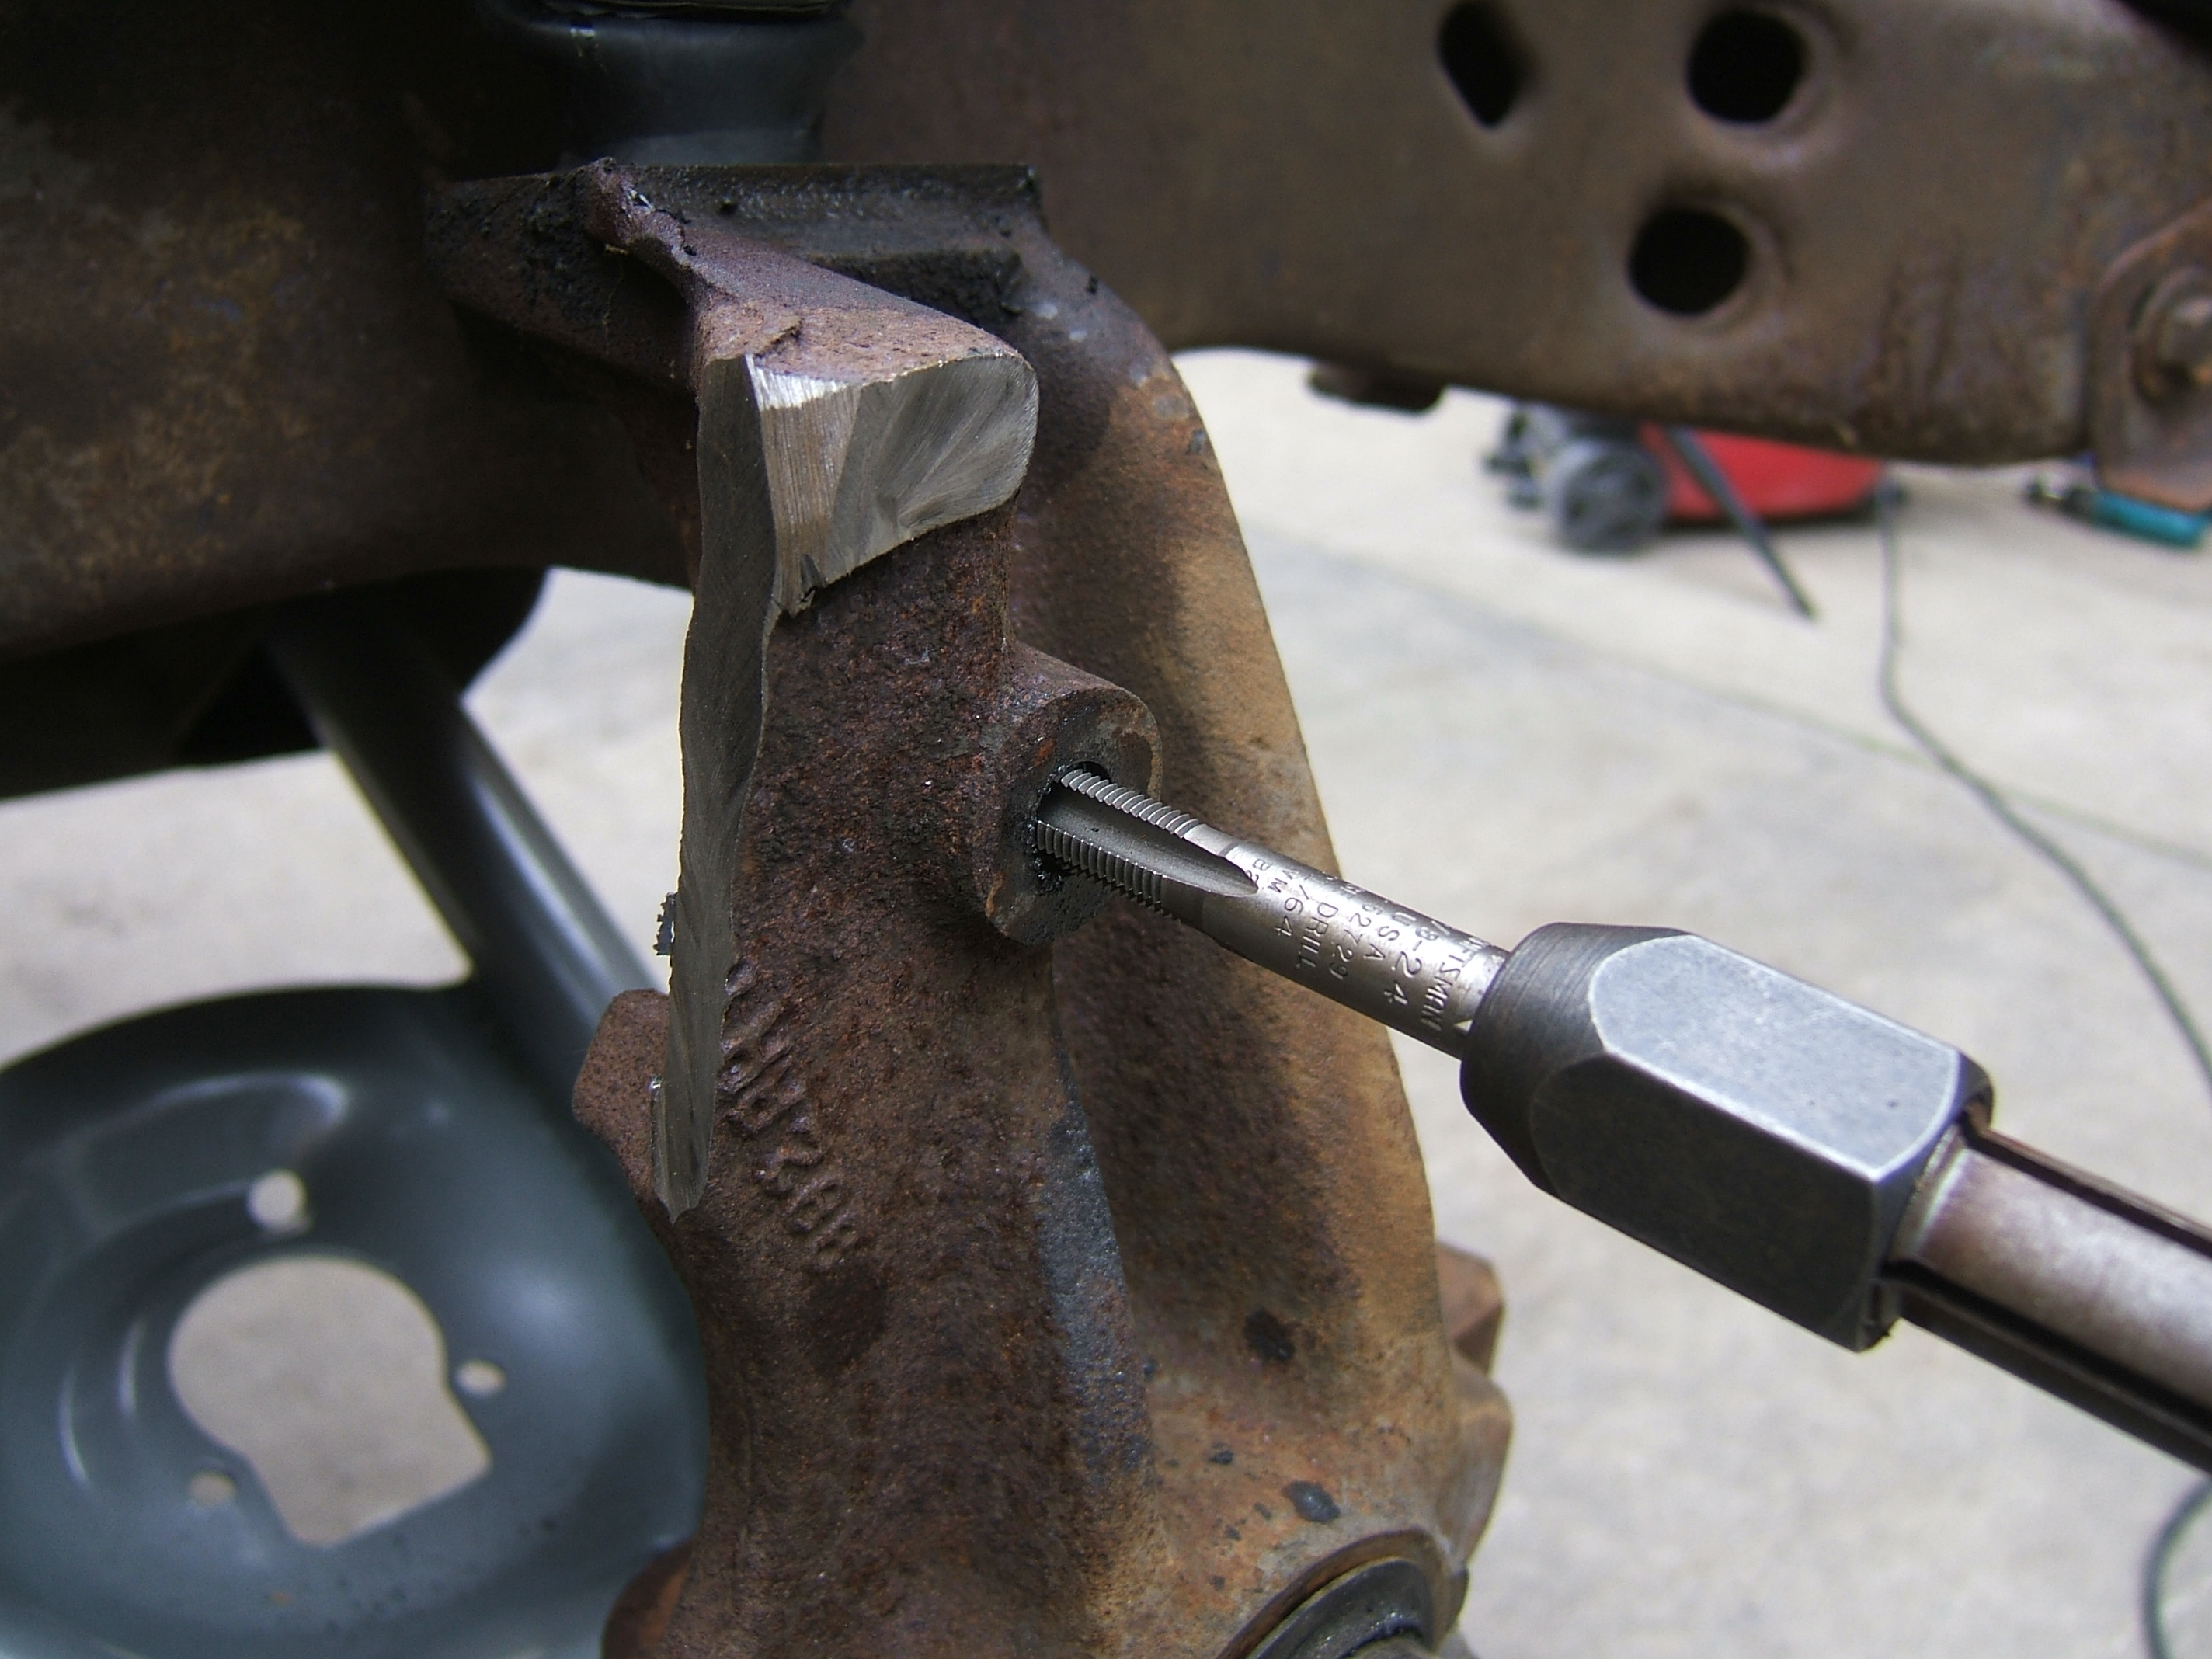
Cutting the "ears" off the spindles from the original caliper mounts...
Everything removed....
Nuts tacked on where they don't match the holes... I stated enlarging the holes, but instead, I think I am going to grind the tack welds off the nuts and tack then in the correct spots.
One of the support brackets on crooked as hell. I am going to have to drill the tack welds out and position this correctly.
So instead, I started prepping the spindles for the new brakes and then pulled all the front suspension. Tomorrow, I will fit up the new control arms and brakes before pulling the sub frame to prep for paint.
Cutting the "ears" off the spindles from the original caliper mounts...
Everything removed....

Second Generation Moderator
Feb 2010 ROTM winner
Jan 2013 ROTM winner
Feb 2010 ROTM winner
Jan 2013 ROTM winner
Joined: Aug 2008
Posts: 9,097
From: Portland, Or
ROTM Winner's Club
Ahhh! The joys of aftermarket parts! All the reworking, and repairing of poorly assembled parts. I spent a lot of time repairing the parts I bought for my '71, and it didn't much matter what the source was.
Thread Starter
|
In the Staging Lanes
Joined: Dec 2008
Posts: 73
From:
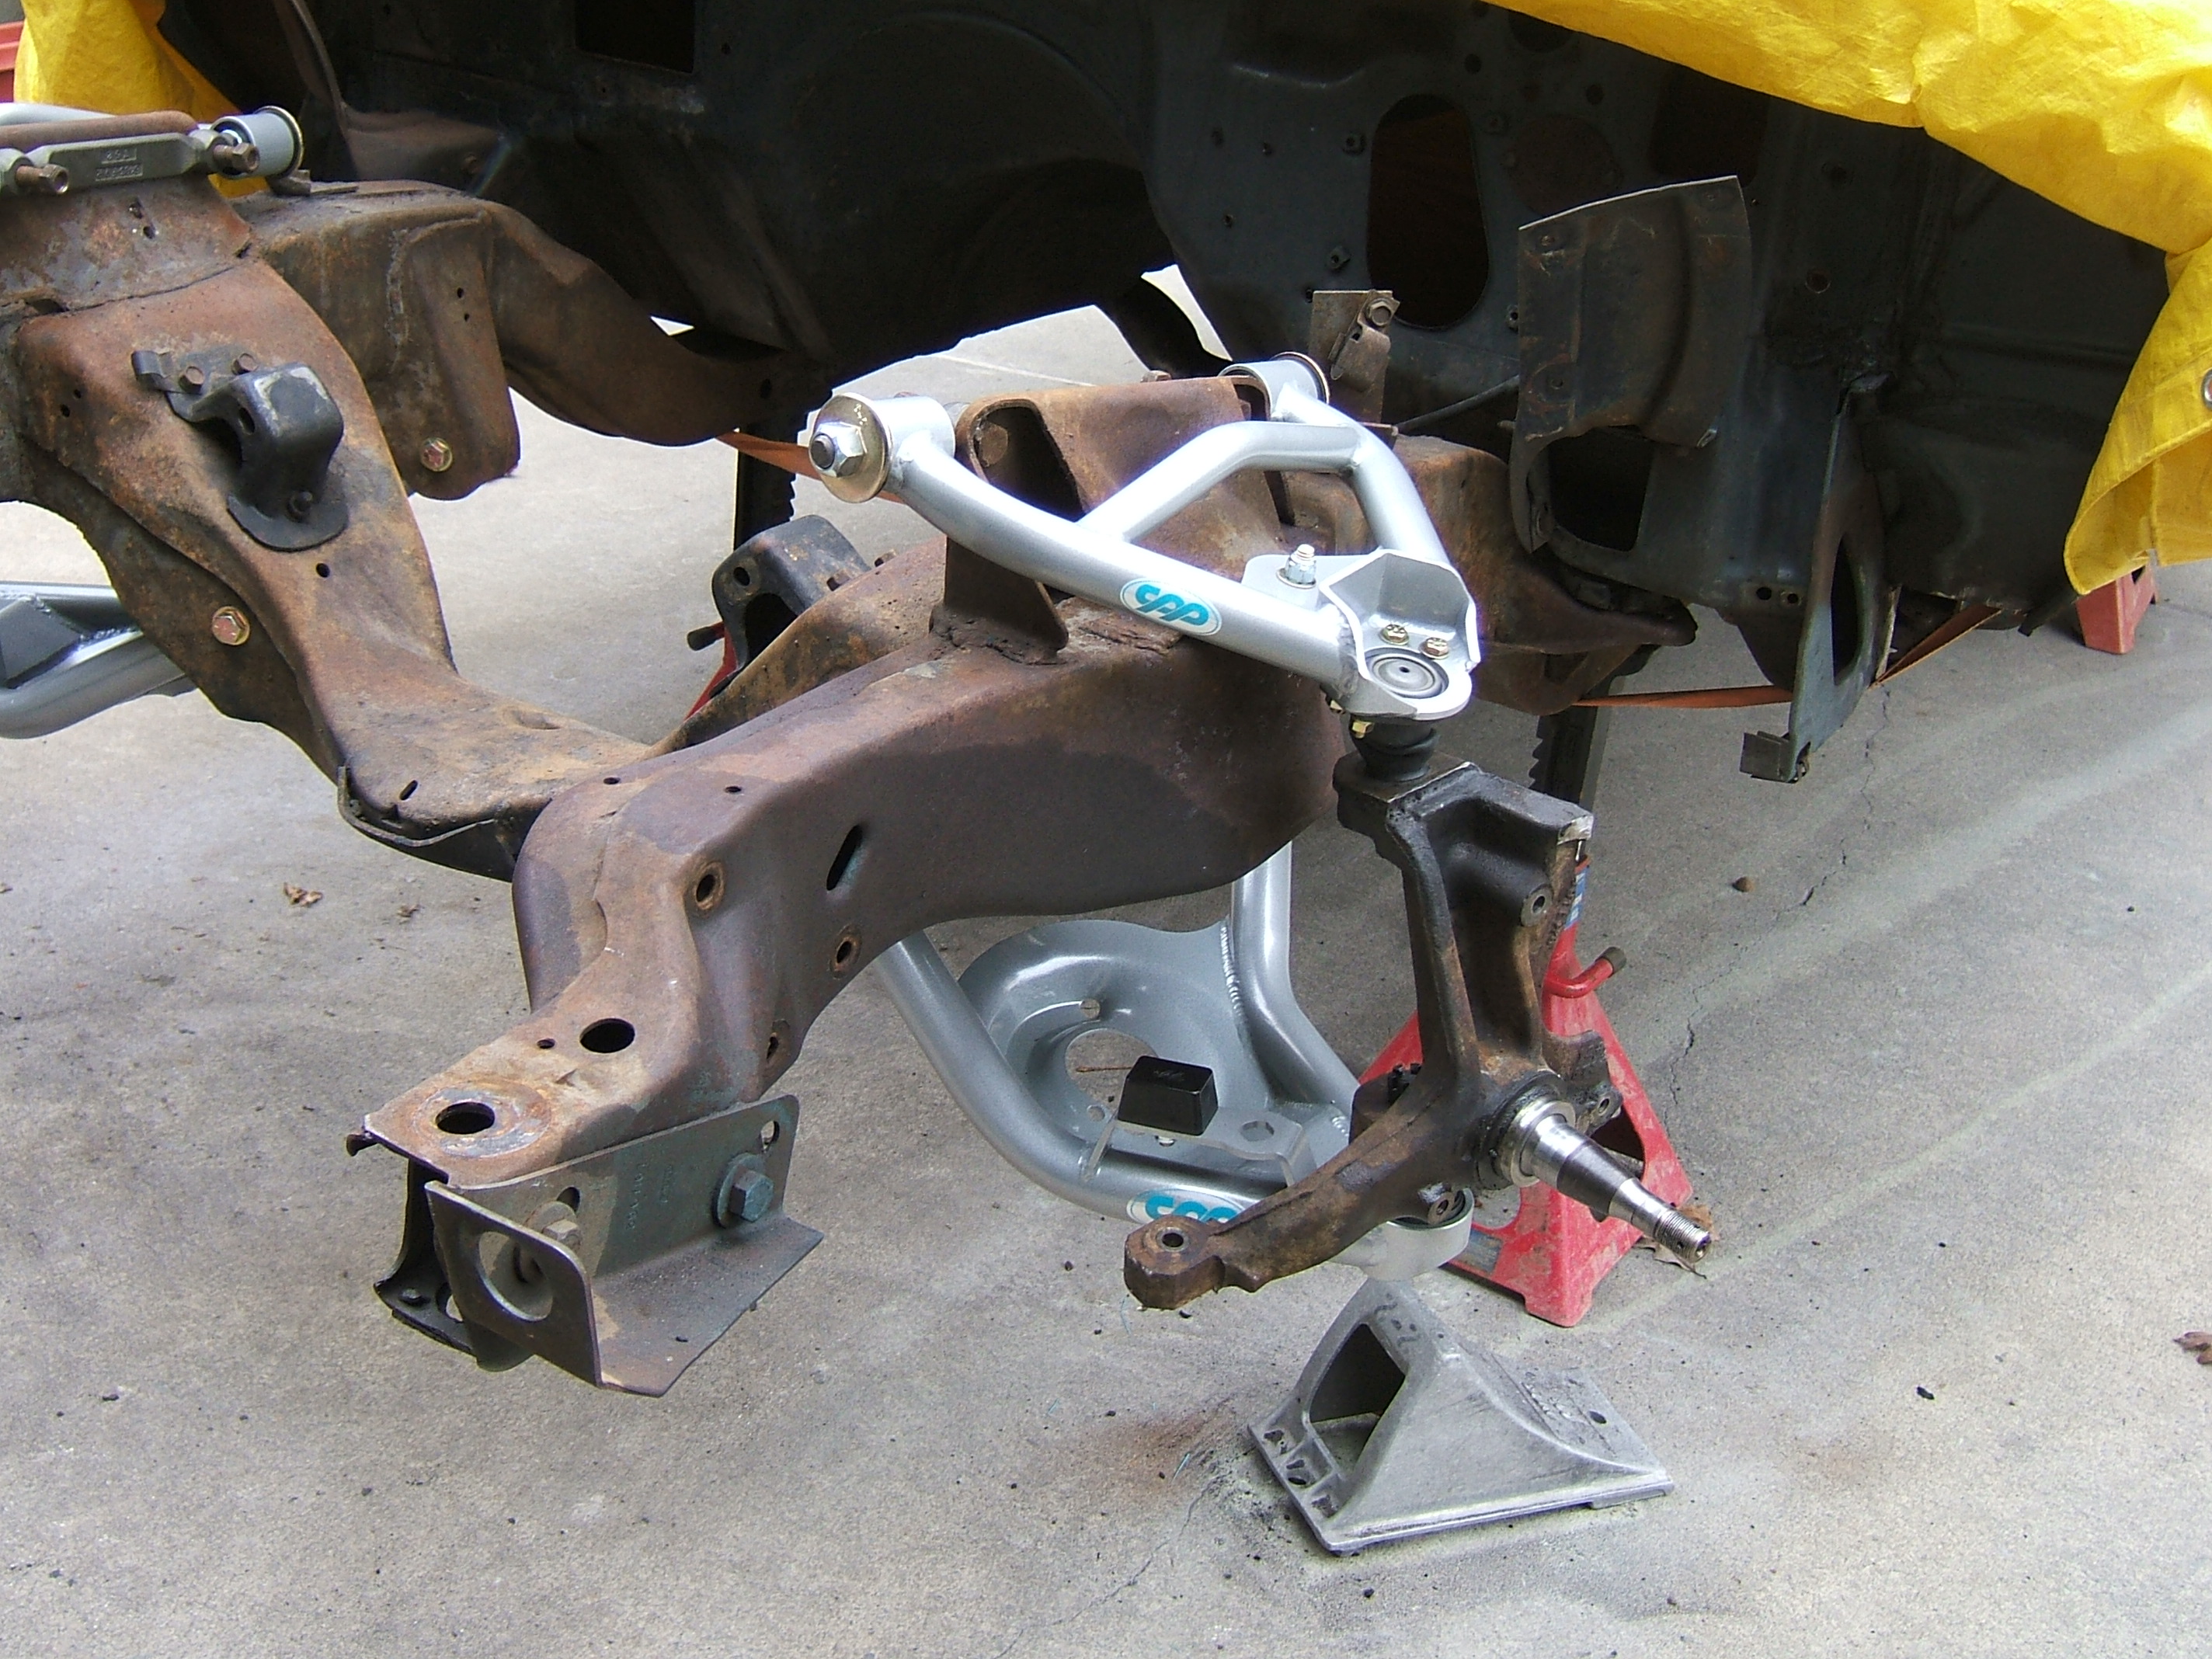
Today was spent fitting the control arms, front brakes, and sway bar. Keep in mind that this is all mock up right now and will be getting removed to get the subframe sandblasted and painted before putting back together again.
Rude discovery of a torn grease boot for one of the ball joints. I already called about this and expect a replacement.
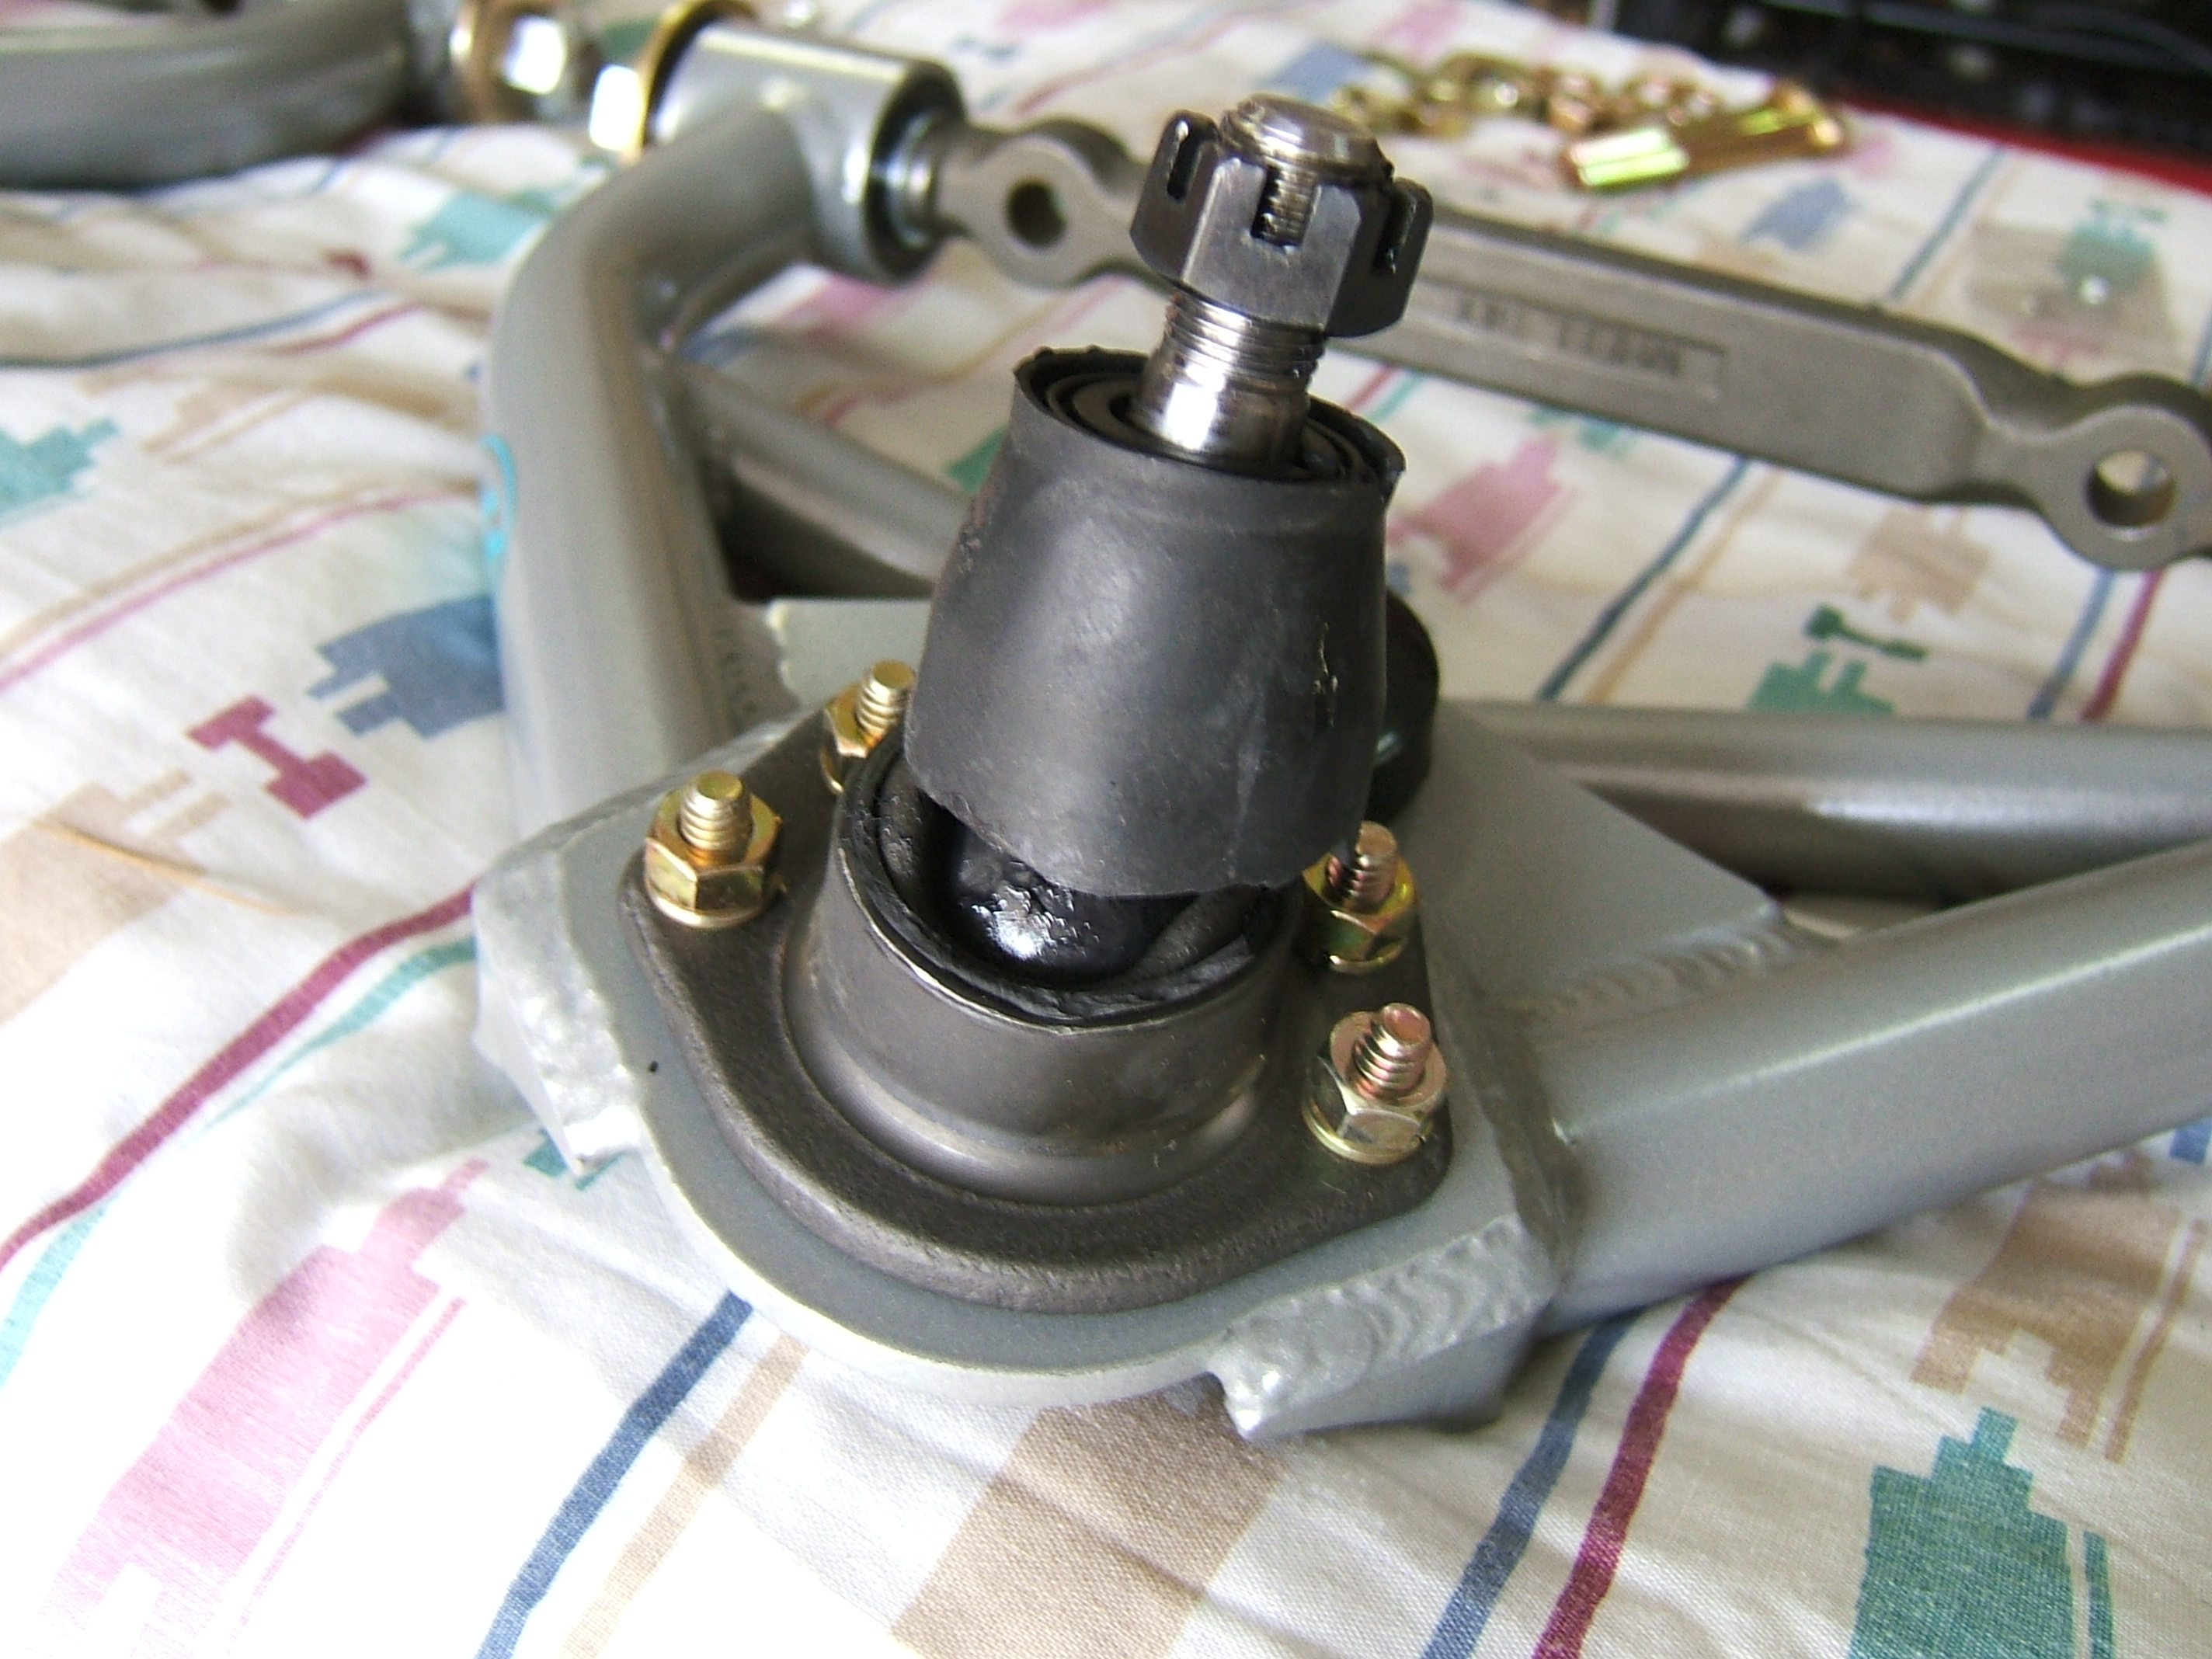
Control arms installed..
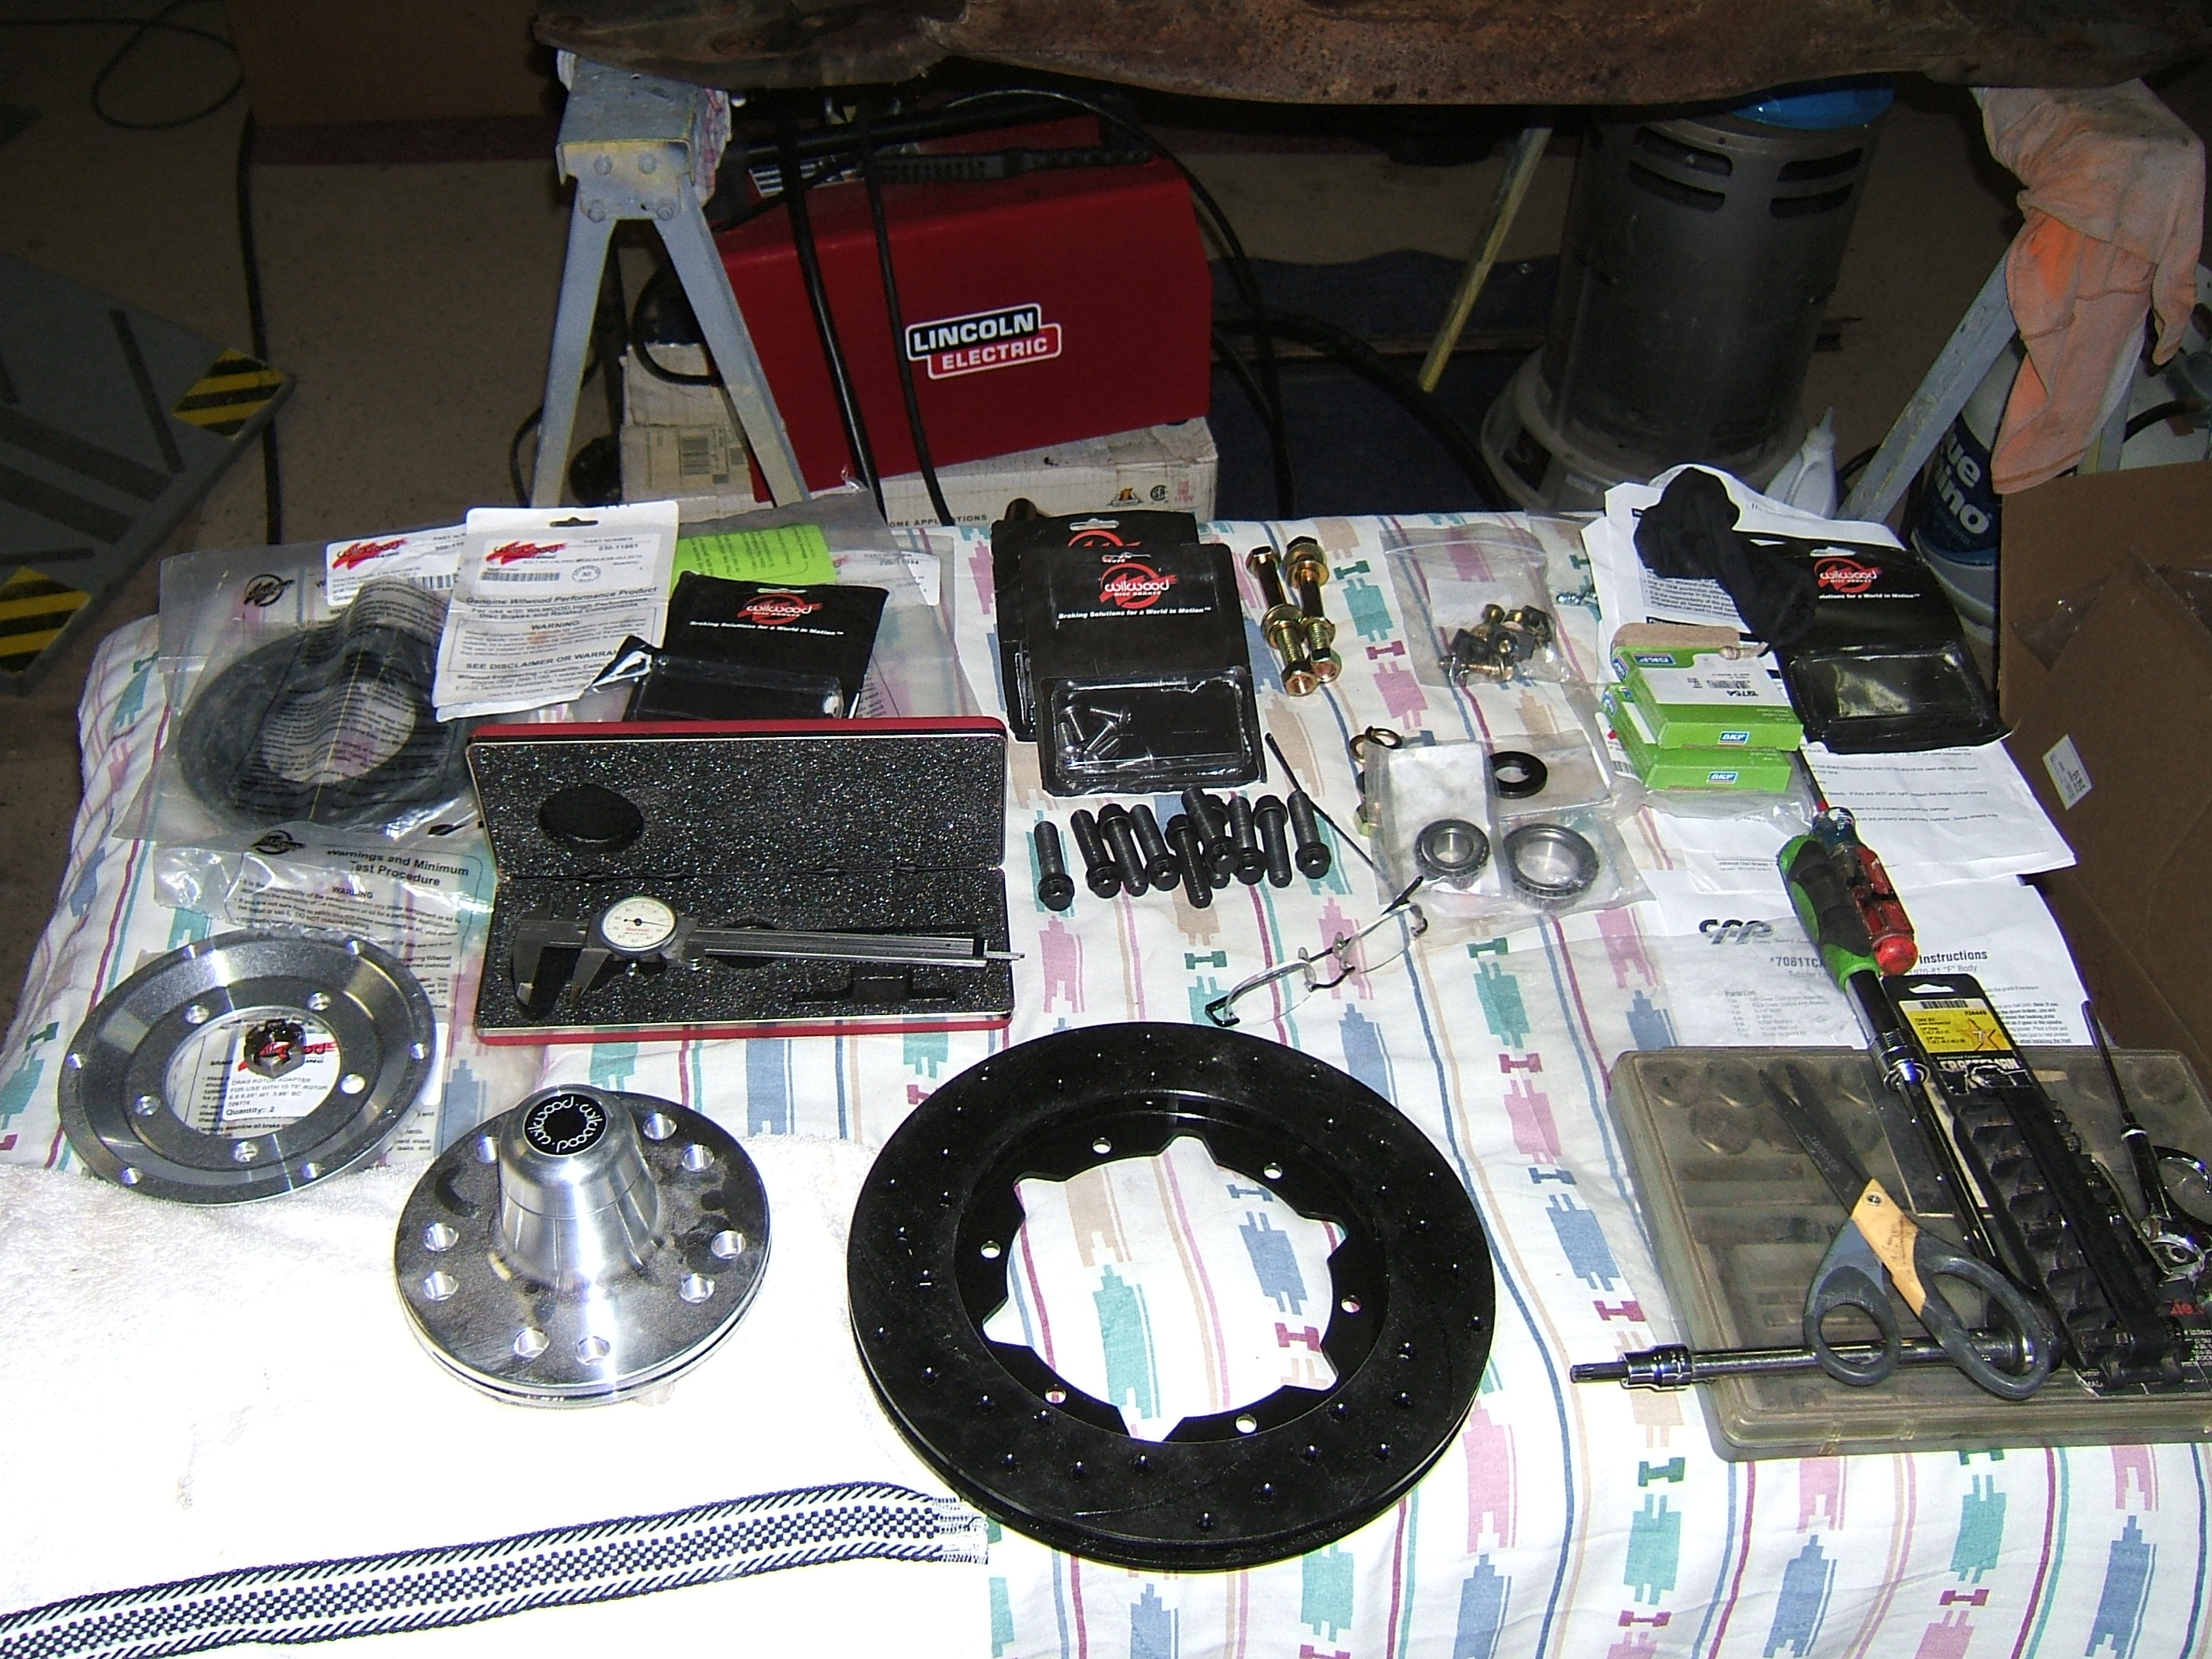
Brake kit assembly bench..
Drilling and tapping for brake kit..
Driver side brake kit installed. This kit completely replaces the stock rotor and uses a billet aluminum hub that the rotors bolt to.
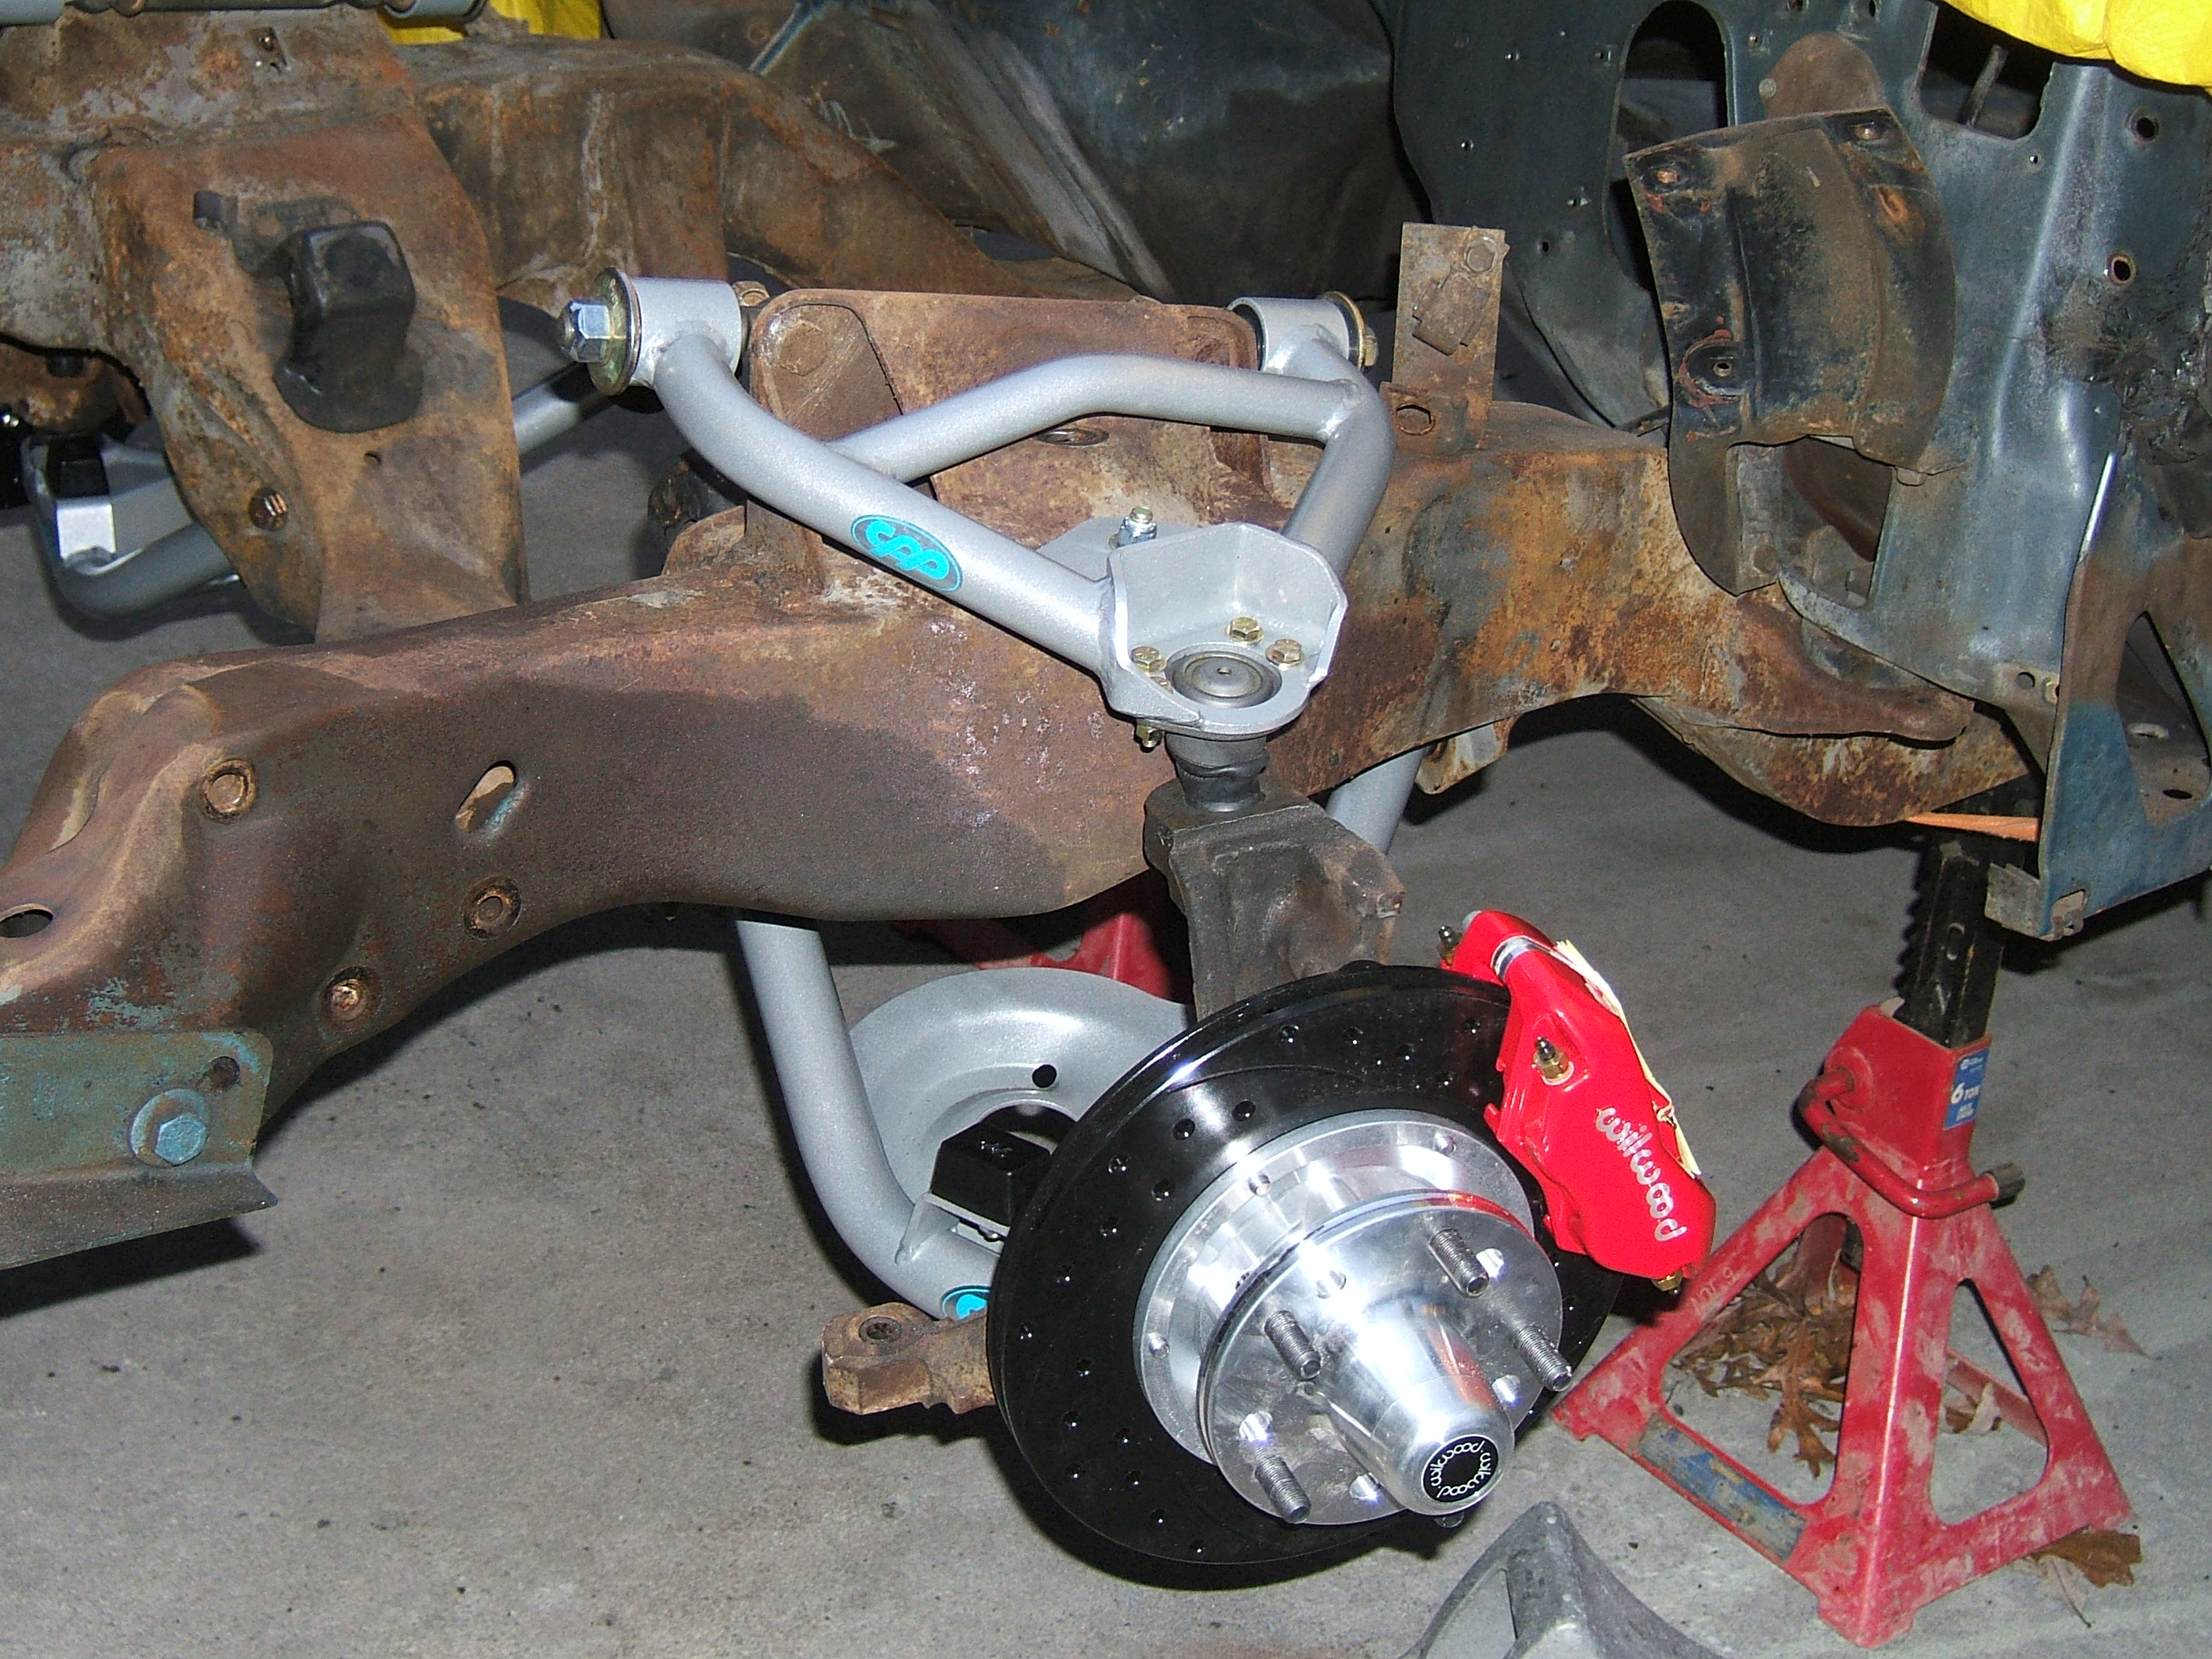
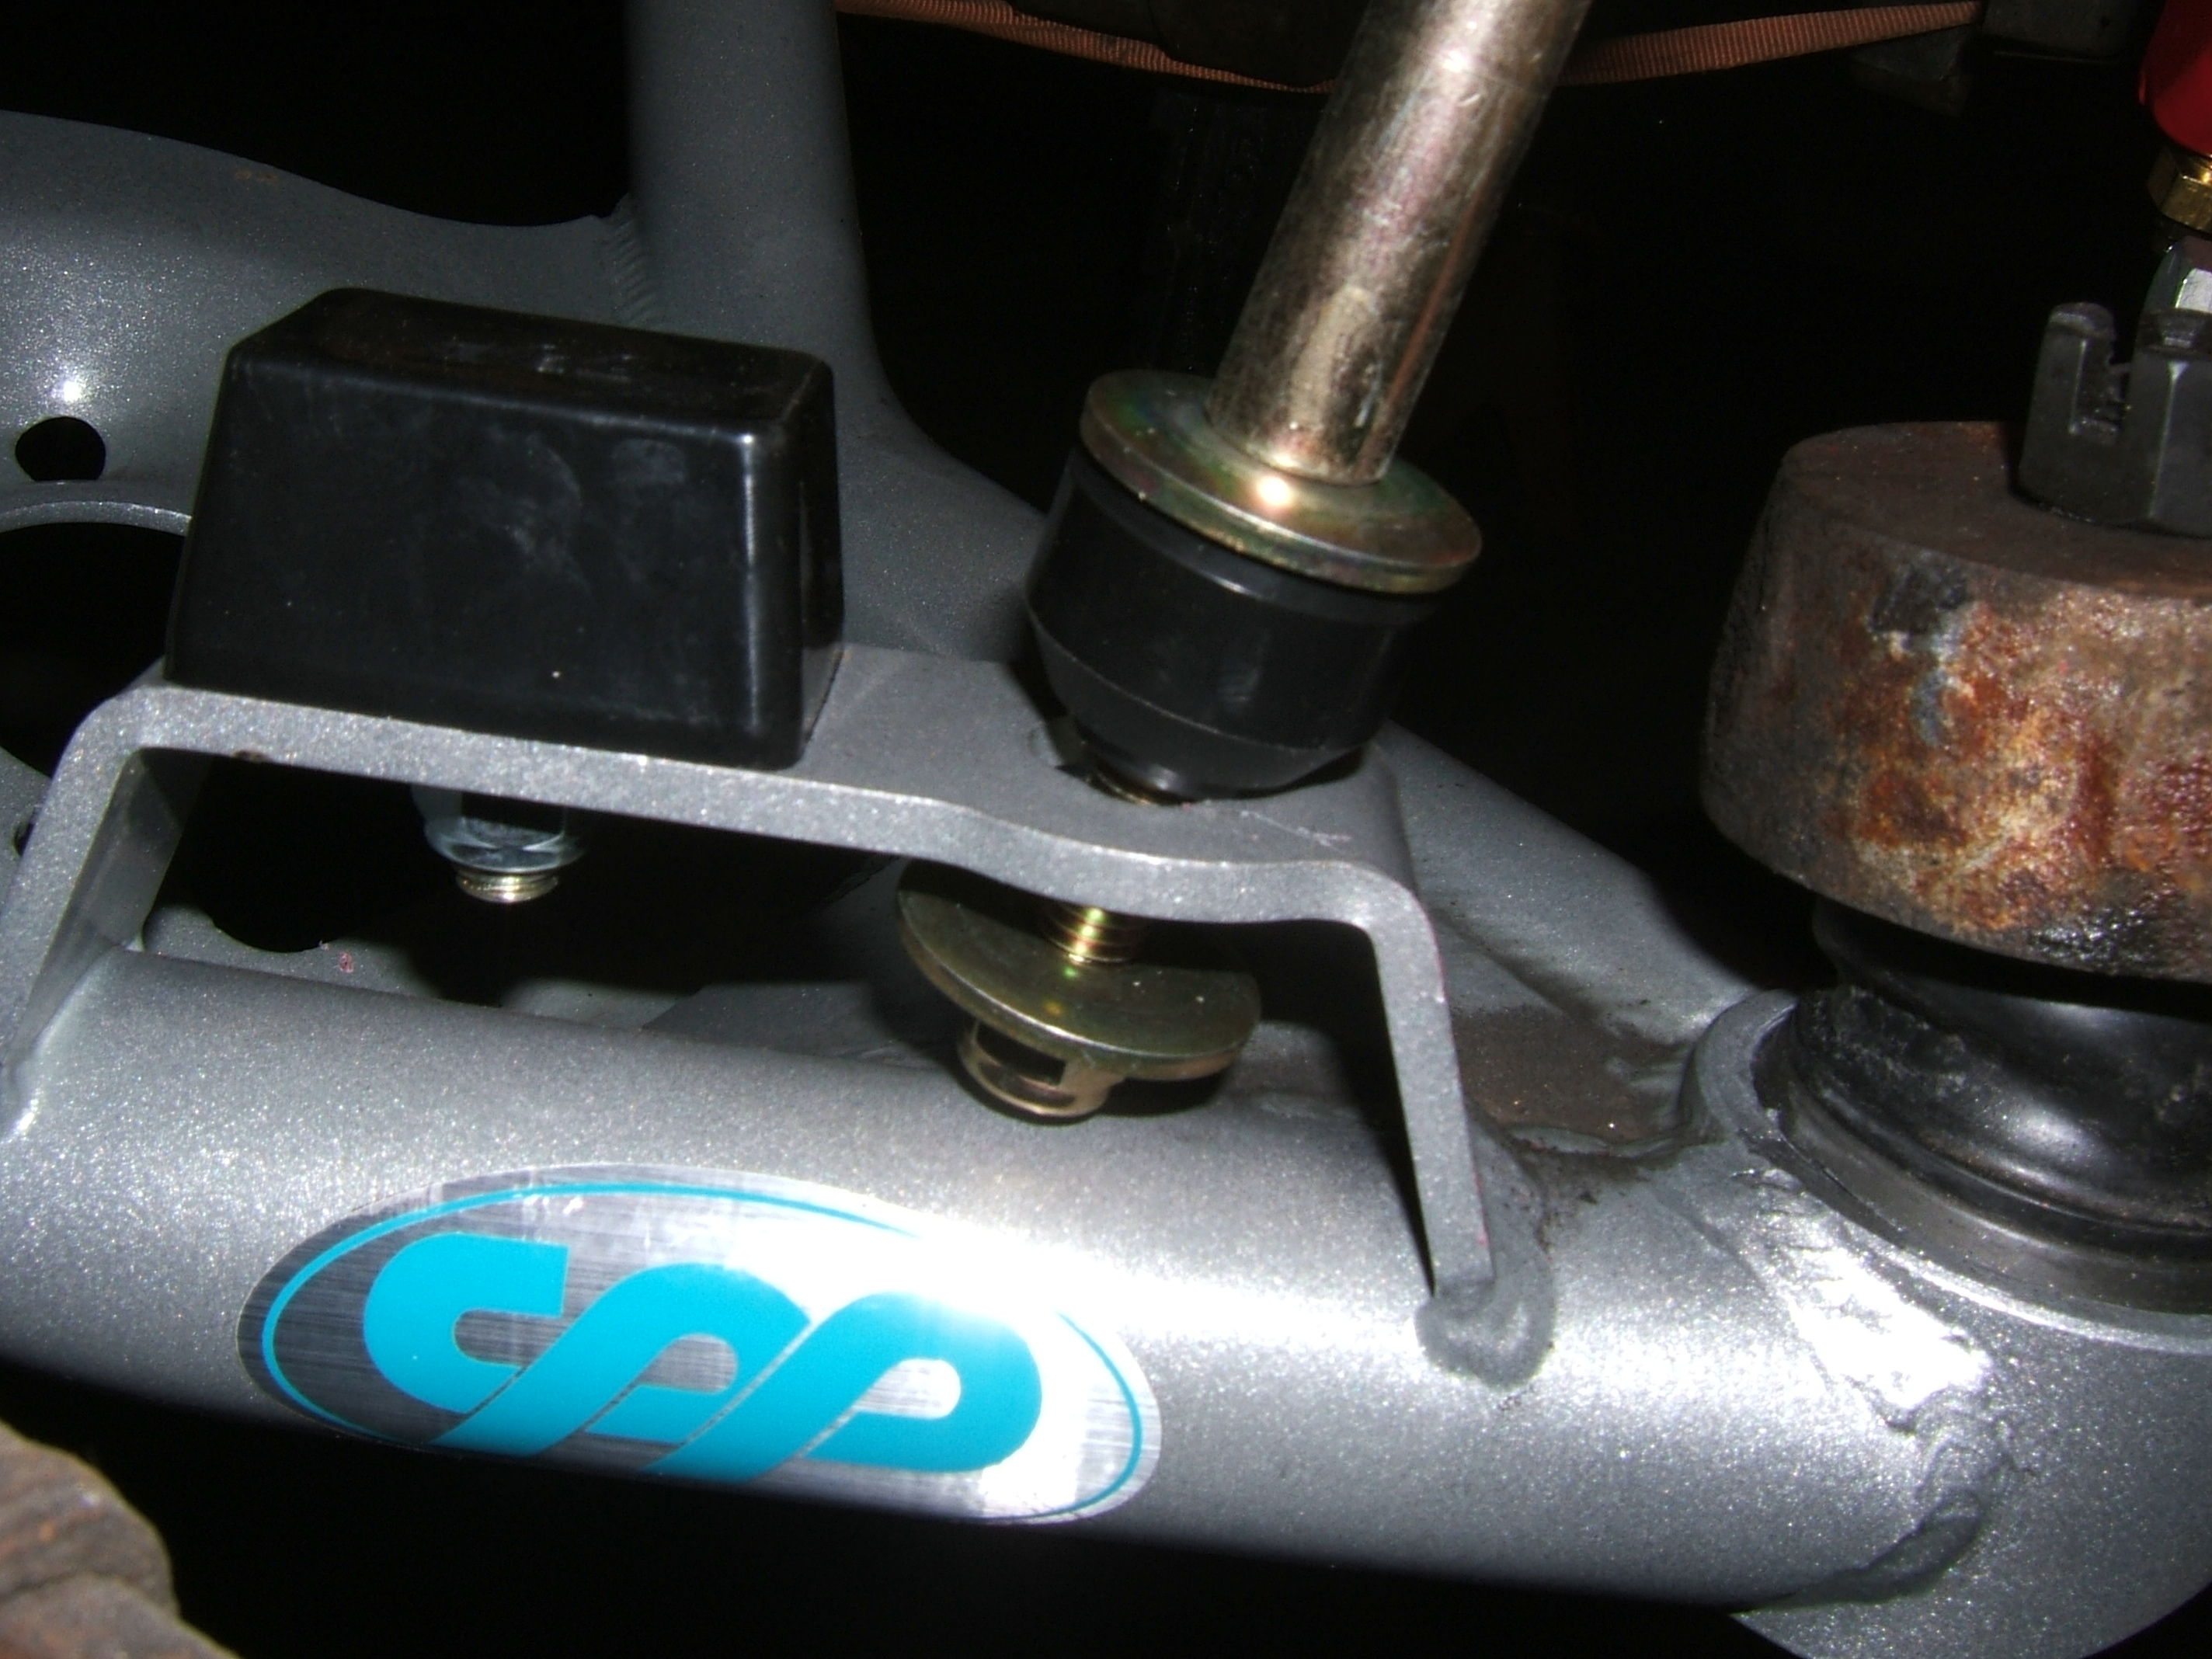
Sway bar mocked up..
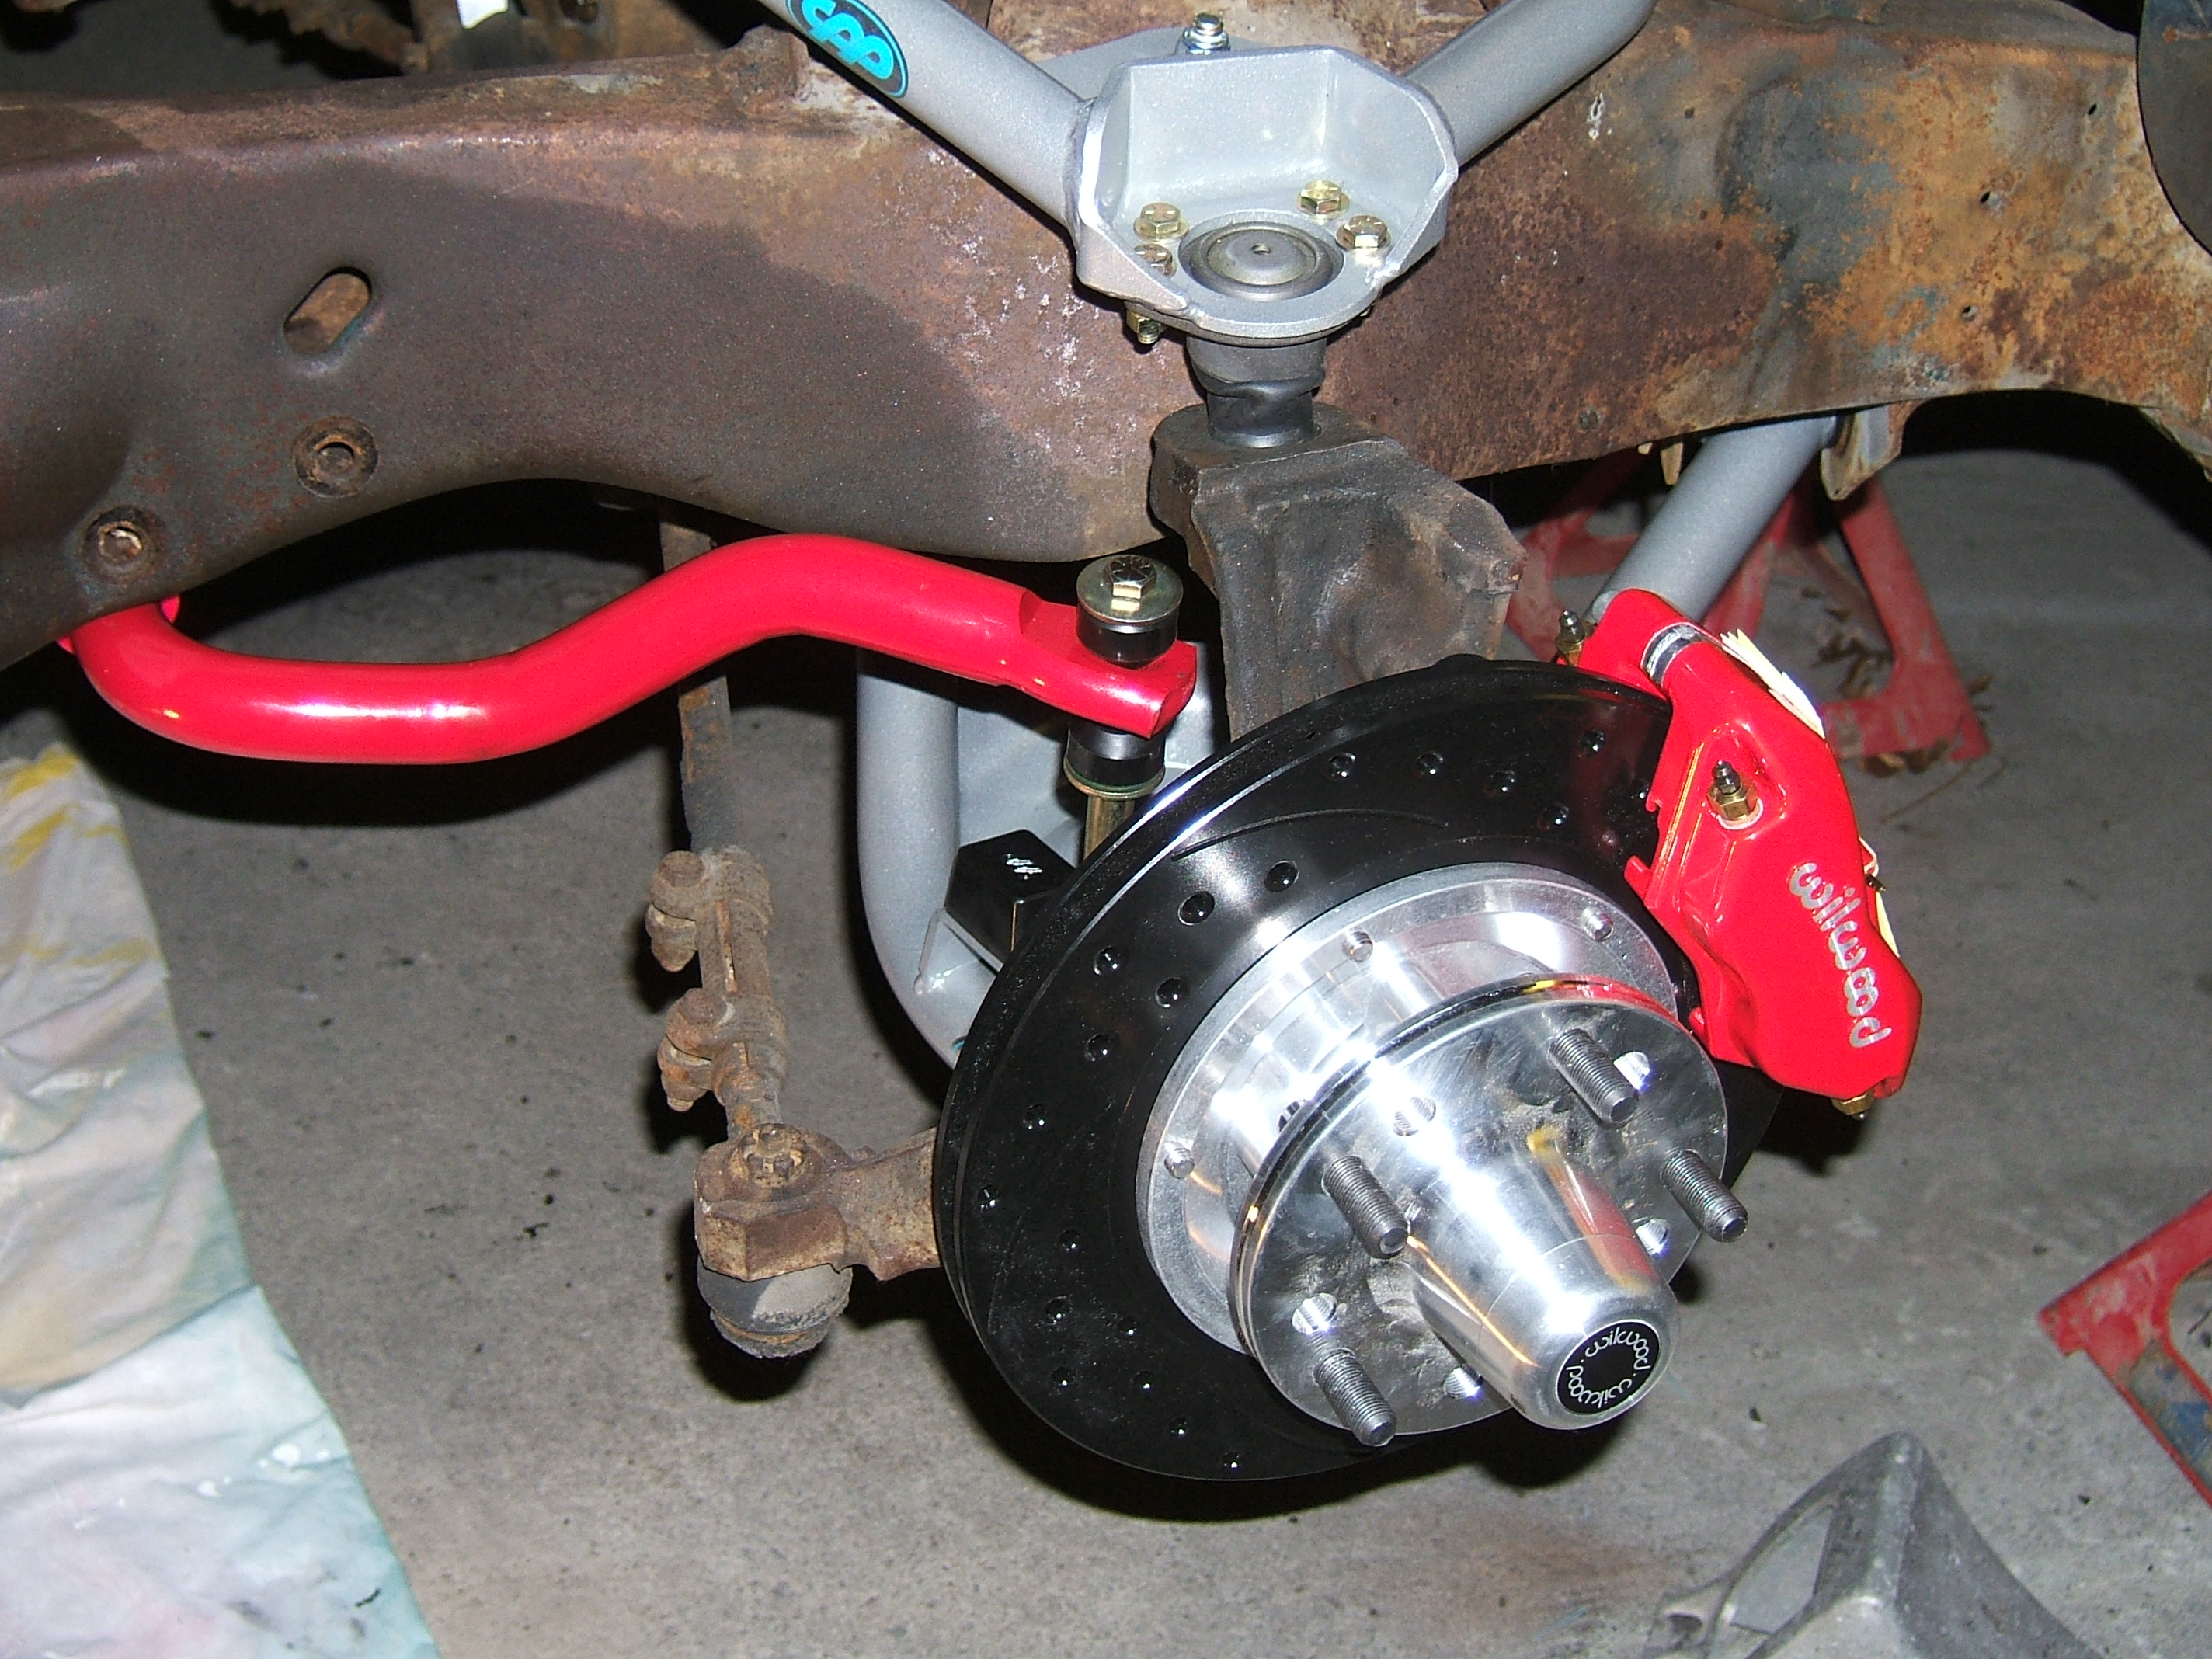
Running into a problem with the sway bar end links. Not enough clearance between the mount bracket and control arm for the bushing, washer, and nut. The bolt is also too long. The stock control arm has different mounting that prevents this issue, so I need to take a look at a few alternatives to correct this.
Rude discovery of a torn grease boot for one of the ball joints. I already called about this and expect a replacement.
Control arms installed..
Brake kit assembly bench..
Drilling and tapping for brake kit..
Driver side brake kit installed. This kit completely replaces the stock rotor and uses a billet aluminum hub that the rotors bolt to.
Sway bar mocked up..
Running into a problem with the sway bar end links. Not enough clearance between the mount bracket and control arm for the bushing, washer, and nut. The bolt is also too long. The stock control arm has different mounting that prevents this issue, so I need to take a look at a few alternatives to correct this.
Thread Starter
|
In the Staging Lanes
Joined: Dec 2008
Posts: 73
From:
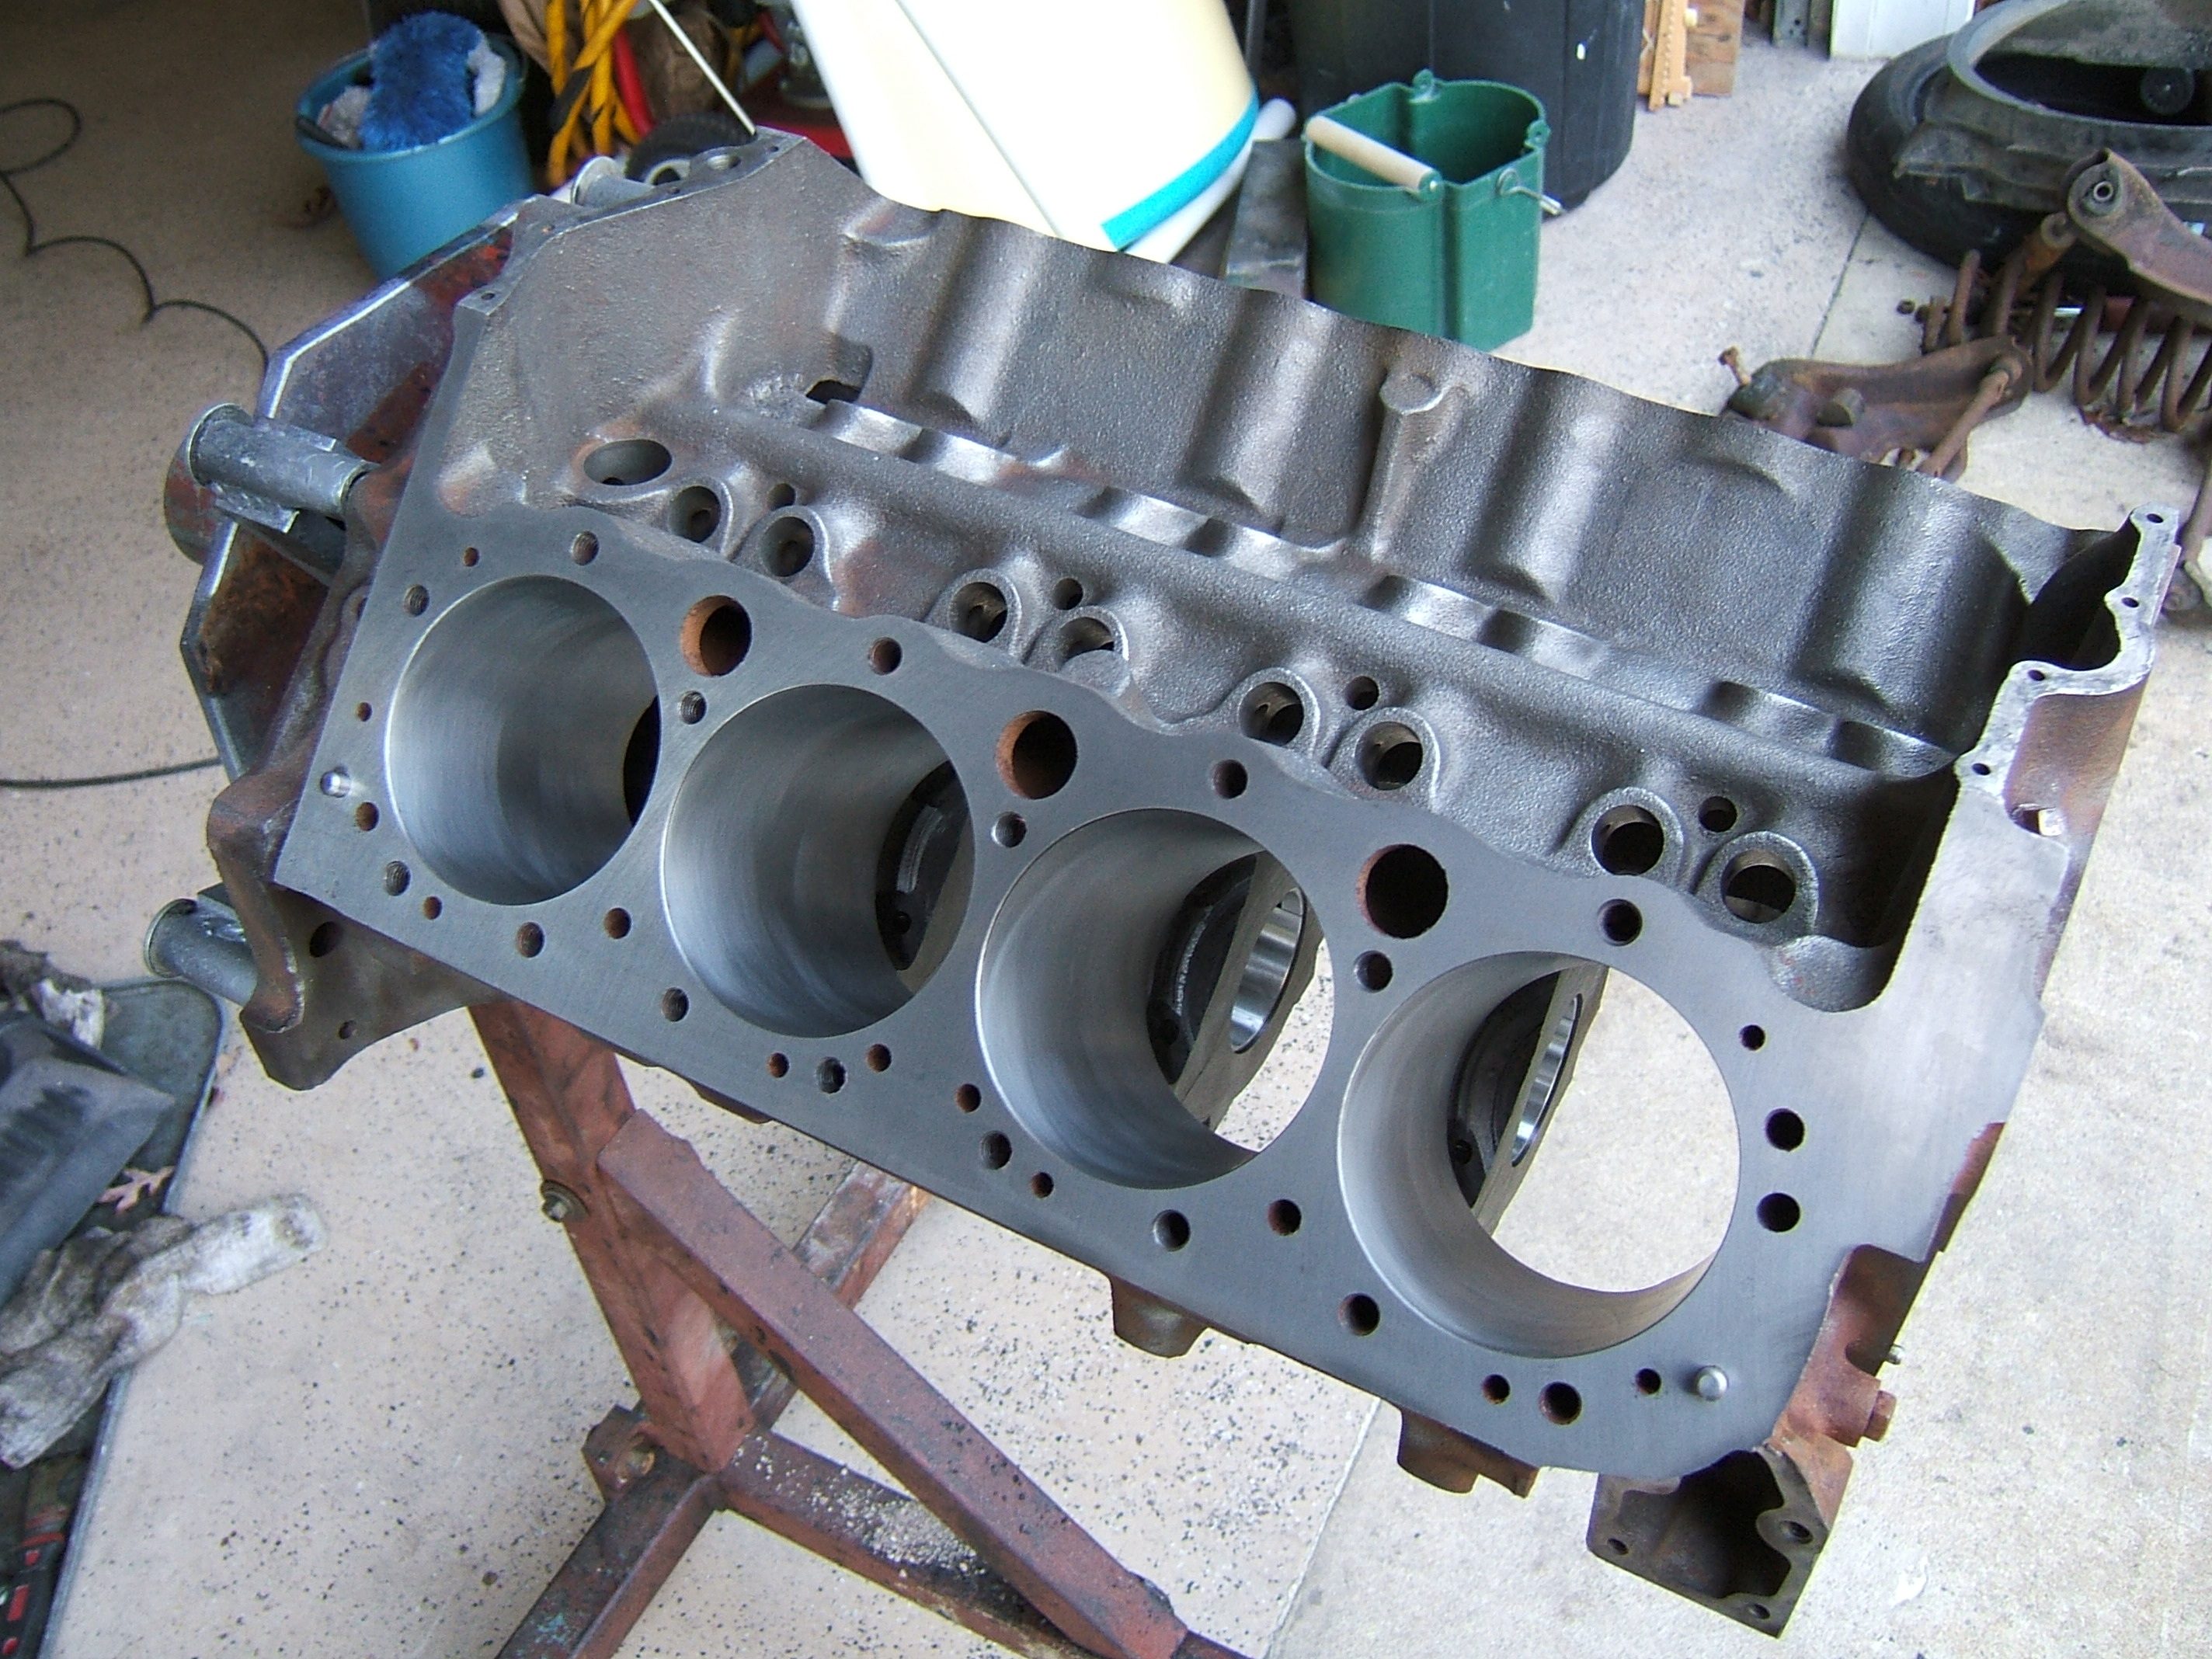
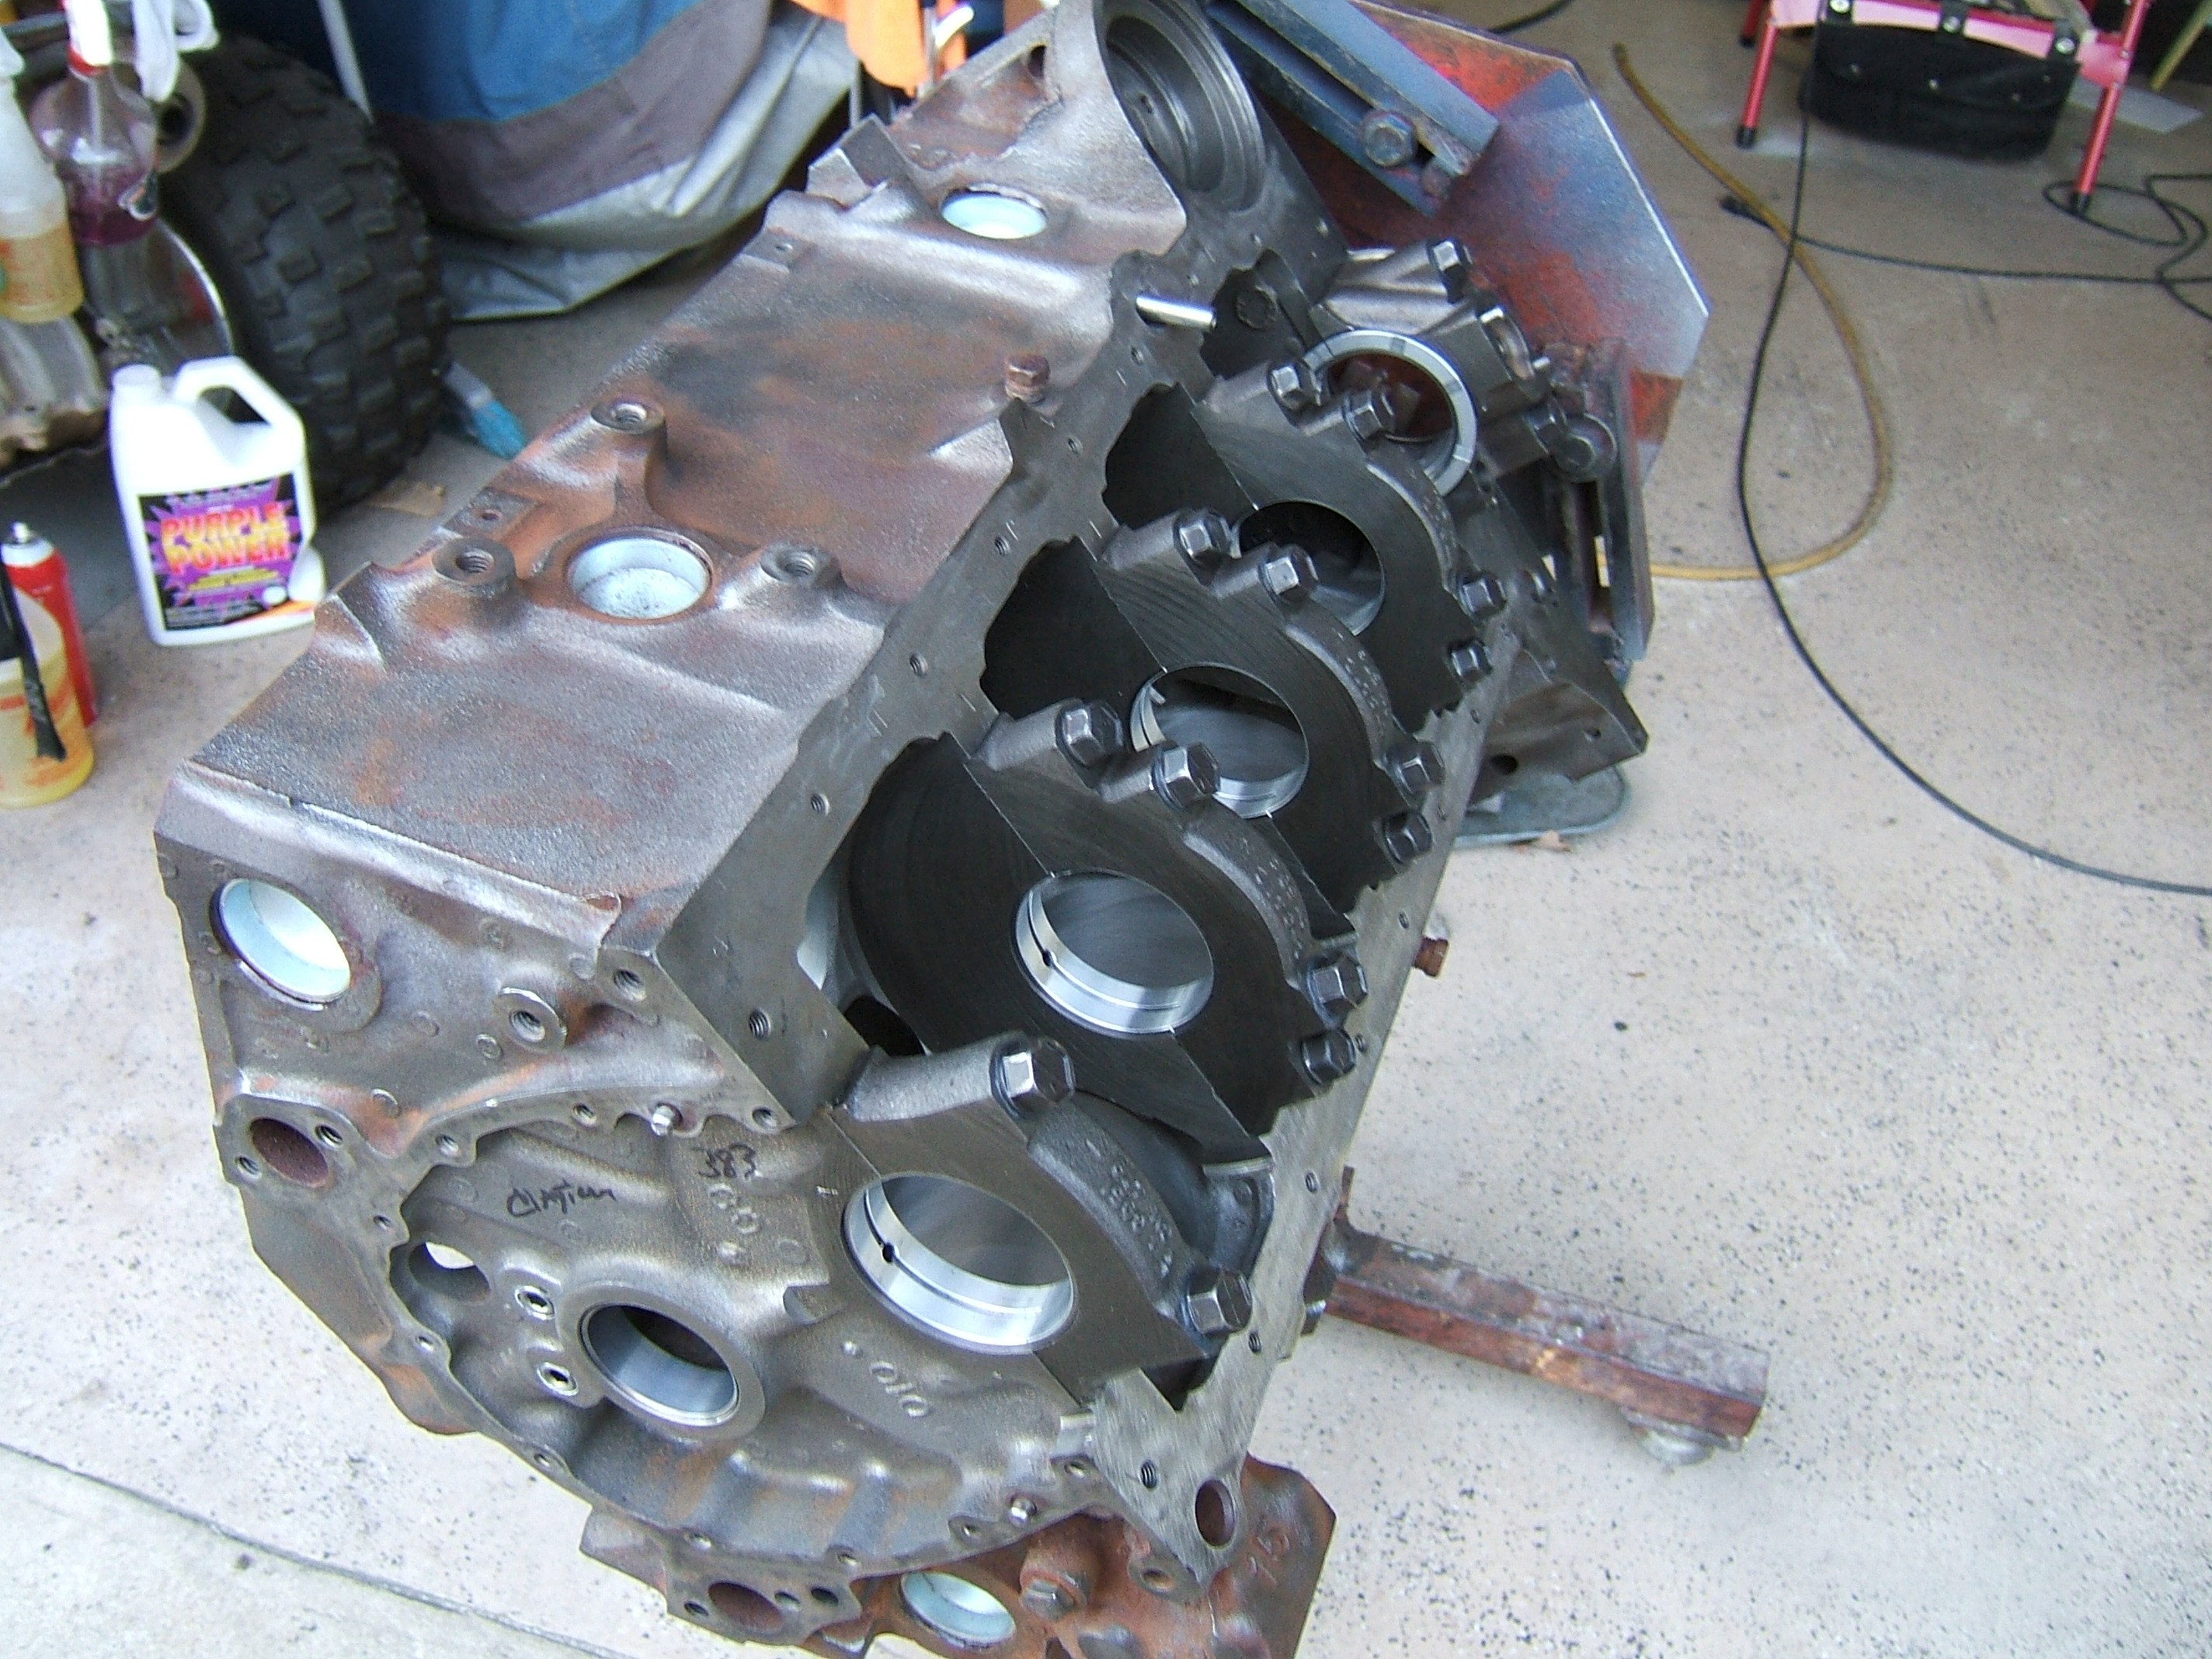
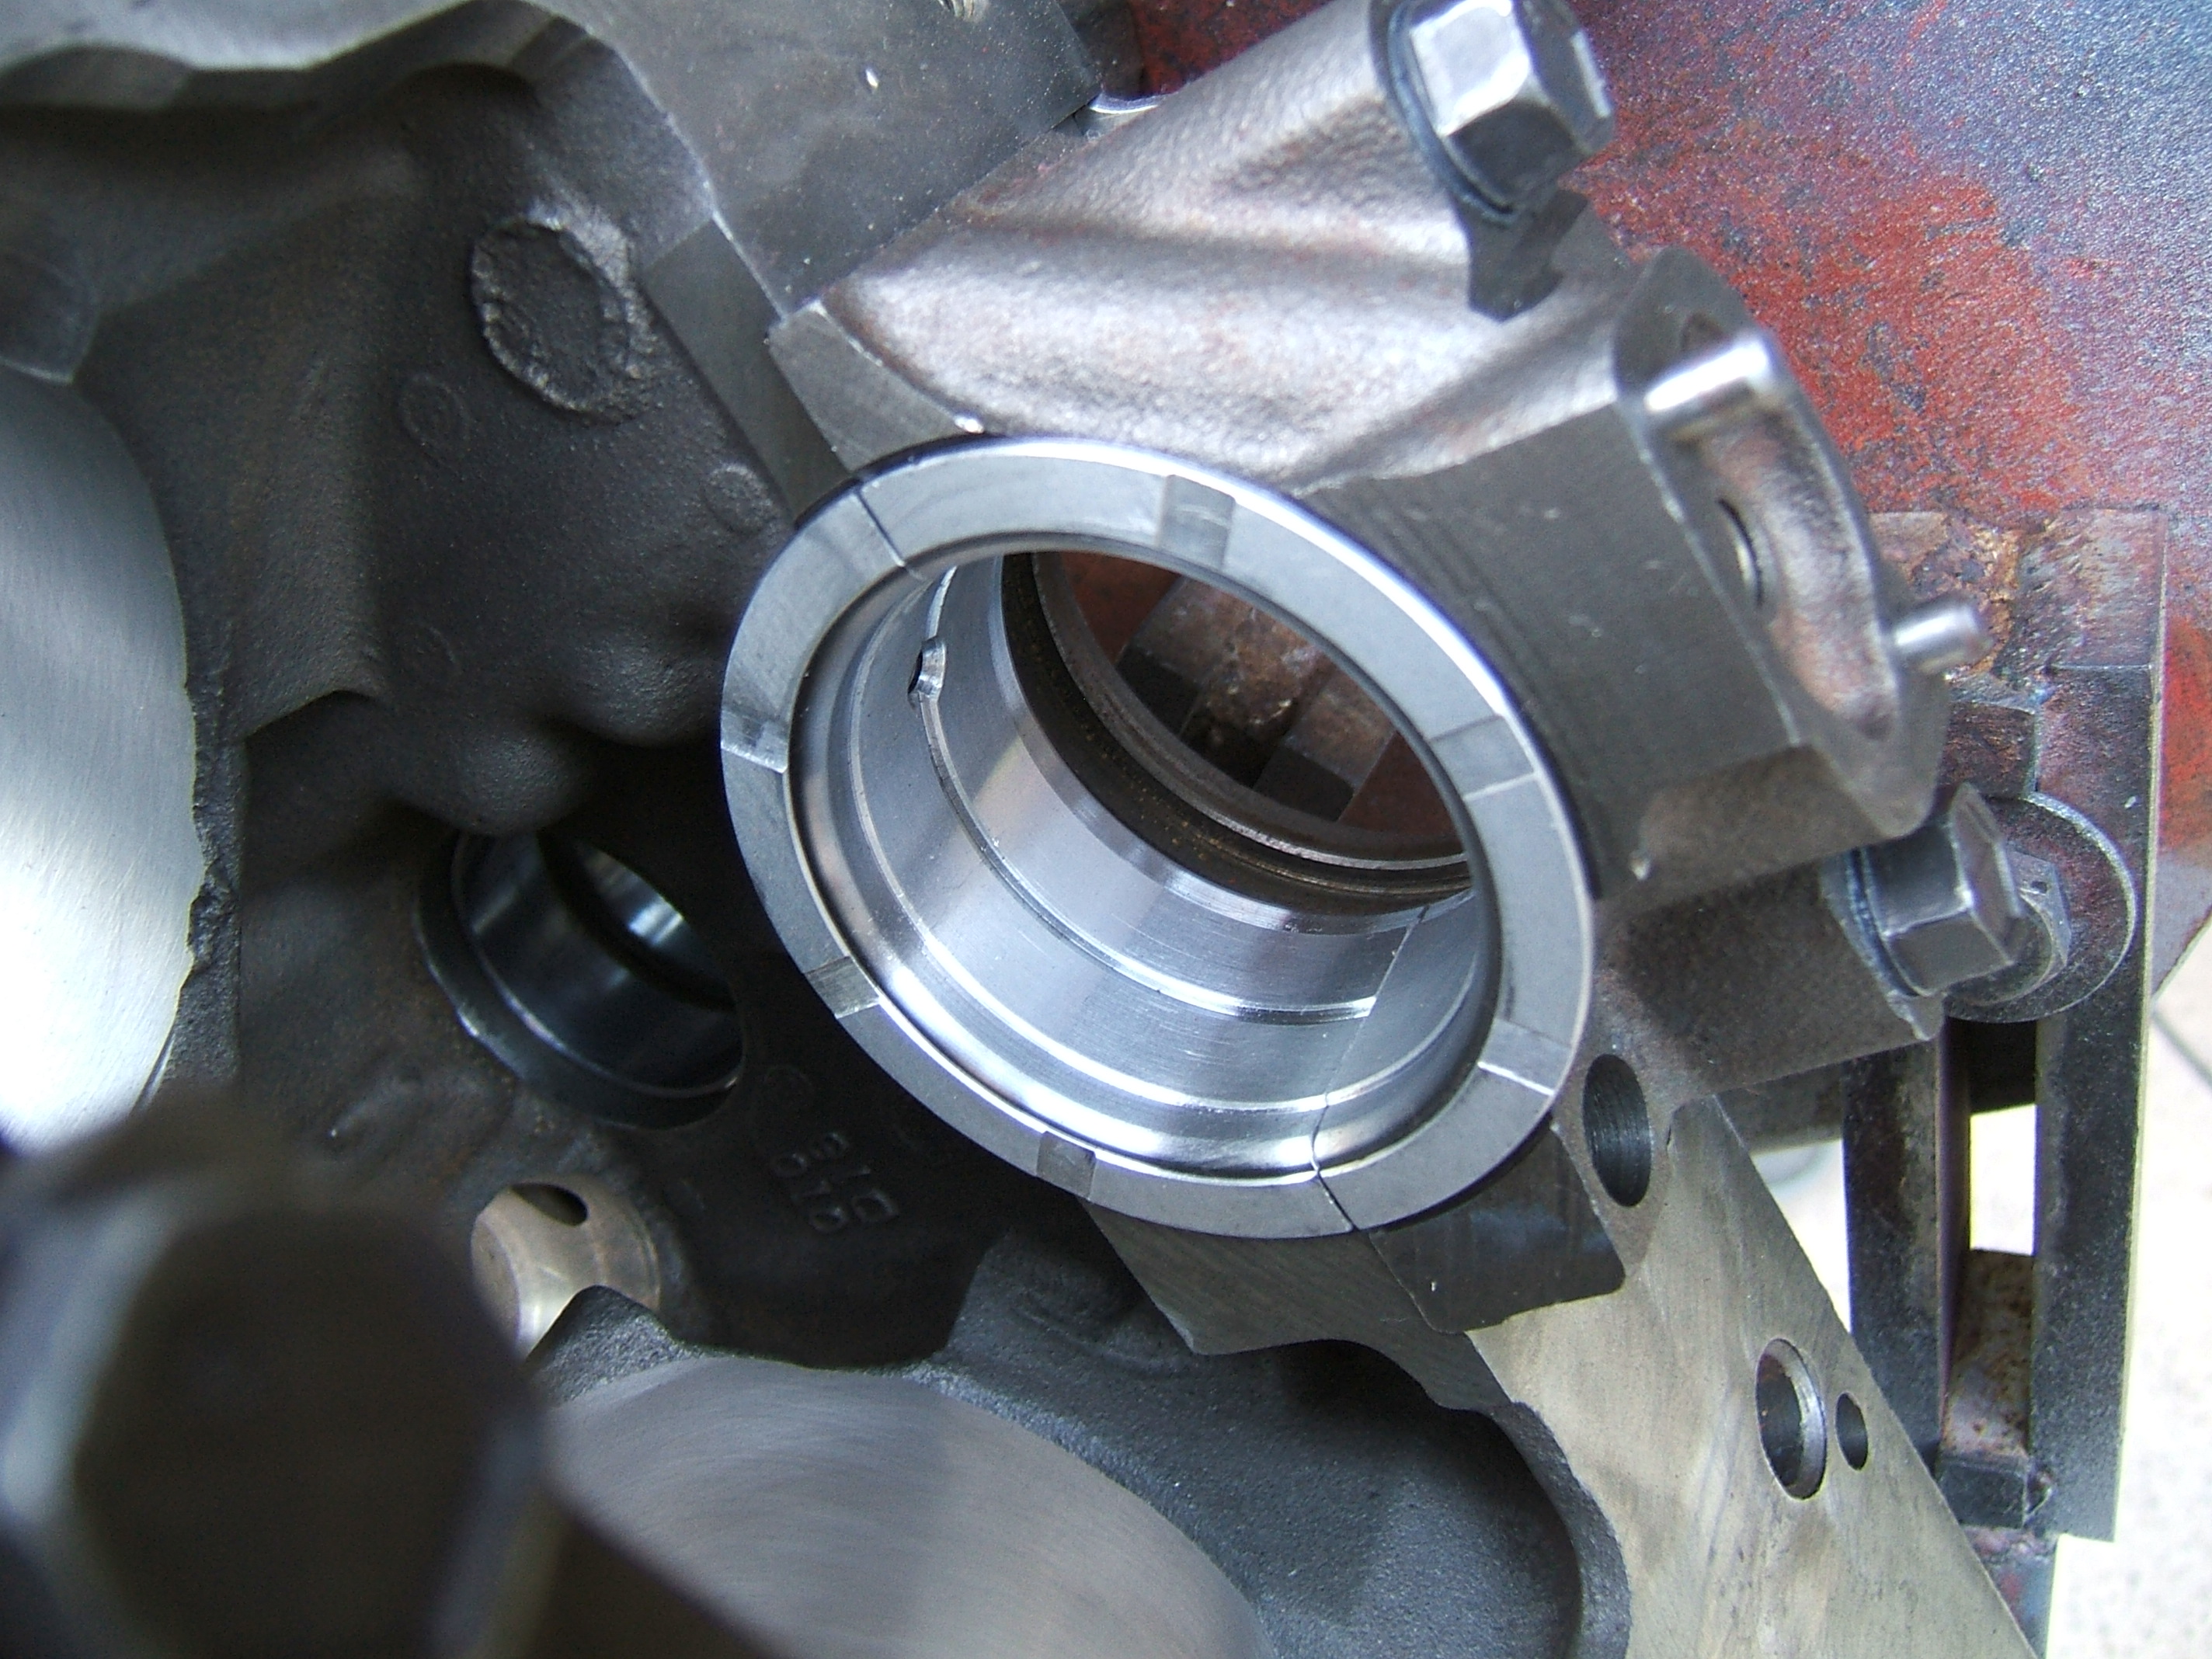
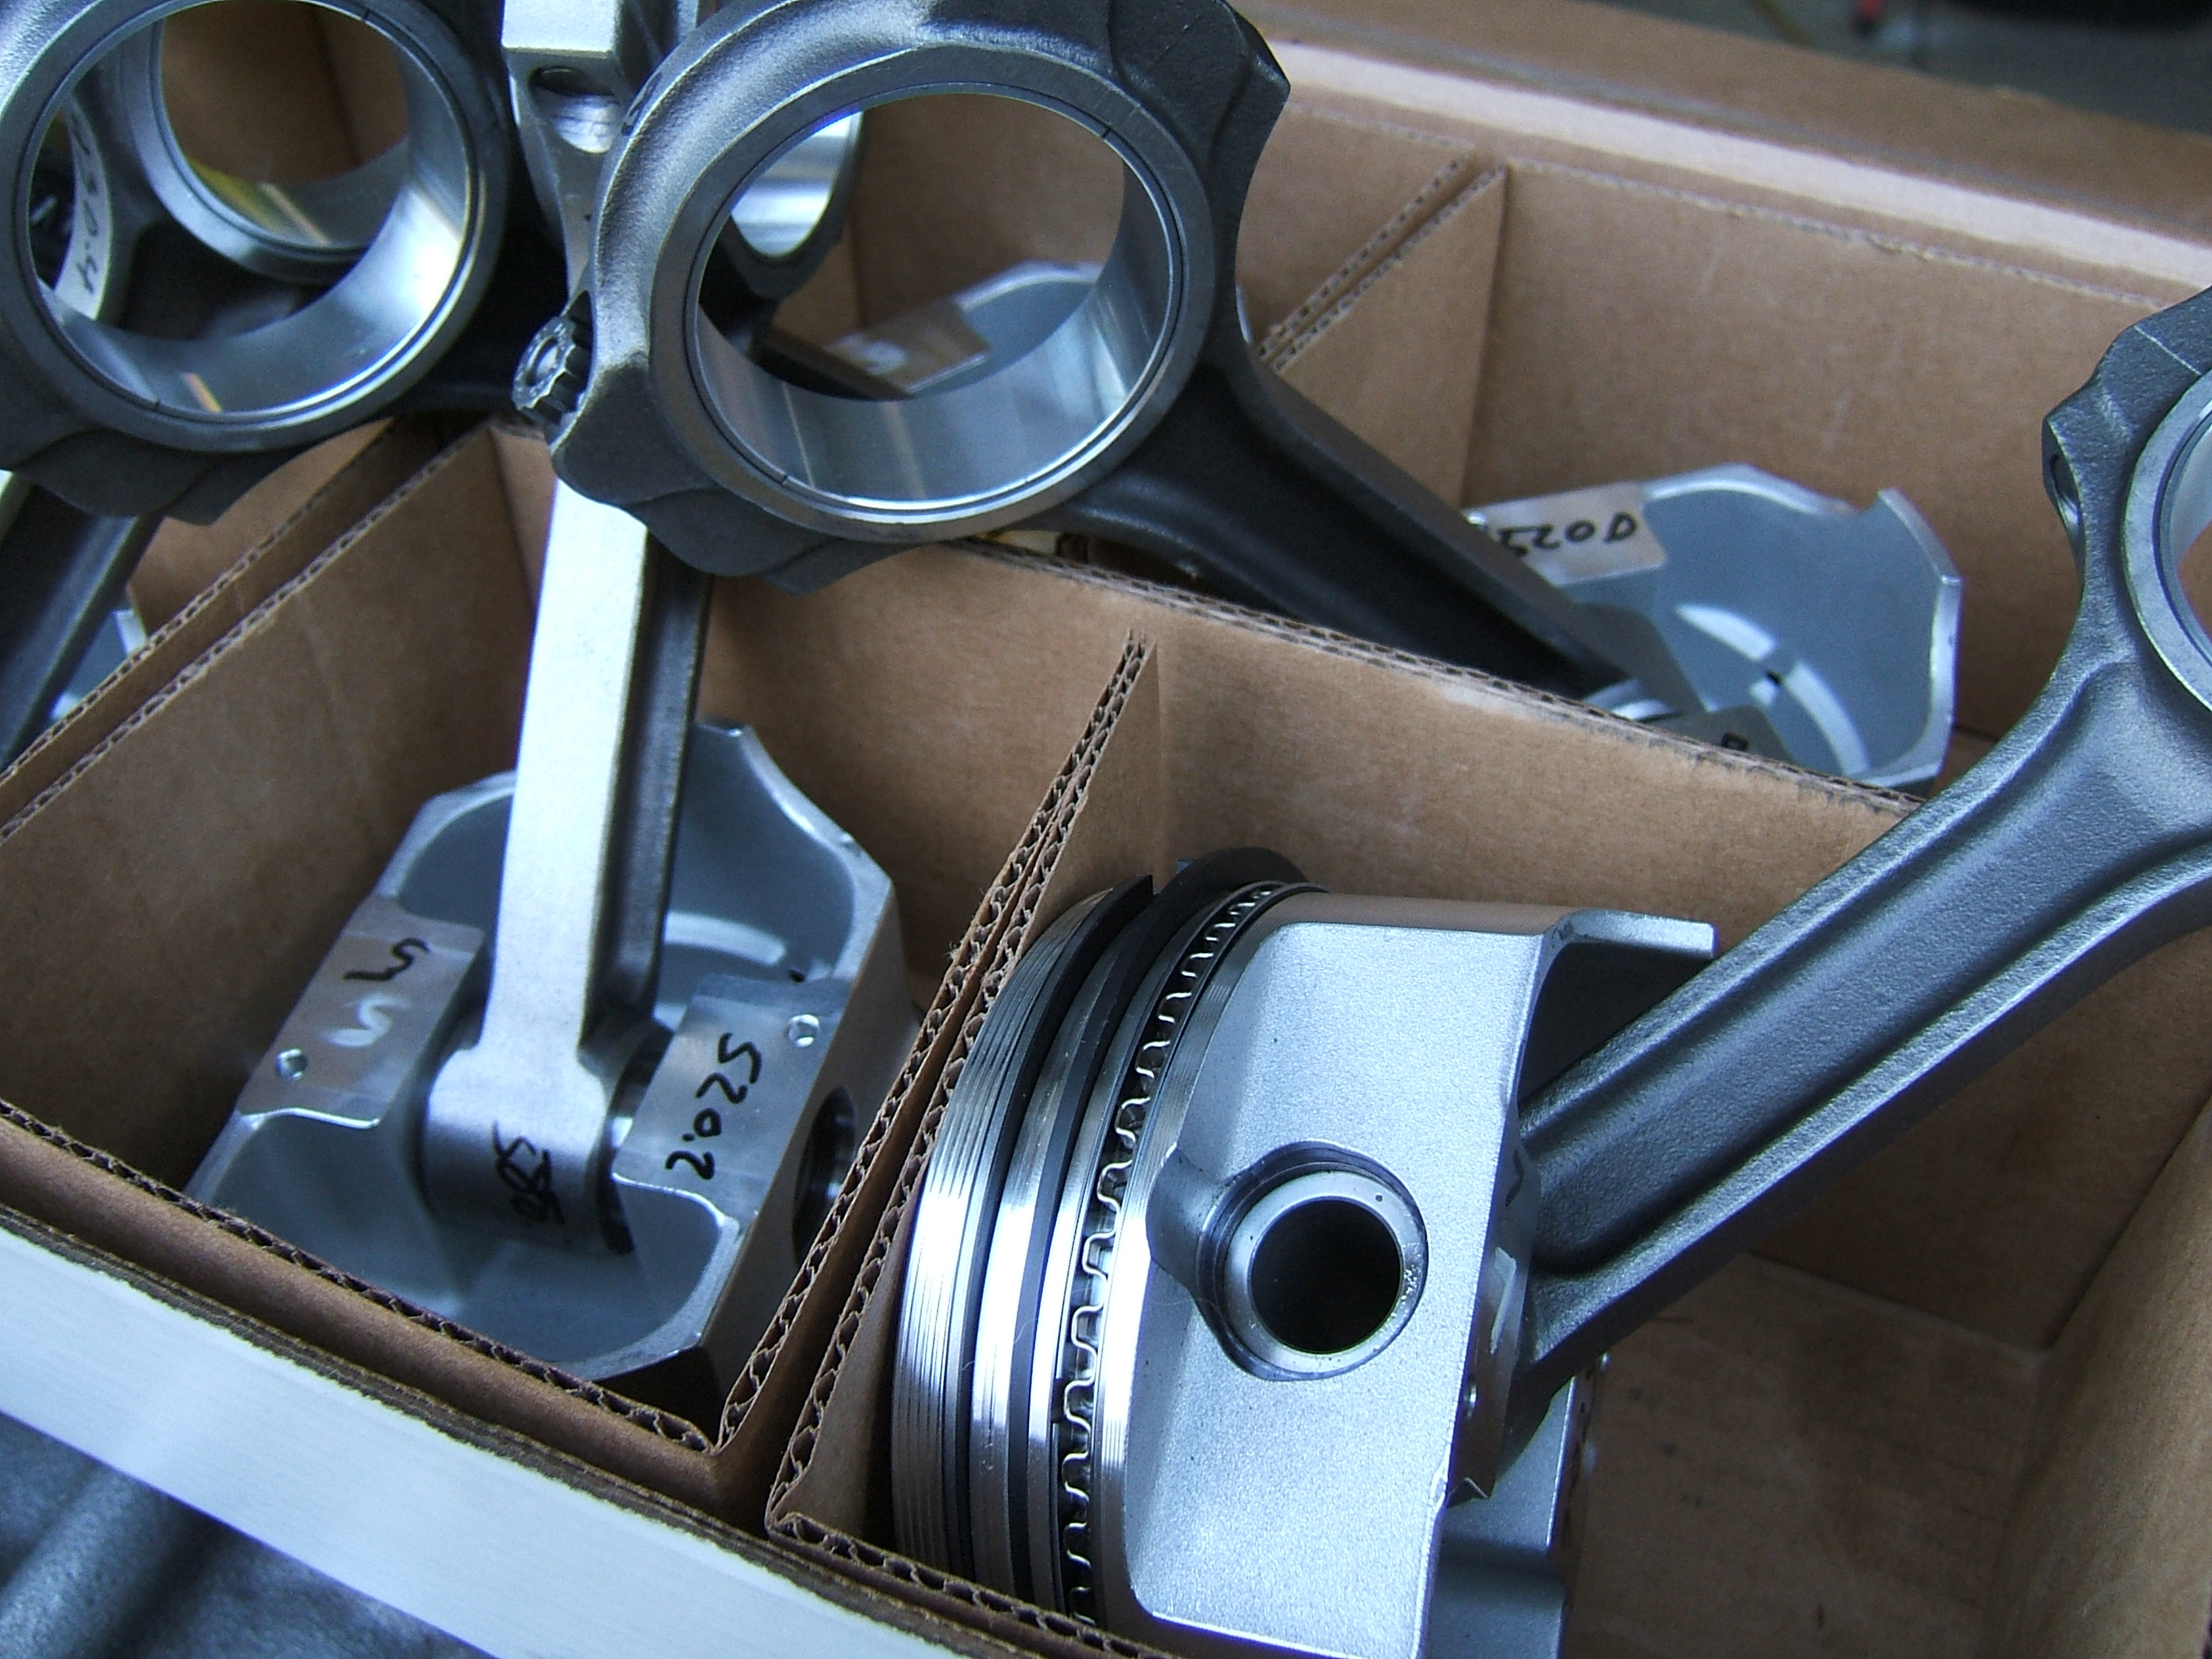
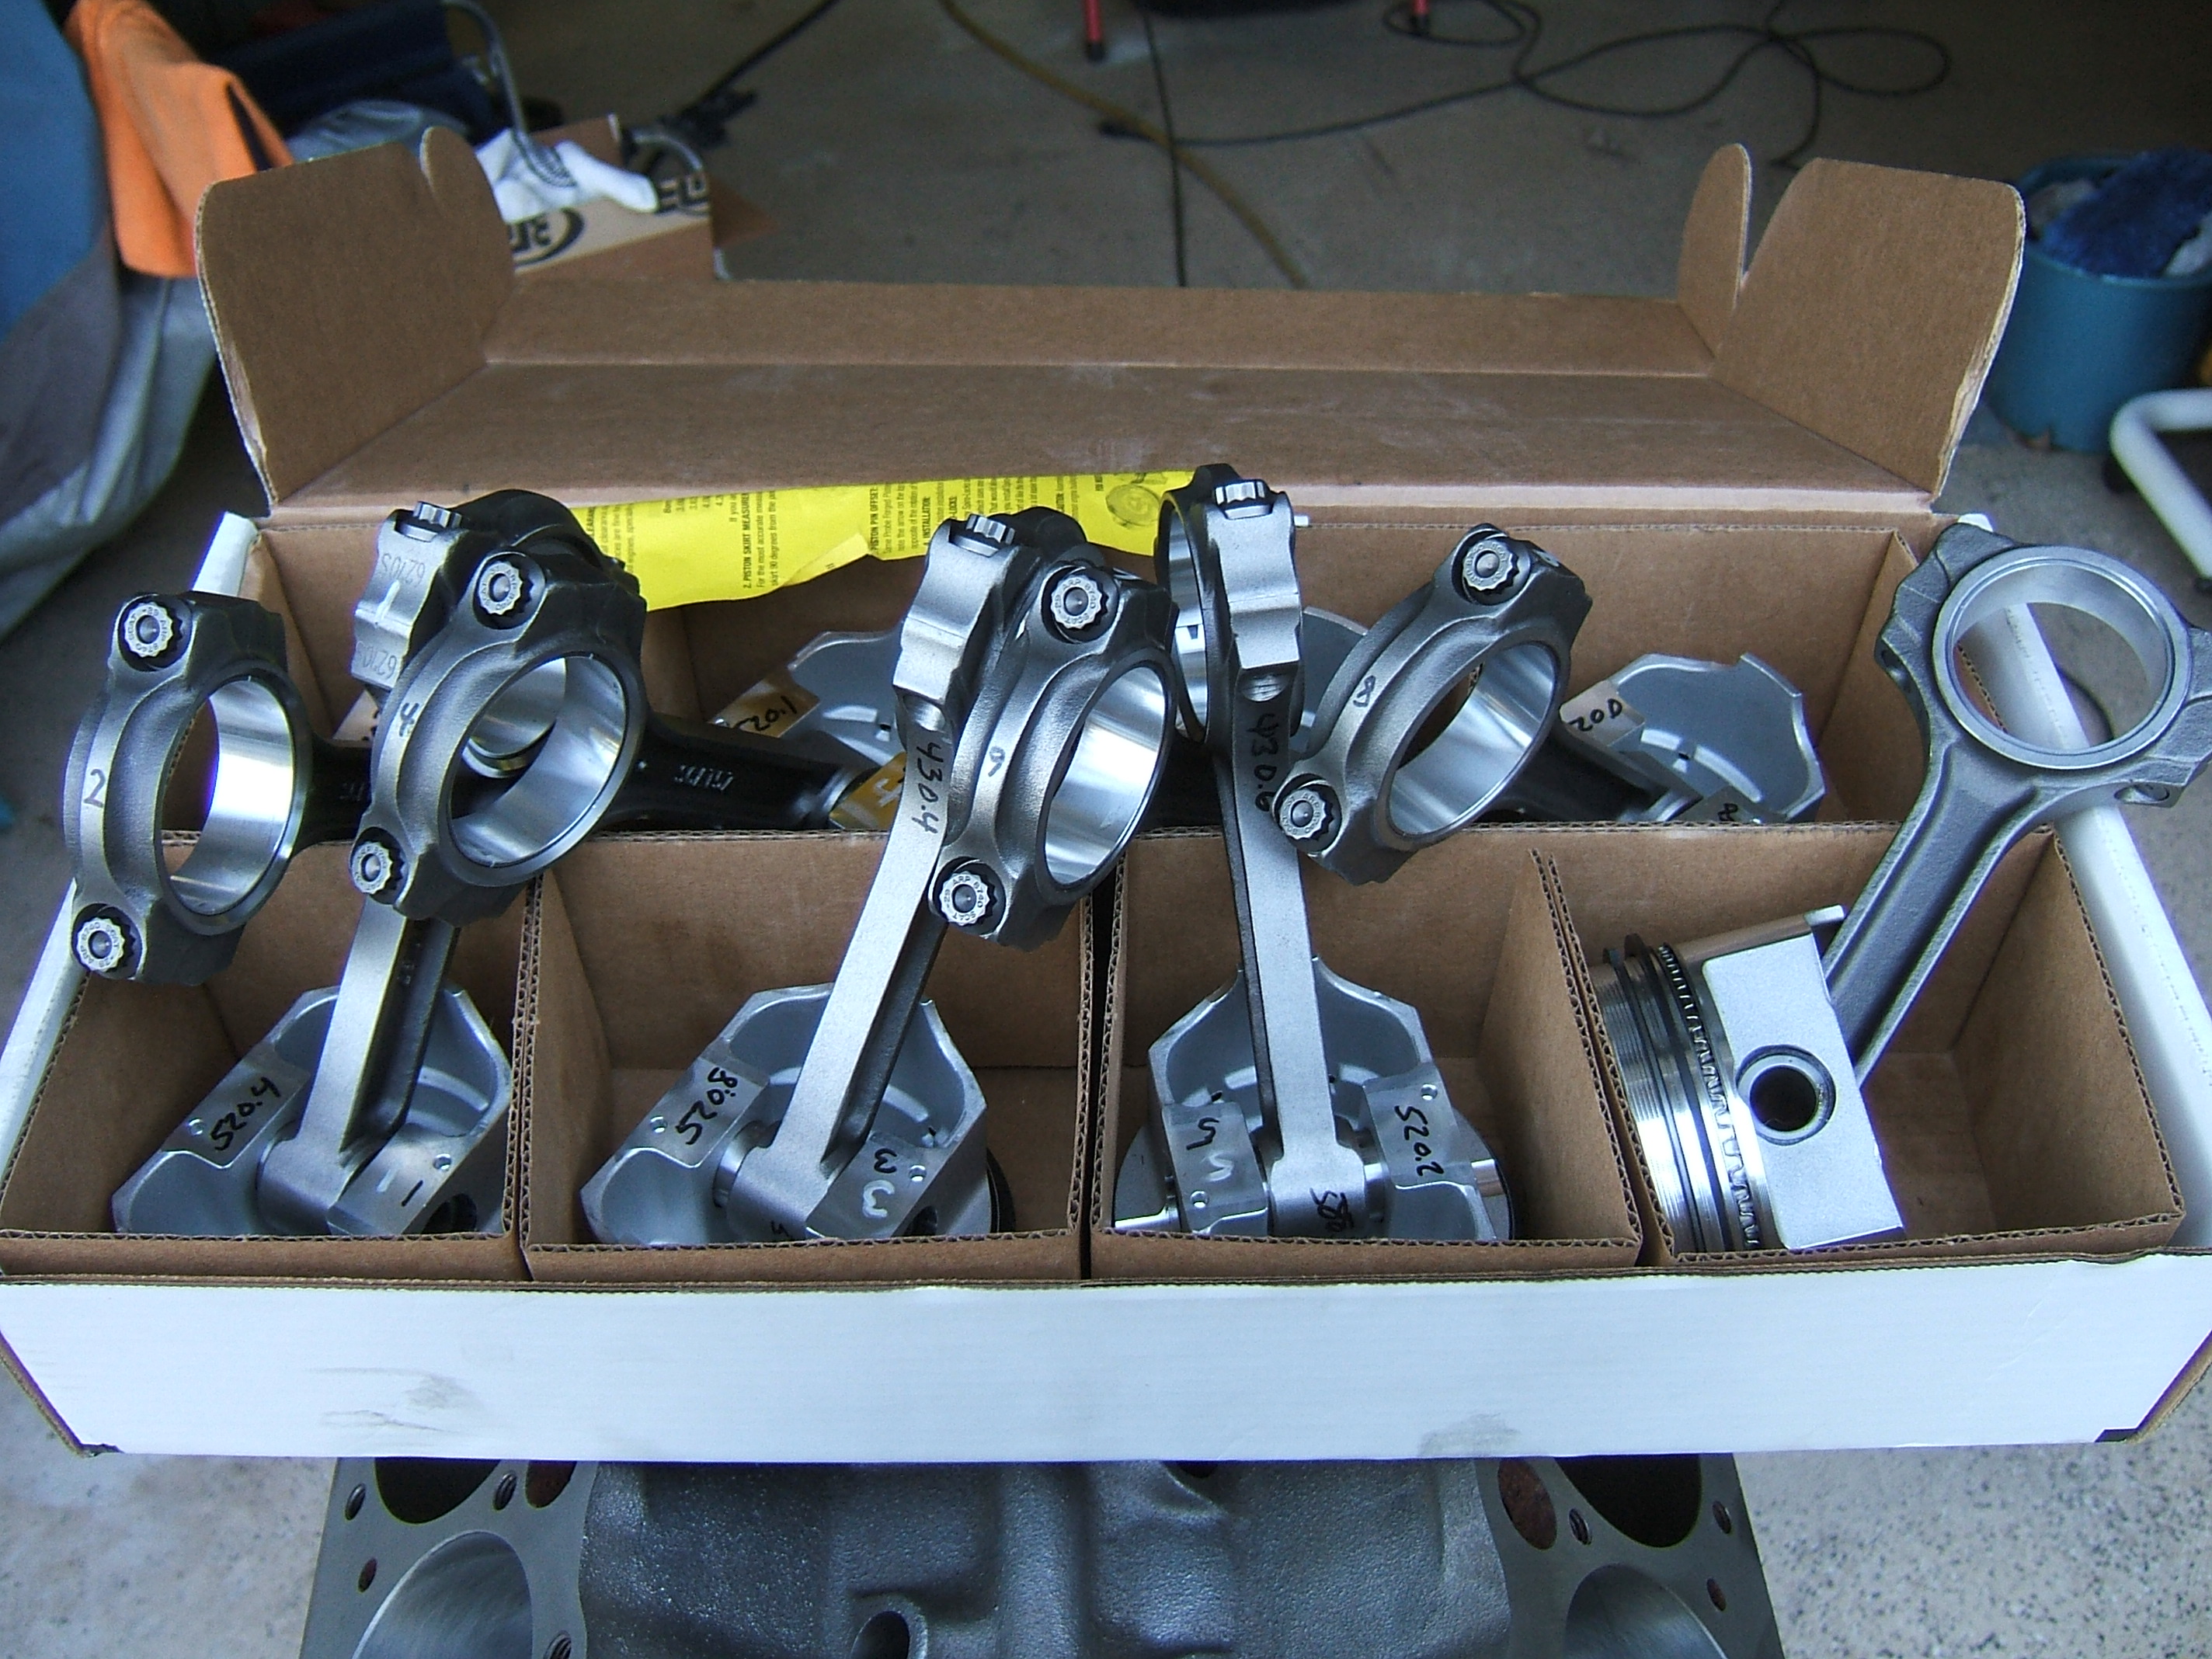
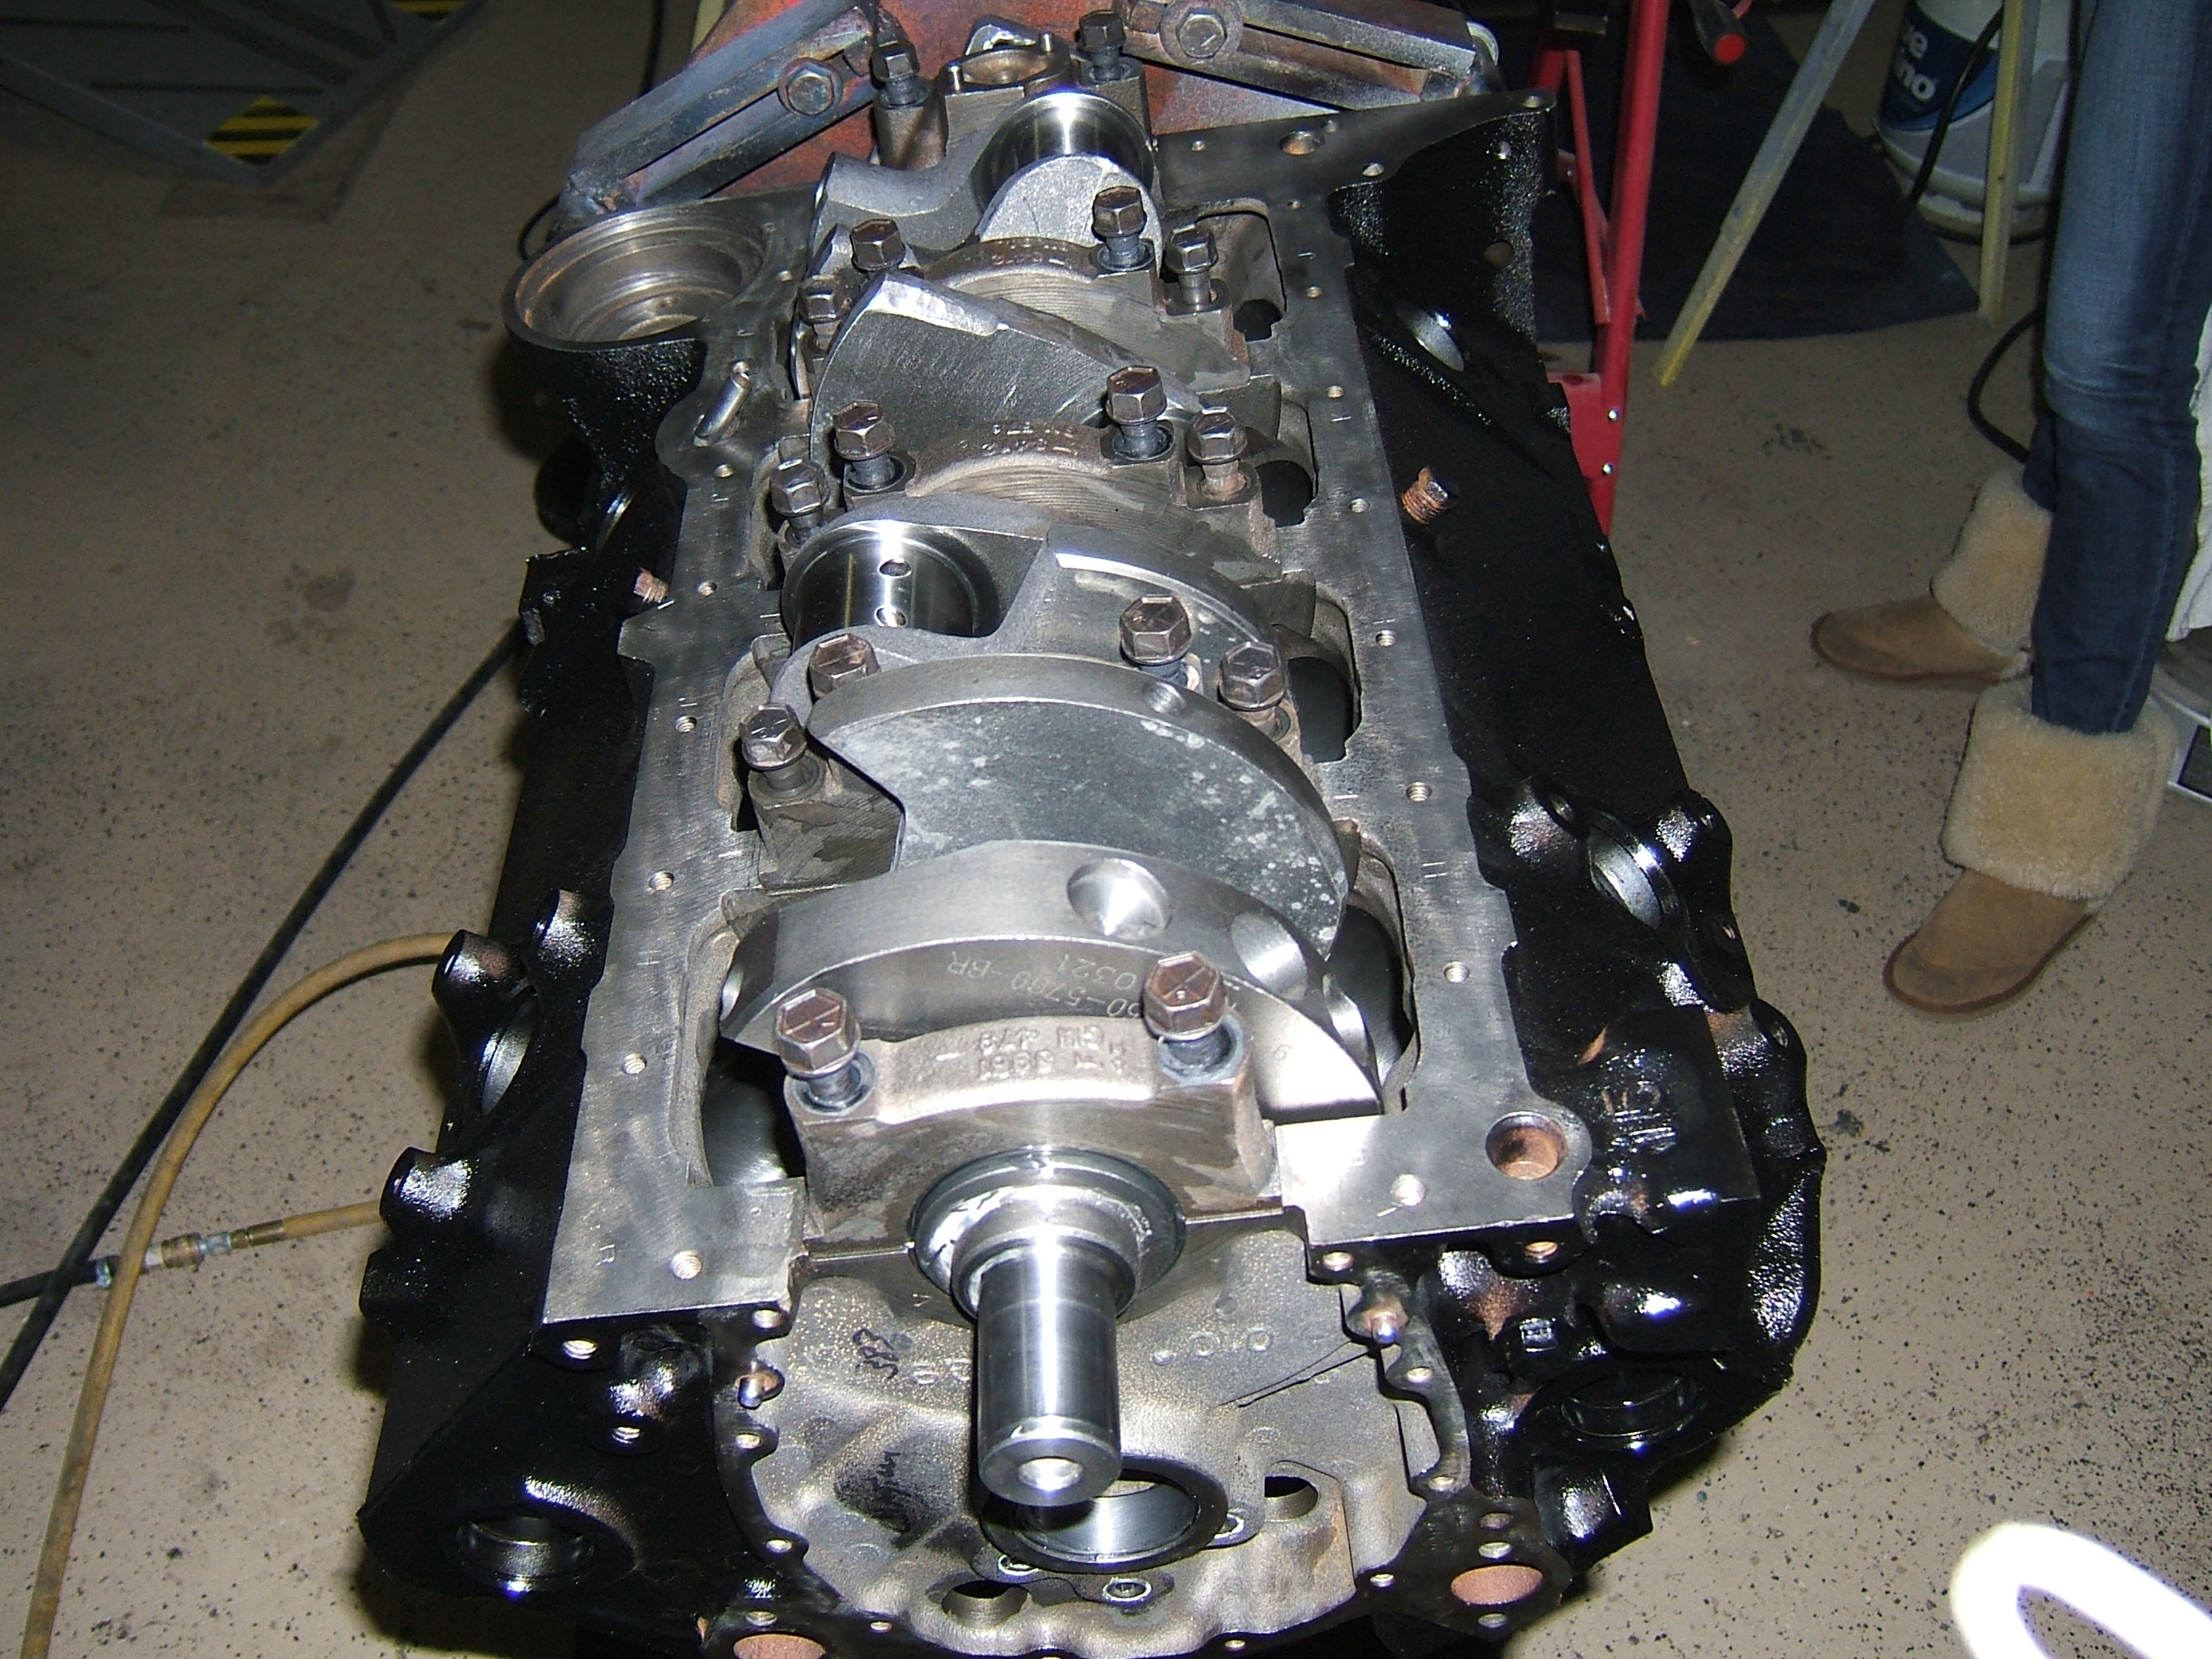
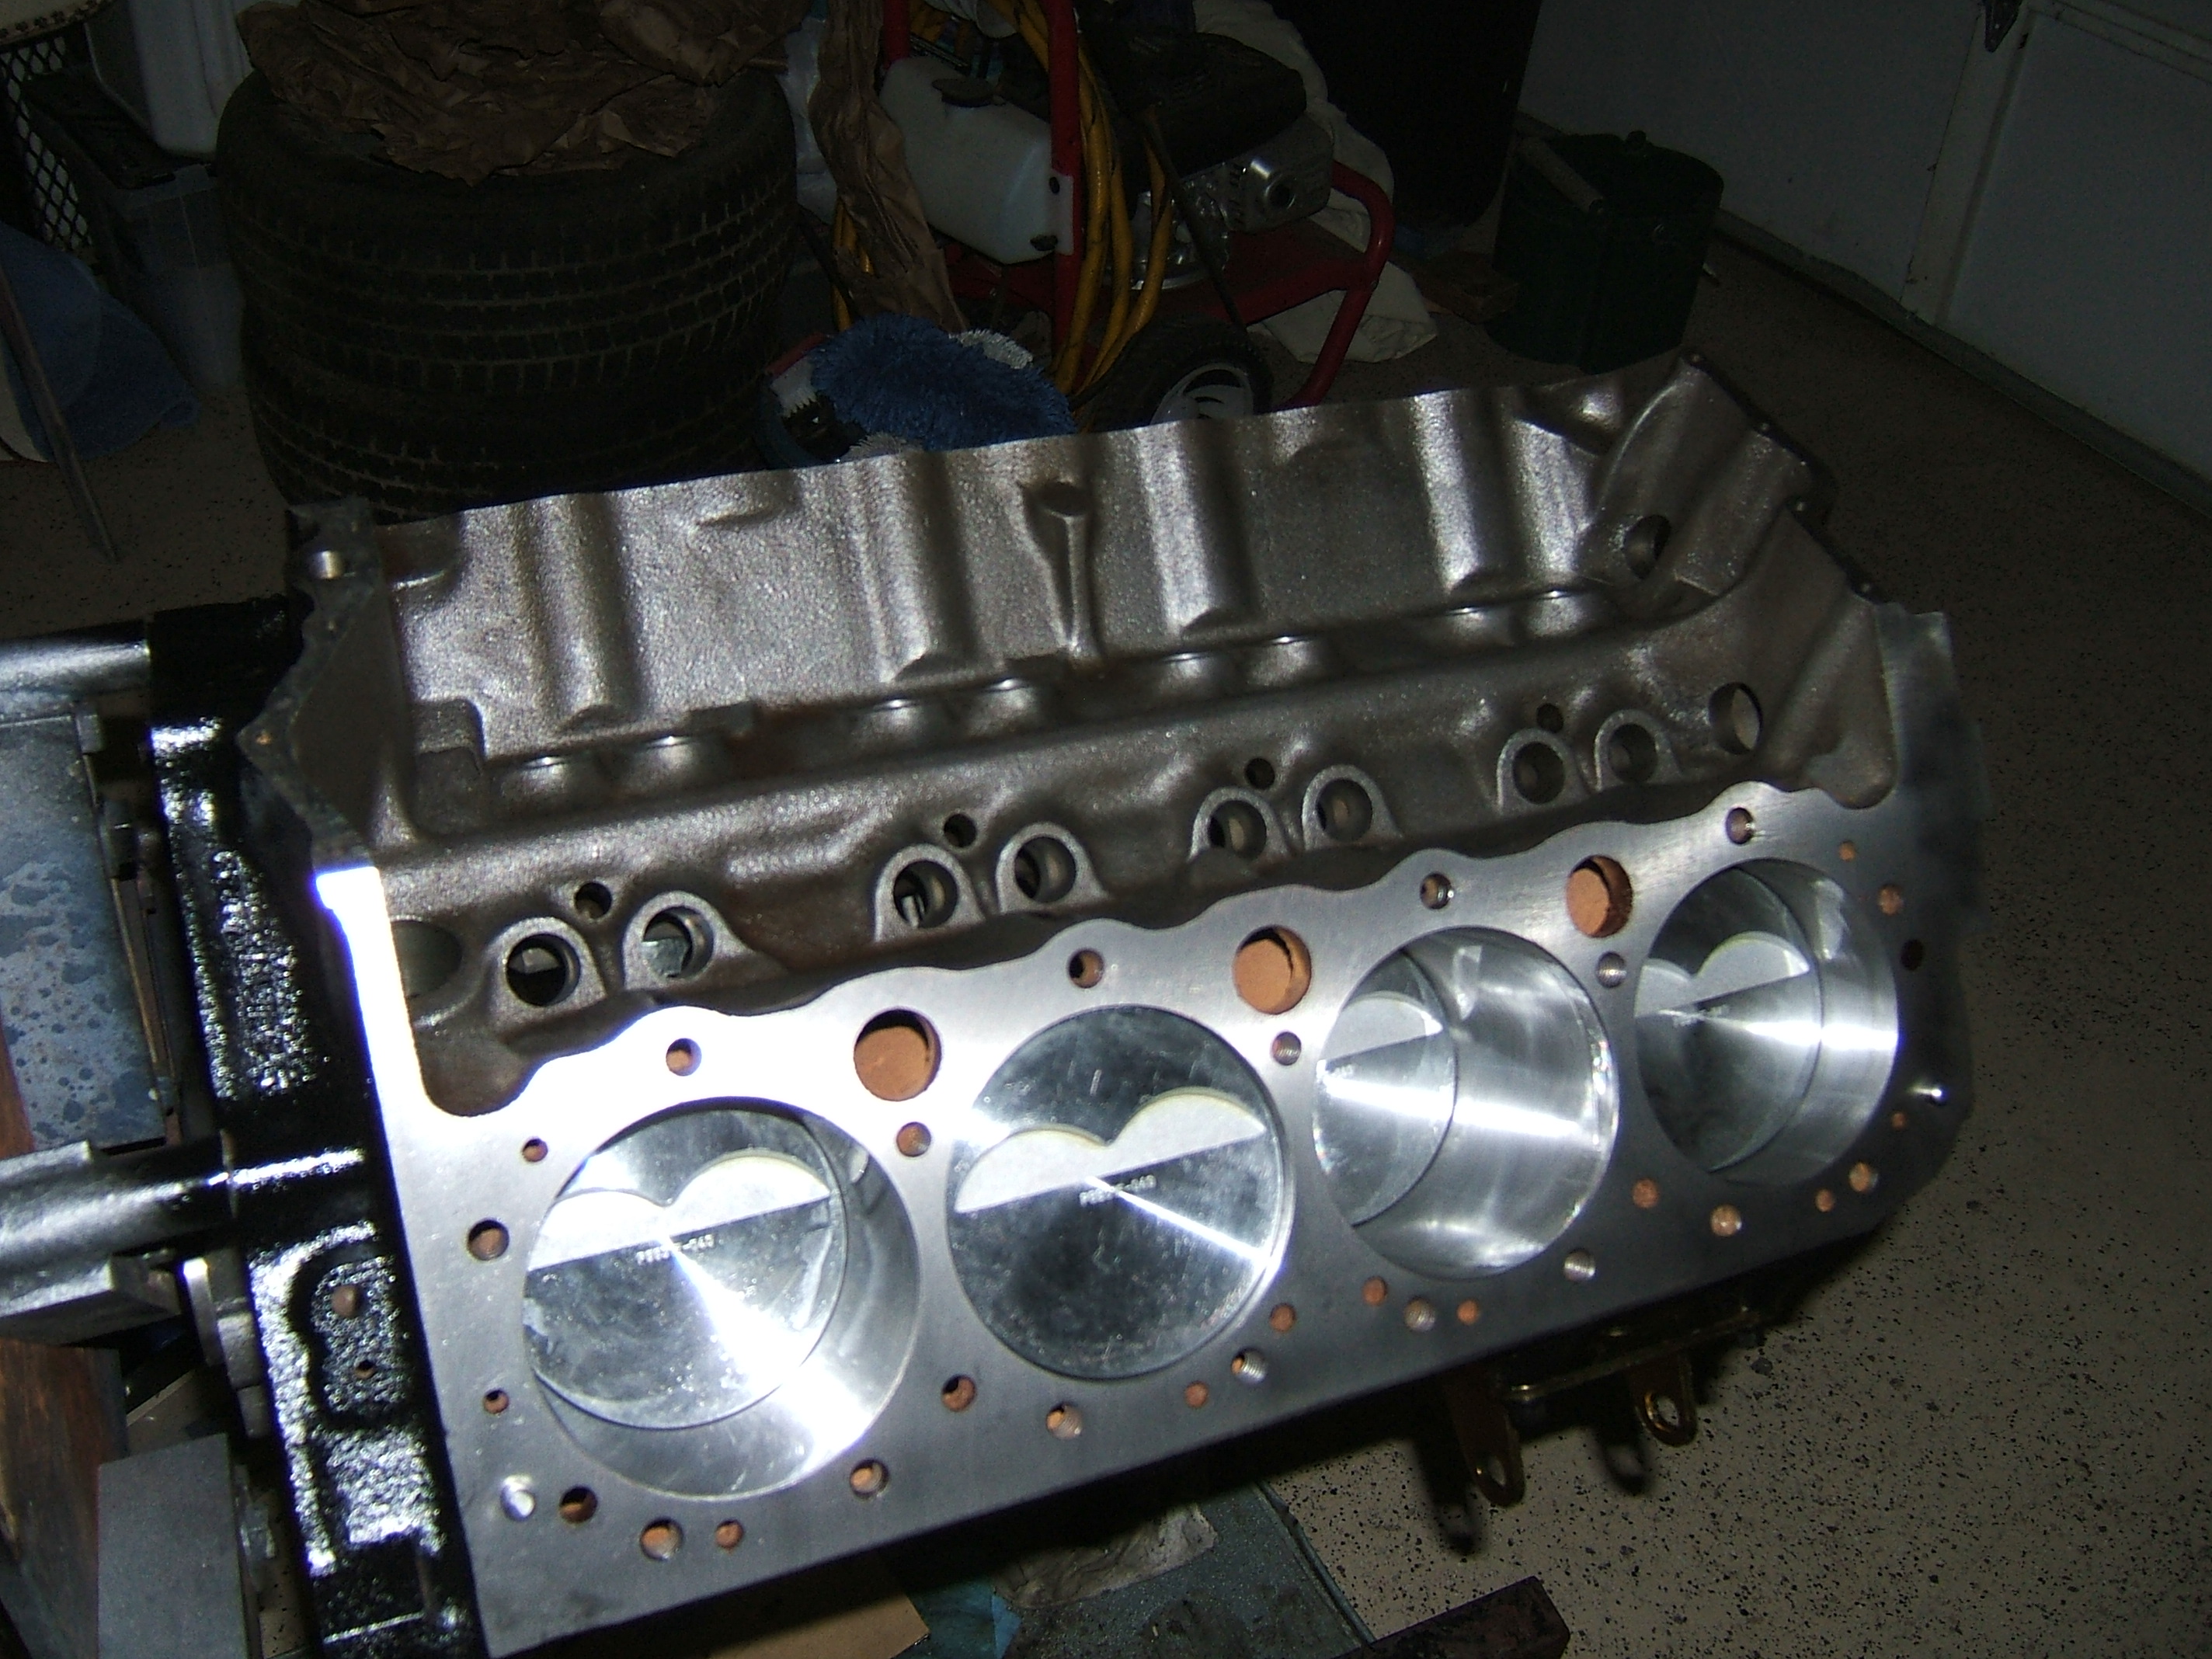
Lookie what I went and picked up today!!!!
I am really not sure how much more I can ask from a machine shop. All bearings checks for clearance, and left in place for lack of confusion. Pistons/rods assembled and numbered with bearings clearanced and ring file fitted for each cylinder. Block clearanced for the stroker kit. I am pretty happy with the work they did. All I need to do is paint the block and start putting things together..
Oh, and the machine shop says that this combo should be 500 plus HP!
Second Generation Moderator
Feb 2010 ROTM winner
Jan 2013 ROTM winner
Feb 2010 ROTM winner
Jan 2013 ROTM winner
Joined: Aug 2008
Posts: 9,097
From: Portland, Or
ROTM Winner's Club
Does the new brake assembly, and hubs change the track width any?
Might want to just trim the length on the swaybar bolts, so it will clear the control arm.
I usually assemble as much as possible on an engine, and then paint them. Makes it a lot easier, and avoid oil and assembly lube all over new paint whenever possible.
Might want to just trim the length on the swaybar bolts, so it will clear the control arm.
I usually assemble as much as possible on an engine, and then paint them. Makes it a lot easier, and avoid oil and assembly lube all over new paint whenever possible.
Thread Starter
|
In the Staging Lanes
Joined: Dec 2008
Posts: 73
From:
I got the block painted and was going to start assembly this evening. I got all the assembly lube on the journals and bearings, then laid the crank in place, when I remembered, "Crap, I don't have a rear main seal."... So, that put a halt to things until I run to the parts store....

Thread Starter
|
In the Staging Lanes
Joined: Dec 2008
Posts: 73
From:
Bottom end getting put together.....
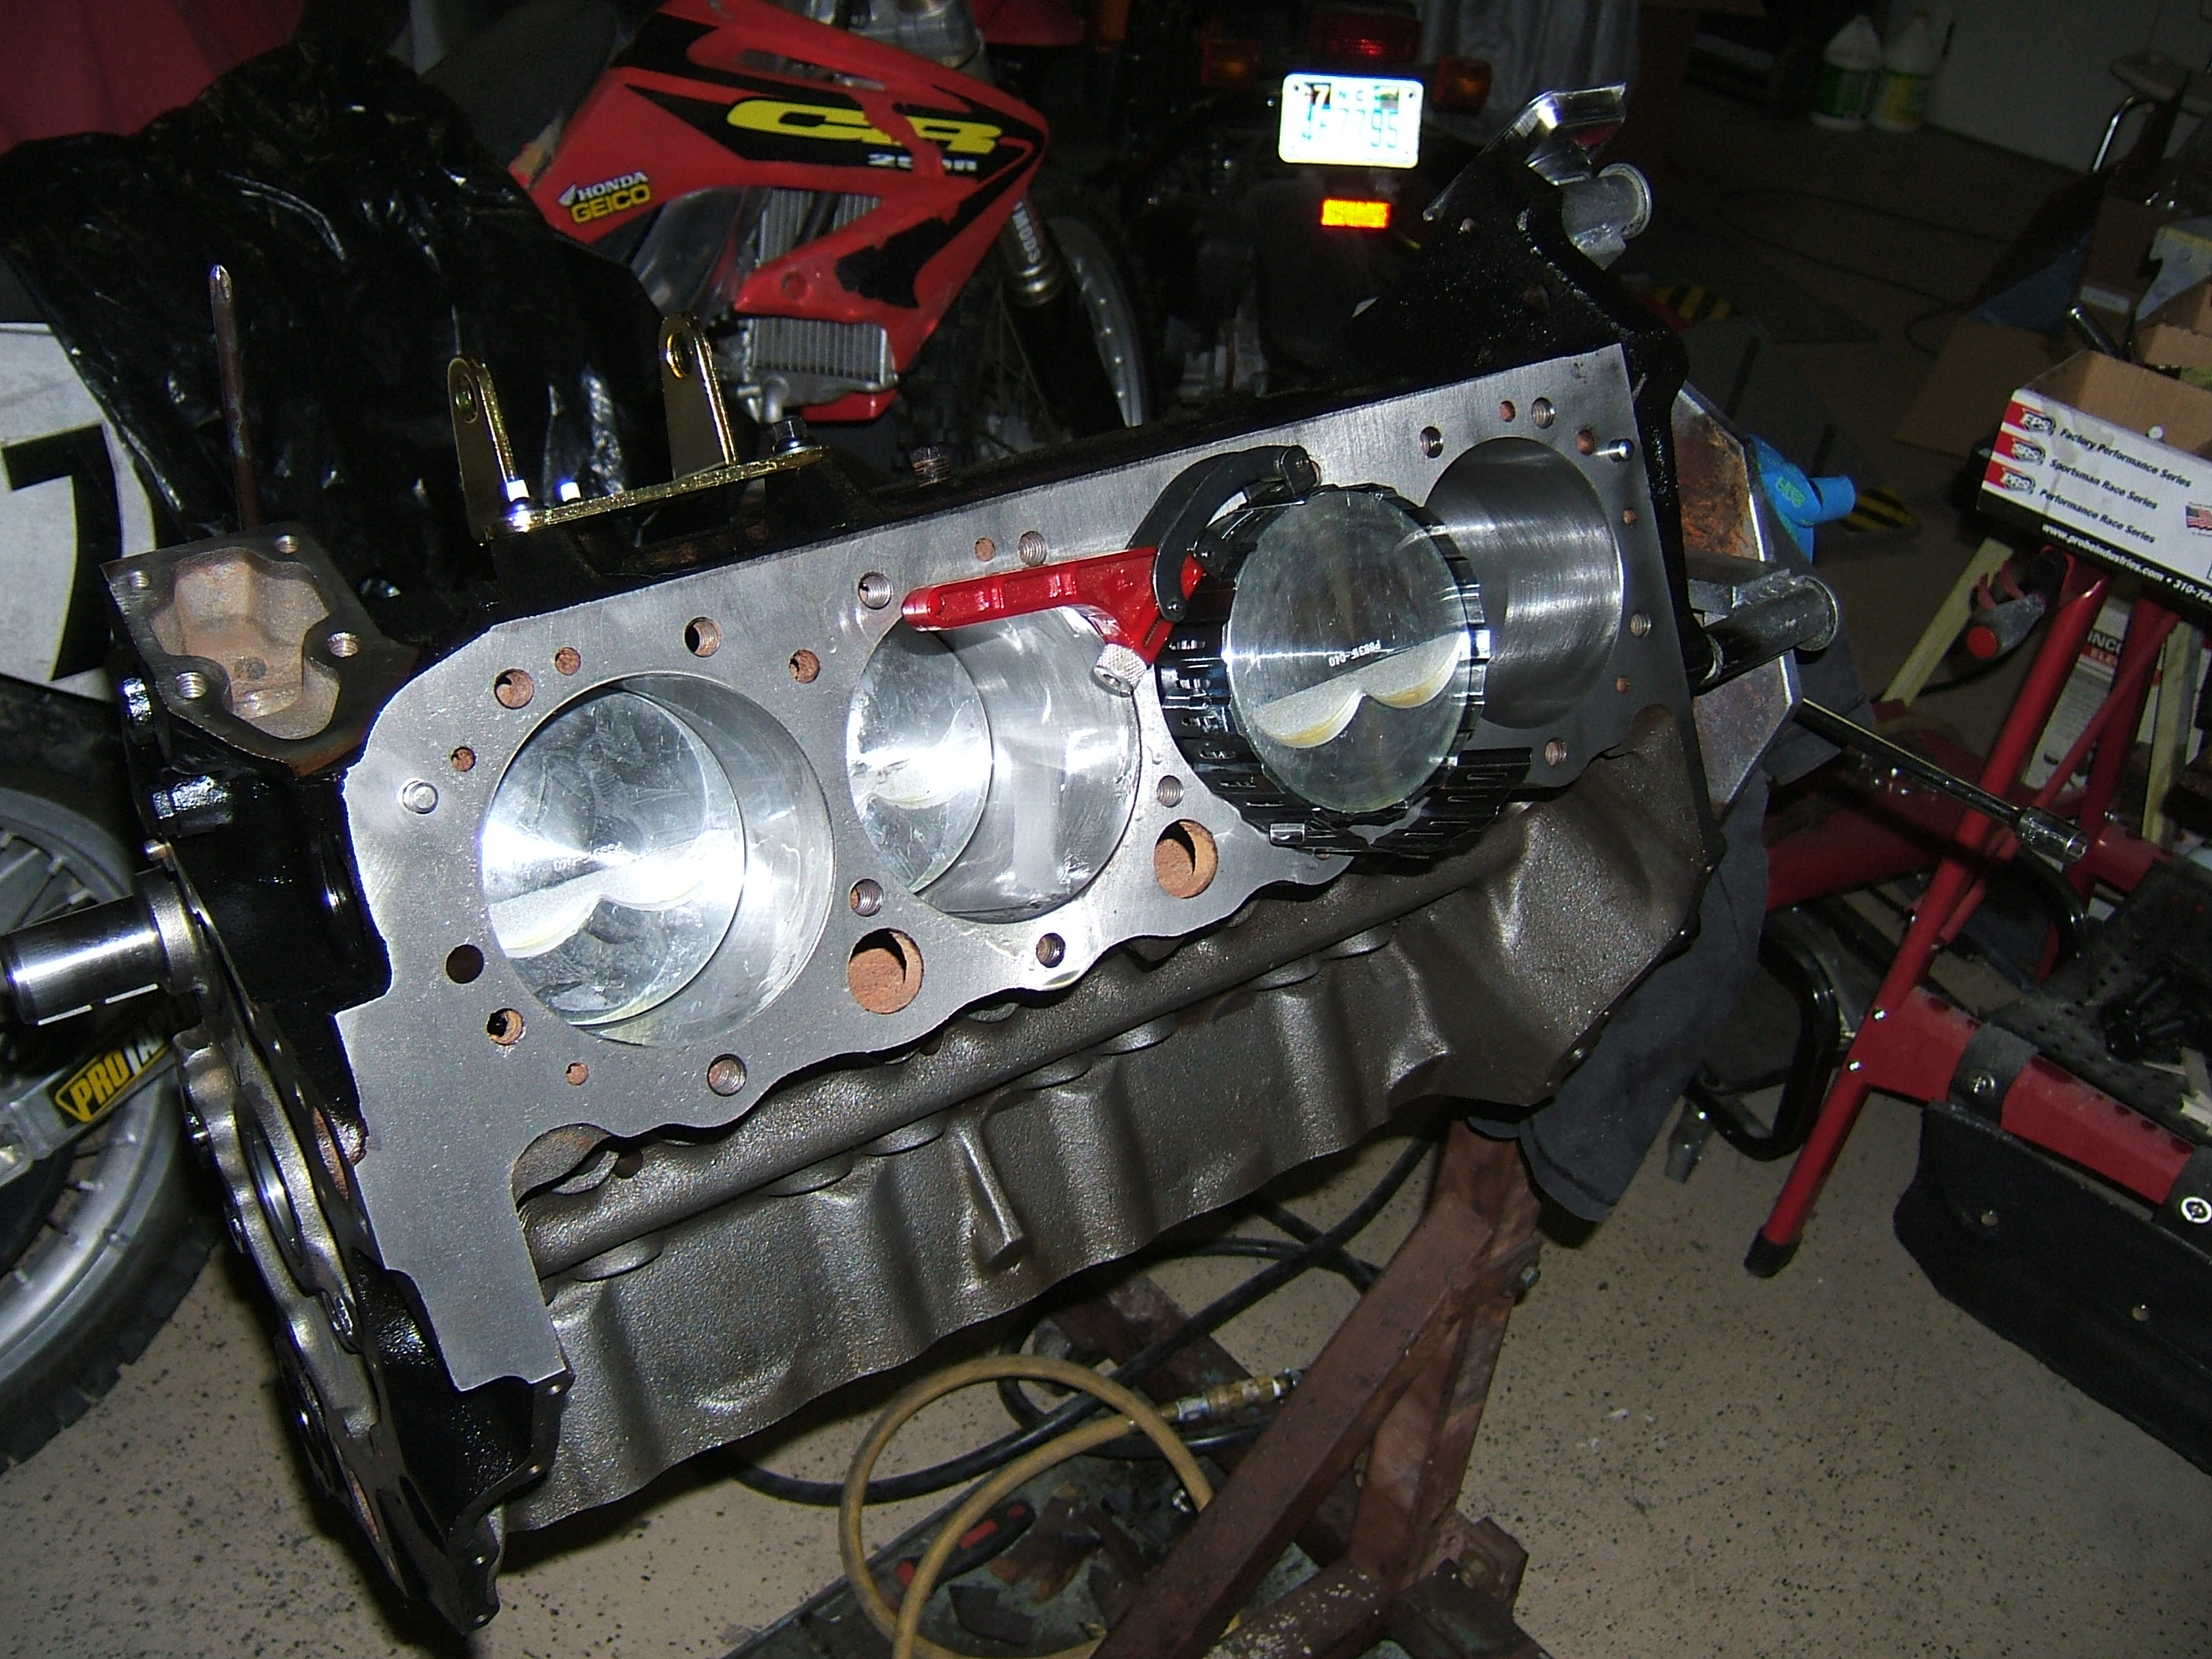
All torqued down....
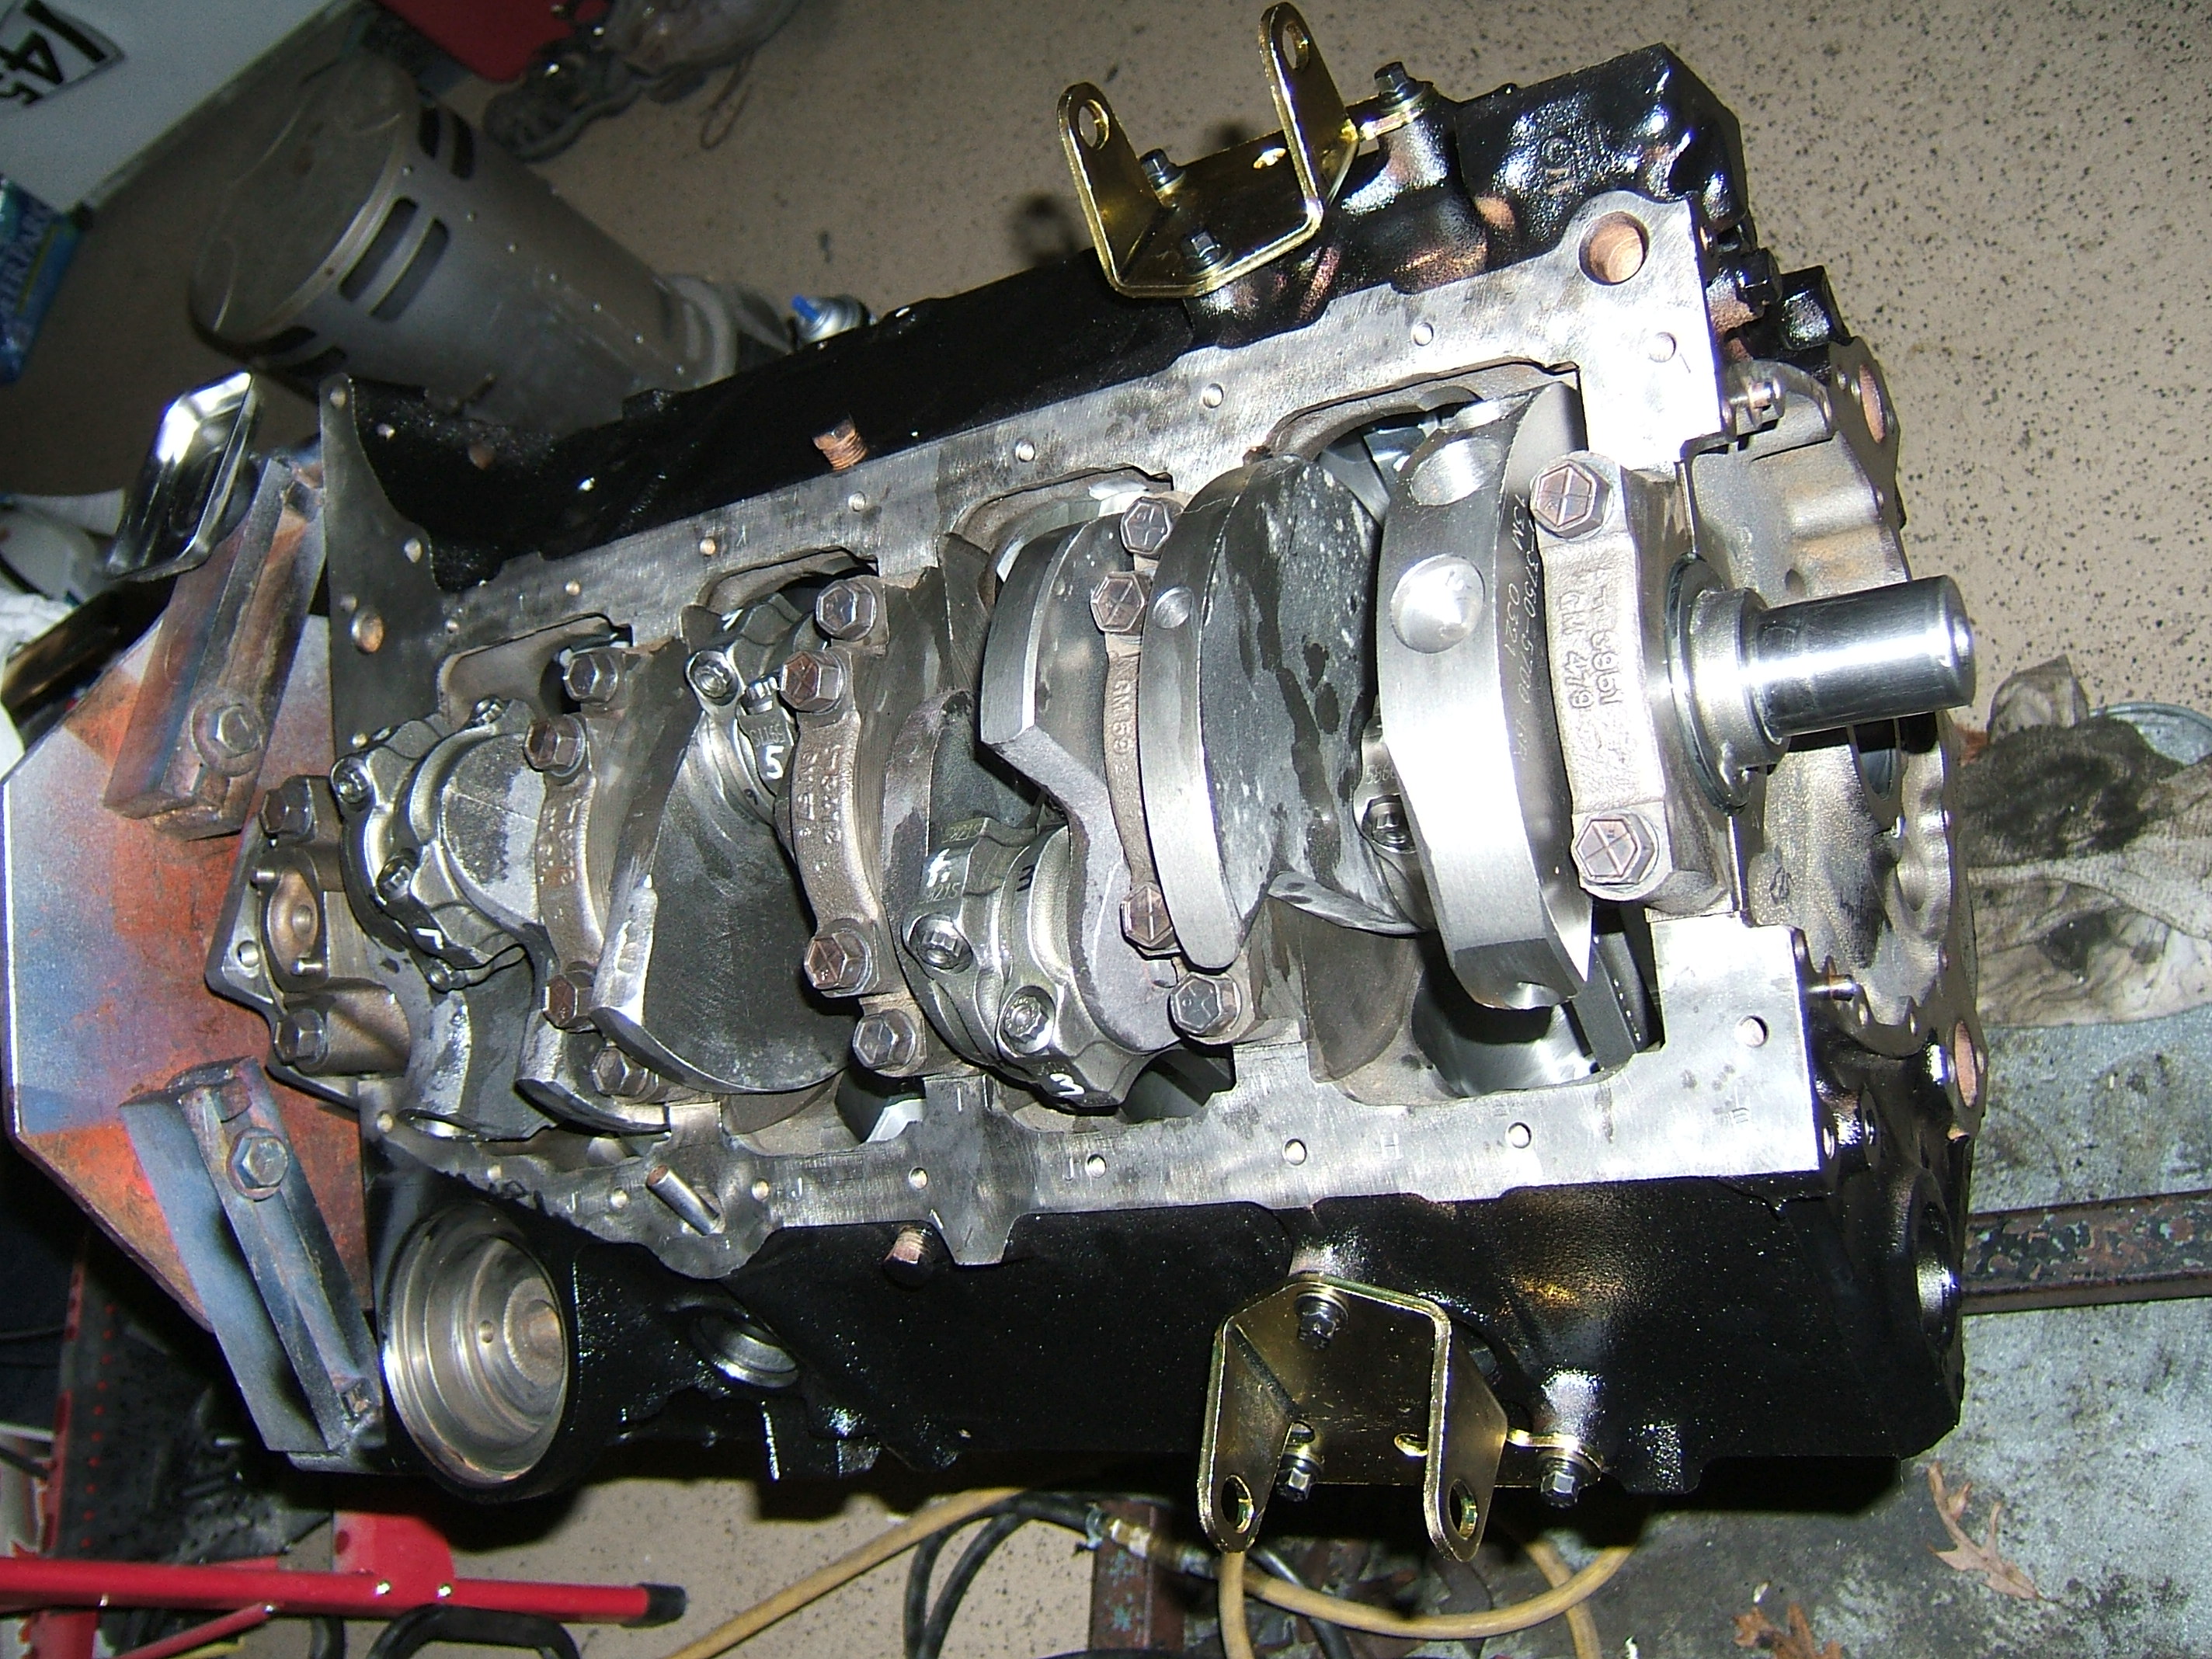
Pretty slugs in their proper places!
Tomorrow I need to go find all the oil pump parts so I can button up the bottom end, then get the cam installed and heads....
All torqued down....
Pretty slugs in their proper places!
Tomorrow I need to go find all the oil pump parts so I can button up the bottom end, then get the cam installed and heads....