What did you do to your camaro today
#211
 10-29-2010, 08:34 AM


Pulled the door panels off and adjusted both windows, as they had way too much slop when up and the drivers side was really hard to close.
What I still don't understand, I carefully marked the bolt hole locations before I removed the old windows, and but them back in the same place with the new windows. I'm guessing this is why paint and body folks make good money doing all the detail work.
What I still don't understand, I carefully marked the bolt hole locations before I removed the old windows, and but them back in the same place with the new windows. I'm guessing this is why paint and body folks make good money doing all the detail work.


#215
10-30-2010, 01:49 AM
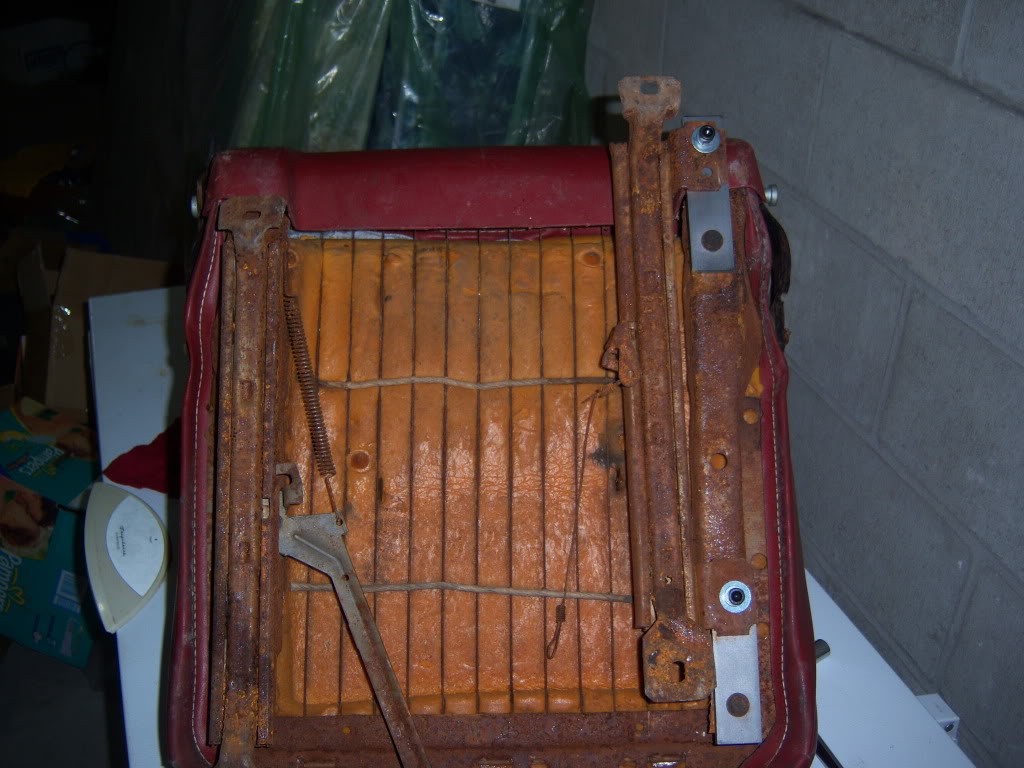
I built a set of brackets that mount the stock seats 3" further back and bead blasted the driver seat track. Now I can fit my huge azz in my own car. At 6'4" 220 I have to make stuff fit. If anyone wants pics I can post them.
BM alright.
Vall,... Corvair? Really. They had parts that can be reused? say it ain't so.
BM alright.
Vall,... Corvair? Really. They had parts that can be reused? say it ain't so.
Last edited by 77nomad; 10-30-2010 at 01:55 AM.
#216
10-30-2010, 10:01 AM


Join Date: Oct 2007
Location: The 'Burbs of Chicago
Posts: 18,306

I'd still like to see what you did for brackets though, always open to other ideas. I have a set of aftermarket seats to put in the 69, and have to fab something up from scratch anyway.
#217
10-30-2010, 01:30 PM
How do you know. You don't walk around lookin at it do you? The smiley in your sig is the best one ever. I need it now, I hate coping people.
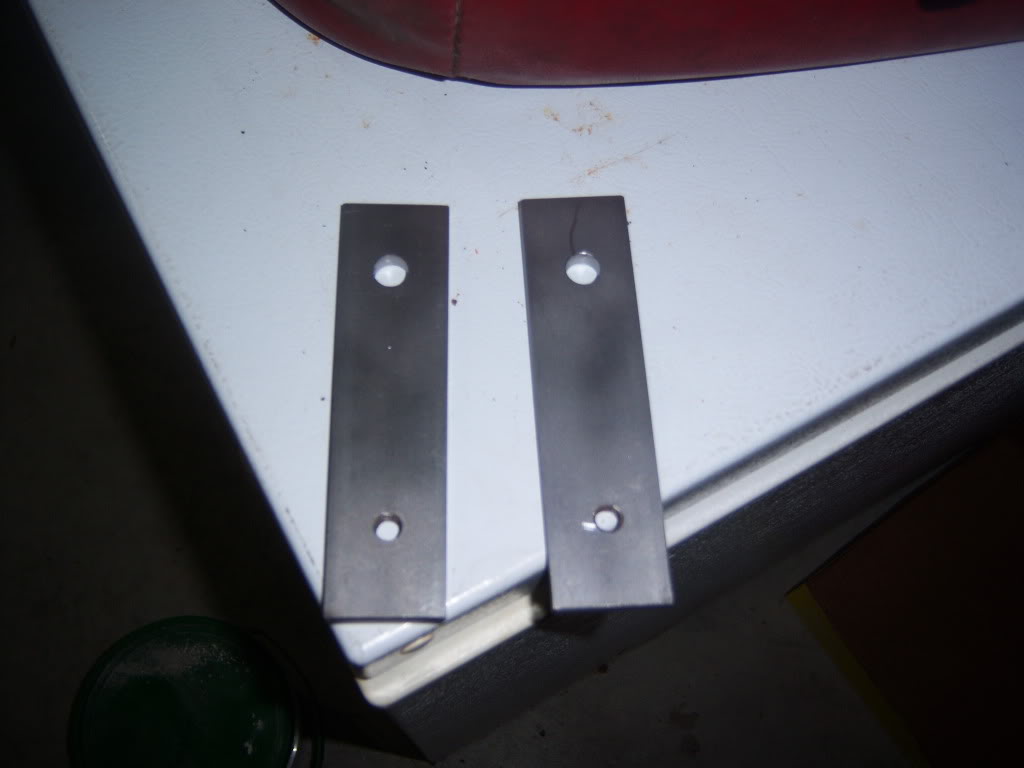
Here are the brackets. Just 1/4 x 1 1/2 stock. I cut them at 5" and brought the holes in 1" from each end. The big hole is 7/16ish" and the small is 5/16-18.
I just bolted them to the stock tracks.Here you can see the difference.
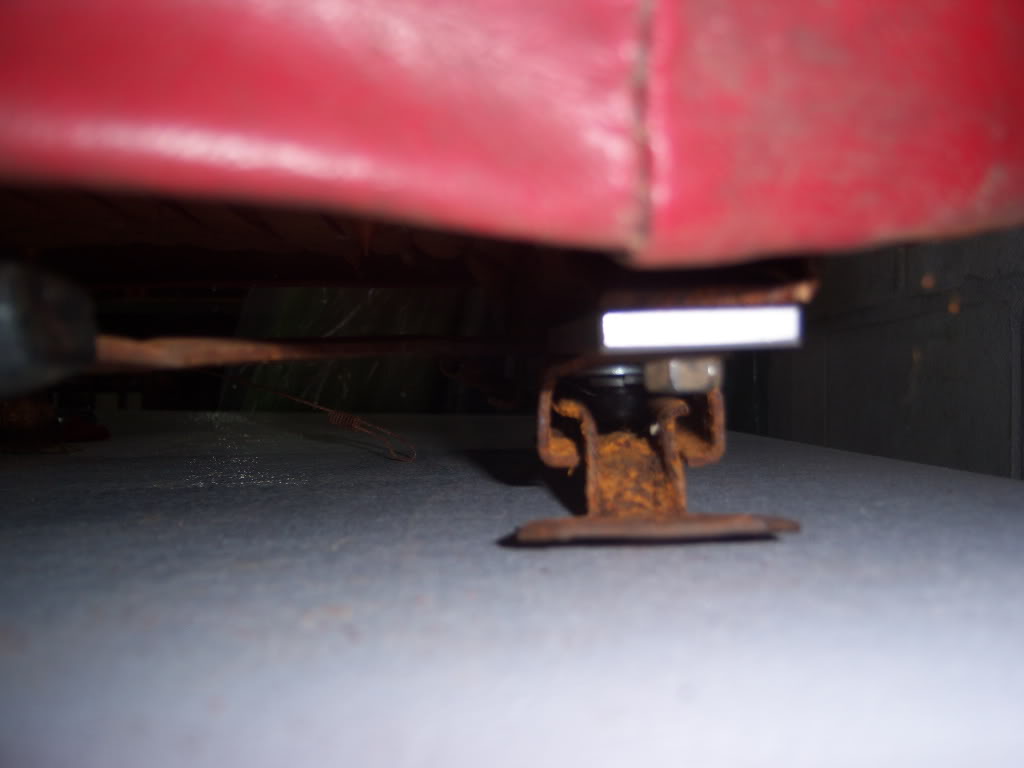
I did run into a small problem, thats what I get for thinking things up in my head without measuring of even looking at the seats first. The last one I bolted on I couldn't bolt to the seat because the track was in the way. Maybe a tack weld? Crap don't have a pic of that. But see in the first pic the mounting points are off set one one side. On the other its right under the track. Everything bolts in nice except one bolt. So I'll either tack it or leave it out. (seat belts hold you in the car not the seats right)The steel is pretty thick so I don't think it will bend with time, if it does I'll make the bracket out of full length stock and brace it between the two sides. This was just a mock up, I took it all apart to bead blast the tracks last night. Then I'll get the right length bolts and paint it up and post the pics.
And for the trick or treaters.
Pumpkin Pie.
Here are the brackets. Just 1/4 x 1 1/2 stock. I cut them at 5" and brought the holes in 1" from each end. The big hole is 7/16ish" and the small is 5/16-18.
I just bolted them to the stock tracks.Here you can see the difference.
I did run into a small problem, thats what I get for thinking things up in my head without measuring of even looking at the seats first. The last one I bolted on I couldn't bolt to the seat because the track was in the way. Maybe a tack weld? Crap don't have a pic of that. But see in the first pic the mounting points are off set one one side. On the other its right under the track. Everything bolts in nice except one bolt. So I'll either tack it or leave it out. (seat belts hold you in the car not the seats right)The steel is pretty thick so I don't think it will bend with time, if it does I'll make the bracket out of full length stock and brace it between the two sides. This was just a mock up, I took it all apart to bead blast the tracks last night. Then I'll get the right length bolts and paint it up and post the pics.
And for the trick or treaters.
Pumpkin Pie.
#218
10-30-2010, 09:56 PM

Join Date: Aug 2008
Location: Portland, Or
Posts: 9,097
Regardless of what Nader said, they did make some good parts on Corvairs! With all the expensive steering boxes out there I couldn't bring myself to pay what they ask for them. Corvair boxes are tough to find, and not easy to adapt, but it was cheap, so I made it work.
This one from a Corvair van mounts at around 30 degrees so I made a plate mount that set the box at an angle, then gussetted it in and braced the heck out of it. Even added a piece of 2"x2" angle iron to the front crossmember to further increase the stiffness. It ain't going nowhere!
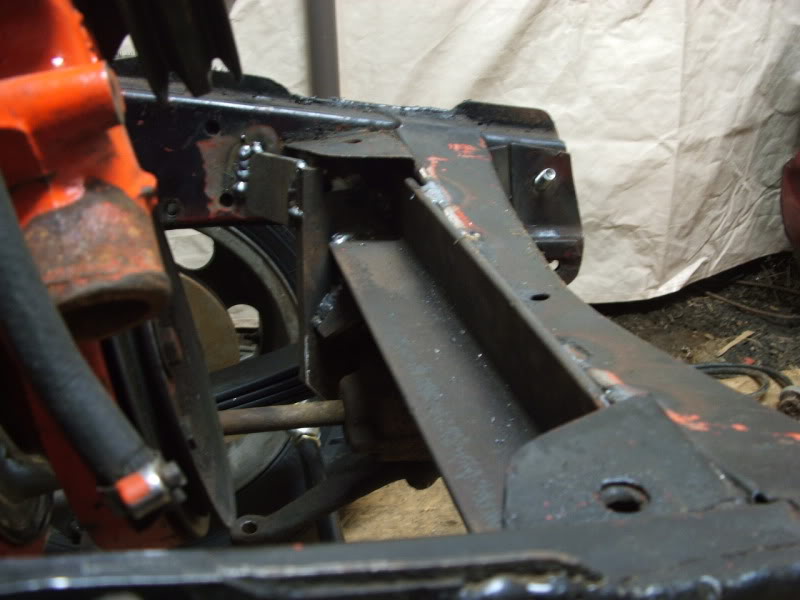
Got the box mounted, reversed the drag link to line up at front location, instead of rear. Cut the firewall after mocking up a steering wheel and a piece of 1/2" rod, and set the old original banjo wheel and column in place. Tie wired it all at the location I wanted it so I can mock up my steering shaft and U-joints. Gotta order the steering linkage and shafts, then weld it all together and pull it all apart to paint later.
The old steering wheels was cracked and splitting open on the plastic outter wheel, so I cut out the bad and filled it back in with epoxy. Then I filed and sanded it to shape. I masked off the stainless steel banjo wires and I'll repaint the rest black.

Once I finish the steering I need to shorten the driveline and it's ready to plumb and wire. I picked up my new gauges yesterday. Got Equus black faced gauges with chrome rings to keep the old school look. Speedo, fuel, water temp, volts and oil pressure all came to well under $150! They've got some nice gauges for very reasonable prices!
Last edited by 1971BB427; 10-30-2010 at 10:51 PM.
#219
10-30-2010, 10:52 PM
I wasn't thinking about Nader calling them unsafe. I was thinking about how butt ugly they are. I would have tried an s10 box maybe. I can't think of any late models that were manual. I popped over 400 for my box plus the 90 for a new rag joint and haven't got lines yet. So I understand not wanting to spend the money, mine is adding up fast.
#220
10-31-2010, 12:17 AM

I put my radiator in today, but im sad i have to get the front sub frme bent and dont reay know how much its gonna cost!