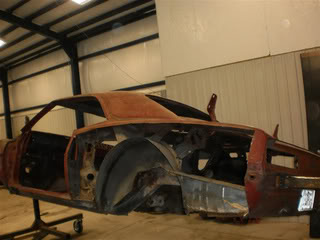
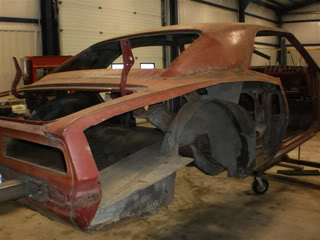
My rebuild


Thread Starter
|
1st Gear Member
Joined: Jul 2010
Posts: 135

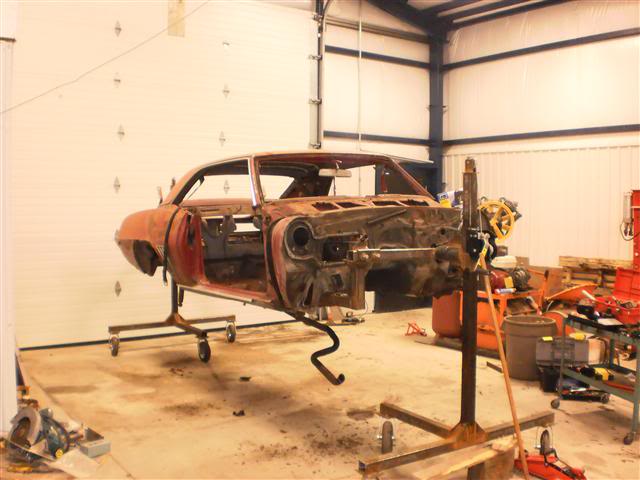
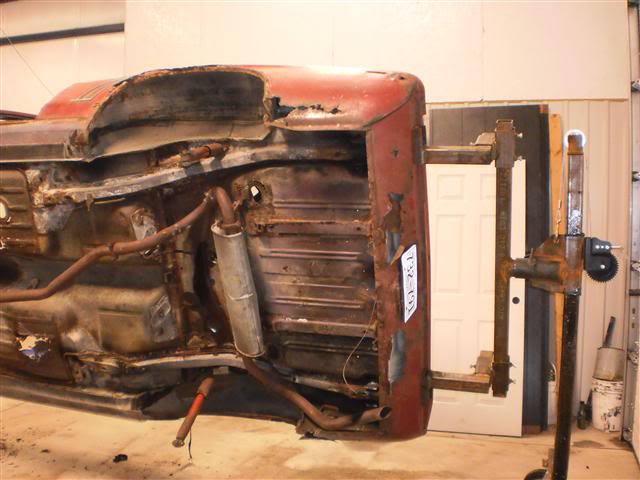
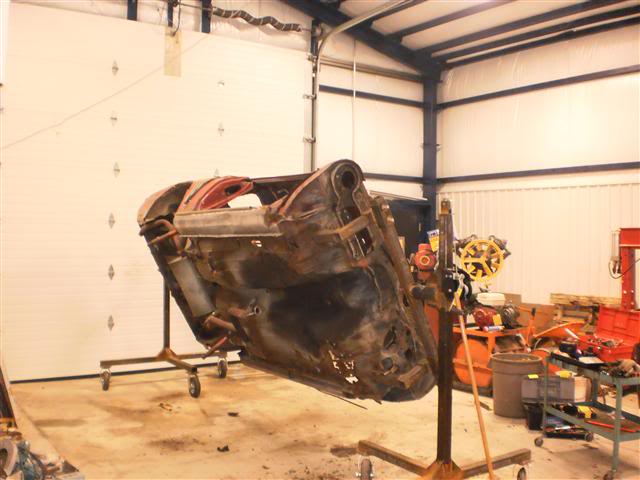
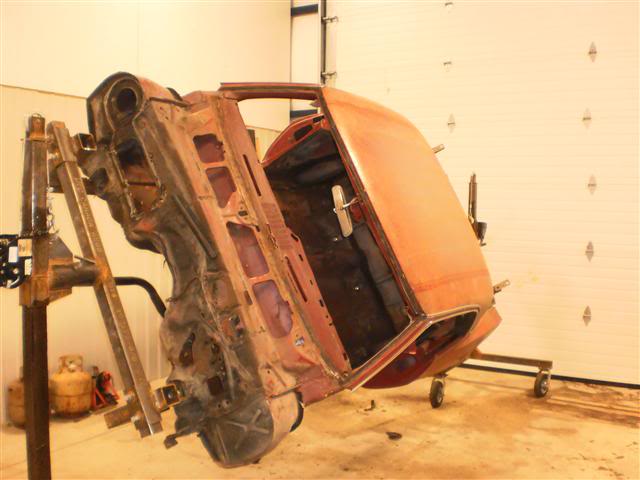
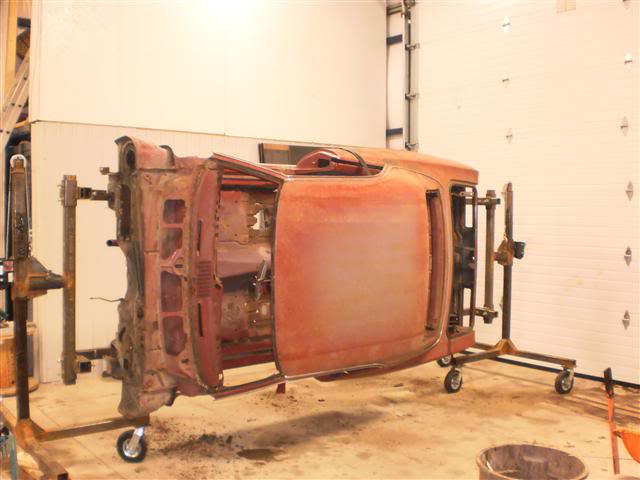
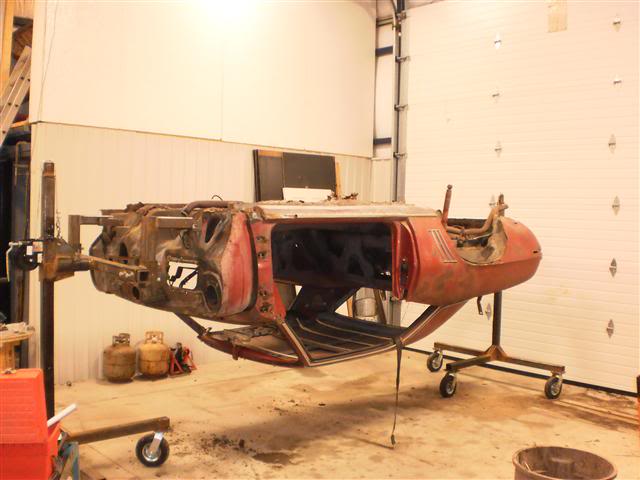
I wanted to get the exhaust and rest of the chrome off today too. By the time I made the brackets and aligned the Rotisserie and took the rear end out I was done for the day.
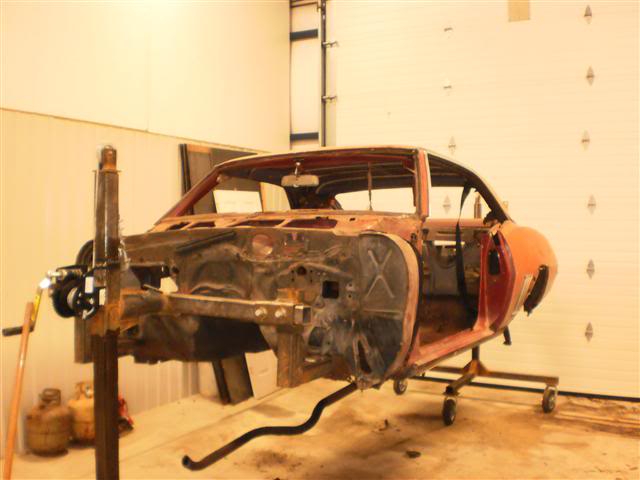
Last edited by ToddB; Dec 4, 2010 at 09:34 PM.


In the Staging Lanes
Joined: Jun 2010
Posts: 90
From: Indiana
This looks like a one piece floor would be a good Idea. I was at this very point several months ago. The one from NPD went right into place. I actually think it was the best fitting pannel I purchased during my restoration of my car. After alot of drilling the old welds out, the new floor dropped right in. I like the look more than having the Franken Floor effect with many small patches. Since the car is on the rotisseri, it only takes time. And I bet alot less time than doing a bunch of little patches. 
Thread Starter
|
1st Gear Member
Joined: Jul 2010
Posts: 135
This looks like a one piece floor would be a good Idea. I was at this very point several months ago. The one from NPD went right into place. I actually think it was the best fitting pannel I purchased during my restoration of my car. After alot of drilling the old welds out, the new floor dropped right in. I like the look more than having the Franken Floor effect with many small patches. Since the car is on the rotisseri, it only takes time. And I bet alot less time than doing a bunch of little patches.
In the Staging Lanes
Joined: Jun 2010
Posts: 90
From: Indiana
Yes everything from the rear seat hooks to the seatbelt anchors are already there. You just have to install the seat base for the front seats.
The Console anchors are not there, and the hole for the shifter if you have a floor shift must be cut, so keep your old one long enough to do the measurements. The Console anchors can be had from almost everywhere, along with the expander that spreads them after installation. This is no problem at all.
The Console anchors are not there, and the hole for the shifter if you have a floor shift must be cut, so keep your old one long enough to do the measurements. The Console anchors can be had from almost everywhere, along with the expander that spreads them after installation. This is no problem at all.
Thread Starter
|
1st Gear Member
Joined: Jul 2010
Posts: 135
Yes everything from the rear seat hooks to the seatbelt anchors are already there. You just have to install the seat base for the front seats.
The Console anchors are not there, and the hole for the shifter if you have a floor shift must be cut, so keep your old one long enough to do the measurements. The Console anchors can be had from almost everywhere, along with the expander that spreads them after installation. This is no problem at all.
The Console anchors are not there, and the hole for the shifter if you have a floor shift must be cut, so keep your old one long enough to do the measurements. The Console anchors can be had from almost everywhere, along with the expander that spreads them after installation. This is no problem at all.