My rebuild

Old Jan 9, 2012 | 04:43 PM
  #141  
1971BB427's Avatar
Second Generation Moderator
Feb 2010 ROTM winner
Jan 2013 ROTM winner
Joined: Aug 2008
Posts: 9,097
From: Portland, Or
ROTM Winner's Club
Default

Painted mine with Hammerite. It's good looking and very durable!
 
Old Jan 9, 2012 | 06:06 PM
  #142  
ToddB's Avatar
Thread Starter
|
1st Gear Member
Joined: Jul 2010
Posts: 135
Default

Originally Posted by 1971BB427
Painted mine with Hammerite. It's good looking and very durable!
Thanks for the info. Ill check Hammerite out for sure
 
Old Jan 15, 2012 | 04:16 PM
  #143  
ToddB's Avatar
Thread Starter
|
1st Gear Member
Joined: Jul 2010
Posts: 135
Default

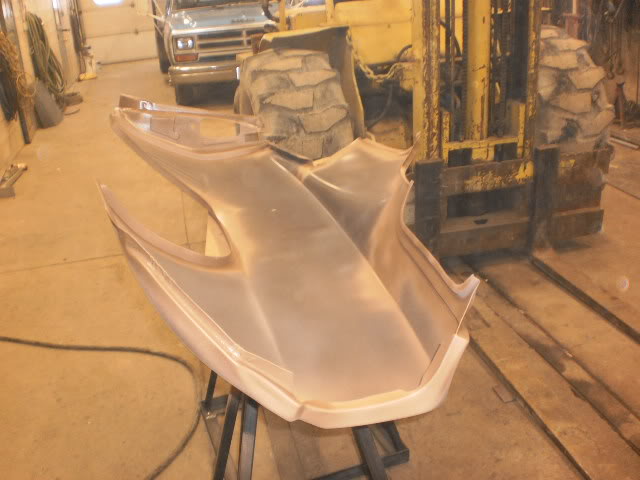
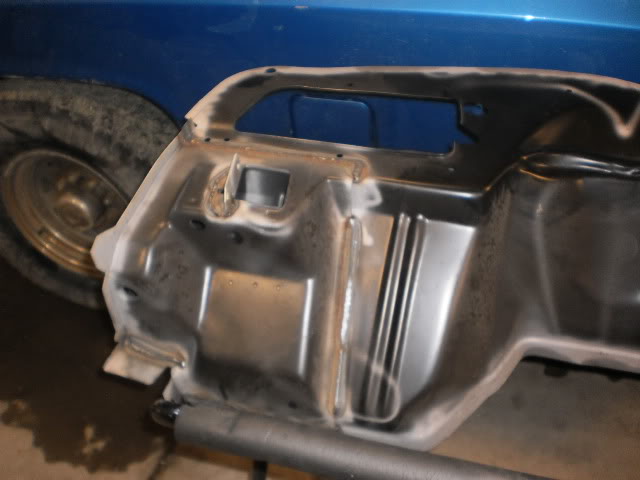
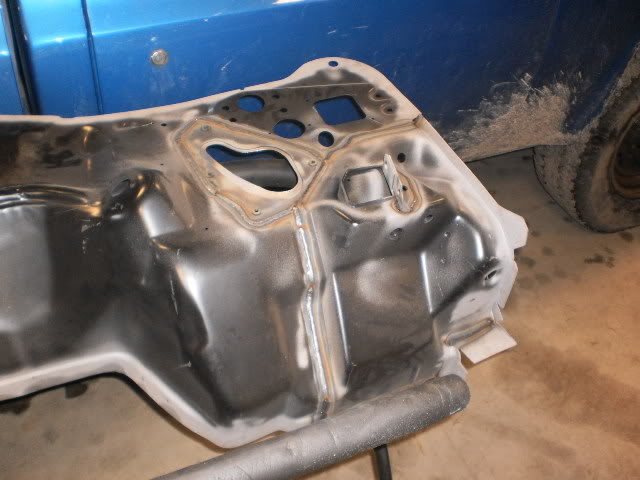
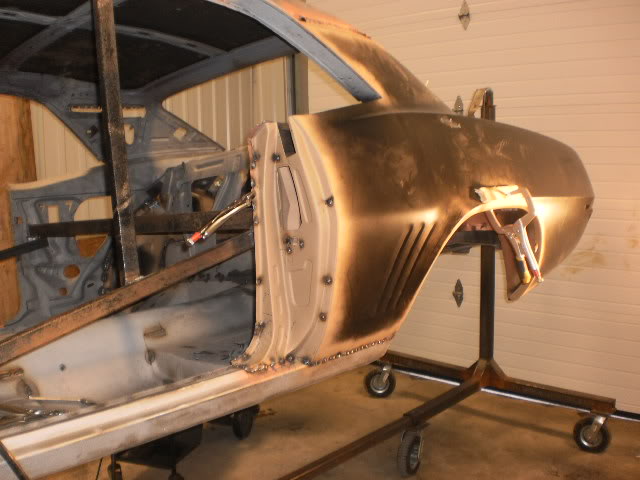
I prepped both quarter panels for installation. I had to sandblast some of the remaining paint off.
I only managed to get photos of the passenger side because it was so cold out today the air line was freezing up.By the time I had them finished I had forgot to get
photos of the drivers side.
Ill post more next week when I install them
Passenger Side
Name:  passenger-2.jpg
Views: 135
Size:  41.6 KBName:  passengerprep.jpg
Views: 157
Size:  44.1 KB

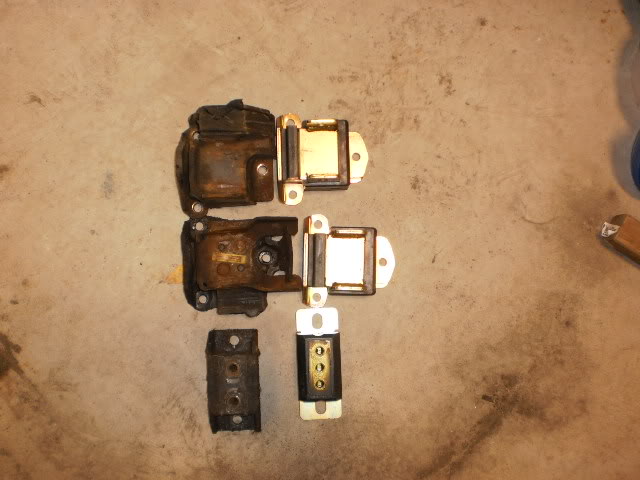
Here are the original motor and transmission mounts next to the new ones.
Name:  Oldandnewmounts.jpg
Views: 235
Size:  44.2 KB
 
Old Jan 15, 2012 | 06:00 PM
  #144  
Blew68's Avatar
In the Staging Lanes
Joined: Jan 2012
Posts: 55
From: Michigan
Default

Todd,
great thread to follow.
awesome job.
 
Old Jan 15, 2012 | 07:14 PM
  #145  
1971BB427's Avatar
Second Generation Moderator
Feb 2010 ROTM winner
Jan 2013 ROTM winner
Joined: Aug 2008
Posts: 9,097
From: Portland, Or
ROTM Winner's Club
Default

Nice when it all goes back together with either new or repainted parts! Barely get dirty assembling it all at that point!
 
Old Jan 28, 2012 | 05:08 PM
  #146  
ToddB's Avatar
Thread Starter
|
1st Gear Member
Joined: Jul 2010
Posts: 135
Default

Originally Posted by 1971BB427
Nice when it all goes back together with either new or repainted parts! Barely get dirty assembling it all at that point!
Except all the sanding and sandblasting.
 

Last edited by ToddB; Jan 29, 2012 at 09:57 PM.
Old Jan 28, 2012 | 05:09 PM
  #147  
ToddB's Avatar
Thread Starter
|
1st Gear Member
Joined: Jul 2010
Posts: 135
Default

I got my new firewall all strengthened up. I haven’t decided how I’m going to modify it for big distributors yet.
Name:  firewallpassengers.jpg
Views: 175
Size:  35.0 KBName:  firewalldrivers.jpg
Views: 190
Size:  45.5 KB
I got the drivers side quarterpanel welded in.
Name:  14drivers-1.jpg
Views: 211
Size:  47.7 KB
 
Old Jan 28, 2012 | 05:42 PM
  #148  
ToddB's Avatar
Thread Starter
|
1st Gear Member
Joined: Jul 2010
Posts: 135
Default

Originally Posted by Blew68
Todd,
great thread to follow.
awesome job.
Hey Jeff Thanks. 1 year down
 
Old Jan 28, 2012 | 09:41 PM
  #149  
propain's Avatar
Newbie
Joined: Nov 2011
Posts: 14
From: Columbus, Ohio
Default

Nice thread Todd, getting set to start on my 67, basically I need to replace the whole undercarriage, and Im going to build my own rotisserie what size tube did you build yours with? Cant wait to see your car finished, Ill be following this thread to the end. good job so far.
 
Old Jan 29, 2012 | 12:17 PM
  #150  
MKCoconuts's Avatar
4th Gear Member
Joined: Oct 2011
Posts: 2,553
From: PA
Default

Looking great! It's nice to see a muscle car being restored rather than crushed. I would like to shake your hand!
 

Thread Tools
Search this Thread

All times are GMT -5. The time now is 08:40 AM.