
my 69 camaro project


1st Gear Member
Joined: Dec 2010
Posts: 136
From: Layton, Utah
Can't find a link this morning but the other day I saw a power windows modification for first gen Camaros that replaced the crank with a switch that looks just like the crank push it down for down and up for up...was pretty awesome I thought.

Thread Starter
|
December 2011 ROTM
Santas Little Helper
Santas Little Helper
Joined: Jul 2007
Posts: 1,242
From: Casselberry, FL
ROTM Winner's Club
Wow sounds interesting. But I think I will just stick with the crank till I hate them.
So here's an update of what went on this weekend.
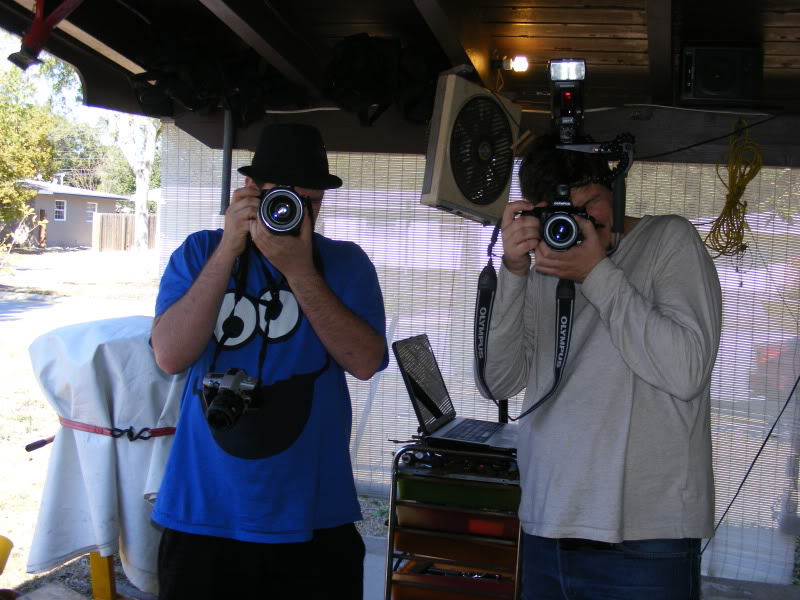
We got a slow start cause I had to deal with the squid and his friend playing with their new toys for the 1st few hours.....lol....
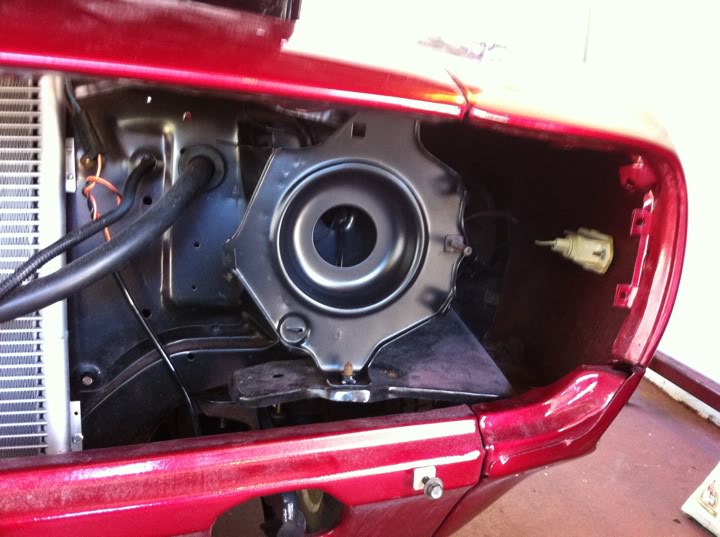
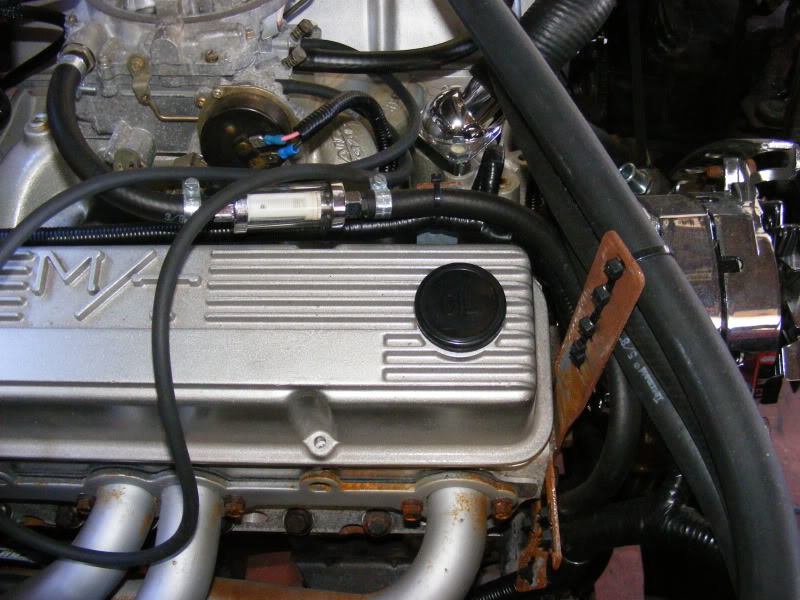
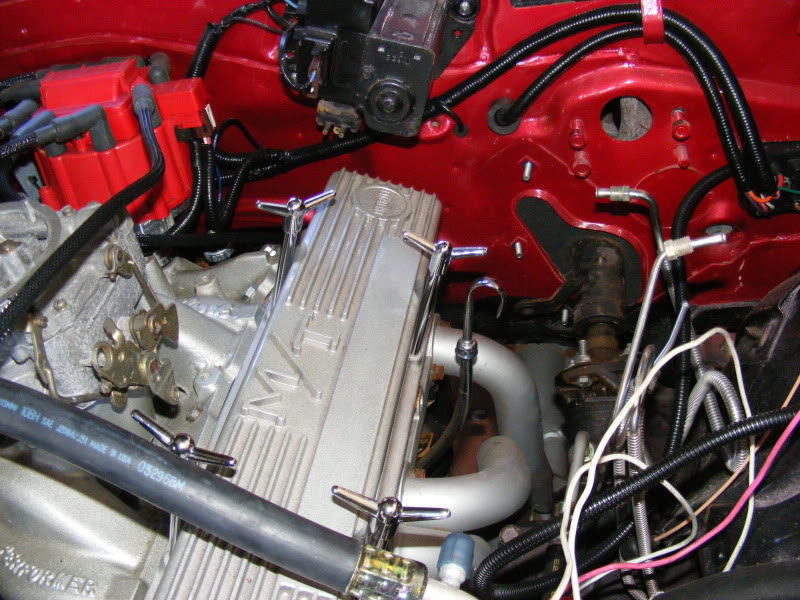
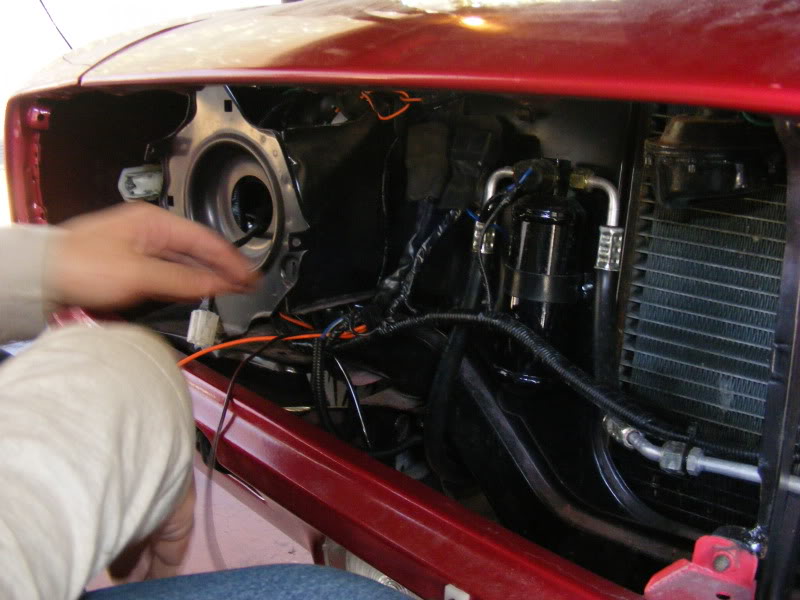
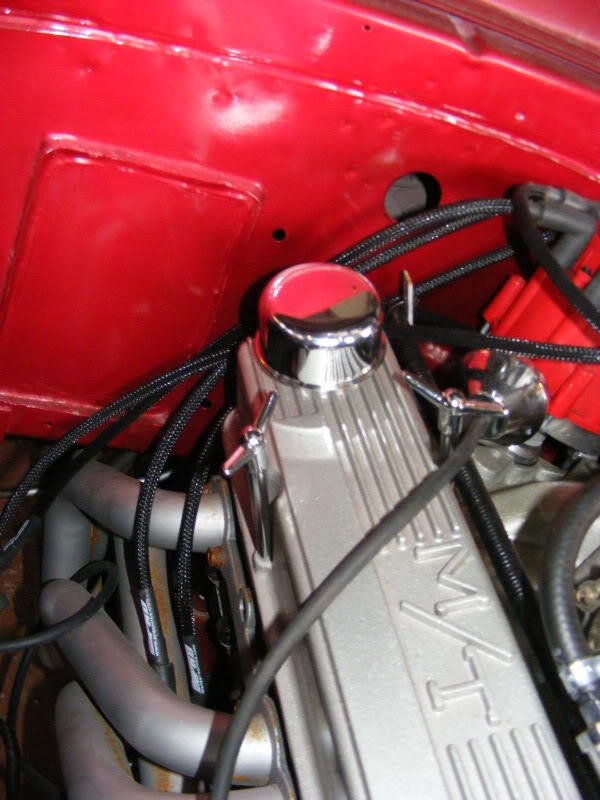
But once we got started we changed out the LH head light housing, did some work on the valve convers by adding the oil cap and seals, and making it look nice with my new bolts.
Then we made sure we had everything routed correctly for the fan switches and wrapped the wires so we could attach the grille and stiffener.
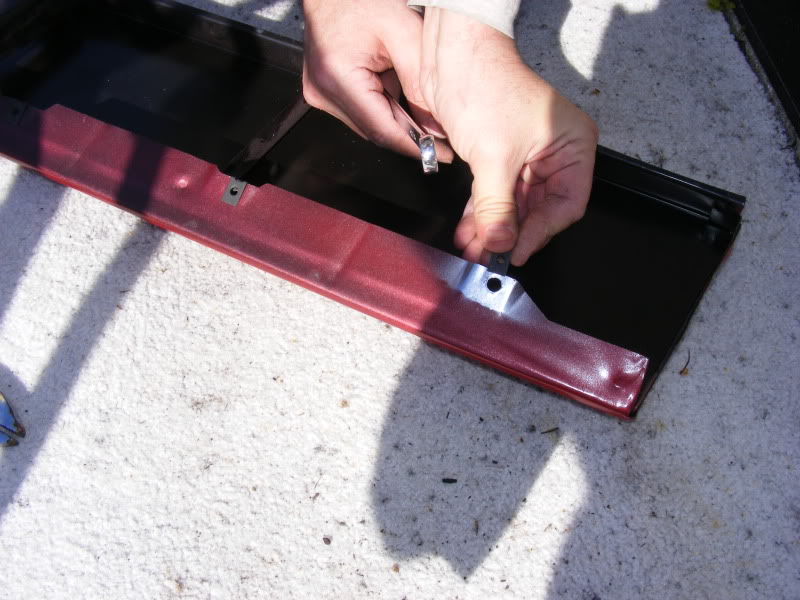
We did find was that the guy who did my body work had not tightened some of the bolts down under the valance on the brace and had the wrong screws in the valance itself which kindof bent the wholes for the grille out of whack. So we took the valance off and fixed them. Had to spray a bit of paint where it was exposed. Put the clips on and done.
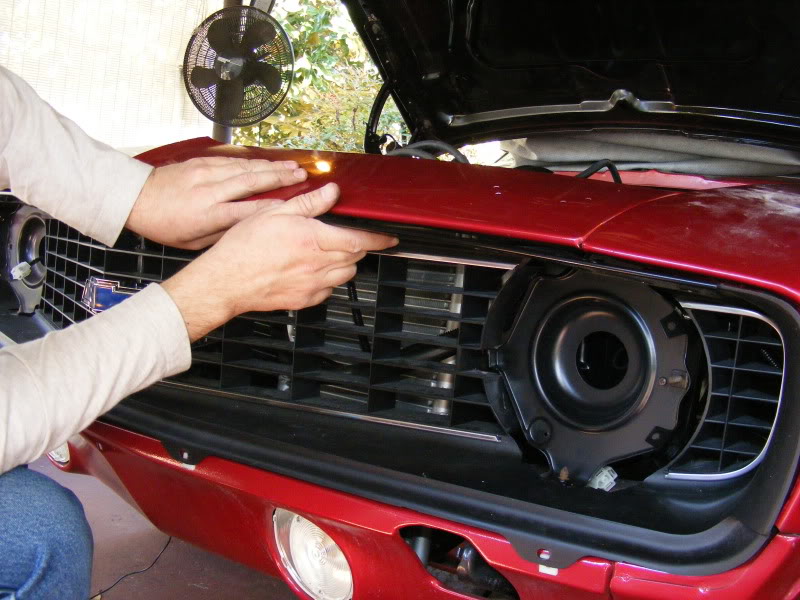
Now this picture doesn't really show it but we just couldn't seem to get the grille to go up into place. Its like the front end has been squished a little. We worked at it for a while and decided to quit till we can figure out whats stopping it before we break it.
I did get my front bumper polished for when we do figure it out.
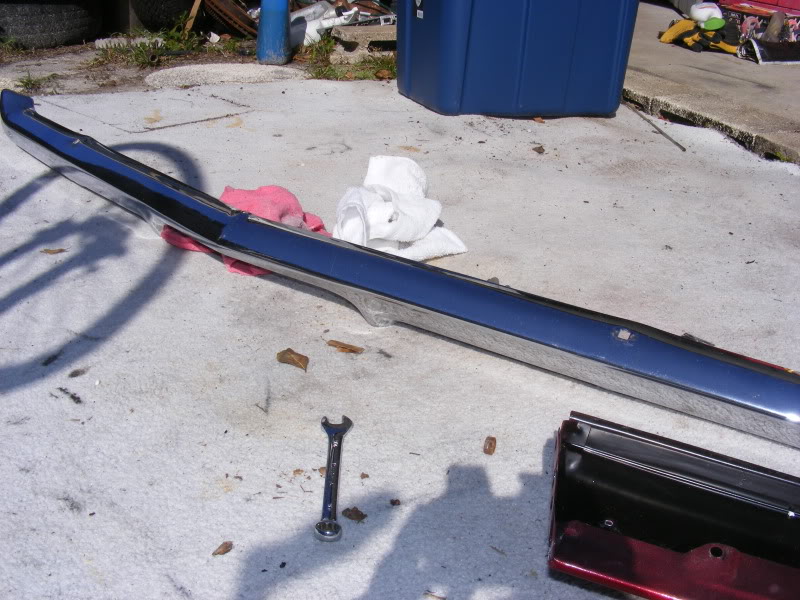
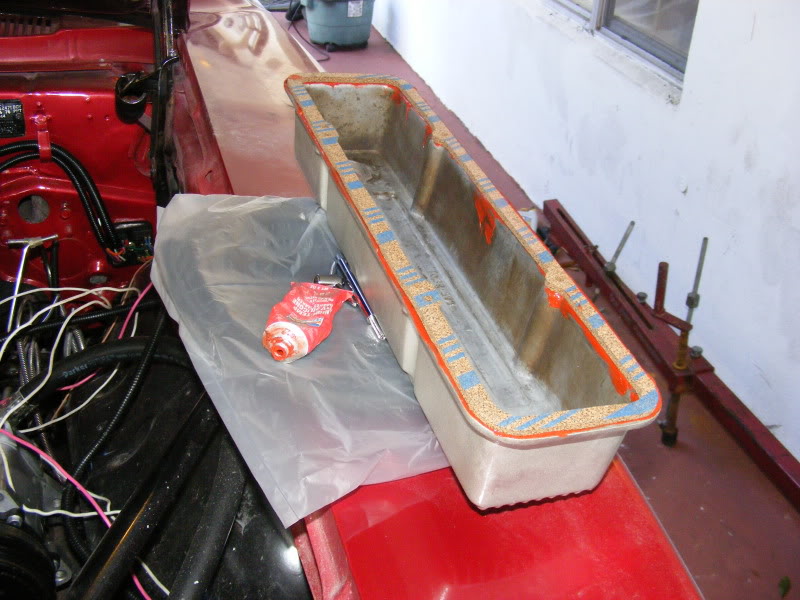
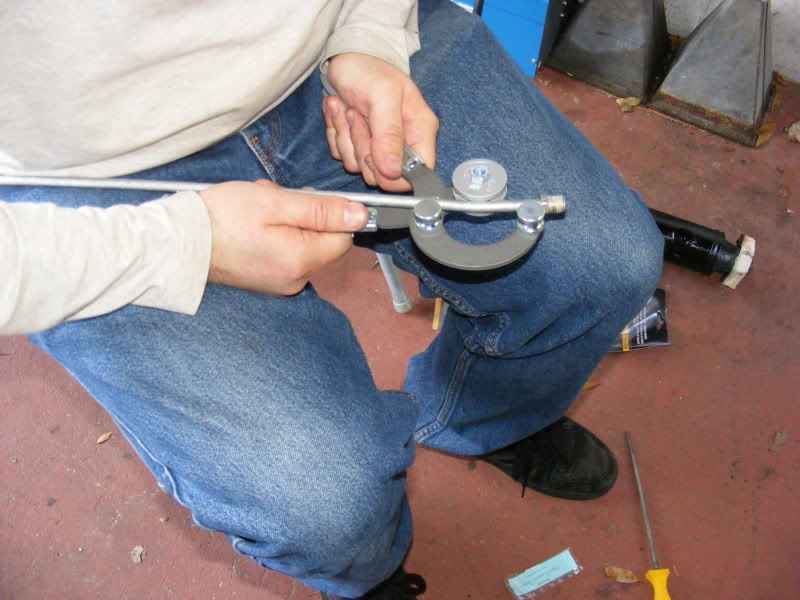
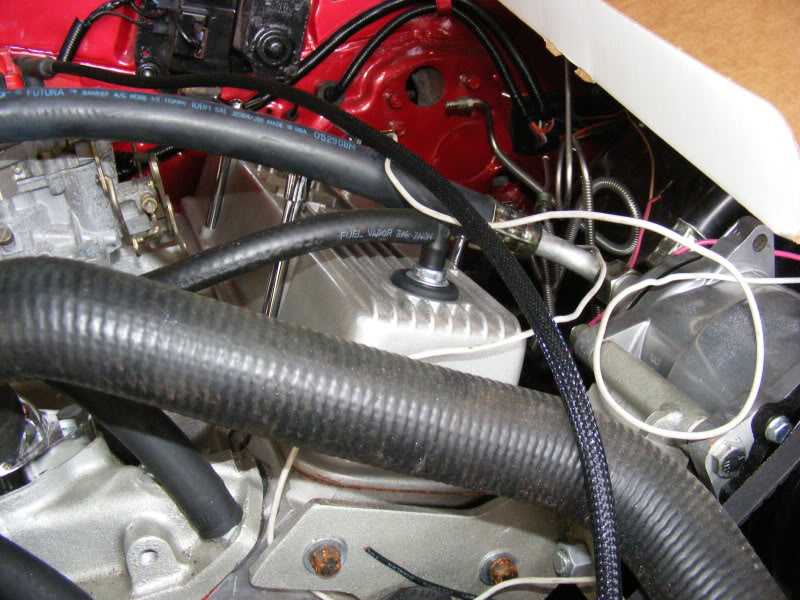
So we switched gears a bit and started working on the transmission cooler vacuum lines. Since we are using a 700r4 they don't sell a bent pipe for what we need so we are doing that ourselves with this handy dandy tool the squid bought.

We have a list of misc stuff to get at the local parts store to finish up with vacuum lines, finish attaching the cooler and radiator. Then it will be on to the power steering pump, transmission, drive shaft, and connecting the brake lines..................on and on she goes....lol
So here's an update of what went on this weekend.
We got a slow start cause I had to deal with the squid and his friend playing with their new toys for the 1st few hours.....lol....
But once we got started we changed out the LH head light housing, did some work on the valve convers by adding the oil cap and seals, and making it look nice with my new bolts.
Then we made sure we had everything routed correctly for the fan switches and wrapped the wires so we could attach the grille and stiffener.
We did find was that the guy who did my body work had not tightened some of the bolts down under the valance on the brace and had the wrong screws in the valance itself which kindof bent the wholes for the grille out of whack. So we took the valance off and fixed them. Had to spray a bit of paint where it was exposed. Put the clips on and done.
Now this picture doesn't really show it but we just couldn't seem to get the grille to go up into place. Its like the front end has been squished a little. We worked at it for a while and decided to quit till we can figure out whats stopping it before we break it.
I did get my front bumper polished for when we do figure it out.
So we switched gears a bit and started working on the transmission cooler vacuum lines. Since we are using a 700r4 they don't sell a bent pipe for what we need so we are doing that ourselves with this handy dandy tool the squid bought.
We have a list of misc stuff to get at the local parts store to finish up with vacuum lines, finish attaching the cooler and radiator. Then it will be on to the power steering pump, transmission, drive shaft, and connecting the brake lines..................on and on she goes....lol
Last edited by orocker; Feb 1, 2011 at 05:59 AM.
Thread Starter
|
December 2011 ROTM
Santas Little Helper
Santas Little Helper
Joined: Jul 2007
Posts: 1,242
From: Casselberry, FL
ROTM Winner's Club
Oh yea......we only have 1/3 left to finish....

2nd Gear member
Joined: Jan 2011
Posts: 351
From: Michigan
Originally Posted by Orocker
Now this picture doesn't really show it but we just couldn't seem to get the grille to go up into place. Its like the front end has been squished a little. We worked at it for a while and decided to quit till we can figure out whats stopping it before we break it.

When my painter went to install my grill, he was having a lot of difficulty. After pulling up here, and squishing there and the darn thing just wouldn't fit, I told him to hold of a second so I could take a look.
He was putting it in upside down
Flipped it over and wha la!

Newbie
Joined: Jan 2011
Posts: 24
I can remember firing up a build thinking "man, I am really close to being done".....only to wake up the next day and realize there's still so much to do! Beater or show car, they are all a work in progress until the day you sell'em.
Enjoy the trip, that's where the memories are.
Tabascoboy
Enjoy the trip, that's where the memories are.
Tabascoboy

In the Staging Lanes
Joined: Dec 2009
Posts: 48
From: In Orocker's Camaro
I just have to say this
When my painter went to install my grill, he was having a lot of difficulty. After pulling up here, and squishing there and the darn thing just wouldn't fit, I told him to hold of a second so I could take a look.
He was putting it in upside down
Flipped it over and wha la!
When my painter went to install my grill, he was having a lot of difficulty. After pulling up here, and squishing there and the darn thing just wouldn't fit, I told him to hold of a second so I could take a look.
He was putting it in upside down
Flipped it over and wha la!

Thread Starter
|
December 2011 ROTM
Santas Little Helper
Santas Little Helper
Joined: Jul 2007
Posts: 1,242
From: Casselberry, FL
ROTM Winner's Club
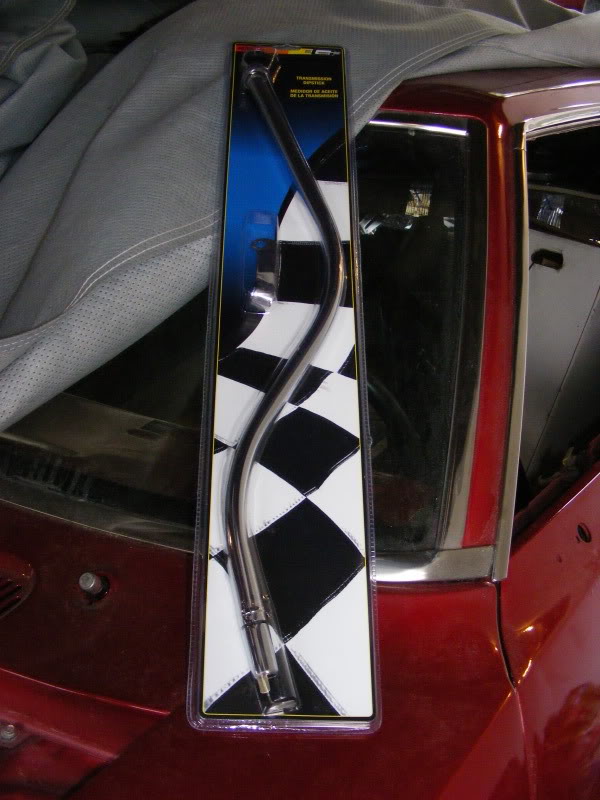
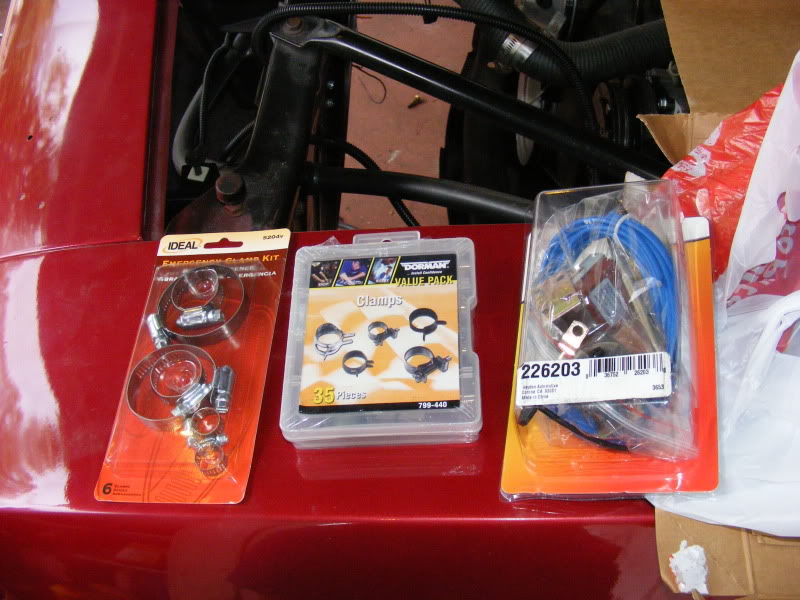
Thanks! Well we made some good progress on the motor sat. 1st more parts were purchased and installed. The breather cap and grommet for the pcv valve, new clamps for all the hoses, fan temp switch, and a dipstick for the transmission.
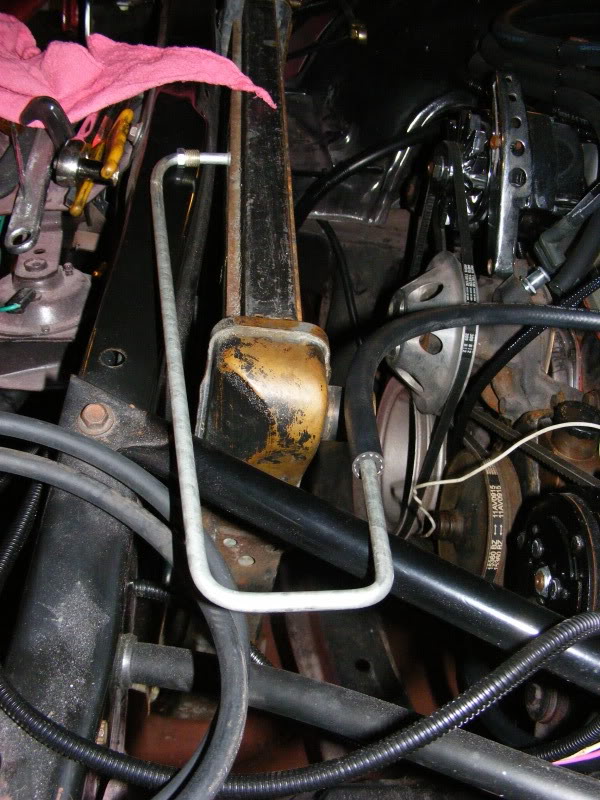
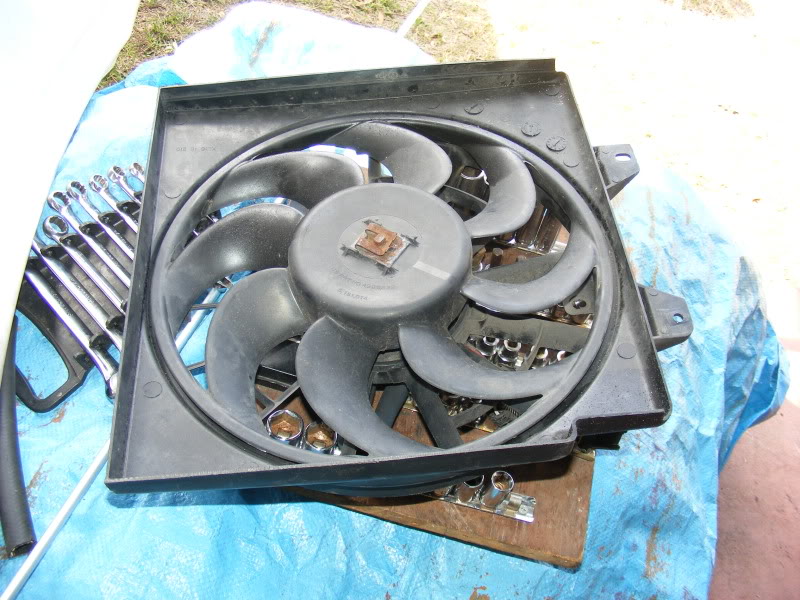
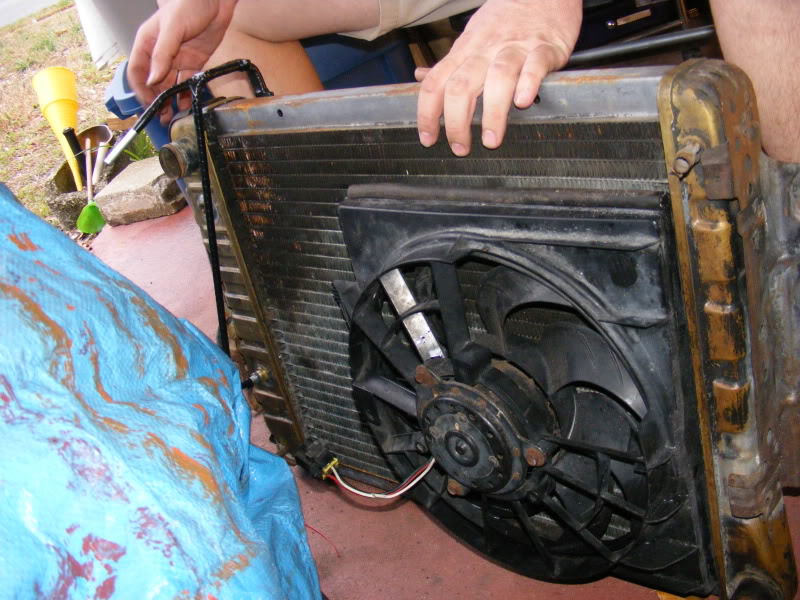
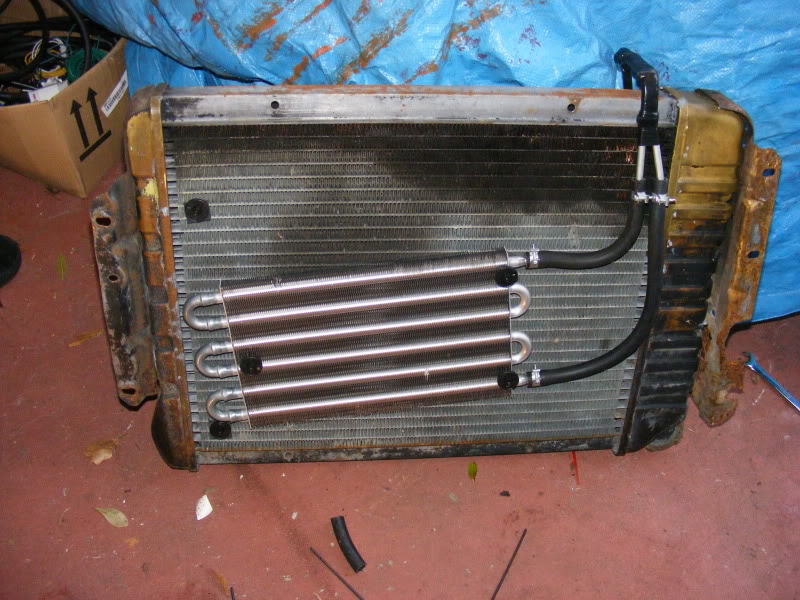
We also decided to change from a dual fan system to a single fan so we cut our fan in half. Then removed the radiator and installed the fan on one side and the tranny cooler on the other and connected all the lines.
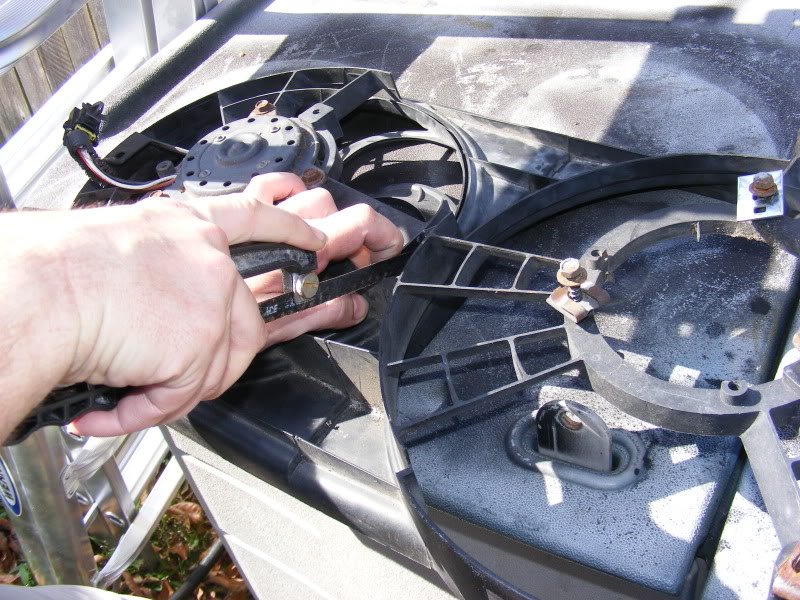
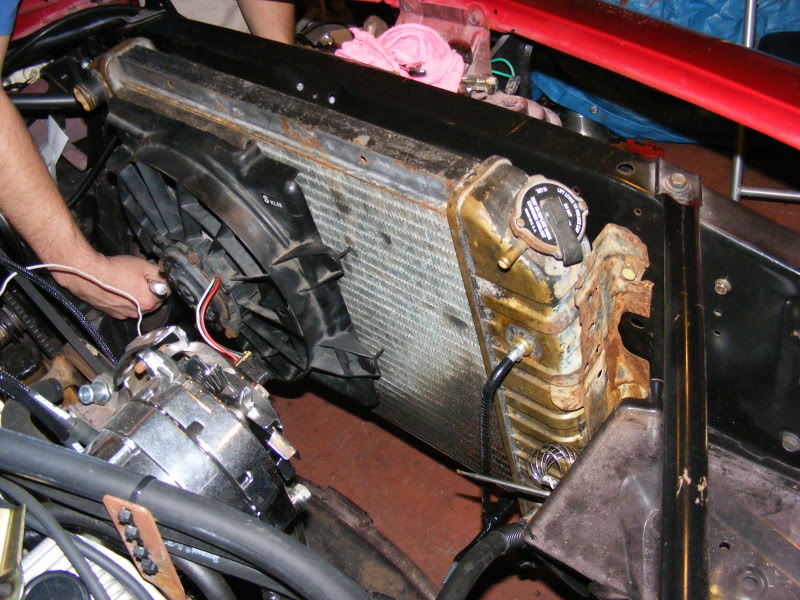
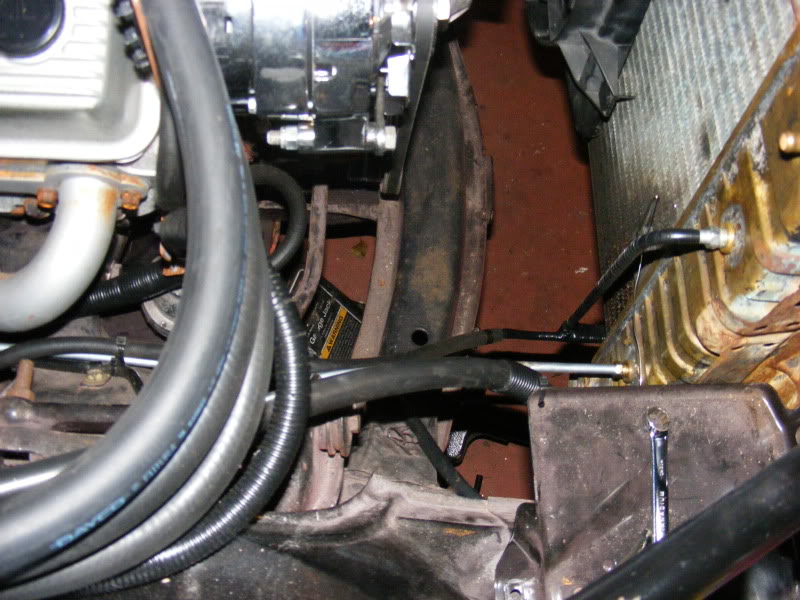
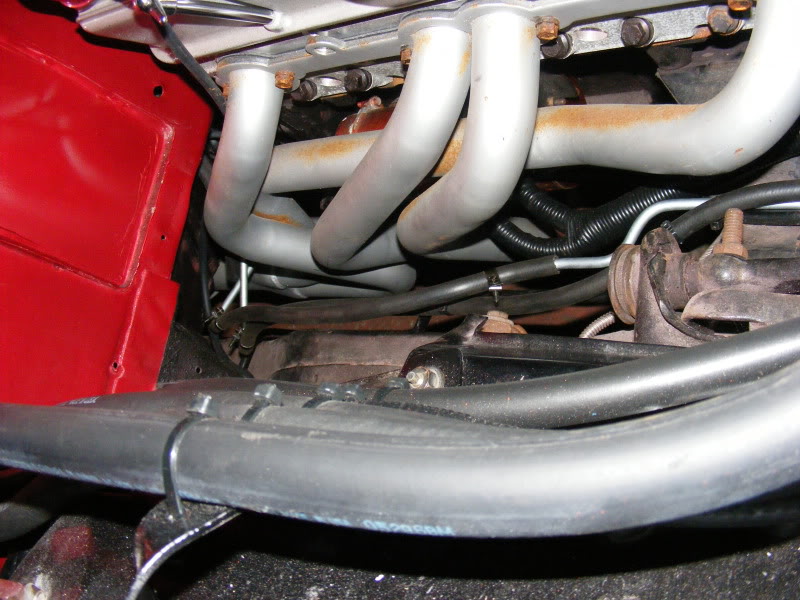
And since we changed the fan set up we have to re route a couple of wires so we can move the fan connectors. And that's where we stopped. After that we will be able to connect the power steering pump, transmission and drive shaft, and brake lines. Then it will be time to fire up the motor.
We also decided to change from a dual fan system to a single fan so we cut our fan in half. Then removed the radiator and installed the fan on one side and the tranny cooler on the other and connected all the lines.
And since we changed the fan set up we have to re route a couple of wires so we can move the fan connectors. And that's where we stopped. After that we will be able to connect the power steering pump, transmission and drive shaft, and brake lines. Then it will be time to fire up the motor.

