
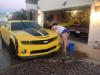
my 69 camaro project


Thread Starter
|
December 2011 ROTM
Santas Little Helper
Santas Little Helper
Joined: Jul 2007
Posts: 1,242
From: Casselberry, FL
ROTM Winner's Club
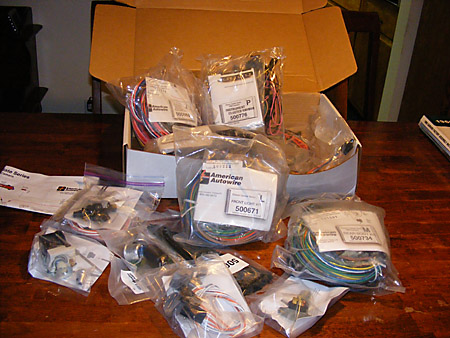
Thanks guys. Well zhat I need to get myself some tips. Right now its just to the back end. So I spent the weekend studying my new wiring harness and got the gist of it but need the squids help. I also switched gears till he can help me with the wiring and started recovering the back seat bottom.
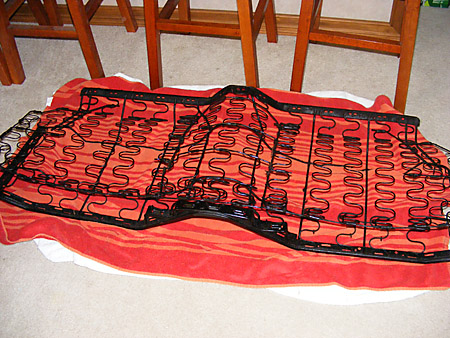
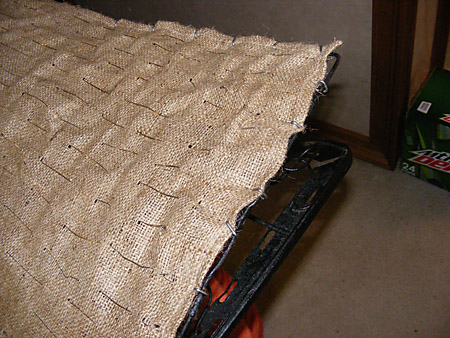
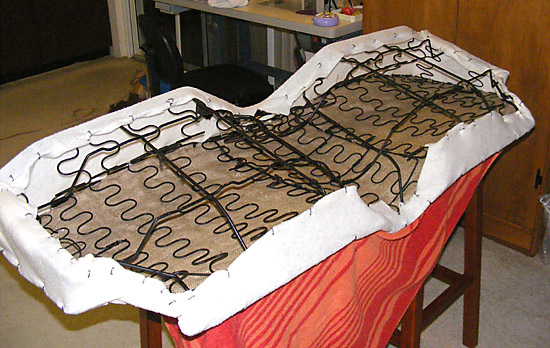
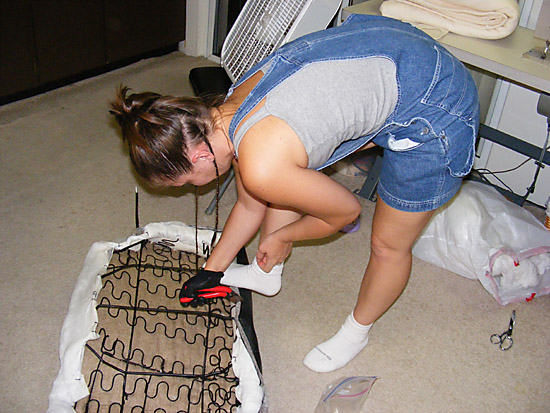
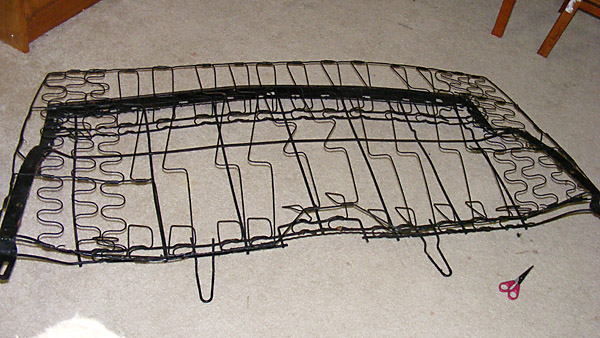
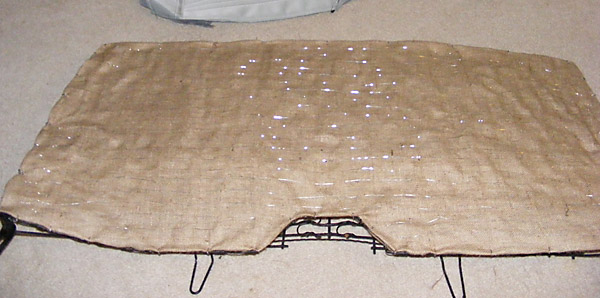
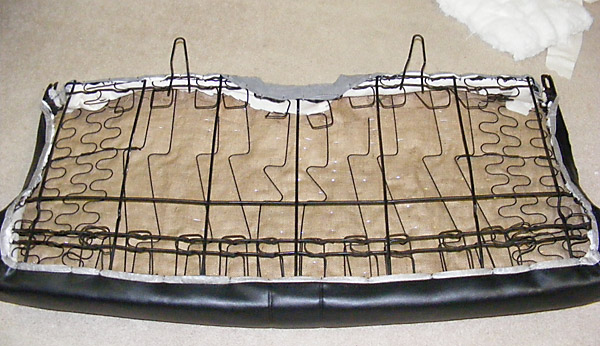
The 1st layer is of burlap with wire weaved thru it. The old one was trash.

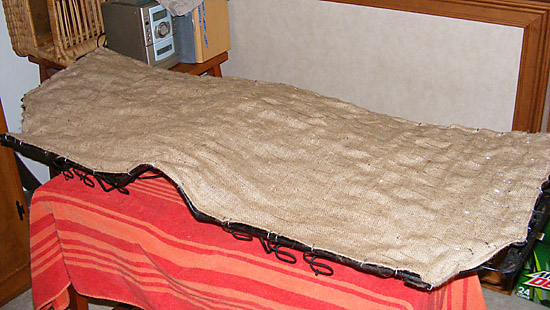
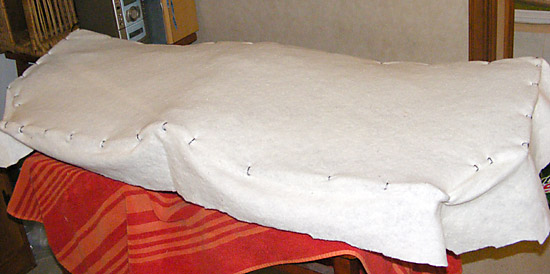
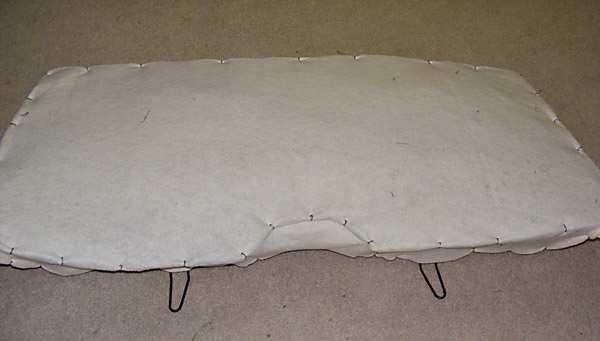
Next I wrapped it in a layer of felt
The 1st layer is of burlap with wire weaved thru it. The old one was trash.
Next I wrapped it in a layer of felt
Thread Starter
|
December 2011 ROTM
Santas Little Helper
Santas Little Helper
Joined: Jul 2007
Posts: 1,242
From: Casselberry, FL
ROTM Winner's Club
Well guys, Ive had a good bit of time to rest up since my surgery and its finally time to get back to work on my baby. The 1st thing to do was to finish my rear bench.
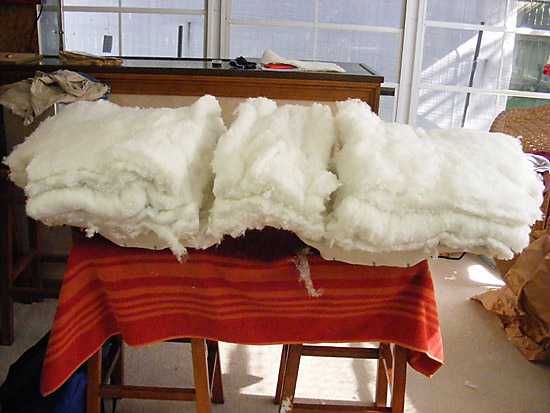
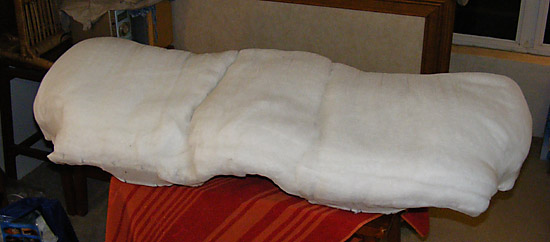
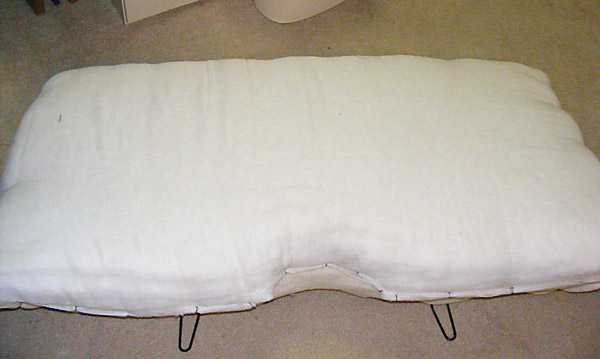
After the layer of felt I added about 5 layers of cotton batting I got at the local upholstery shop. You can see I separated it where the seat cover will be attached down the center.
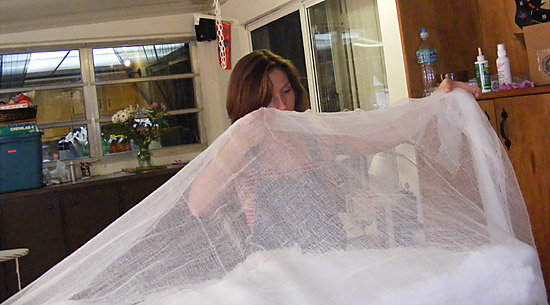
Then a layer of gauze to hold it in place
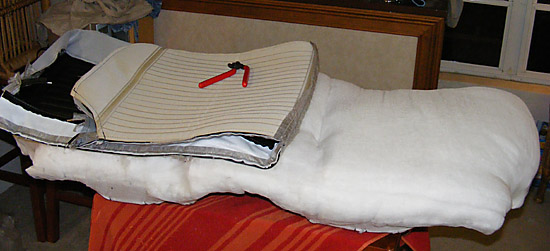
Then on to the cover. Just like the front seats its alot of work getting it attached to the frame thru all the layers.
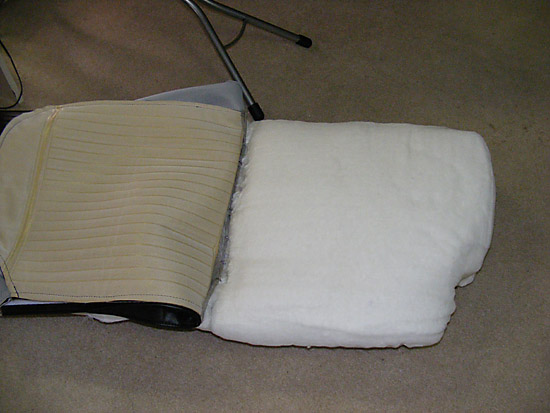
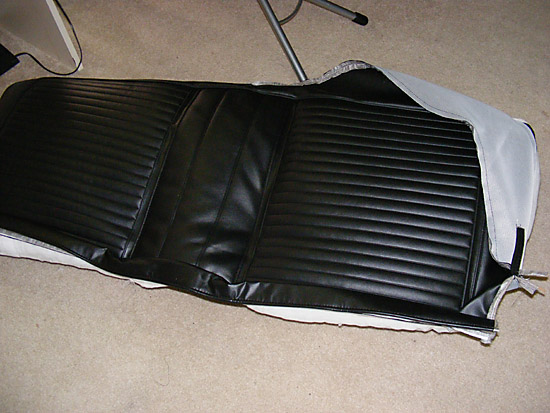
Flip the seat over and start in the corners. Helps if you step on the frame to compress the springs. These covers are a tight fit.
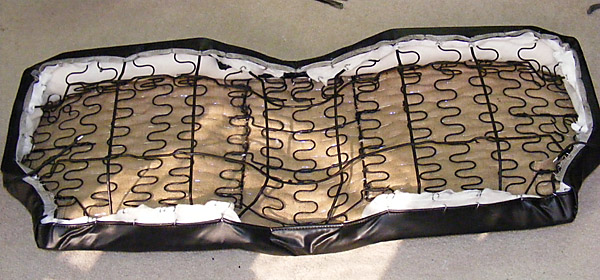
After the layer of felt I added about 5 layers of cotton batting I got at the local upholstery shop. You can see I separated it where the seat cover will be attached down the center.
Then a layer of gauze to hold it in place
Then on to the cover. Just like the front seats its alot of work getting it attached to the frame thru all the layers.
Flip the seat over and start in the corners. Helps if you step on the frame to compress the springs. These covers are a tight fit.


Thread Starter
|
December 2011 ROTM
Santas Little Helper
Santas Little Helper
Joined: Jul 2007
Posts: 1,242
From: Casselberry, FL
ROTM Winner's Club
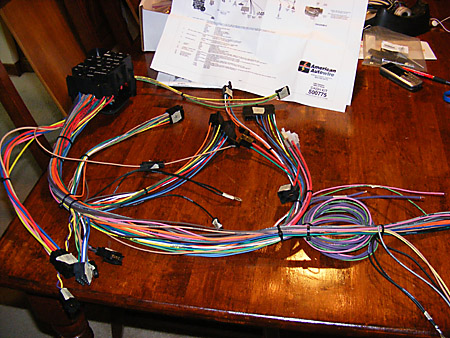
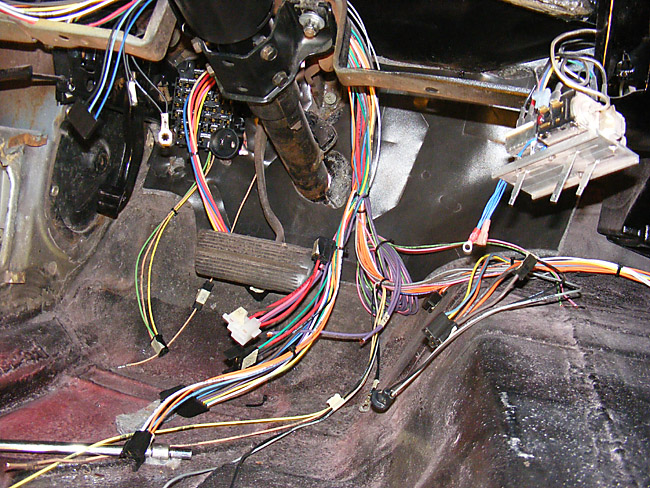
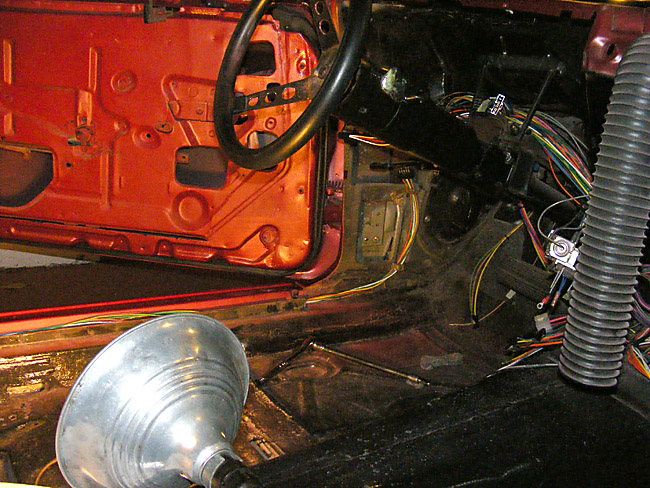
ok well I only have a few wiring pics. We are just at the beginning and started to lay the wiring out and get a feel for how this all works. But I did get the fuse box screwed in.

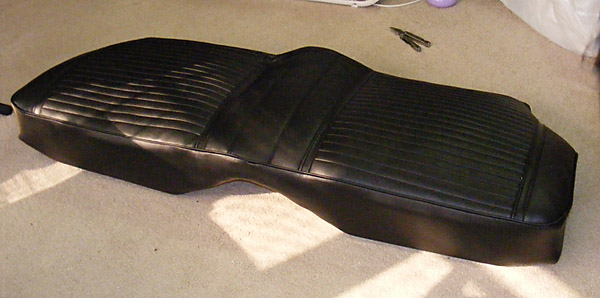
I did get the bench back recovered. Goes basically like the bottom but putting the cover on this one was a pita!!! When you do put the cover on, attach the bottom of it 1st, then the top, and then down the sides.
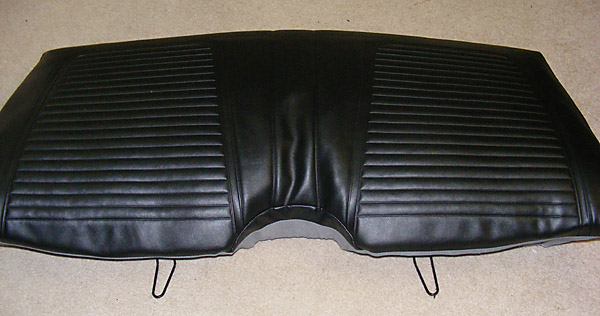
I did get the bench back recovered. Goes basically like the bottom but putting the cover on this one was a pita!!! When you do put the cover on, attach the bottom of it 1st, then the top, and then down the sides.


Newbie
Joined: Aug 2009
Posts: 17
From: Texas, Austin
Wow u did all that in a week. It took me nearly a week to finish sanding my 68 nova down and fillin in the rust holes. Ur pretty good with apposltry wish i lived closer i would pay u to do my seats in leather.
Last edited by 01Z28smith; Aug 13, 2009 at 01:07 PM. Reason: lol I was to stupid to look at the other pages and see youve come alot farther.