
Installing mini-tubs, DSE Quadra Link, and more


Thread Starter
|
July 2011 ROTM
Joined: Dec 2009
Posts: 153
ROTM Winner's Club
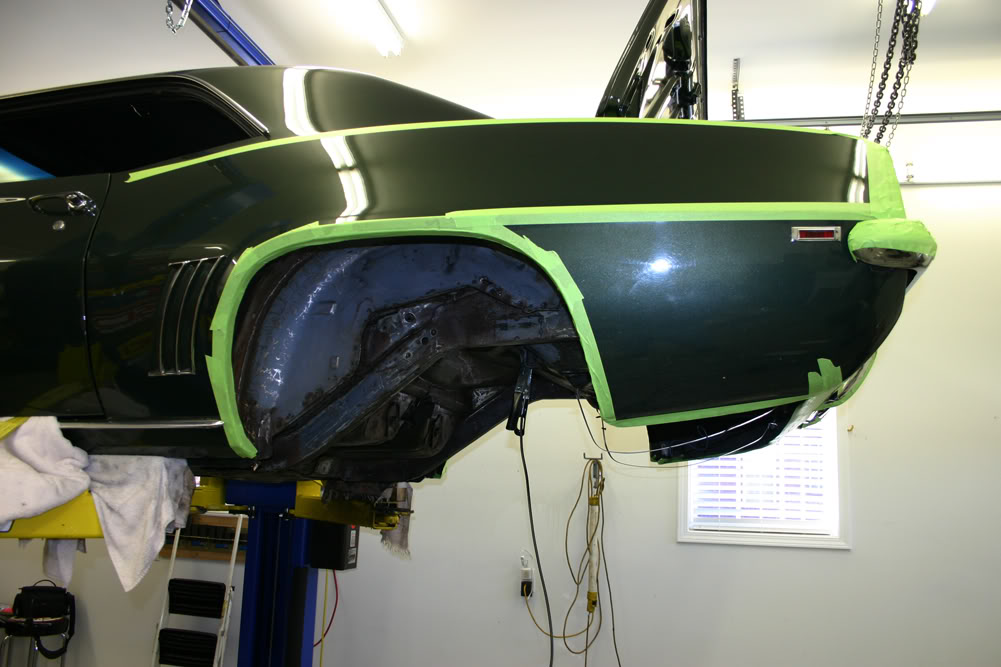
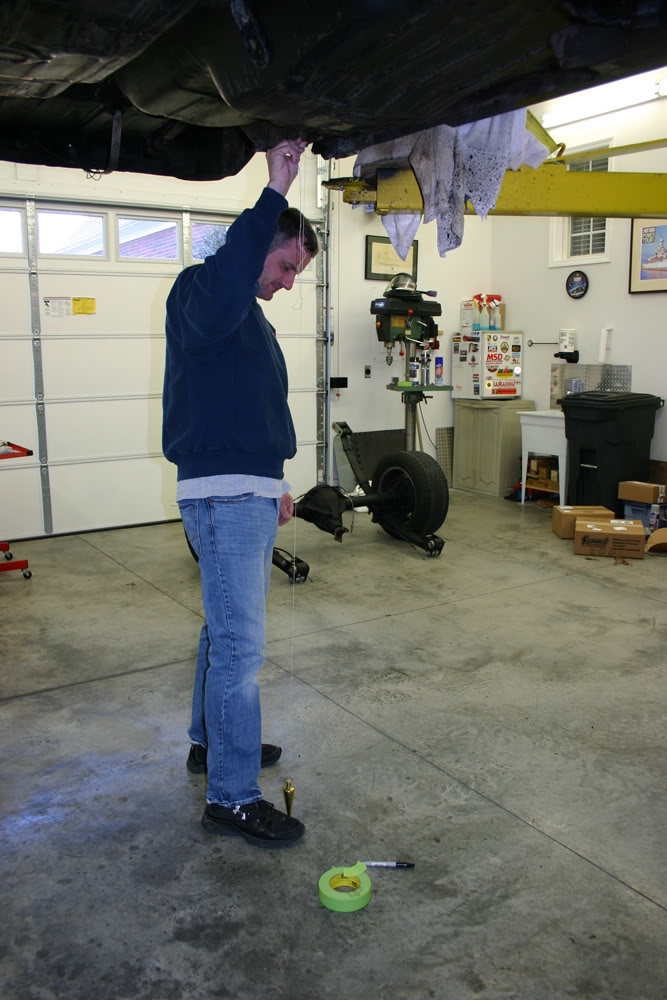
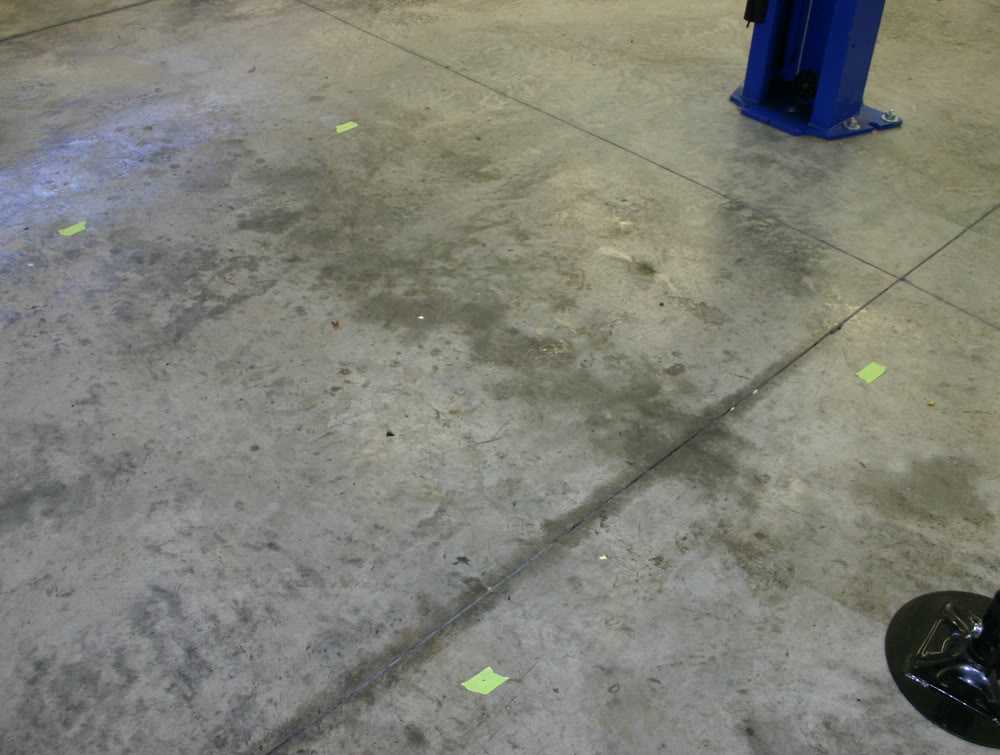
After taping the edges of the car for protection, the engineer in my son came forth. After finding some string for his plumb bob, we proceeded to mark on the garage floor the four reference points on the car. These measurements will show the relative position of the front subframe to the rear of the car. Matt wanted to make sure we had a car that was within factory specs before he began cutting it up. One each side of the car there is a hole near the front body mount and at the rear lower area. He suspended the bob from each of these holes while I marked the spot on masking tape on the floor. The measurement should be 54.5". Our measurement showed the front subframe to be 1/4" towards the front of the car and was consistent on both sides. That was within spec and, at least in Matt's mind, preferred as moving everthing 1/4" to the rear would make the engine even closer to the cowl. So all was well here.

Now on to the cutting!!!!
Now on to the cutting!!!!
Thread Starter
|
July 2011 ROTM
Joined: Dec 2009
Posts: 153
ROTM Winner's Club
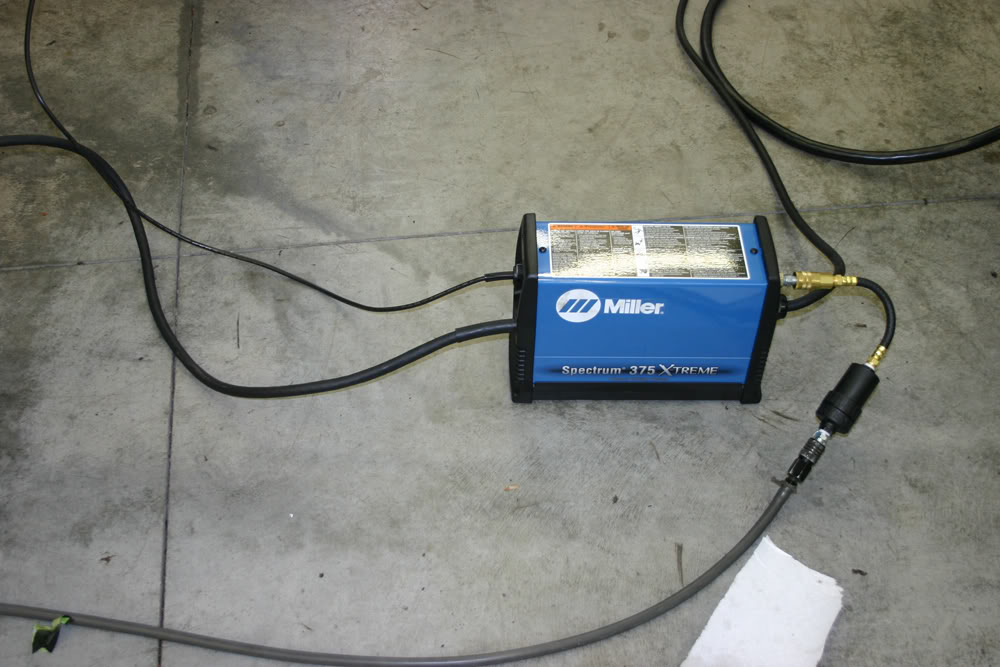
Plasma cutters are amazing!! I have never seen one in action. It truly cuts metal like butter. The first cut was the rear frame on the driver's side. Matt began the cut at the bottom on the front edge and ended this section near the top of the rail. Once it was out of the way, he then cut the rest of the rail in sections. This was necessary in order to get the cutter in place. I manned the ladder with a hose to douse a couple small fires in the trunk area. The most difficult part was at the rear as the access in this area is poor. Eventually, everthing was lying on the floor.
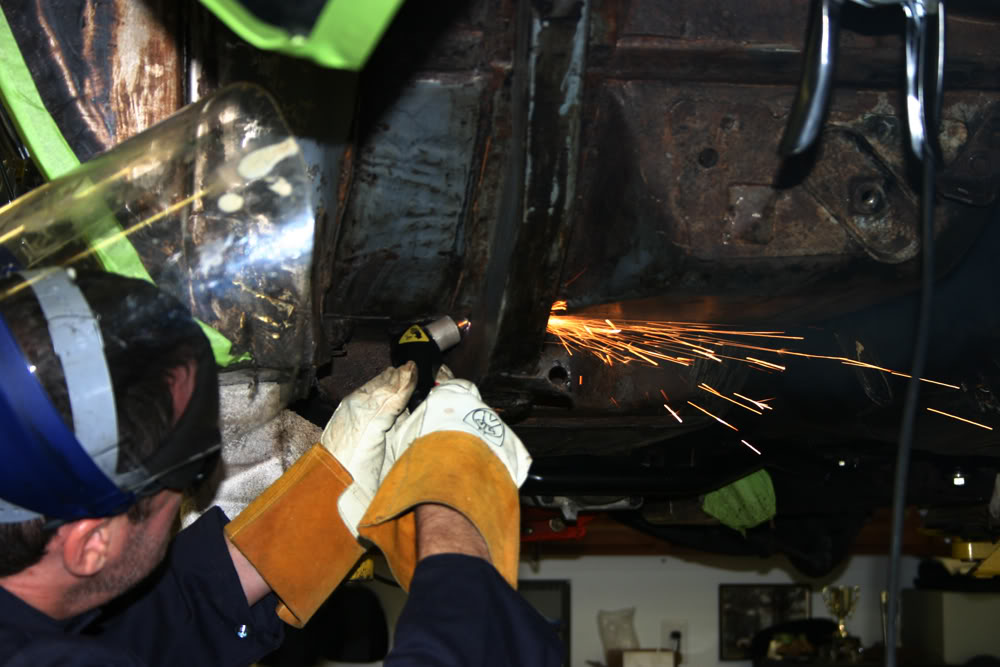

The plasma cutter makes remarkably clean cuts but grinding was necessary to both smooth out the cuts and prep for welding.
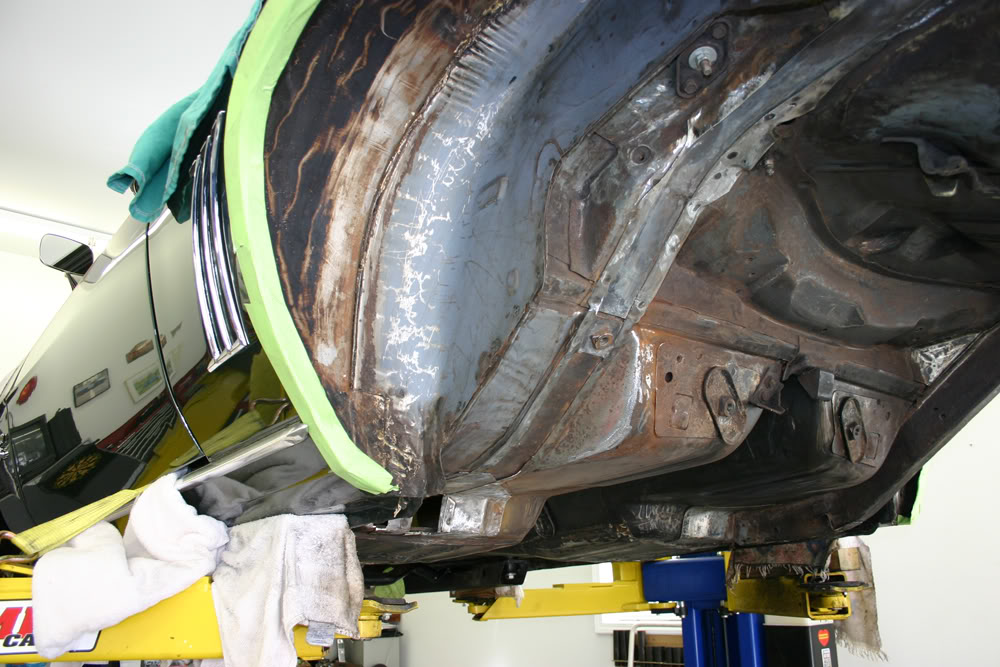
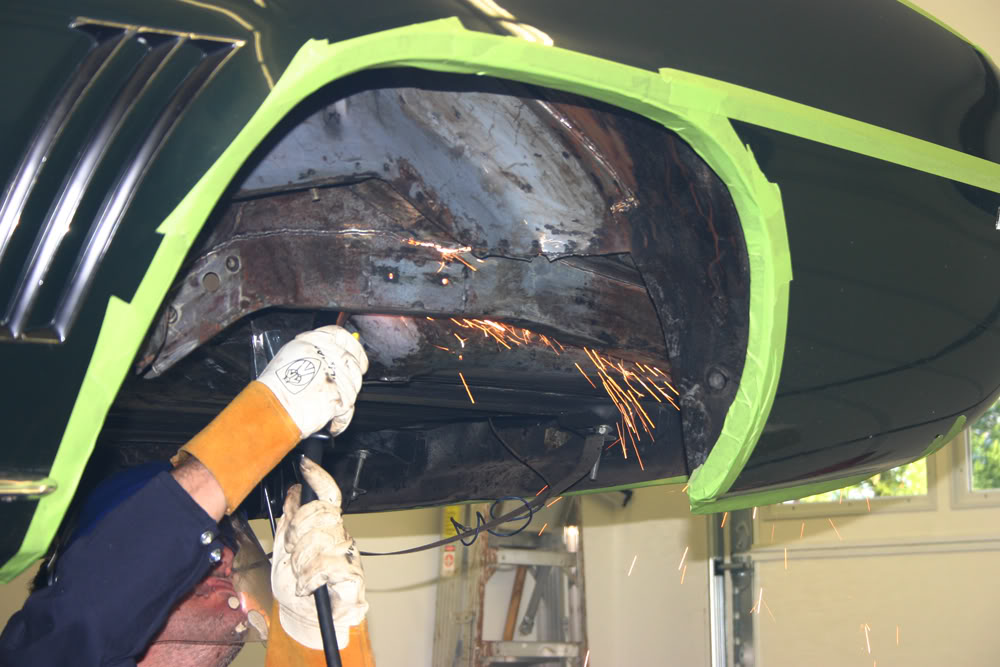
The replacement frame piece is made of much heavier material and is supposed to exactly fit. Not exactly!! Matt had to do three pie shaped cuts in order to make it fit snuggly to the body. The last thing he did today was bevel the edges of each of these cuts to prep them for some spot welds to hold the piece in place. That will be the job one tomorrow.
More cutting and fitting to come tomorrow.
The plasma cutter makes remarkably clean cuts but grinding was necessary to both smooth out the cuts and prep for welding.
The replacement frame piece is made of much heavier material and is supposed to exactly fit. Not exactly!! Matt had to do three pie shaped cuts in order to make it fit snuggly to the body. The last thing he did today was bevel the edges of each of these cuts to prep them for some spot welds to hold the piece in place. That will be the job one tomorrow.
More cutting and fitting to come tomorrow.
Thread Starter
|
July 2011 ROTM
Joined: Dec 2009
Posts: 153
ROTM Winner's Club
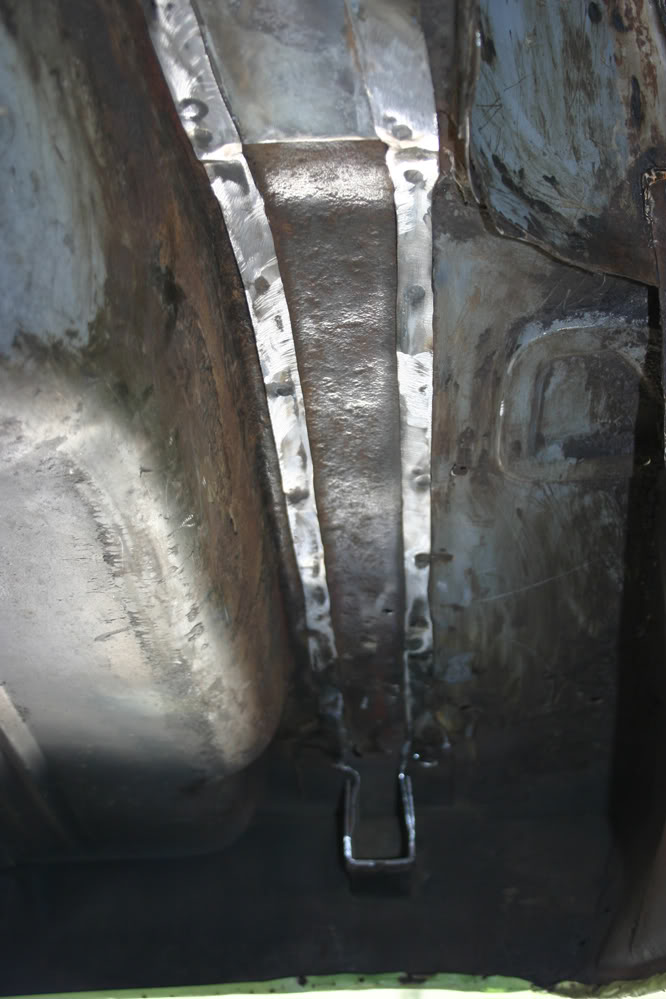
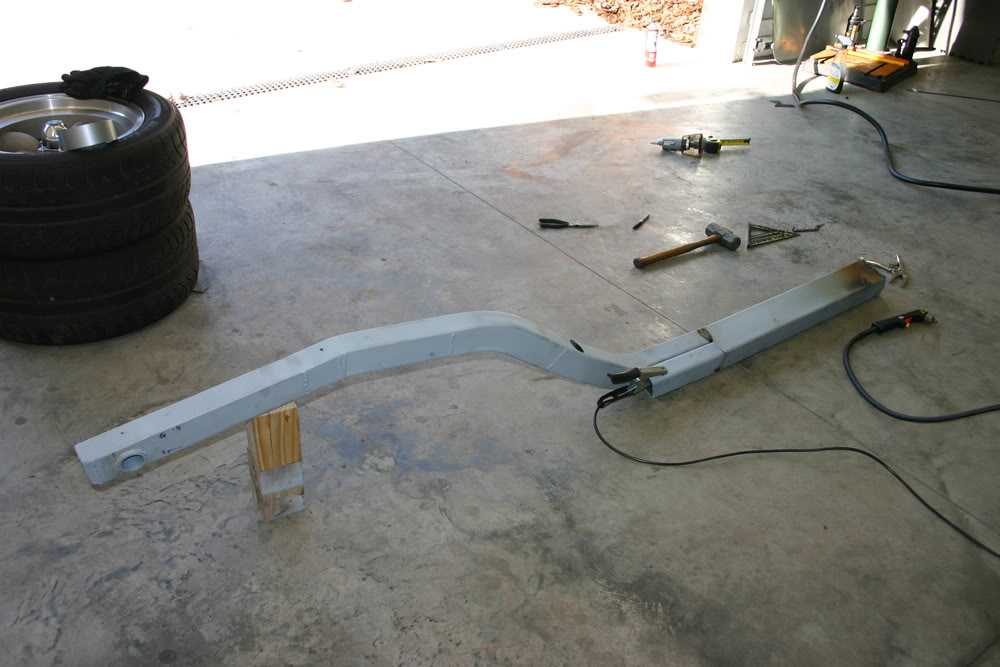
After test fitting the new frame rail, Matt decided it needed one more pie cut to make it fit well. Now that he was satisfied, he welded each of the pie cuts, supported the frame rail with floor jacks and then screwed it to the panel above for temporary fitting.

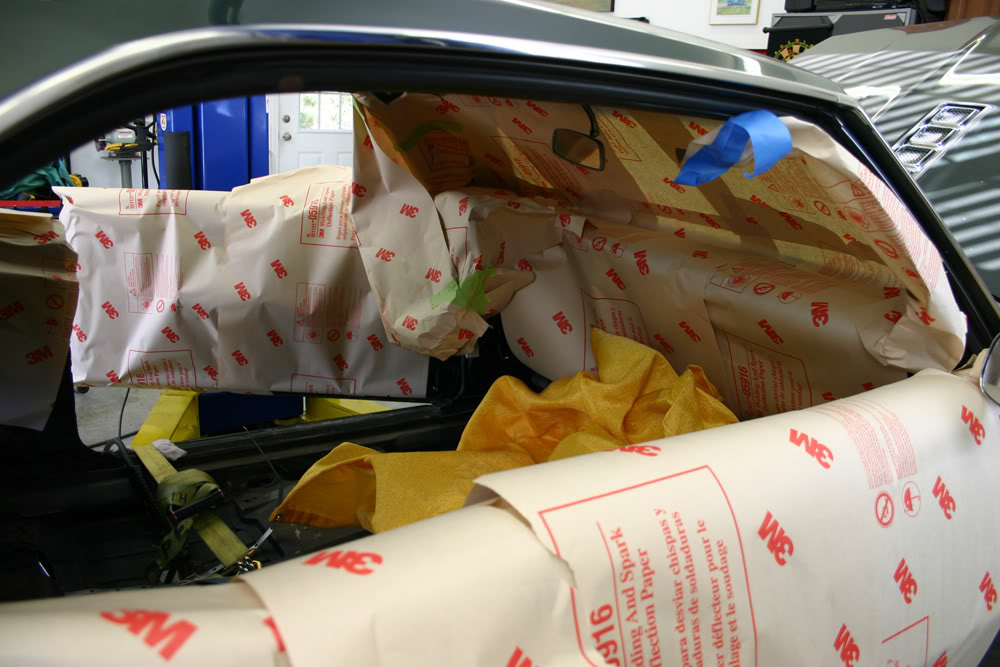
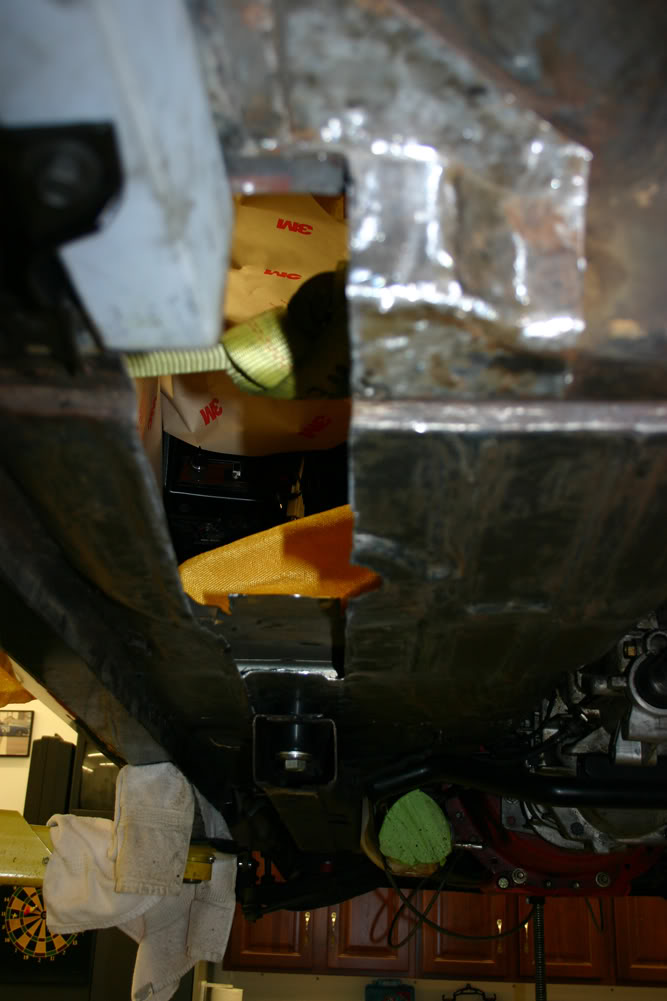
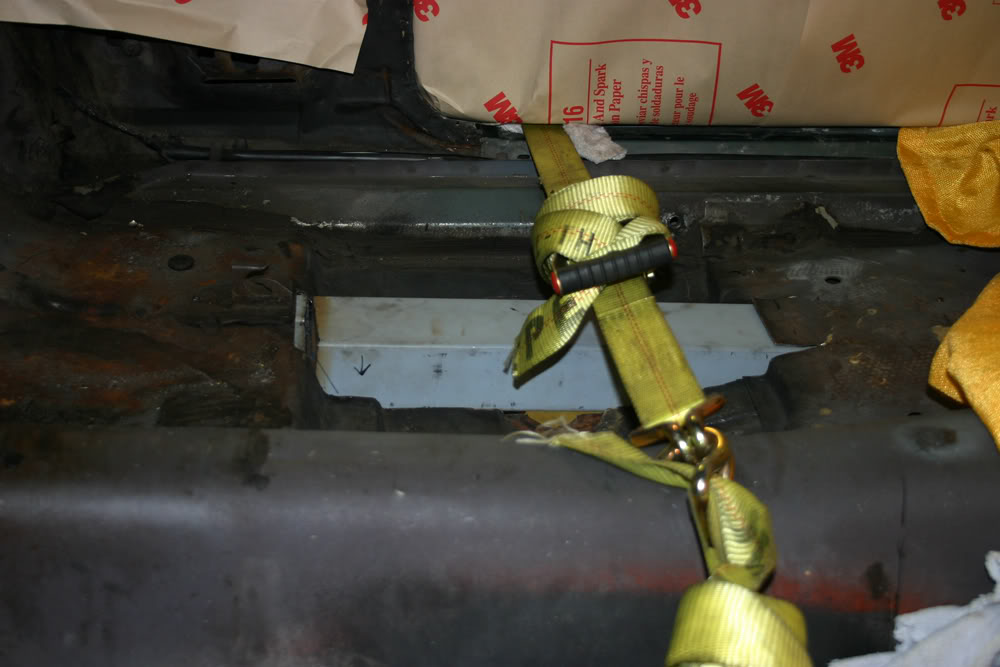
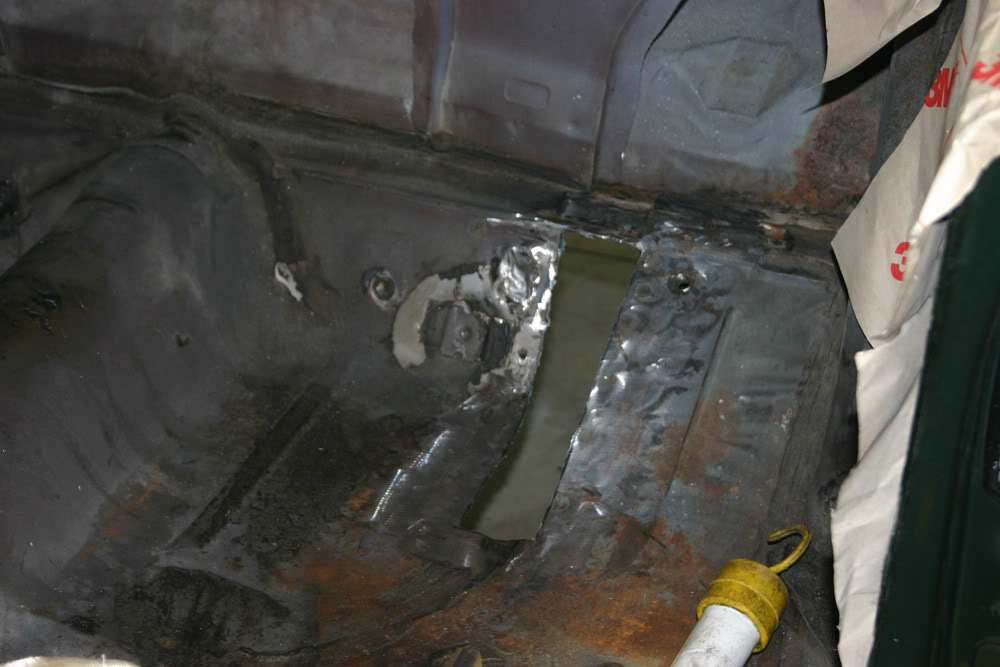
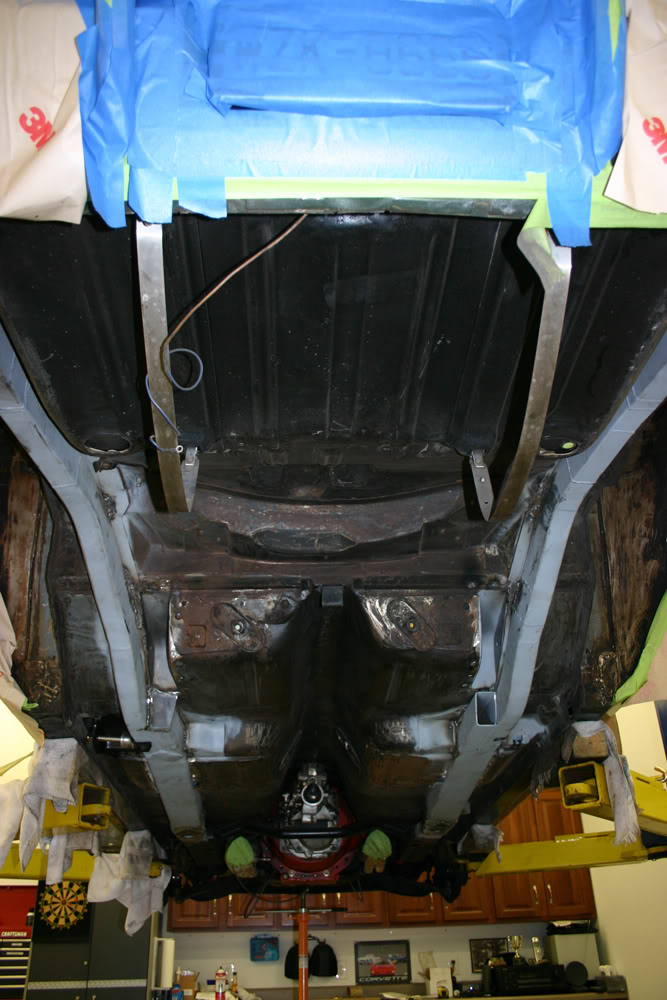
Since the next step involved cutting away some of the floor pan from inside the car, we decided it was time to apply the 3M welding paper to protect the interior and exterior. It has a slightly adhesive back and was easy to install.
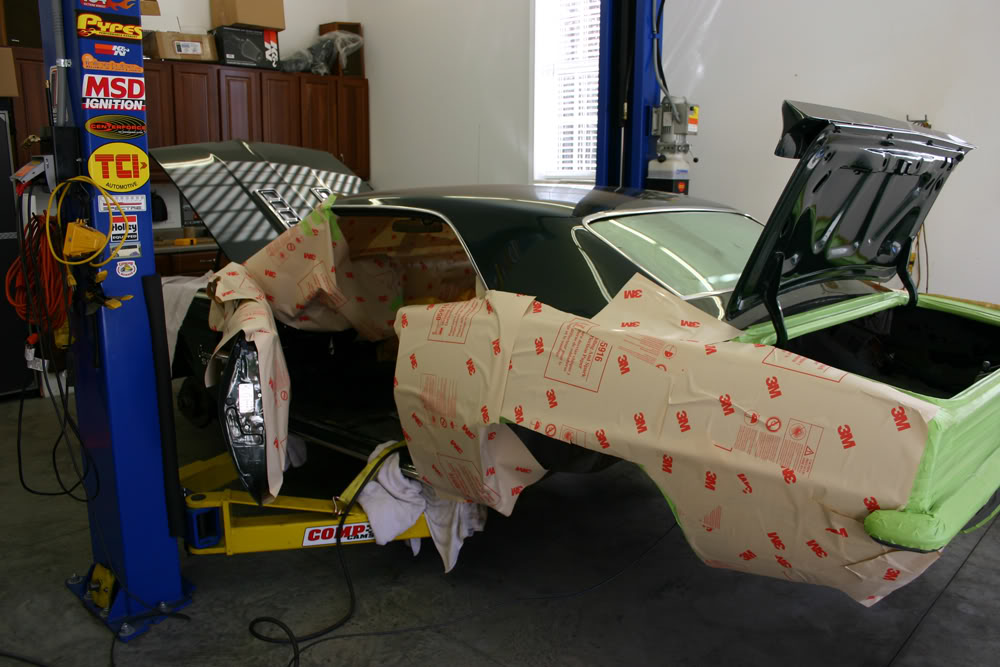
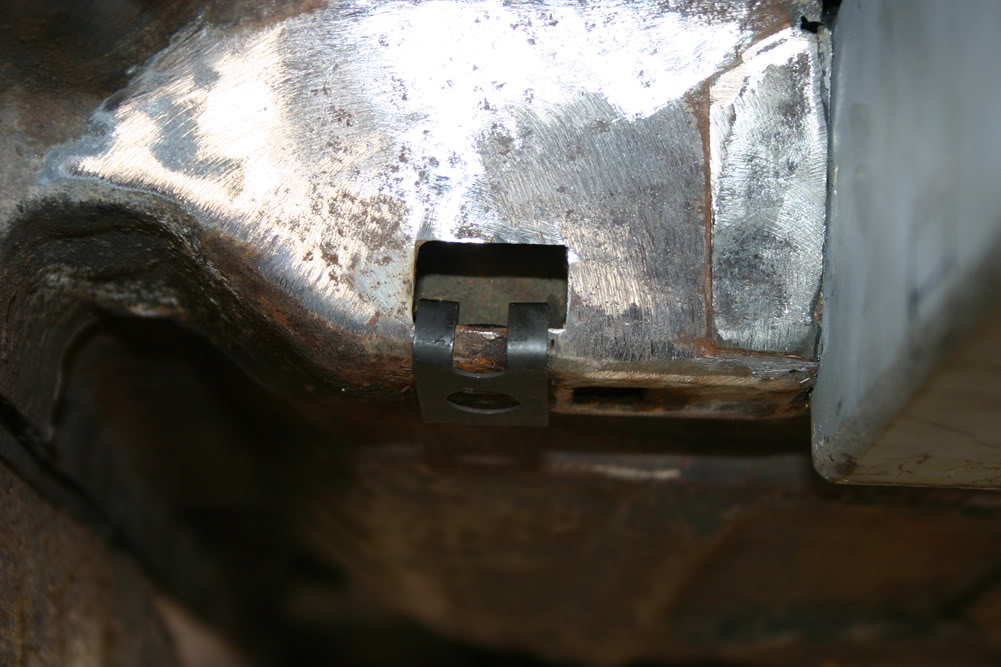
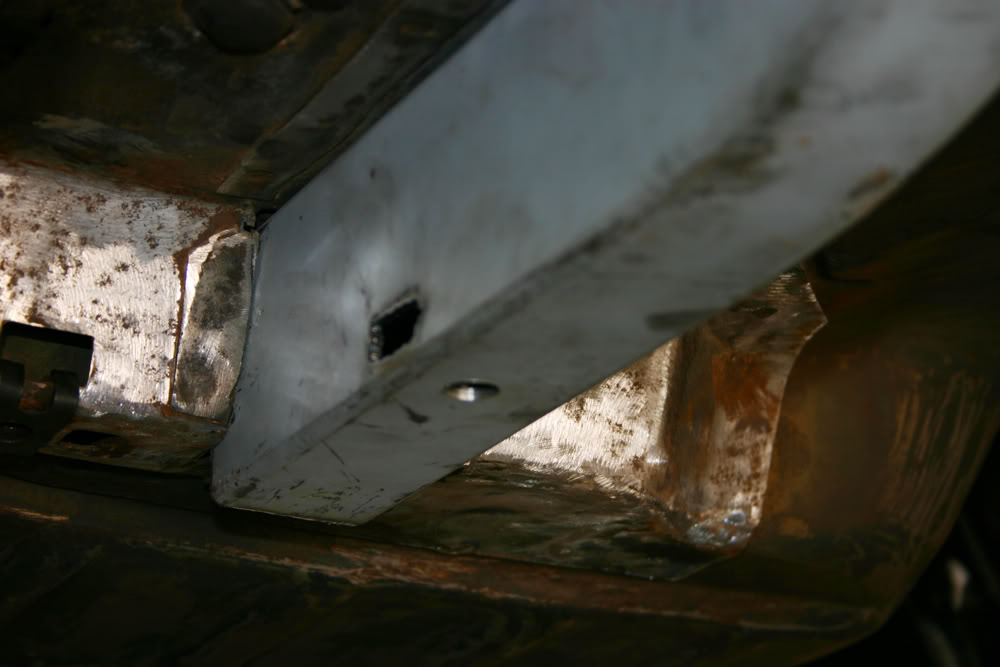
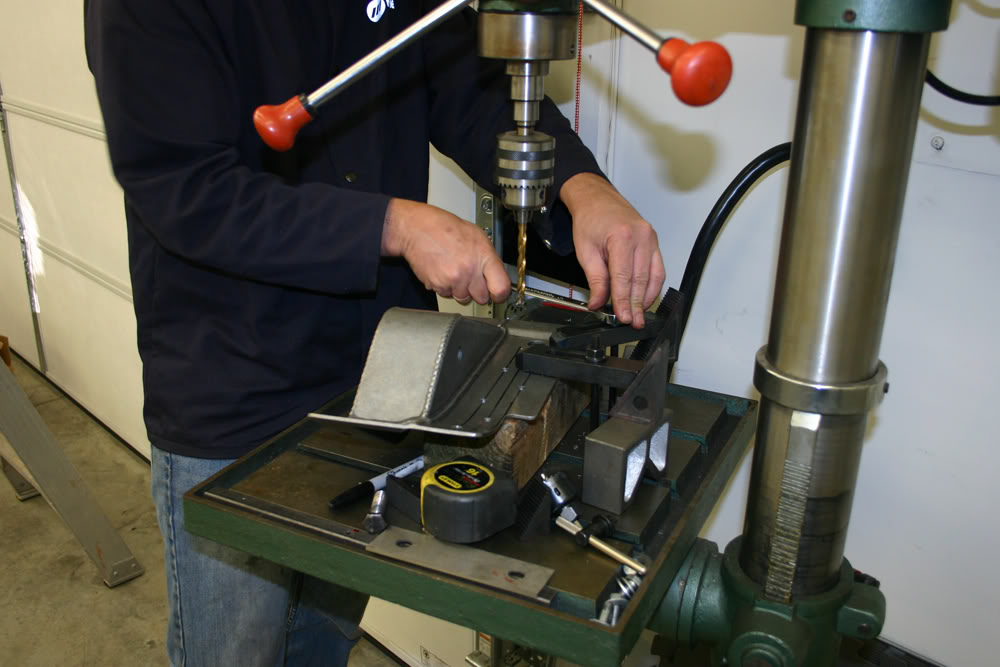
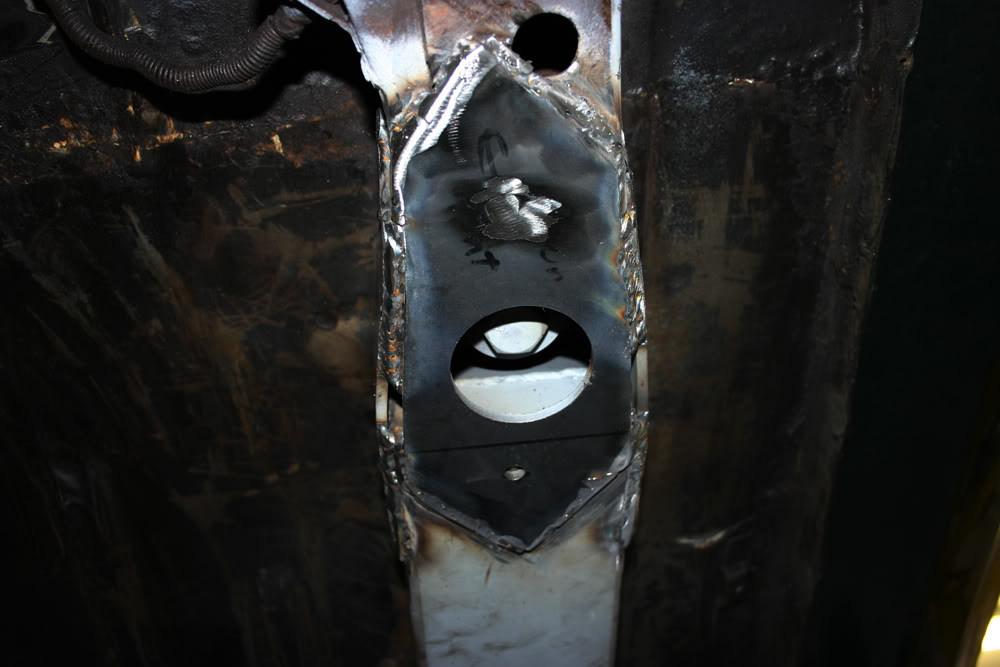
The leaf spring pockets are re-used and are a mounting point for the new suspension. Some of the holes in the original spring pockets were distorted so Matt ordered new ones. These pockets are held in place with three bolts using blind nuts. Two of these nuts are mounted to the body while the third one is mounted in the frame rail. To mount the nut in the frame rail, Matt had to cut a rectangular hole in the side of the frame rail and drill a hole in the bottom for the bolt. Another chance to use the plasma cutter!!! After some filing to clean up the hole, we slipped in the blind nut and bolted the spring pocket in place.
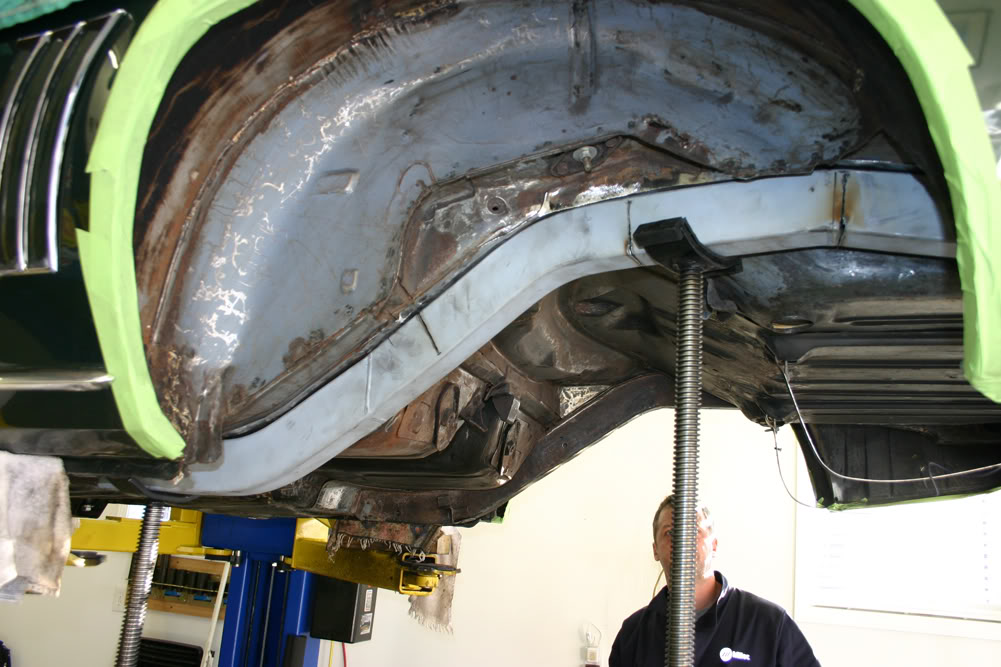
The floor pan is being cut so Matt can install a 2"x4" frame connectors. The price for this piece was right...FREE!! Red Bull Racing used these pieces in constructing their cars. To make the cars as light as possible, they would mill these pieces as thin as they could go and still be legal. These particular pieces had been milled too much and, since they would not pass tech inspection, they gave them to Matt.
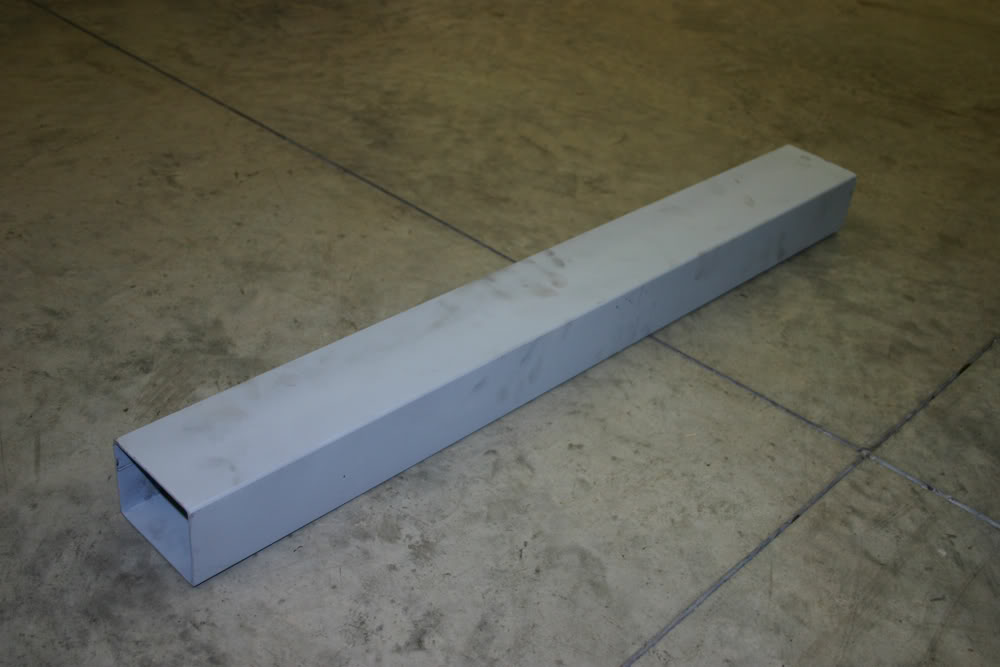
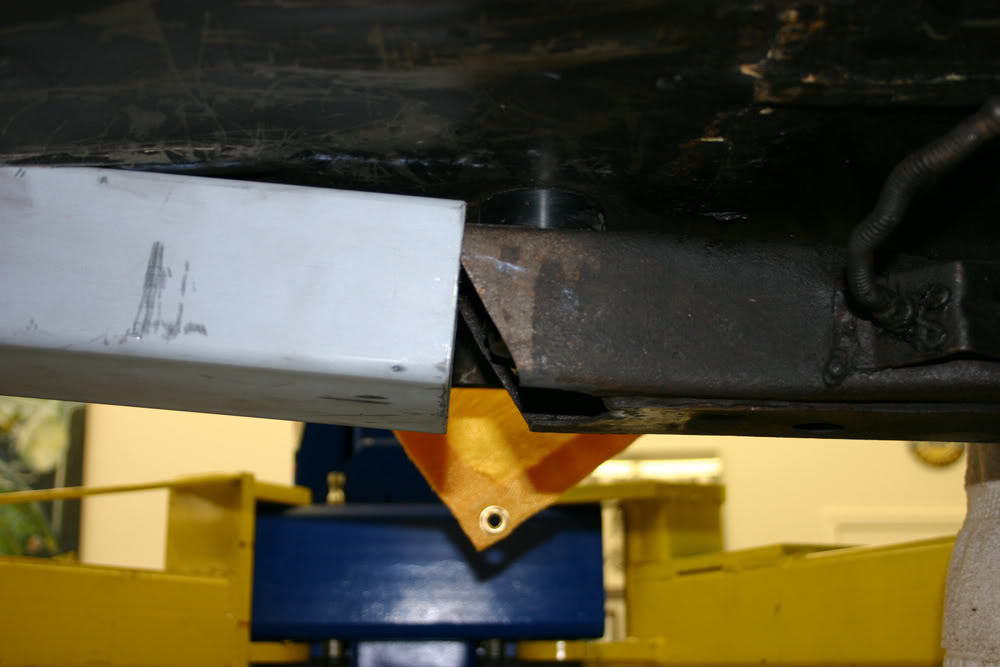
They are perfect for frame connectors as they are very strong. However, their size requires the floor pan to be cut and they will protrude into the back seat footwell area. The only person who occasionally rides back there is Matt's 11 year old son Garrett. Matt feels Garrett can adapt to a little less footroom. First up Matt had to enlarge the opening when the frame rail meets the body. Eventually there will be an additional approximately 10" 2"x2" piece of steel installed side by side at the bottom of the frame rail for additional support. These two pieces will perfectly match the dimensions of the frame connector and will all be welded together as one piece and then installed.
Next we had to cut some metal to make the frame connector fit.
Since the next step involved cutting away some of the floor pan from inside the car, we decided it was time to apply the 3M welding paper to protect the interior and exterior. It has a slightly adhesive back and was easy to install.
The leaf spring pockets are re-used and are a mounting point for the new suspension. Some of the holes in the original spring pockets were distorted so Matt ordered new ones. These pockets are held in place with three bolts using blind nuts. Two of these nuts are mounted to the body while the third one is mounted in the frame rail. To mount the nut in the frame rail, Matt had to cut a rectangular hole in the side of the frame rail and drill a hole in the bottom for the bolt. Another chance to use the plasma cutter!!! After some filing to clean up the hole, we slipped in the blind nut and bolted the spring pocket in place.
The floor pan is being cut so Matt can install a 2"x4" frame connectors. The price for this piece was right...FREE!! Red Bull Racing used these pieces in constructing their cars. To make the cars as light as possible, they would mill these pieces as thin as they could go and still be legal. These particular pieces had been milled too much and, since they would not pass tech inspection, they gave them to Matt.
They are perfect for frame connectors as they are very strong. However, their size requires the floor pan to be cut and they will protrude into the back seat footwell area. The only person who occasionally rides back there is Matt's 11 year old son Garrett. Matt feels Garrett can adapt to a little less footroom. First up Matt had to enlarge the opening when the frame rail meets the body. Eventually there will be an additional approximately 10" 2"x2" piece of steel installed side by side at the bottom of the frame rail for additional support. These two pieces will perfectly match the dimensions of the frame connector and will all be welded together as one piece and then installed.
Next we had to cut some metal to make the frame connector fit.
Thread Starter
|
July 2011 ROTM
Joined: Dec 2009
Posts: 153
ROTM Winner's Club
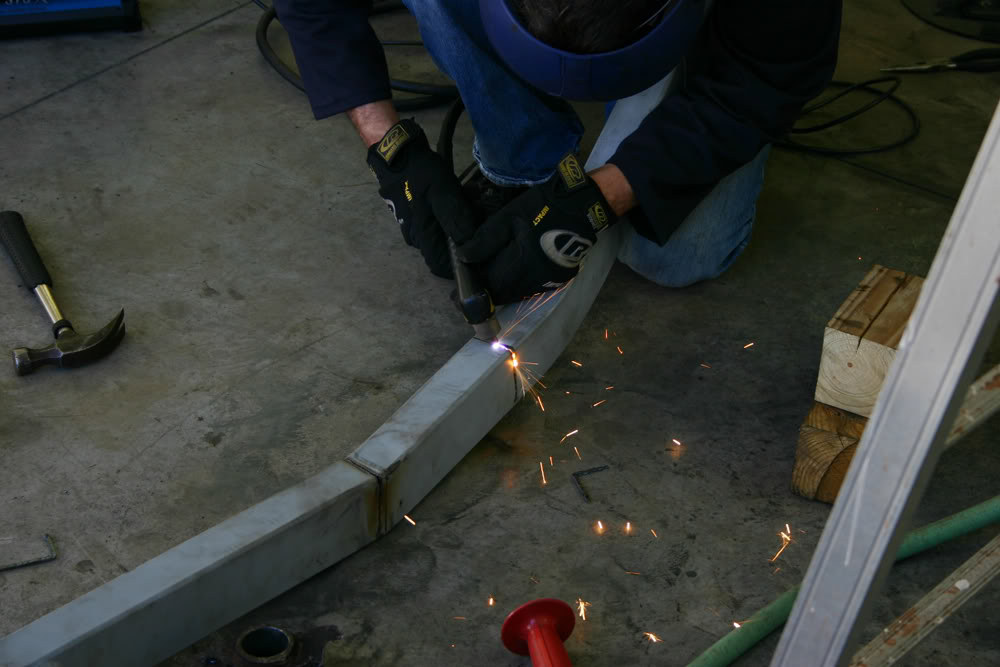
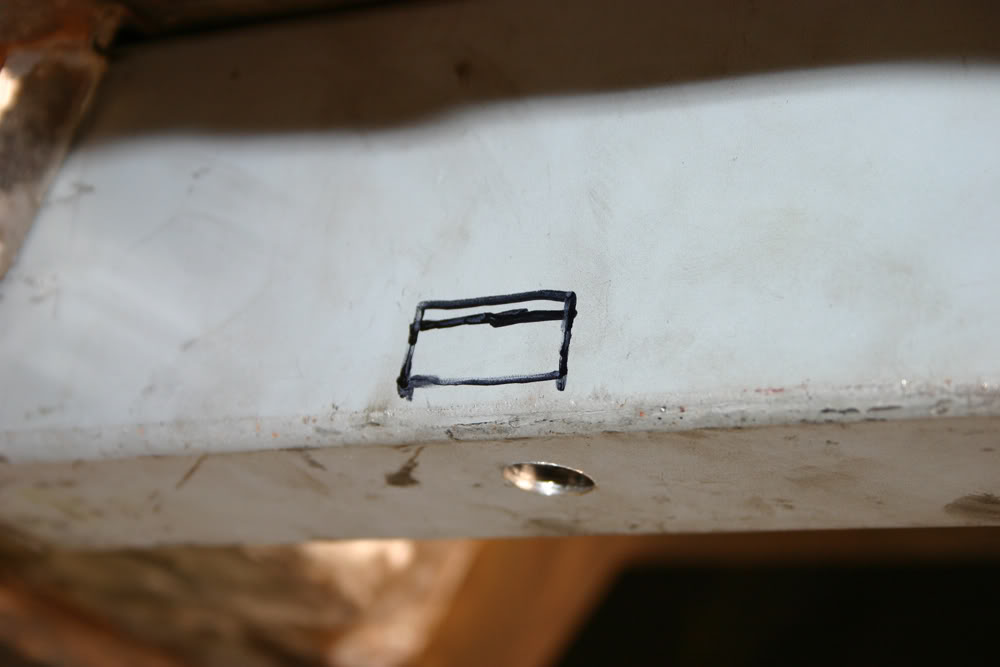
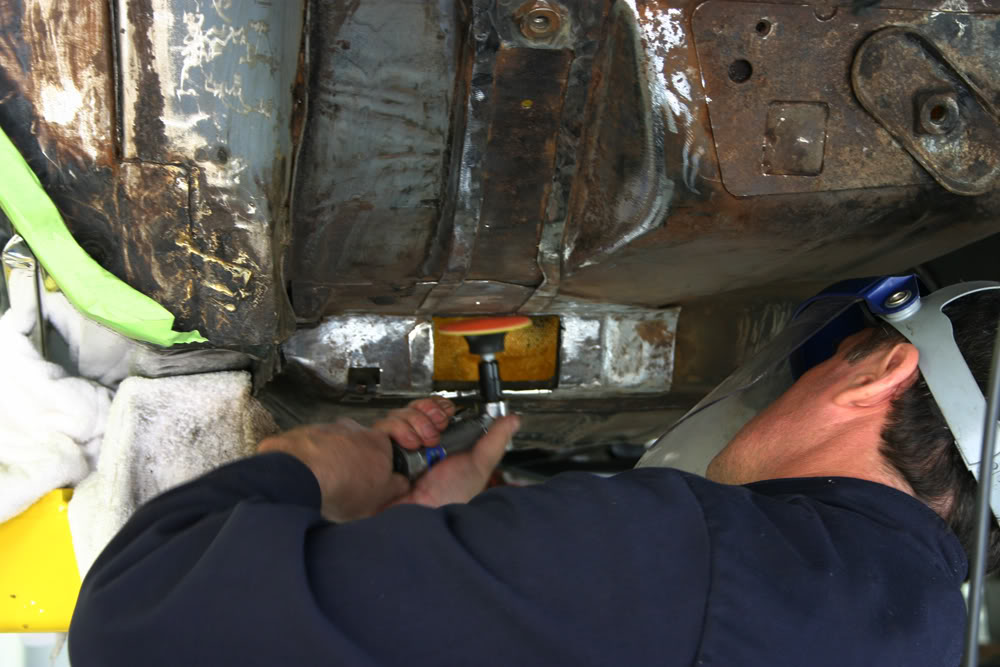
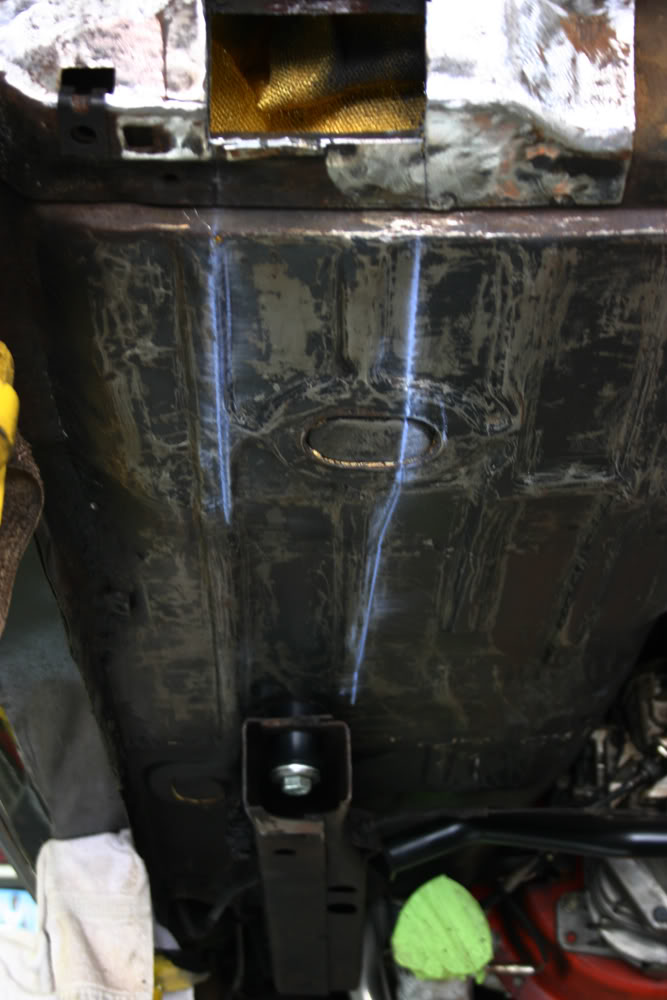
Now we are ready to cut the floorpan. We chalked lined the bottom for the 4" wide hole we would need. Since Matt was going to cut from inside the car, he drilled two holes along each side of the chalk line as guide holes. Inside the car, he lined up a straight edge with two of the holes and clamped it in place. This gave him his cutting line. Out comes the plasma cutter again. We purposely cut the hole bit by bit to make sure we did not remove any more metal than was necessary.
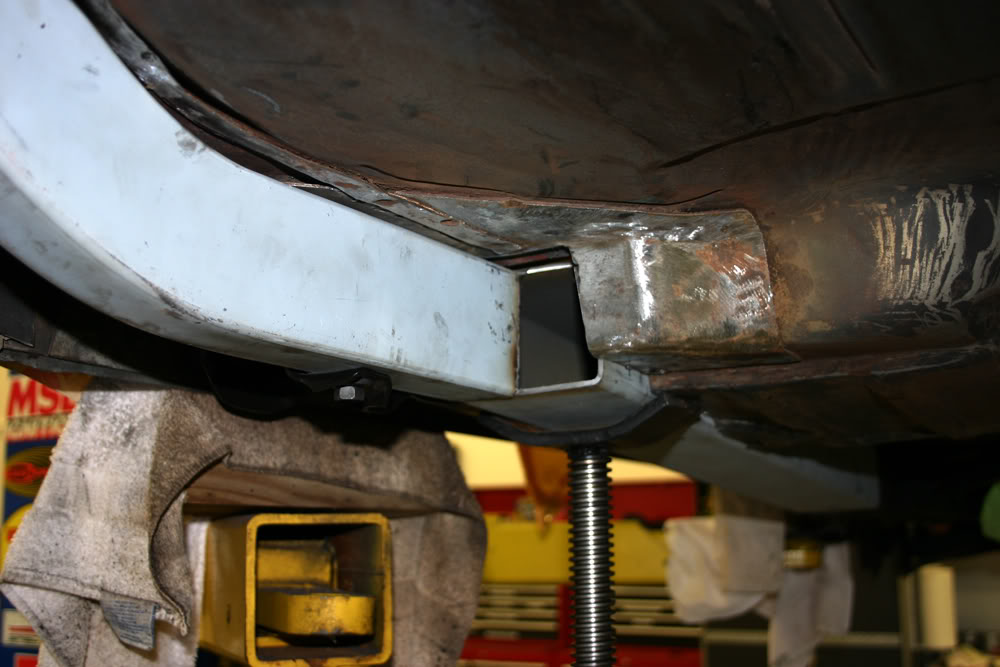
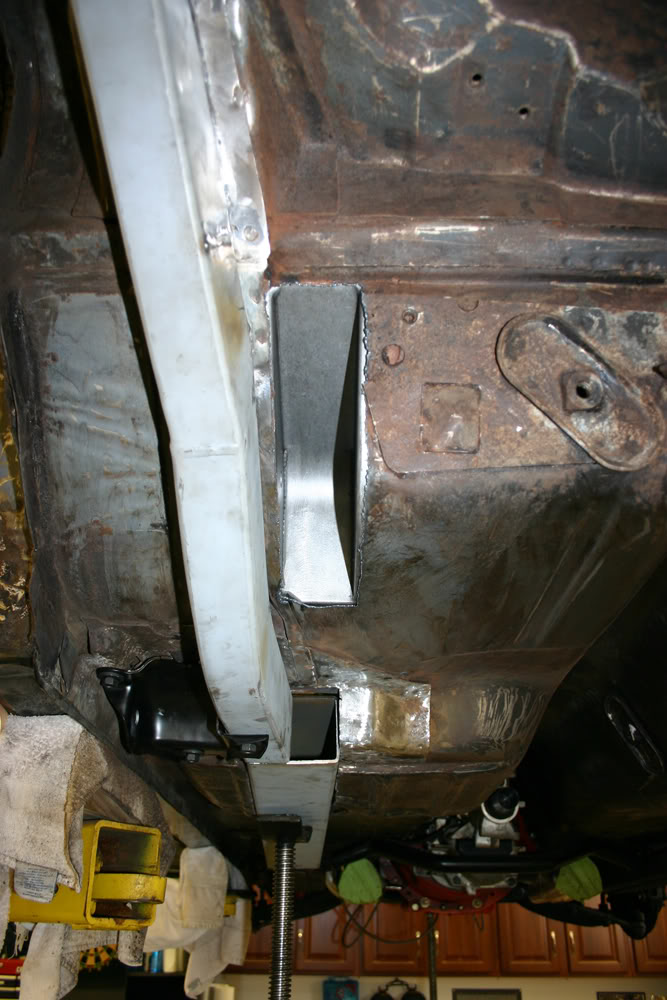
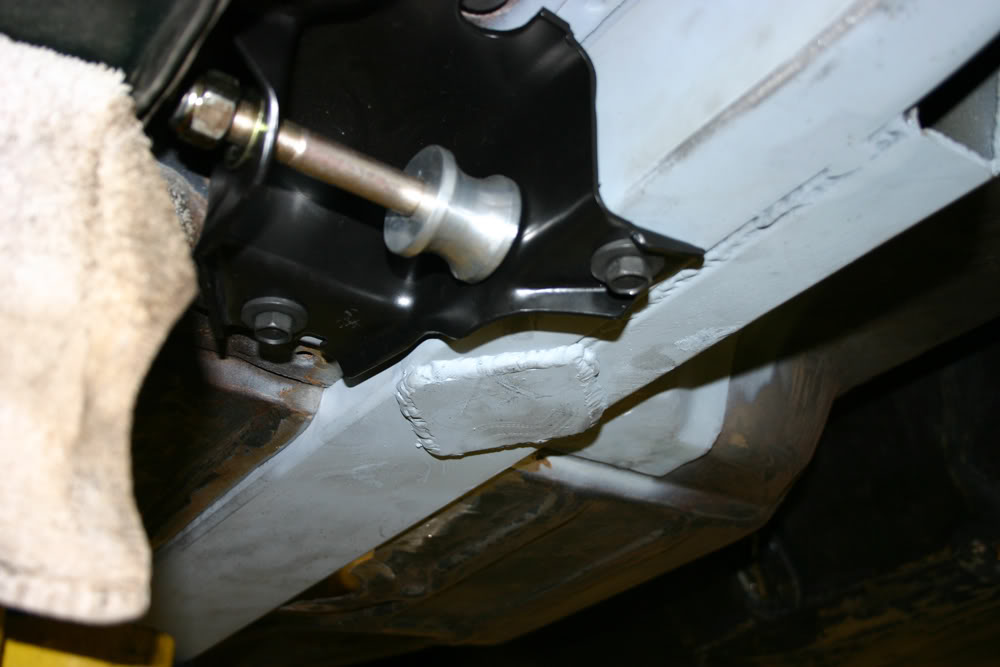
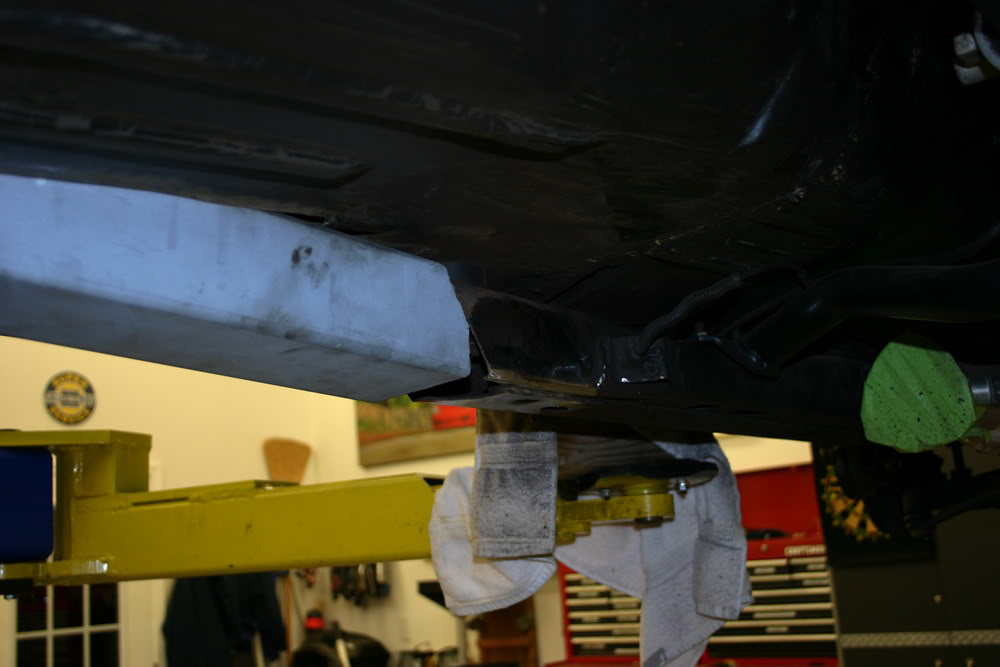
After many cutting and fitting sessions, we got to the point where we could cut the frame extender to length. It lines up with the bottom of the frame rail and the bottom of the floor pan. At the front it rests on top of the rear most part of the front subframe. To make sure the front subframe could be removed in the future, Matt will weld 1/8" steel plates on each side and the bottom to connect the front subframe to the frame connector. Since the rear part of the front subframe steel angles towards the front of the car at the bottom, to remove the subframe, you would simply cut the center of each plate. As Matt said, since it is so easy to cut metal with the plasma cutter, it would only take a few minutes to free the subframe from the frame connector.
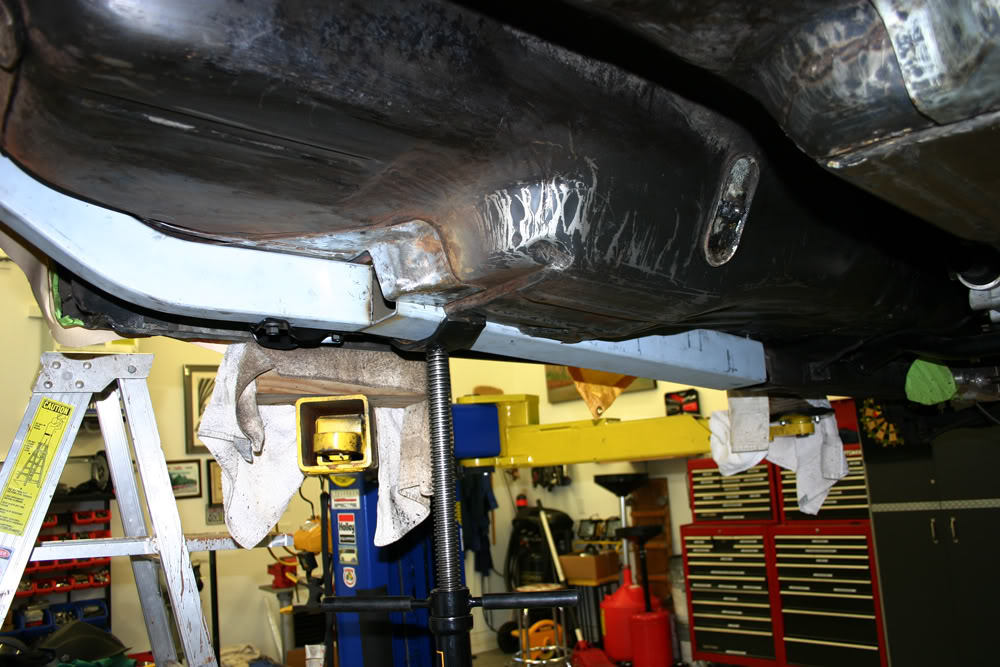
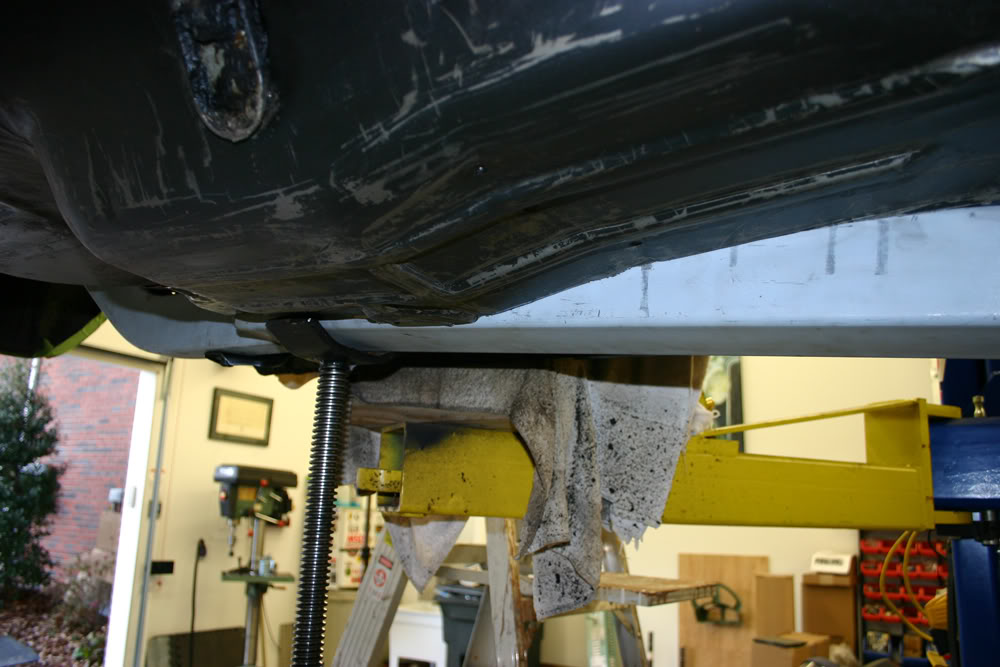
Tomorrow we will tack weld the frame connector to the rear frame member, remove the frame member and connector as one piece and then weld them together. After welding is completed, it will be time to weld everything in place.
After many cutting and fitting sessions, we got to the point where we could cut the frame extender to length. It lines up with the bottom of the frame rail and the bottom of the floor pan. At the front it rests on top of the rear most part of the front subframe. To make sure the front subframe could be removed in the future, Matt will weld 1/8" steel plates on each side and the bottom to connect the front subframe to the frame connector. Since the rear part of the front subframe steel angles towards the front of the car at the bottom, to remove the subframe, you would simply cut the center of each plate. As Matt said, since it is so easy to cut metal with the plasma cutter, it would only take a few minutes to free the subframe from the frame connector.
Tomorrow we will tack weld the frame connector to the rear frame member, remove the frame member and connector as one piece and then weld them together. After welding is completed, it will be time to weld everything in place.
Thread Starter
|
July 2011 ROTM
Joined: Dec 2009
Posts: 153
ROTM Winner's Club
We were hoping that today would be the day we welded the new frame in place. We came close but no cigar. Should be done tomorrow.
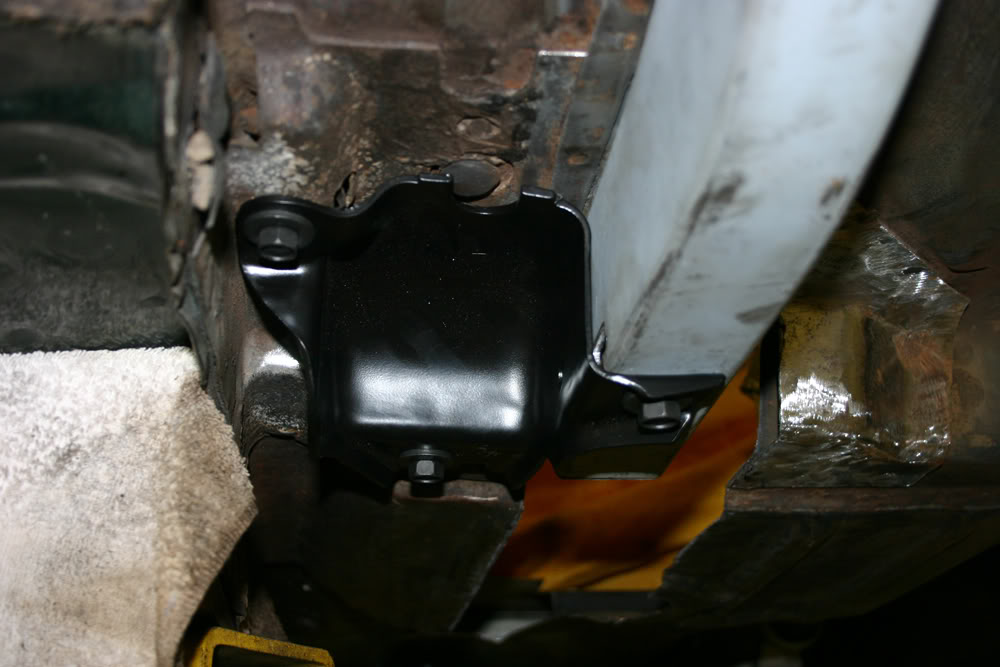
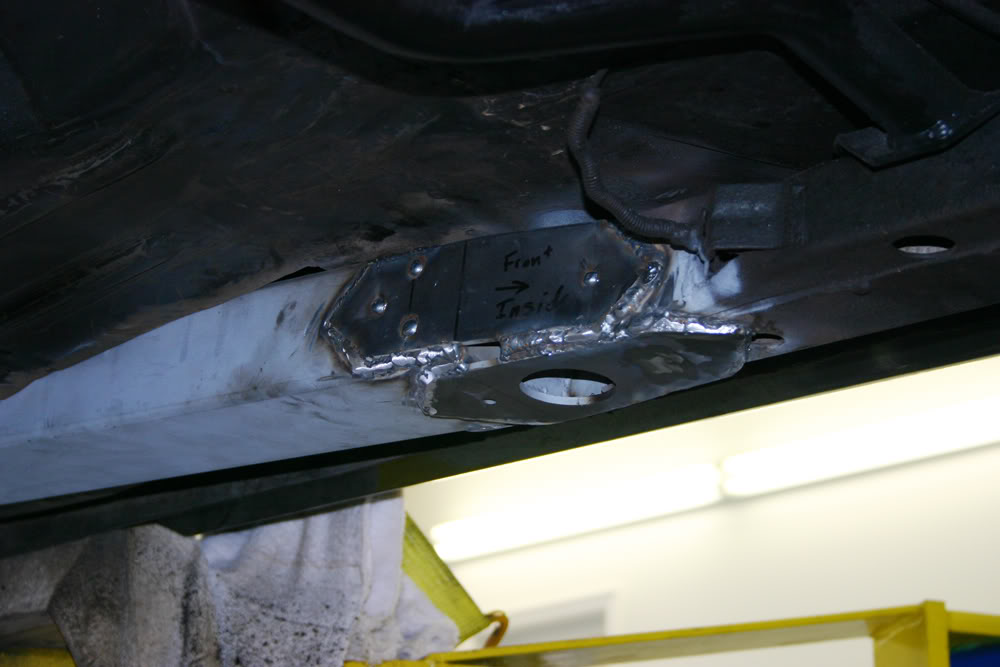
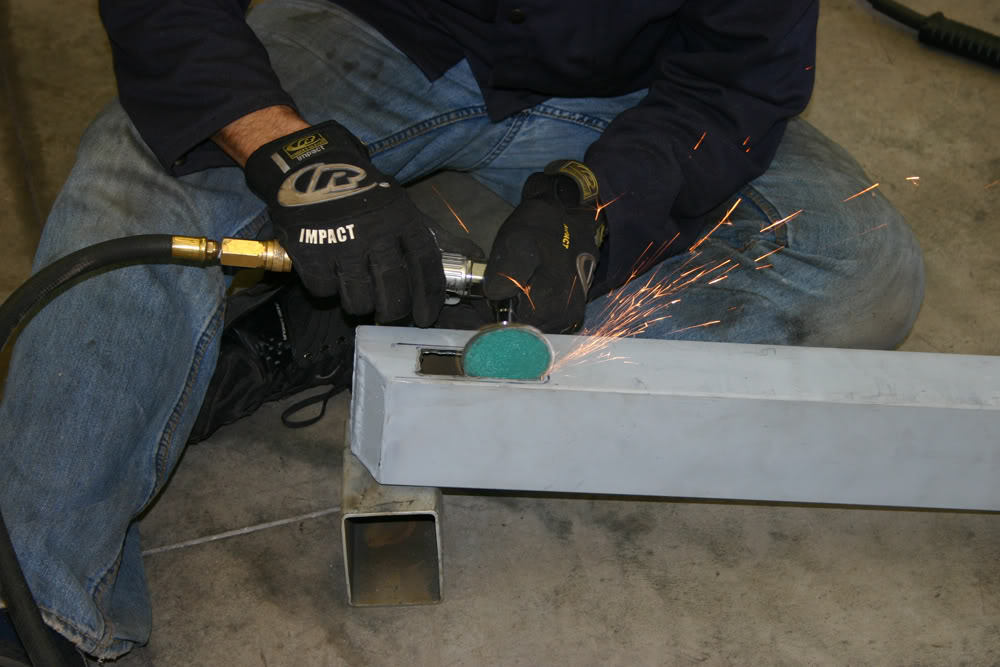
Since it is in the same area where the frame connector goes through the body, Matt decided to cut out the pocket for the four link connection to see how everything was going to fit together. DSE provides a template which was very accurate. After making sure it fit correctly, Matt drilled weld holes in the large flat side. Later I drilled those holes through the floor panel so the hole welds will penetrate the panel.
The next project was making a relief in the frame member for the bolt head for the spring pocket. This is the bolt that will hold the trailing arm into the pocket. Out came the plasma cutter yet again.

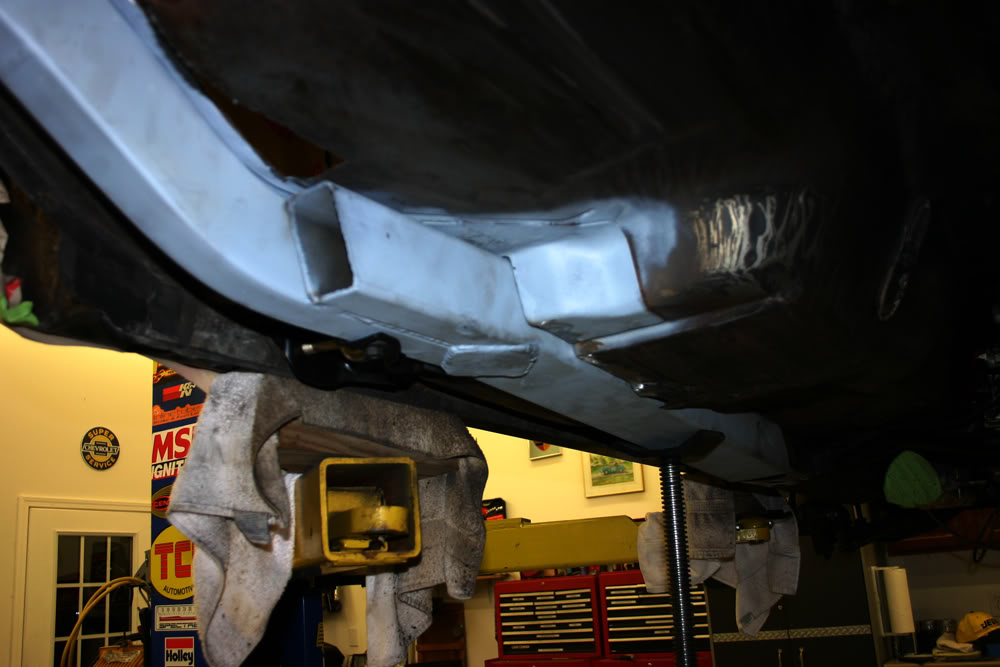
Matt felt that the four link pocket should have more support so he cut a piece of 2"x2" steel to weld to the lower frame member. We then sprayed the all fo the area that would be under the frame with primer.
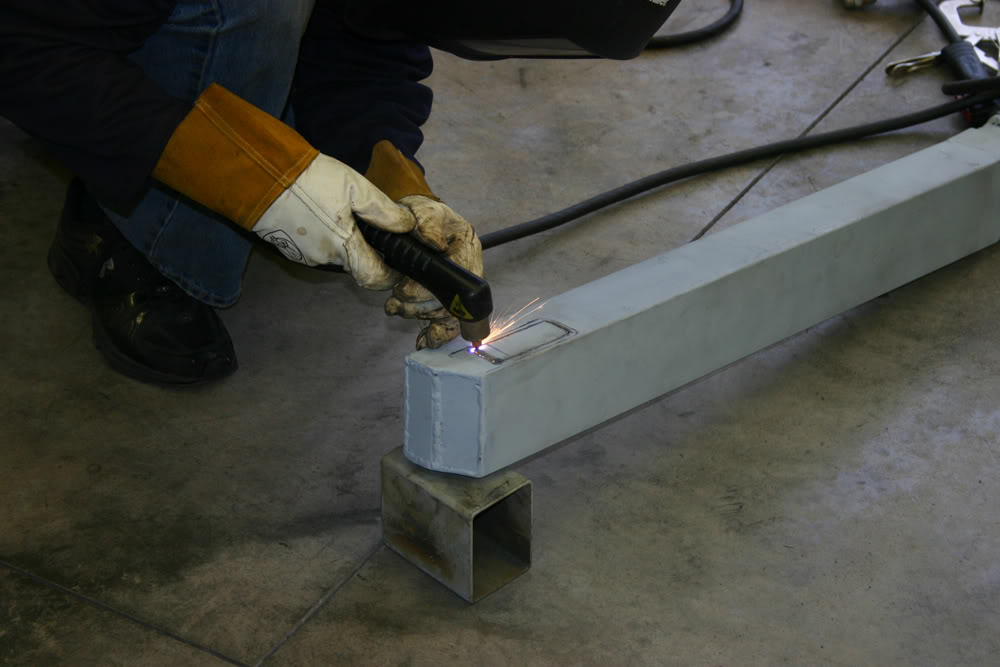
Now we had all the pieces ready to tack weld the frame, the frame connector and the suport piece together. We supported the pieces with jacks, Matt tack welded them and then we removed it all as one piece so he could complete the welding all the way around. After finishing up the welding, we placed the now one piece unit back in the car. The last thing we did was prepare all the surfaces for welding and prepared the gussets that we will use to weld the frame connector to the front subframe. With all of these thing completed, the next step will be welding the complete unit to the car.
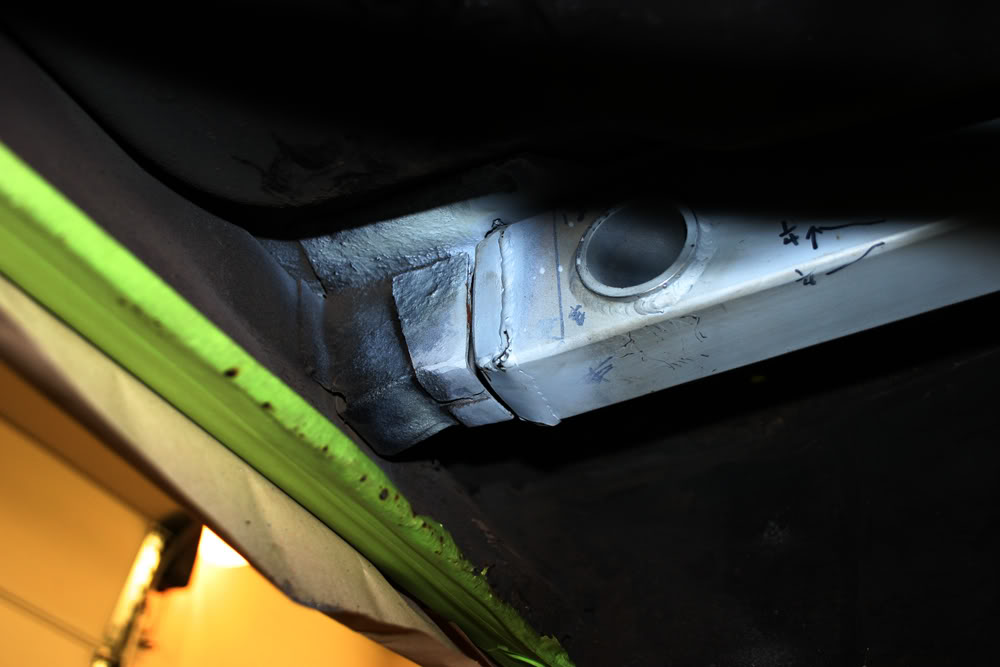
Since it is in the same area where the frame connector goes through the body, Matt decided to cut out the pocket for the four link connection to see how everything was going to fit together. DSE provides a template which was very accurate. After making sure it fit correctly, Matt drilled weld holes in the large flat side. Later I drilled those holes through the floor panel so the hole welds will penetrate the panel.
The next project was making a relief in the frame member for the bolt head for the spring pocket. This is the bolt that will hold the trailing arm into the pocket. Out came the plasma cutter yet again.
Matt felt that the four link pocket should have more support so he cut a piece of 2"x2" steel to weld to the lower frame member. We then sprayed the all fo the area that would be under the frame with primer.
Now we had all the pieces ready to tack weld the frame, the frame connector and the suport piece together. We supported the pieces with jacks, Matt tack welded them and then we removed it all as one piece so he could complete the welding all the way around. After finishing up the welding, we placed the now one piece unit back in the car. The last thing we did was prepare all the surfaces for welding and prepared the gussets that we will use to weld the frame connector to the front subframe. With all of these thing completed, the next step will be welding the complete unit to the car.
Thread Starter
|
July 2011 ROTM
Joined: Dec 2009
Posts: 153
ROTM Winner's Club
My son asked me to ask a welding question. We will be welding the somehat heavy frame connector and the four link pocket to rather thin sheetmetal on the floor. He wonder is anyone would have some suggestions for the best way to do that and not blow through the sheet metal while getting the heavier metal hot enough to weld.
Thread Starter
|
July 2011 ROTM
Joined: Dec 2009
Posts: 153
ROTM Winner's Club
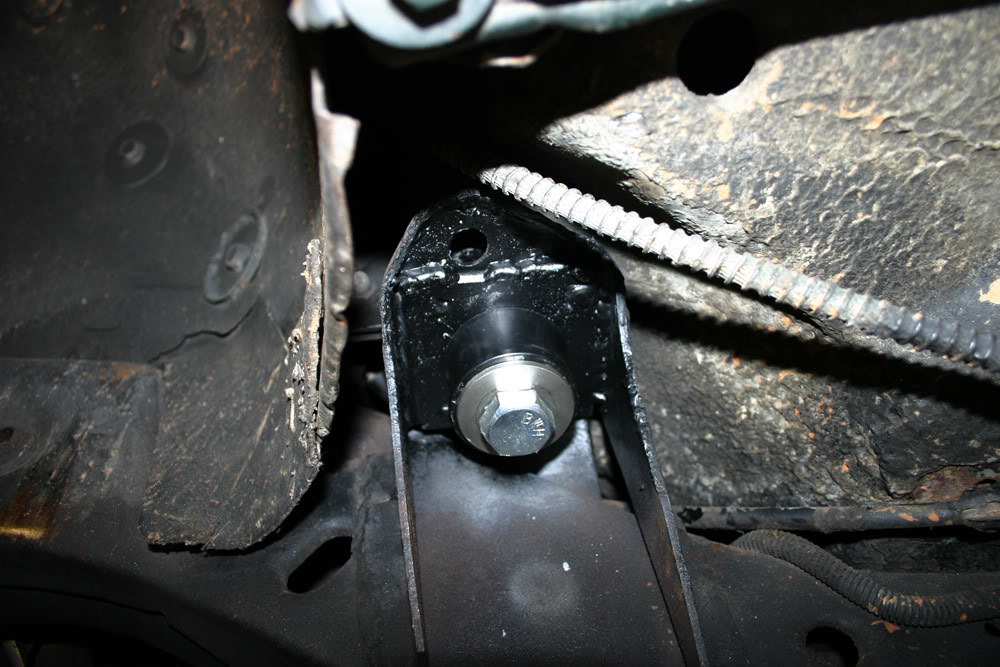
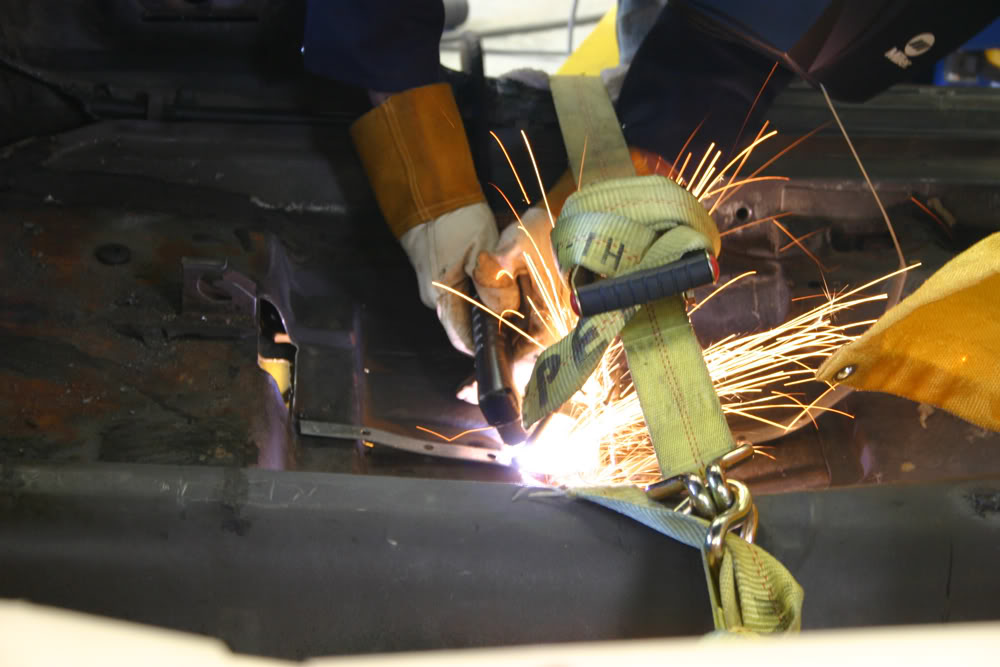
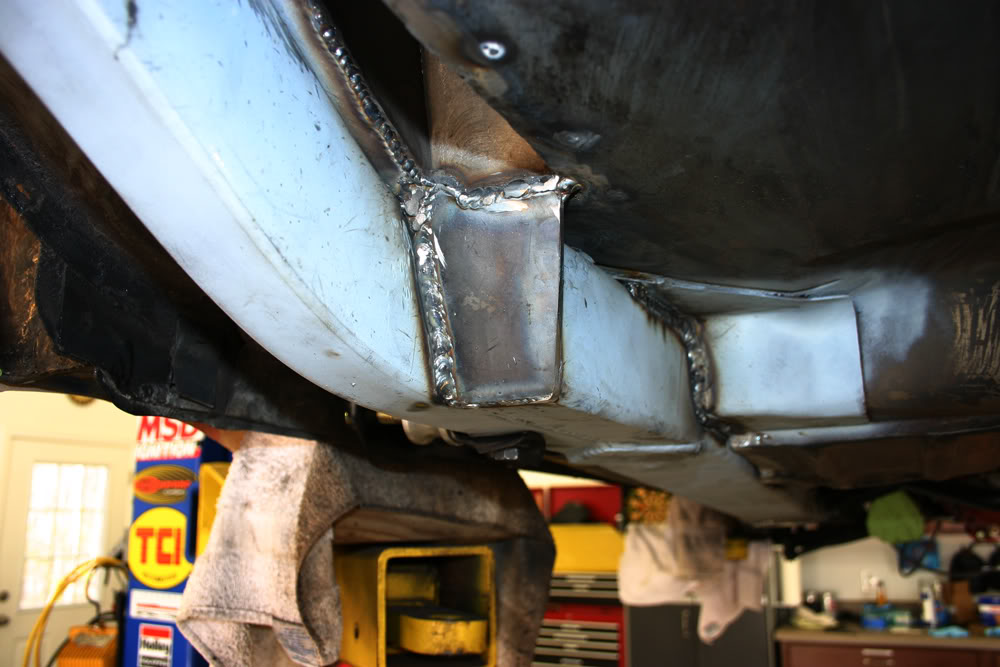
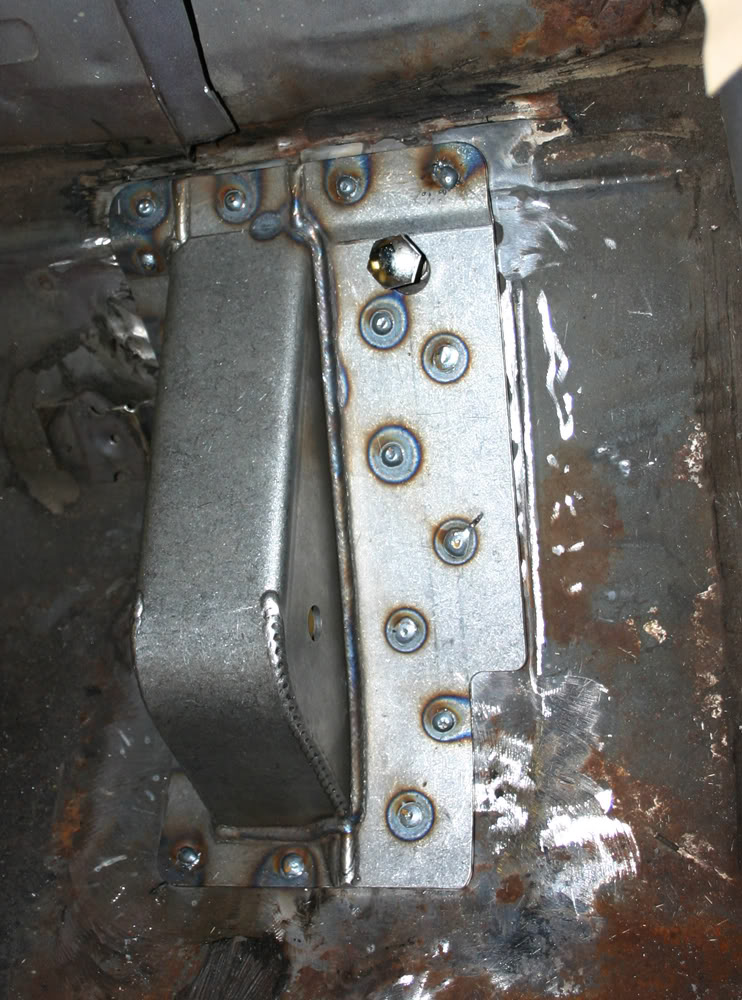
Welding, welding, welding. Matt welded in the left frame, the left frame connector and the pocket for the four link while my wife and I finished up some Christmas shopping. We also bought him a leather welding coat and heavier welding gloves as his fabric weld jacket was being penetrated by sparks. Ouch!! He installed heavy gussets where the frame extender met the front subframe. We drilled a hole in the bottom gusset for access to the body mount.
Now it was deja vu all over again as we had to do the same thing to the right side. This new right frame rail was off even more than the left one. Matt had to make three pie cuts to correct it lengthwise and two additional pie cuts to correct it from side to side. In the end, he made it fit even better than the left one.
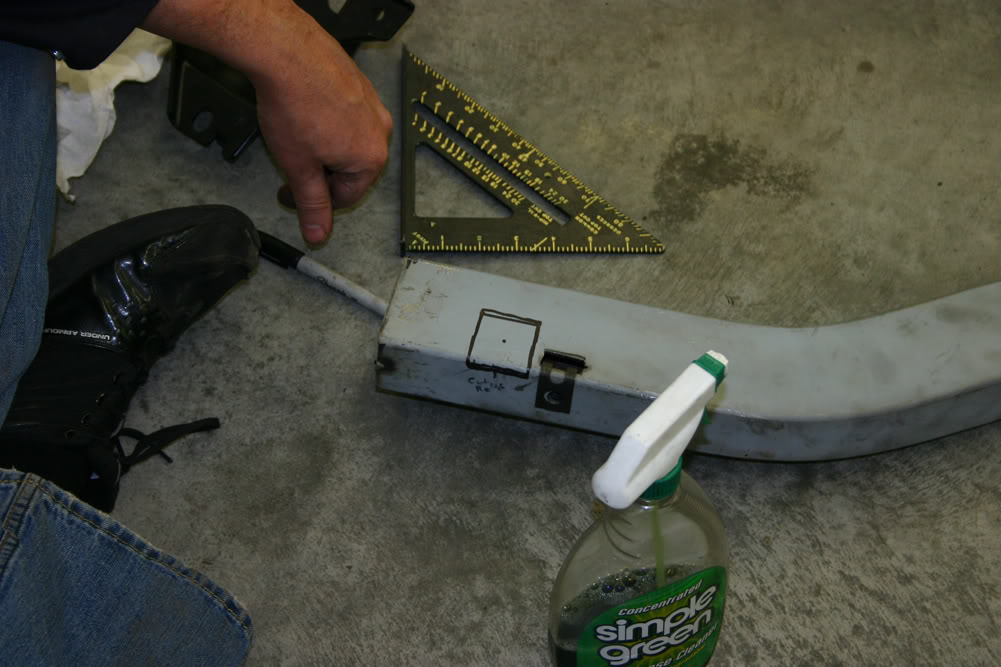
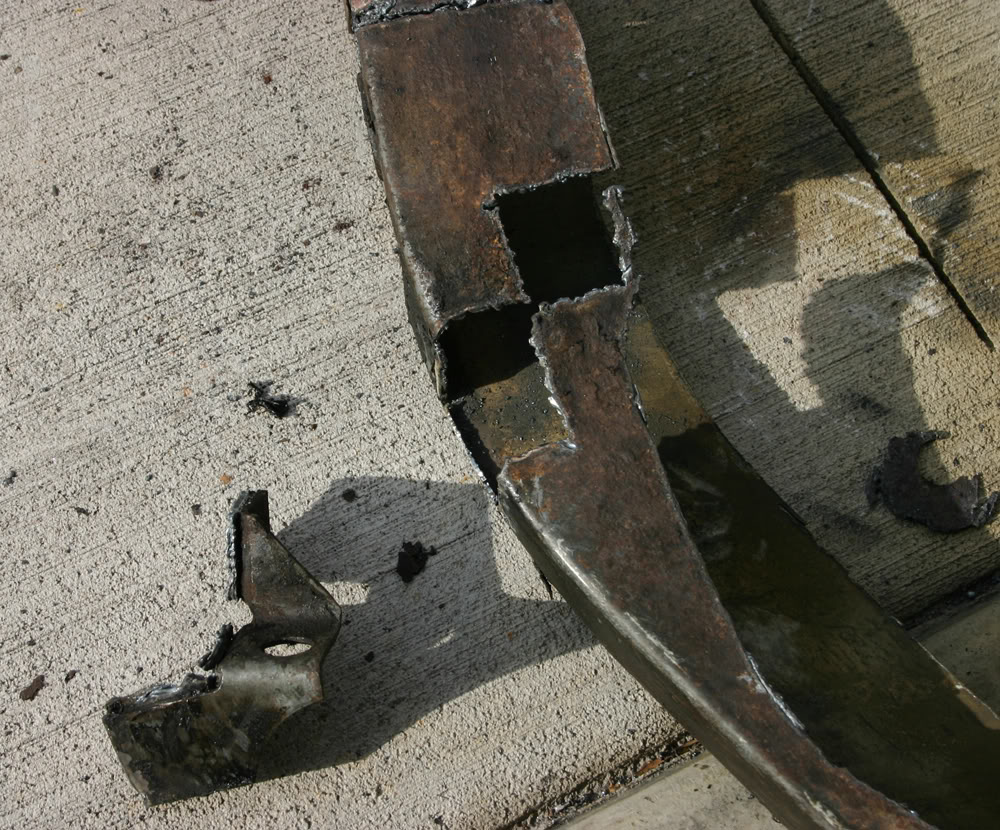
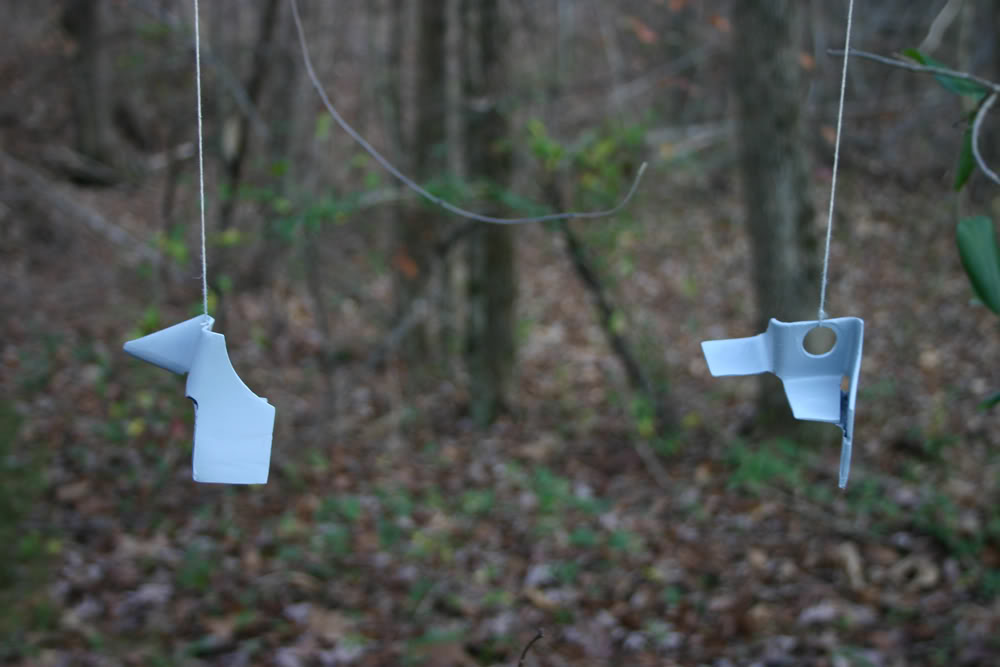
I had the opportunity to make my first plasma cut today. After removing the right side frame rail, Matt had me cut off the bracket for the emergency brake line. I practiced on the rest of the piece before making the cut. Lined up the cutter along the edges of the bracket and off it came. I then spent some time preppeing it and the one he had removed a few days ago. Time to hit them with some primer and they are ready to be welded in place.
First thing tomorrow, Matt will be tack welding the pie cuts, removing the frame rail from the car and then welding up each of the pie cuts. After that we will repeat the steps used on the left side to install the frame connector, etc.
By the way, Matt refers to me as the paparazzi!!! I don't understand where he's coming from!!!
Now it was deja vu all over again as we had to do the same thing to the right side. This new right frame rail was off even more than the left one. Matt had to make three pie cuts to correct it lengthwise and two additional pie cuts to correct it from side to side. In the end, he made it fit even better than the left one.
I had the opportunity to make my first plasma cut today. After removing the right side frame rail, Matt had me cut off the bracket for the emergency brake line. I practiced on the rest of the piece before making the cut. Lined up the cutter along the edges of the bracket and off it came. I then spent some time preppeing it and the one he had removed a few days ago. Time to hit them with some primer and they are ready to be welded in place.
First thing tomorrow, Matt will be tack welding the pie cuts, removing the frame rail from the car and then welding up each of the pie cuts. After that we will repeat the steps used on the left side to install the frame connector, etc.
By the way, Matt refers to me as the paparazzi!!! I don't understand where he's coming from!!!

Thread Starter
|
July 2011 ROTM
Joined: Dec 2009
Posts: 153
ROTM Winner's Club
Thanks.
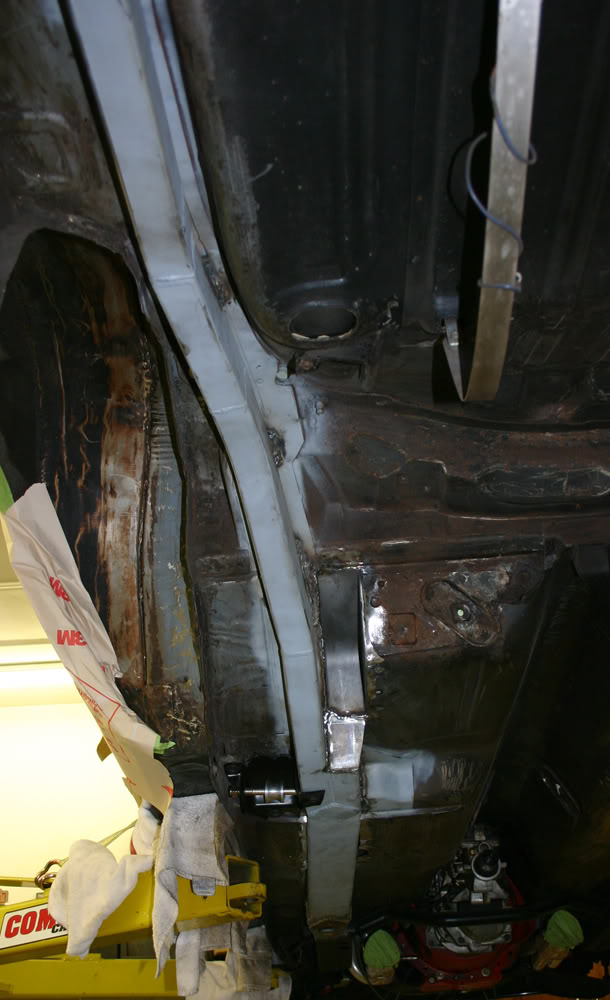
Both frame rails are in!!!
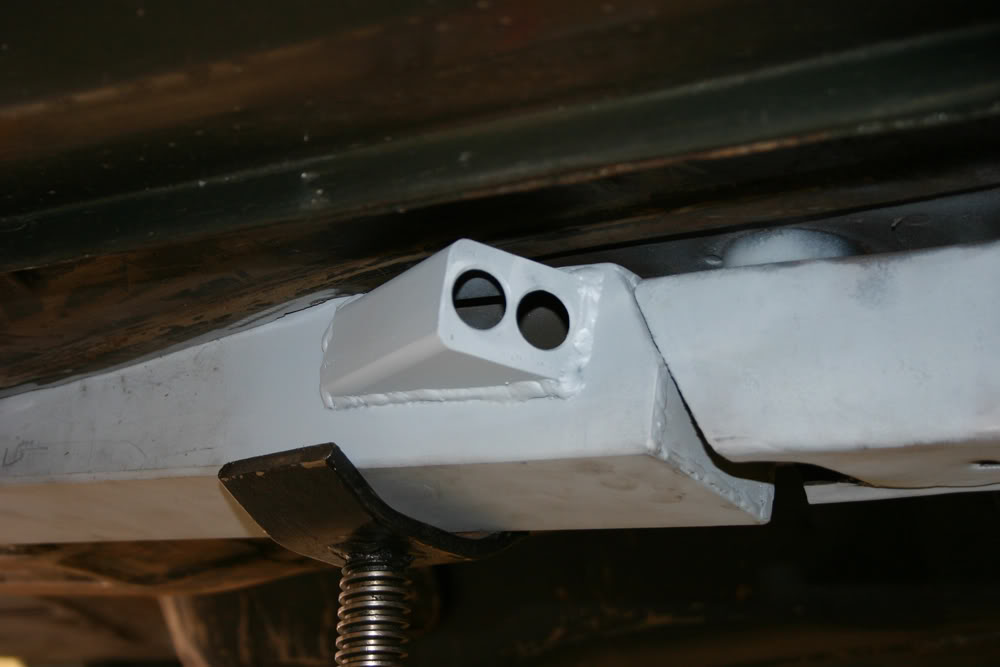
Matt fabricated an entrance for the fuel lines on the right frame extender. The lines will enter there and exit at the rear next to the frame rail. He will be making a similar entrance on the driver's side for the brake lines.
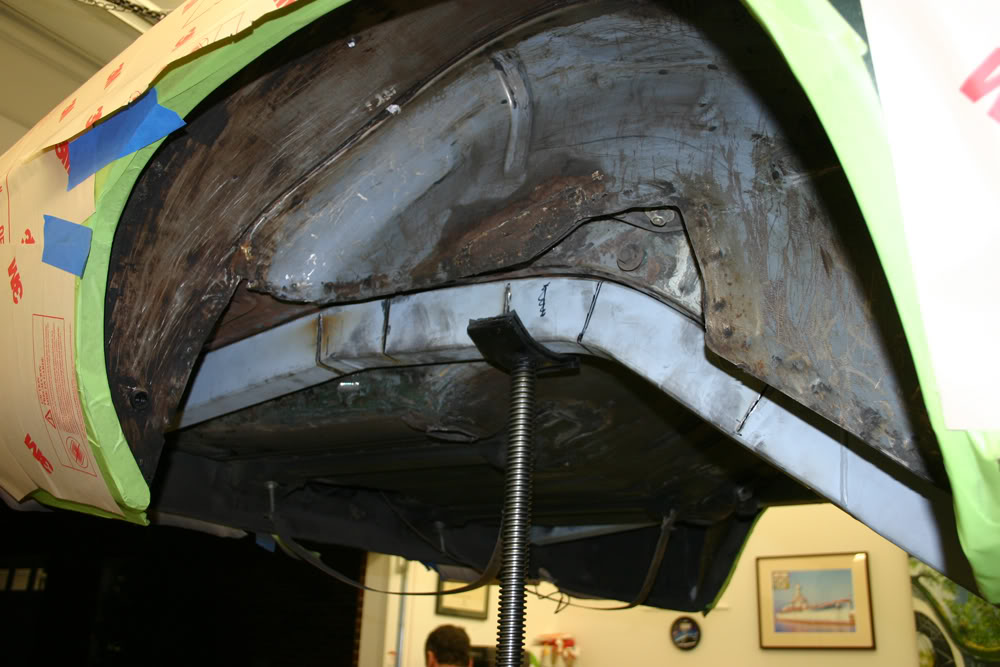
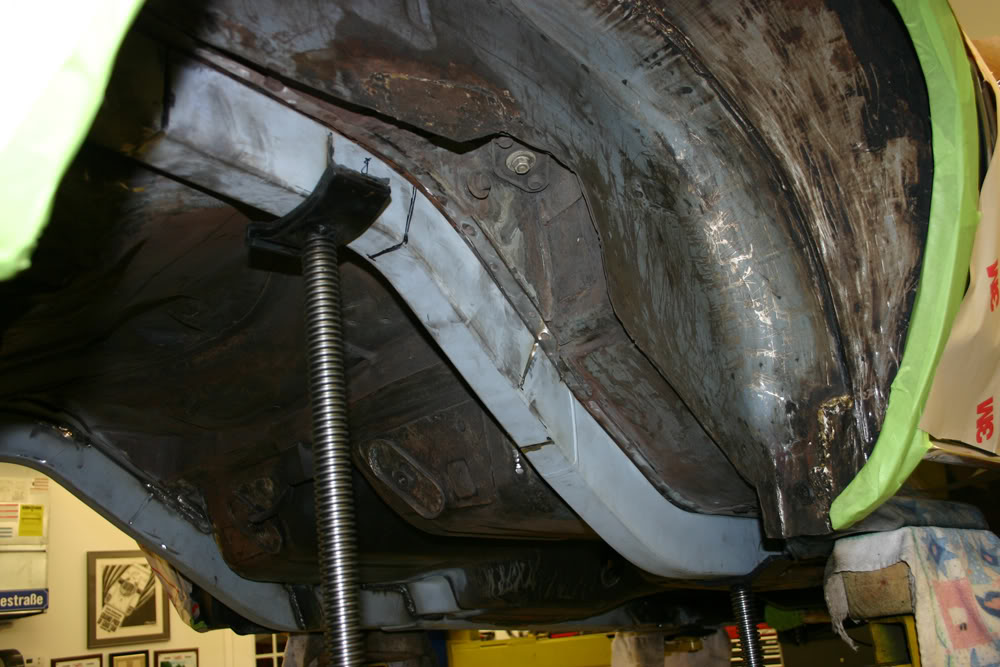
We will begin the installation of the mini-tubs tomorrow. Would have begun today but we ran out of steel for fabrication and had to make a run for parts. Big holes will soon appear.
Both frame rails are in!!!
Matt fabricated an entrance for the fuel lines on the right frame extender. The lines will enter there and exit at the rear next to the frame rail. He will be making a similar entrance on the driver's side for the brake lines.
We will begin the installation of the mini-tubs tomorrow. Would have begun today but we ran out of steel for fabrication and had to make a run for parts. Big holes will soon appear.

