
Installing mini-tubs, DSE Quadra Link, and more


Thread Starter
|
July 2011 ROTM
Joined: Dec 2009
Posts: 153
ROTM Winner's Club
Still working on it. Matt ran the brake lines and fuel lines today. He cut two slots in the left frame rail for the brake line. The fuel lines were run inside the right frame rail through the openings he had previously installed. We installed the fuel tank and he hooked up the filter and the fuel lines.


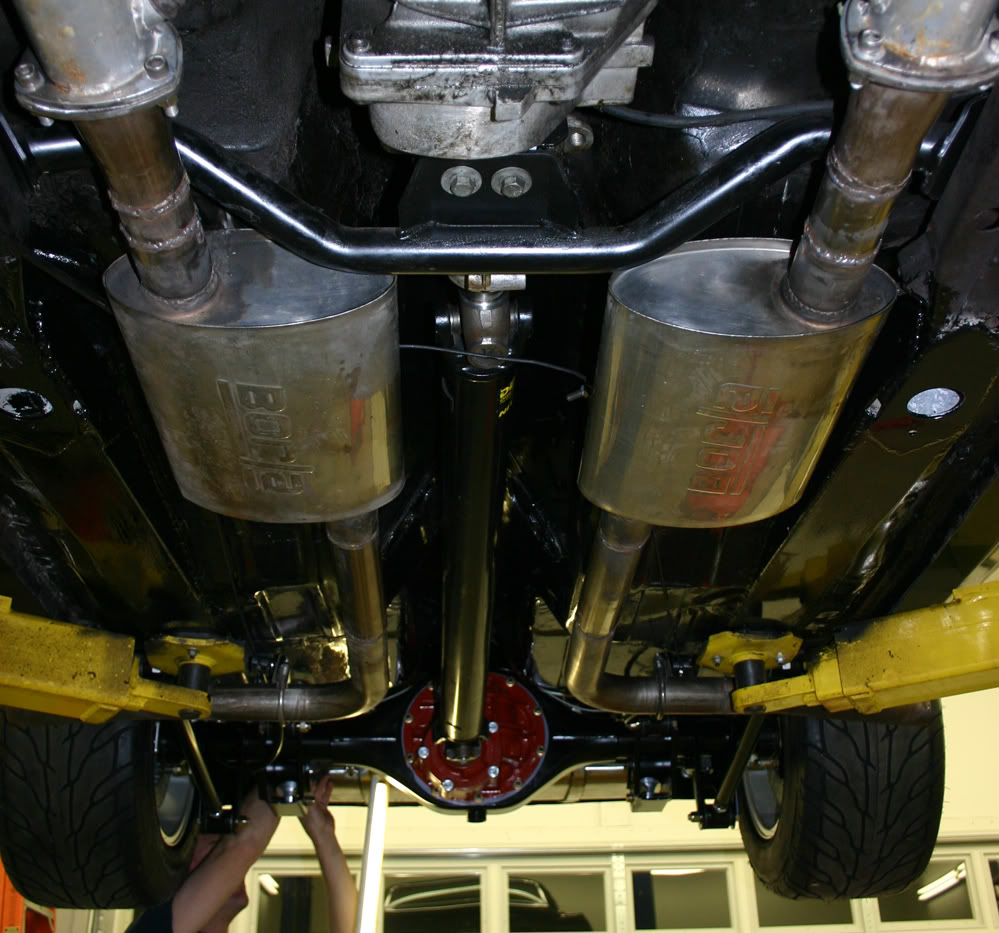
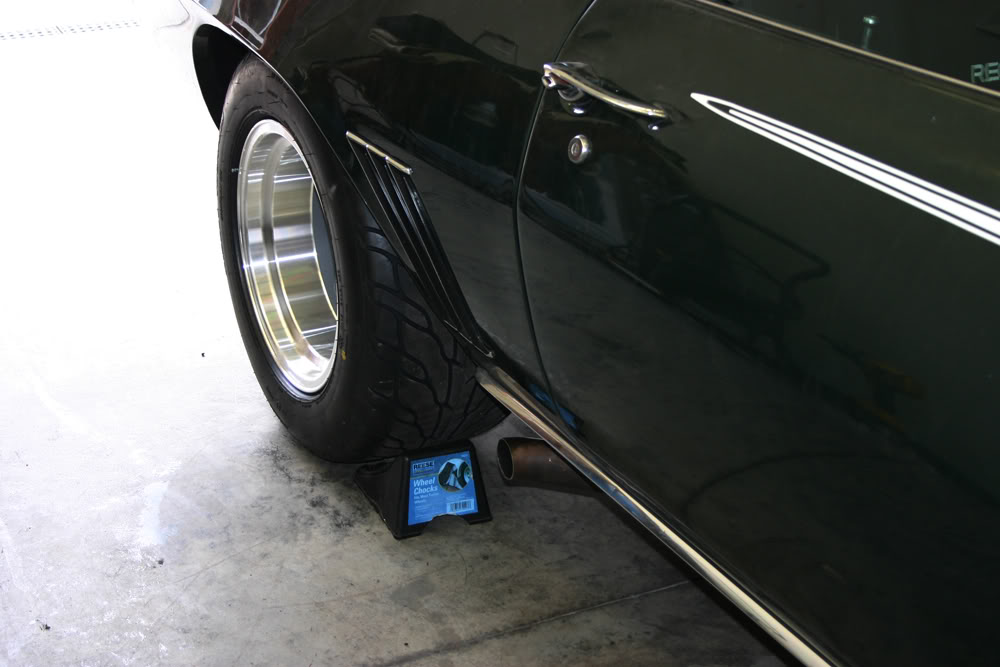
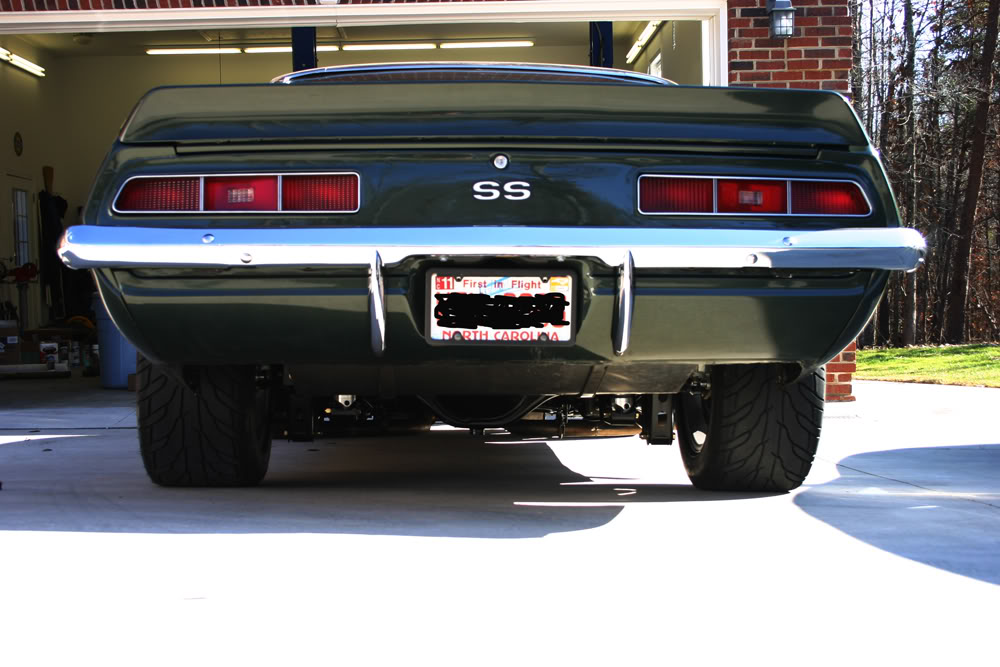
Next up was the exhaust. After installing the fuel tank, we knew we were in trouble running the exhaust to the rear. The left side had clearance, but the right side would have been a problem because of the track bar mount. DSE sells a special gas tank with the right side of it angled for exhaust clearance. Since we had to deal with what we had, we began brainstorming. Matt has alway kind of wanted the exhaust to exit just ahead of the rear wheels. The mufflers had resided in the cavity under the rear seats. Matt was talking about having to create a 180 degree piece that would circle back and then out the side. Sounded kind of complicated to me. After looking everything over, I suggested placing the mufflers under the front seat area instead. After checking for clearance issues, this is what we did. We cut up the existing exhaust system to make pieces that would work for the side exit. By the end of the day, Matt had welded the entire system together.


Tomorrow morning, early I expect, he will make the two hangers so the exhaust can be completed. All that will remain is to put the interior back in the car, install the trunk lid and battery and bleed the brakes.
Tomorrow will be a short day as we are having our Christmas for our family at our house. To further complicate that, we are having photos taken of the entire family tomorrow afternoon. So we will have to quit by noon. It may be Sunday before we have it all back together.
Last edited by jerhofer; Dec 16, 2011 at 09:15 PM.
Thread Starter
|
July 2011 ROTM
Joined: Dec 2009
Posts: 153
ROTM Winner's Club
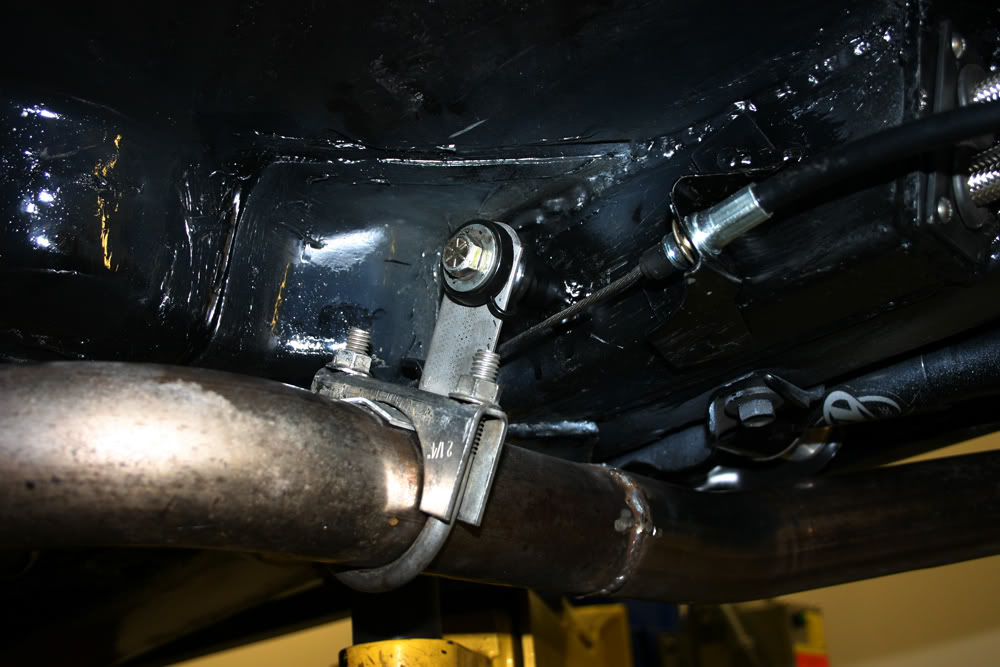
Matt got up early this morning and completed the exhaust. He welded threaded studs to the frame rails and then attached the exhaust clamps to it. He is not happy with the way it looks at the exit and is planning on doing any angle cut a little further back.
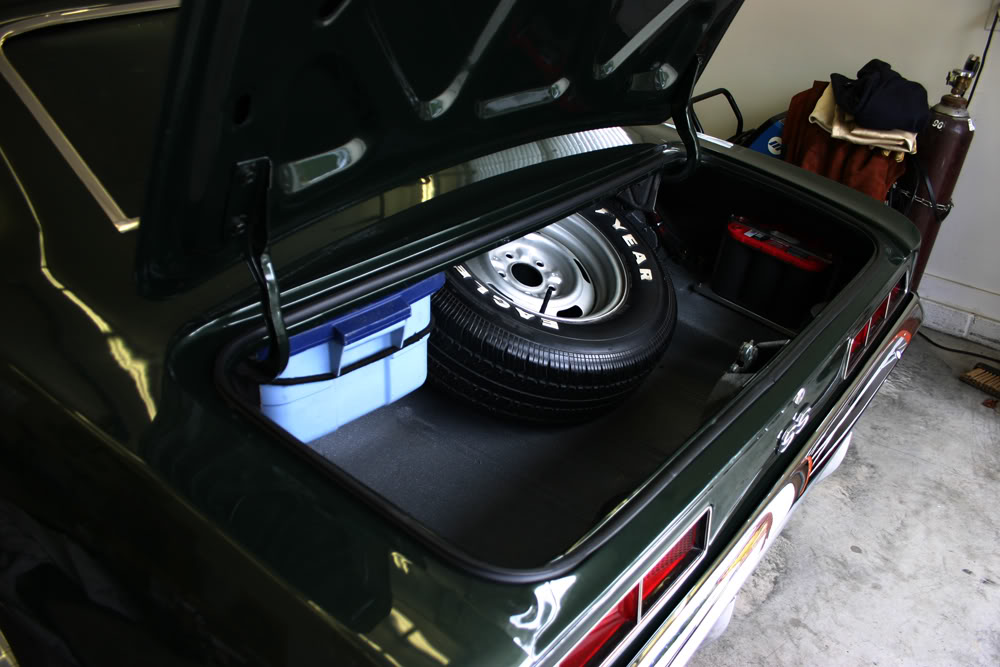
He spent some time hooking up the battery, his vacuum pump in the engine bay, and installing the speakers on the rear shelf. Once he had the trunk work finished, we installed the trunk lid.
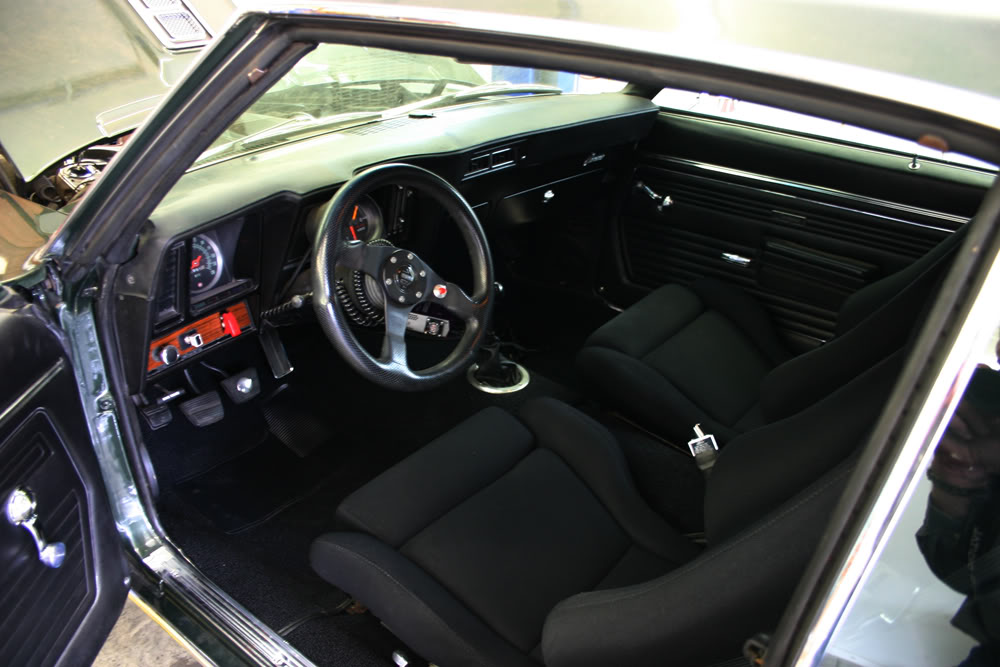
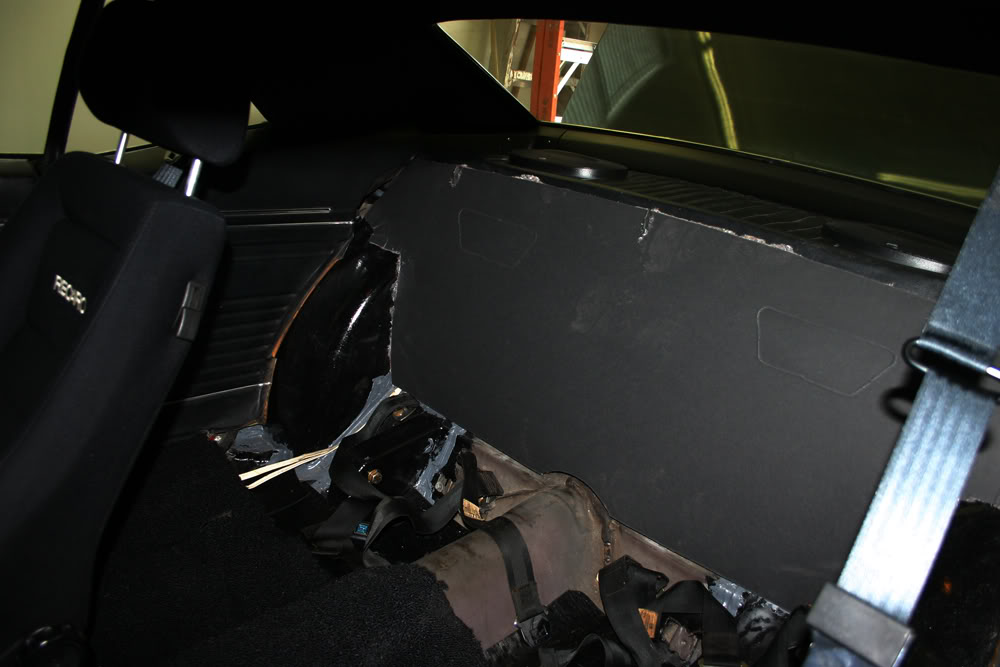
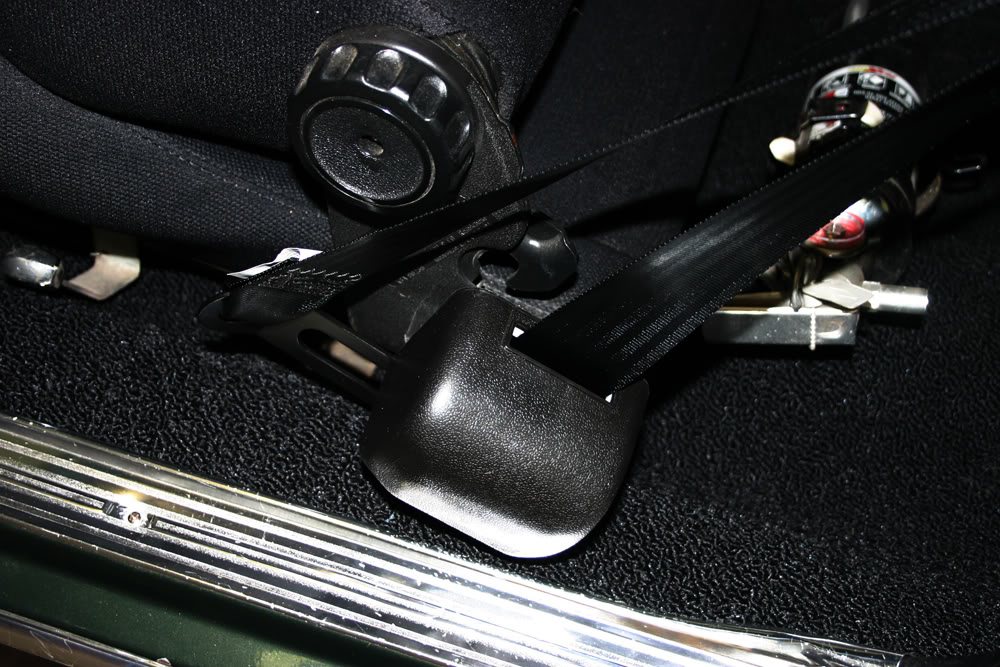
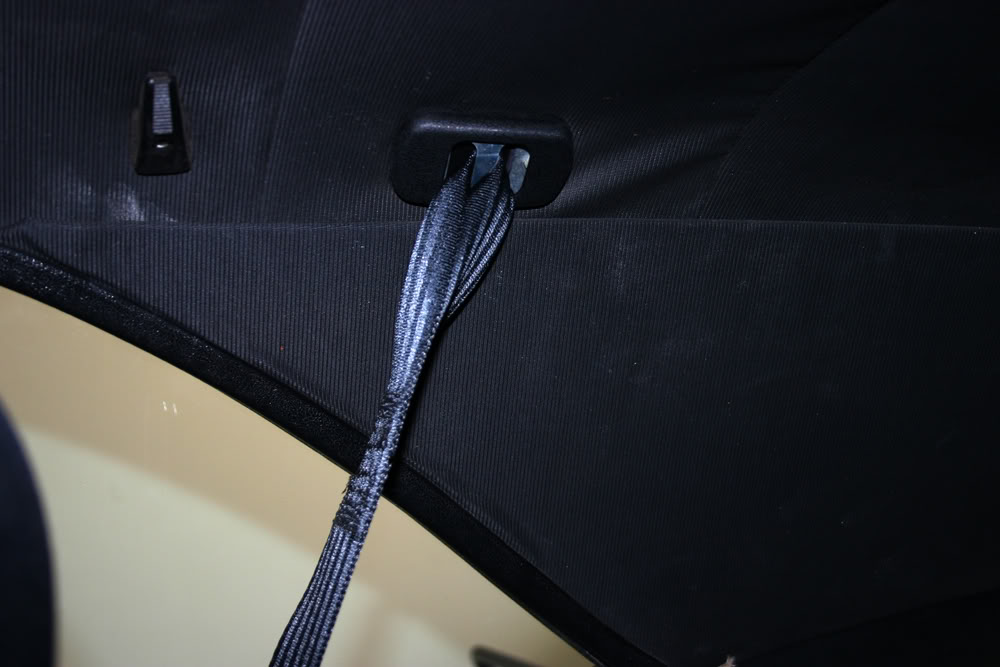
As I mentioned earlier in the thread, my Christmas gift to Matt was new carpet. His gift to me was letting me install it!! What a guy!! He hates doing fiddly things like this so he was very happy to see me putting the carpet in. Those of you who have done this know it is not simply laying the carpet on the floor. You have to fit it, trim it, cut out the holes for the seat bolts, the seat belts and, in Matt's case, cut holes for the screws that mounted his amplifier under the passenger seat. I spent all morning doing this, installing the amp, the seats and the modified backer that goes behind the rear seat. It had to be shortened due to the tubs. Once Matt completed his other jobs, he installed the new seat belts. When we removed his old ones, they showed serious wear as they were the original ones. The new ones have inertial belts and are a modern setup which does away with the multiple belts of the original system. The rear seats will have to be modified to clear the tubs.
To check out the radio speaker wiring, he turned on the ignition. The vacuum pump was hooked up and whirring away. He unhooked it so we would not have to hear it. Later, we had a puddle of brake fluid at the junction Matt installed which hooked up the new rear lines to the original lines. We assume he did not get the double flare made correctly and will have to re-do that. We also have some fluid dripping from the rear end and will have to check that out. We did start the car just to make sure everything else worked. It sounded great through his newly designed exhaust. Once we chase down the gremlins tomorrow and bleed the brakes, it will be time to test drive it. And not a minute too soon as he his new job begins on Monday.
He spent some time hooking up the battery, his vacuum pump in the engine bay, and installing the speakers on the rear shelf. Once he had the trunk work finished, we installed the trunk lid.
As I mentioned earlier in the thread, my Christmas gift to Matt was new carpet. His gift to me was letting me install it!! What a guy!! He hates doing fiddly things like this so he was very happy to see me putting the carpet in. Those of you who have done this know it is not simply laying the carpet on the floor. You have to fit it, trim it, cut out the holes for the seat bolts, the seat belts and, in Matt's case, cut holes for the screws that mounted his amplifier under the passenger seat. I spent all morning doing this, installing the amp, the seats and the modified backer that goes behind the rear seat. It had to be shortened due to the tubs. Once Matt completed his other jobs, he installed the new seat belts. When we removed his old ones, they showed serious wear as they were the original ones. The new ones have inertial belts and are a modern setup which does away with the multiple belts of the original system. The rear seats will have to be modified to clear the tubs.
To check out the radio speaker wiring, he turned on the ignition. The vacuum pump was hooked up and whirring away. He unhooked it so we would not have to hear it. Later, we had a puddle of brake fluid at the junction Matt installed which hooked up the new rear lines to the original lines. We assume he did not get the double flare made correctly and will have to re-do that. We also have some fluid dripping from the rear end and will have to check that out. We did start the car just to make sure everything else worked. It sounded great through his newly designed exhaust. Once we chase down the gremlins tomorrow and bleed the brakes, it will be time to test drive it. And not a minute too soon as he his new job begins on Monday.
Thread Starter
|
July 2011 ROTM
Joined: Dec 2009
Posts: 153
ROTM Winner's Club
As I predicted, Matt was in the garage early and re-did the flares on the brake lines. He also completed all of the adjustments on the rear end before I made it to the garage. We removed the wheels and proceeded to bleed the brakes. He tightened up the bolts on the pumpkin and appeared to halt the leaks there. We then took a very short test ride, a little longer test ride, and then a longer test ride with each ride followed by putting the car on the lift. All was well. So after loading up some miscellaneous stuff, he was off to his family. The nearly four week adventure was over. The past few weeks have been so intense for him that he said he may put the car in his garage and not even look at it for a couple weeks.
Some post-mortem observations:
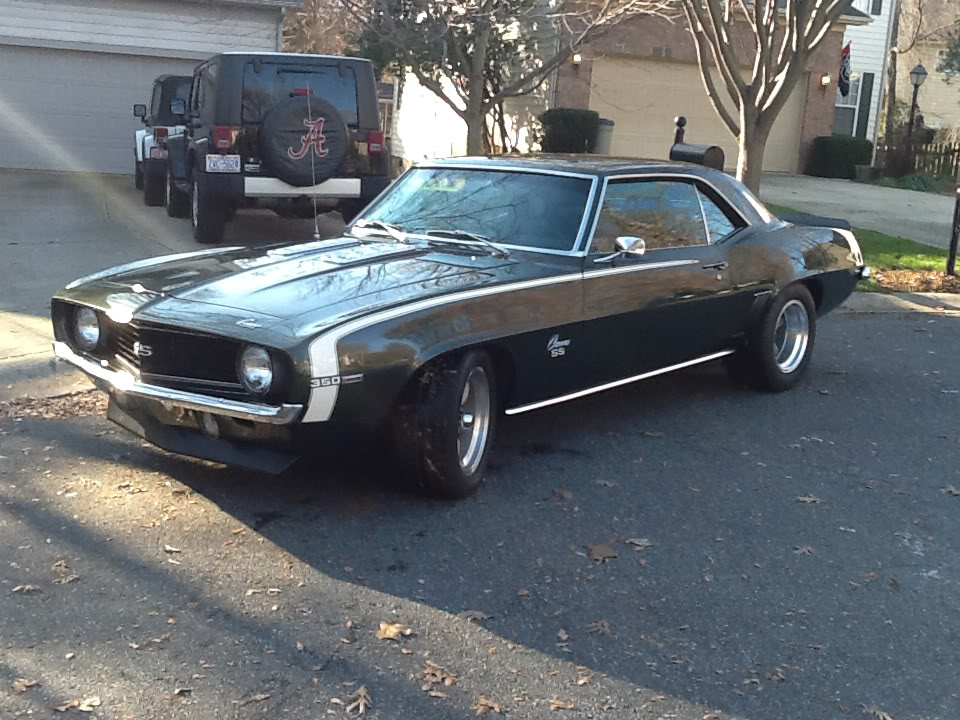
1. The car is very solid as evidenced by the sound the doors make when closing them. The frame connectors and the shock tower brace are doing their job.
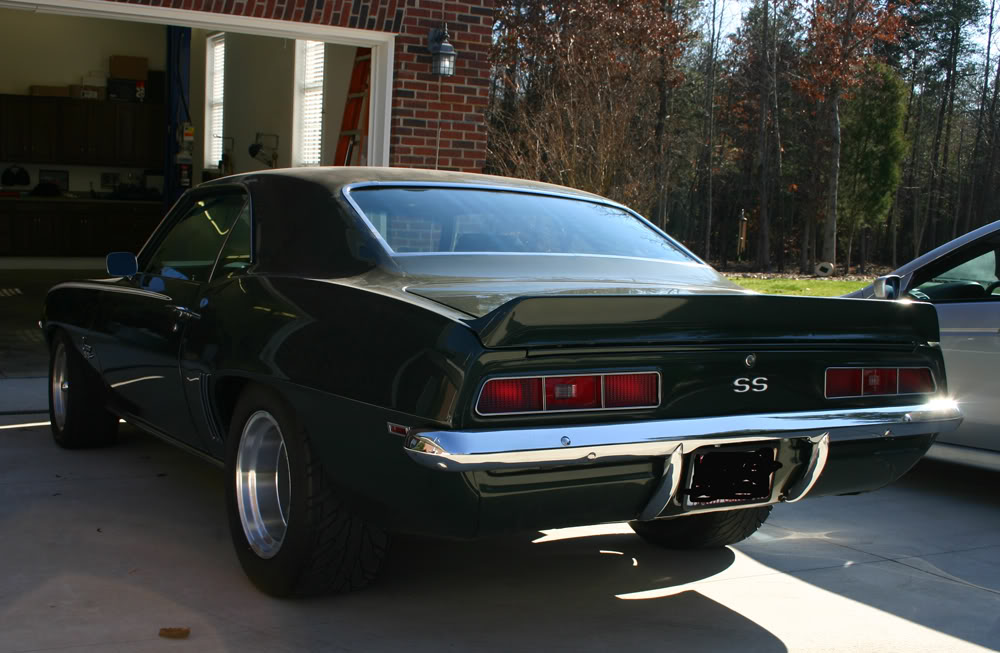
2. The car sounds great with the side exit exhaust.
3. The back end felt very stable with a good ride. He did bottom out the rear suspension one time on the way home but we had loaded the trunk with various parts, tools, etc. Plus the car had settled after our test rides. He will raise it some to get the ride height set properly.
4. Matt nearly bit off more than he could chew. It was a bigger project than he had visualized. Thus the many hours. As my buddy mentioned, for him this would have taken the entire winter.
5. We had a good time!!
1969 Camaro - YouTube
Some post-mortem observations:
1. The car is very solid as evidenced by the sound the doors make when closing them. The frame connectors and the shock tower brace are doing their job.
2. The car sounds great with the side exit exhaust.
3. The back end felt very stable with a good ride. He did bottom out the rear suspension one time on the way home but we had loaded the trunk with various parts, tools, etc. Plus the car had settled after our test rides. He will raise it some to get the ride height set properly.
4. Matt nearly bit off more than he could chew. It was a bigger project than he had visualized. Thus the many hours. As my buddy mentioned, for him this would have taken the entire winter.
5. We had a good time!!
1969 Camaro - YouTube
Thread Starter
|
July 2011 ROTM
Joined: Dec 2009
Posts: 153
ROTM Winner's Club

In the Staging Lanes
Joined: Jun 2009
Posts: 38
From: Houston TX,
Awesome job Jerry. I can tell you are proud of your son, it shines through the whole story. He is very blessed to have such a supportive and generous father.
How would you rate the most useful tool in the build?
Welder, plasma cutter, air tools, or grinder?
Thanks for posting so dilligently. Nice build, great ideas, and even better Camaro now!! Inspiring stuff.
Les
How would you rate the most useful tool in the build?
Welder, plasma cutter, air tools, or grinder?
Thanks for posting so dilligently. Nice build, great ideas, and even better Camaro now!! Inspiring stuff.
Les
Thread Starter
|
July 2011 ROTM
Joined: Dec 2009
Posts: 153
ROTM Winner's Club
Awesome job Jerry. I can tell you are proud of your son, it shines through the whole story. He is very blessed to have such a supportive and generous father.
How would you rate the most useful tool in the build?
Welder, plasma cutter, air tools, or grinder?
Thanks for posting so dilligently. Nice build, great ideas, and even better Camaro now!! Inspiring stuff.
Les
How would you rate the most useful tool in the build?
Welder, plasma cutter, air tools, or grinder?
Thanks for posting so dilligently. Nice build, great ideas, and even better Camaro now!! Inspiring stuff.
Les
Obviously, we could not have completed the build without the welder. Based on time saved, the plasmas cutter would have to be the most useful tool. Can't imagine how long it would have taken to cut out all of the metal with any other tool. We would still be out there working.
Thread Starter
|
July 2011 ROTM
Joined: Dec 2009
Posts: 153
ROTM Winner's Club
Update:
After nearly 18 years of owning his '69 Camaro, Matt has decided to sell it on eBay. It currently has a 525hp LS3 crate motor so it is even nicer than when he did the work shown here. And faster.
His reason for selling is to fund his latest project...installing a Tesla P85 motor into a 1979 Porsche 911. I found a roller for him and the car is currently at the bead blasters. Before long he will be doing what he has to do to make that Tesla motor work. 400hp and 400 instant torque!! It will be quite a bit lighter than a Tesla so it should be very quick!!
He has ordered a 1974 Porsche RSR body kit for the car so it will not only be quick, it will look like a race car. His plan is to make it a daily driver as they have a charging station at work.

Thread
Thread Starter
Forum
Replies
Last Post
Ben Myers
67-69 Suspension
1
Oct 23, 2012 09:28 PM