Baby Girl Comes Home


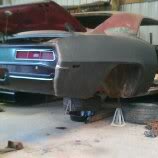
Despite the 100 degree weather, my hubby and I went out to the garage and decided to start working on the Camaro again. We hadn't had a lot of time to spend on it lately. Last weekend we mounted the subframe back under the front body with all new "Red" bushings. Of course as we started to get other parts out to start bolting to the front end, we discovered we were missing some and had to place another order with NPD. So, this weekend while we were waiting for parts we decided to put the brake assemblies back together.
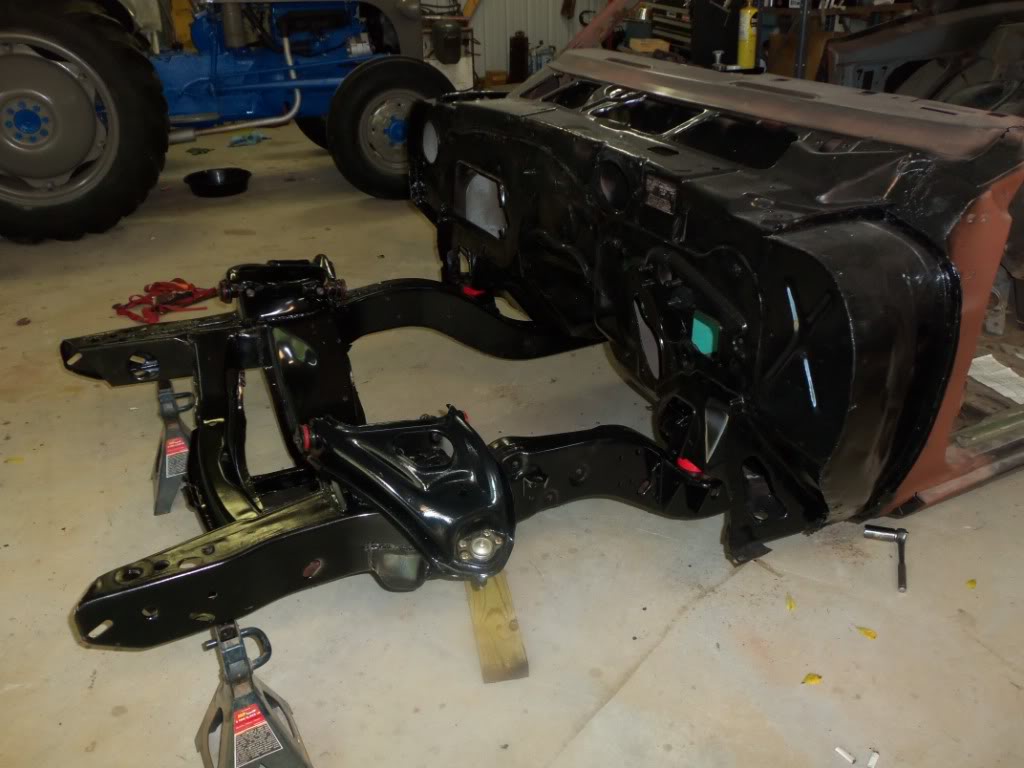
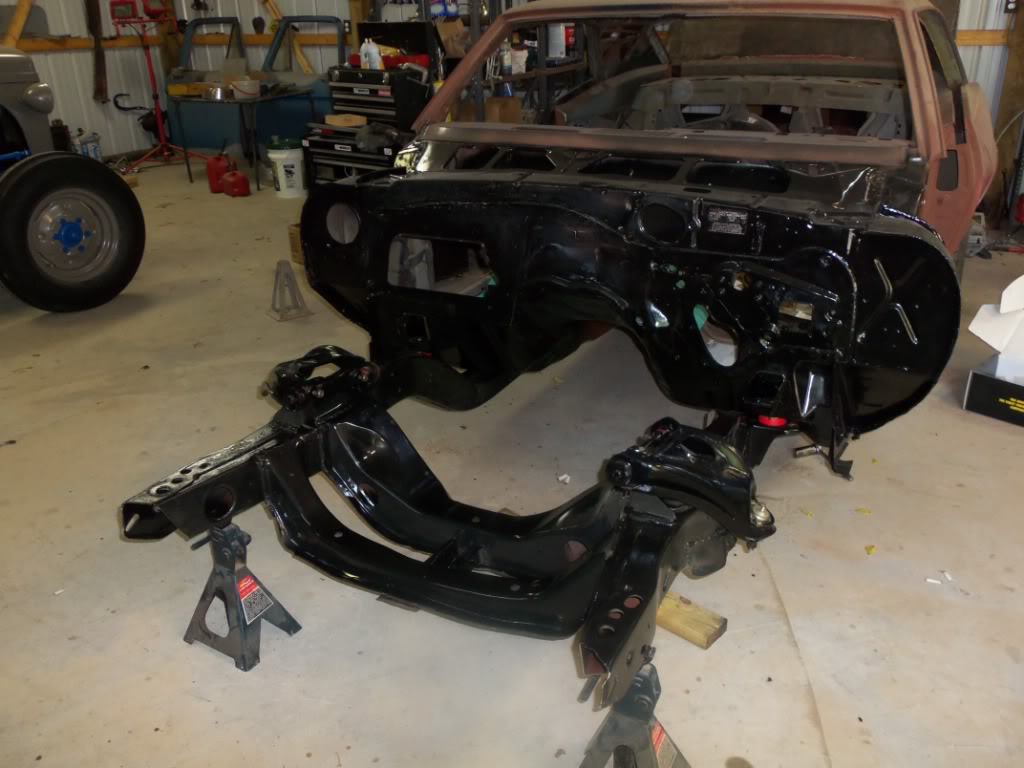
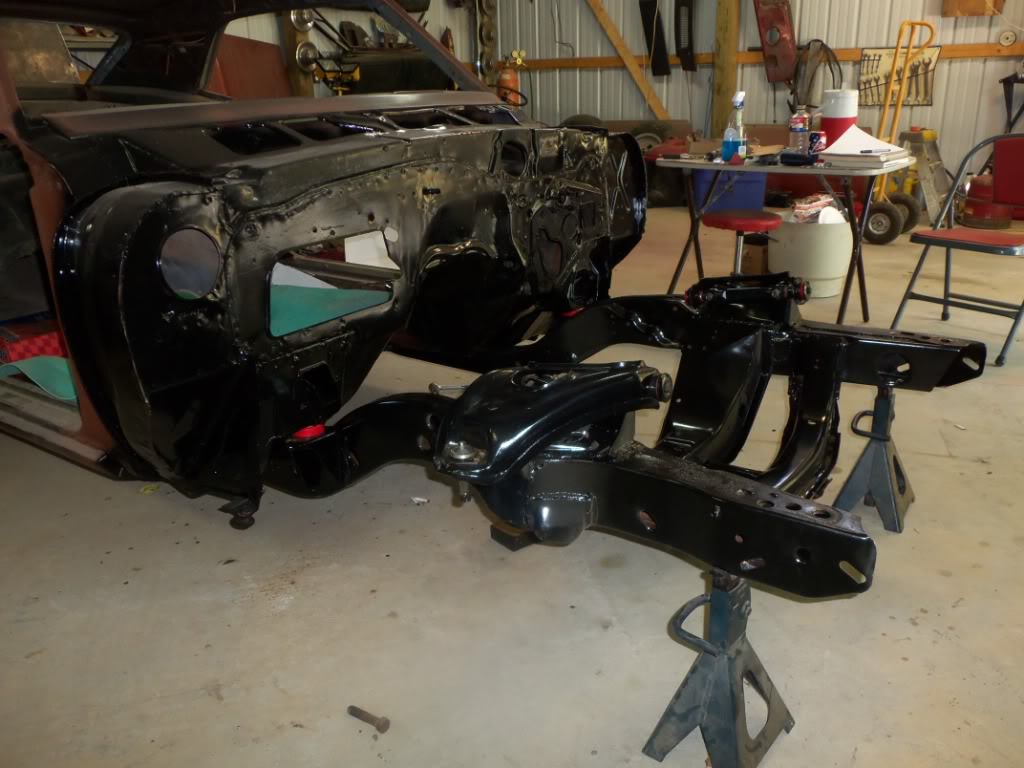
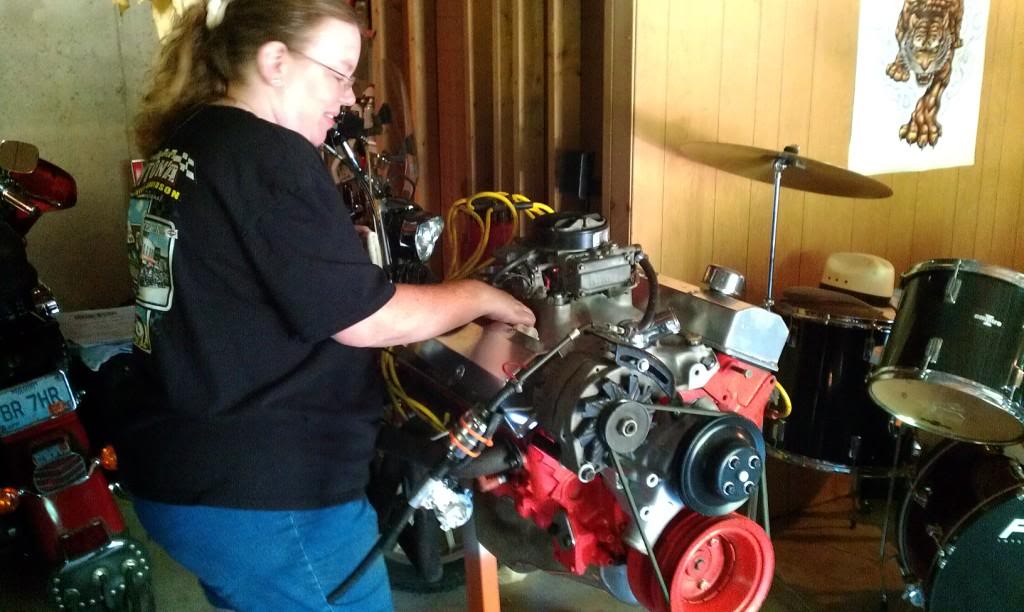
Yes, you see a tractor in the background. When my hubby got laid off work he decided to start his own business. He does tractor restorations now. So, Baby Girl has to share her garage with tractors now, lol!!
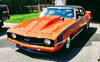
I decided I wanted the engine compartment black as I thought that would make the orange engine and chrome really pop when you open the hood.
Below is a picture of the old rusty brake/hub assembly before we painted it and put it back together with new shoes, springs, and wheel cylinders.
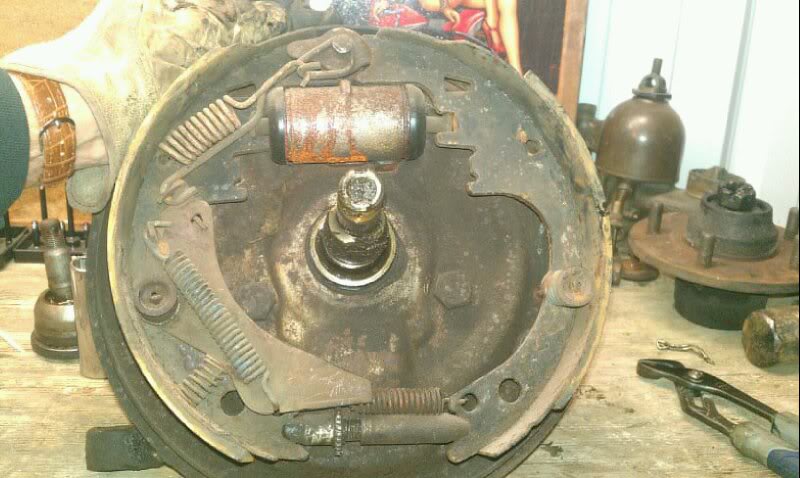
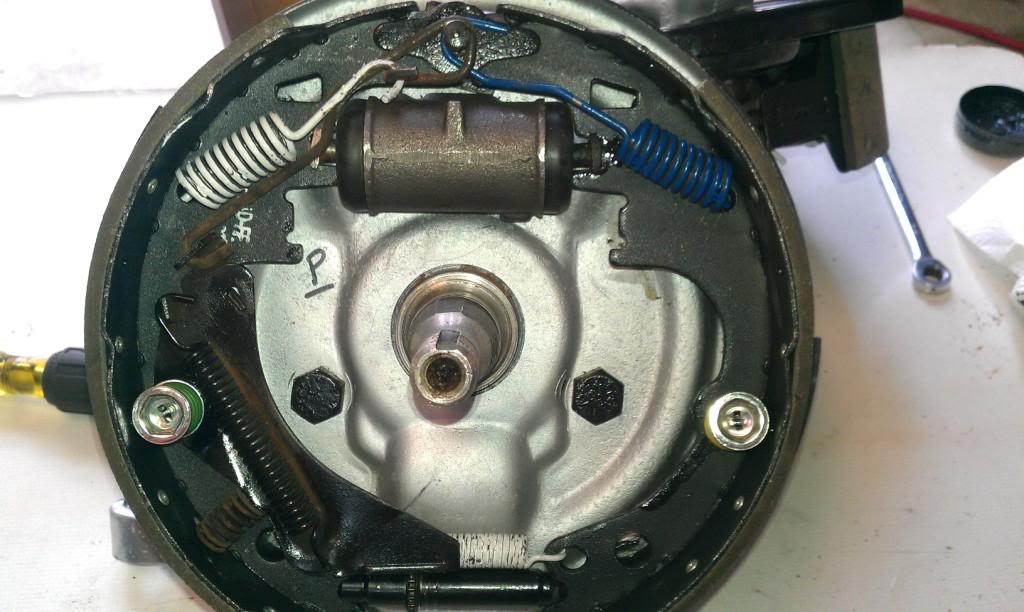
I know most people convert to disc brakes on the front, but we decided to stick with the old fashioned drum brakes to save money. The drums are at the machine shop getting turned, and then they will be painted. We are hoping to spend next weekend installing the rest of the A-Arms, Steering linkage, hubs, etc.

Thanks for Looking,
Jennifer
Yes, you see a tractor in the background. When my hubby got laid off work he decided to start his own business. He does tractor restorations now. So, Baby Girl has to share her garage with tractors now, lol!!
I decided I wanted the engine compartment black as I thought that would make the orange engine and chrome really pop when you open the hood.
Below is a picture of the old rusty brake/hub assembly before we painted it and put it back together with new shoes, springs, and wheel cylinders.
I know most people convert to disc brakes on the front, but we decided to stick with the old fashioned drum brakes to save money. The drums are at the machine shop getting turned, and then they will be painted. We are hoping to spend next weekend installing the rest of the A-Arms, Steering linkage, hubs, etc.
Thanks for Looking,
Jennifer
Last edited by JenRich69; Jul 15, 2012 at 04:34 PM. Reason: Add more text


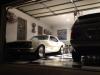
Thanks slick and scooch. She is named Baby Girl because we found her shoved in the corner of a huge garage and like on the movie Dirty Dancing, "No one puts Baby in the corner."
Jennifer
Jennifer
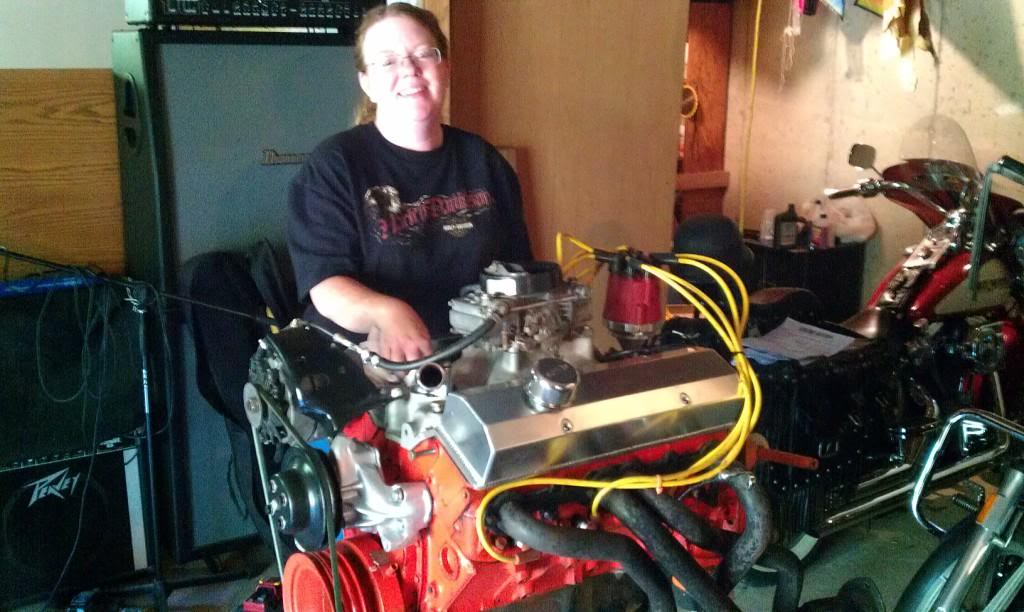
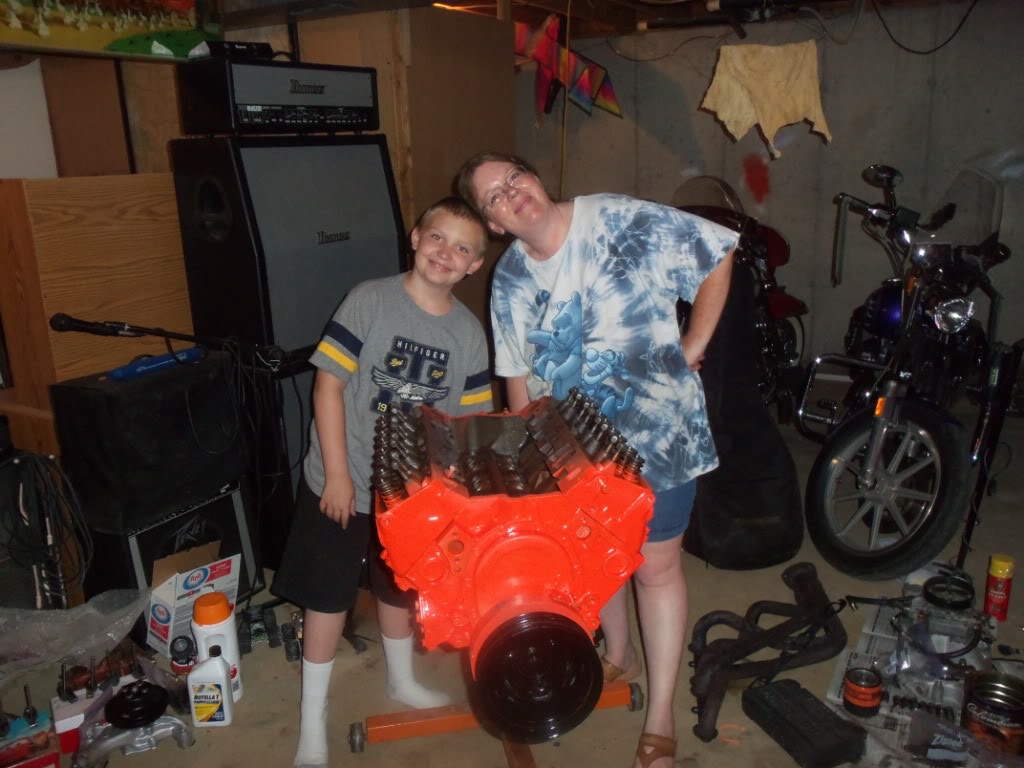
Going to pick up Baby Girl's new motor in the morning. Not quite ready for it, but couldn't pass up the deal. It is a 350 bored .030, 4 bolt main, 10:1 compression, roller rockets, flat top pistons, new hydraulic flat tappet cam 244/254, msd ready to run distributor and procomp pro bullet distributor, Holley 650 carb, aluminum valve covers and much more. It is a turnkey motor freshly rebuilt. The guy was selling it because he wants a big block. I'm on my mobile and will post pics tomorrow. I can't wait to drop it in and fire it up. Heard it run the other day before it was pulled and it sounds beefy.


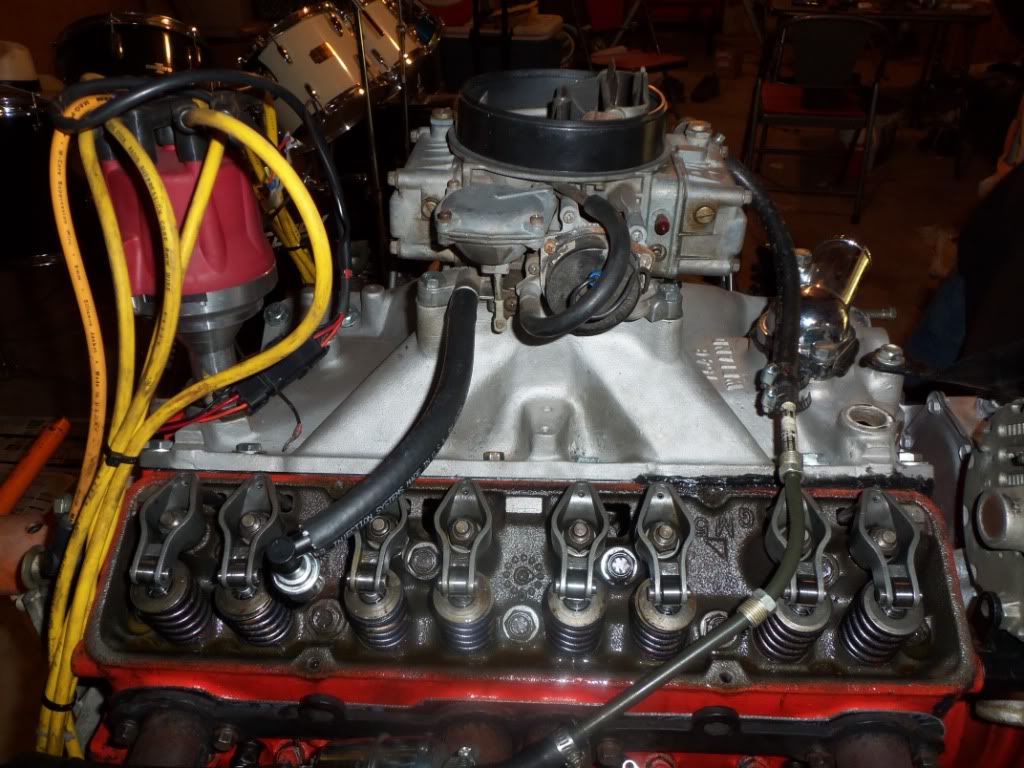
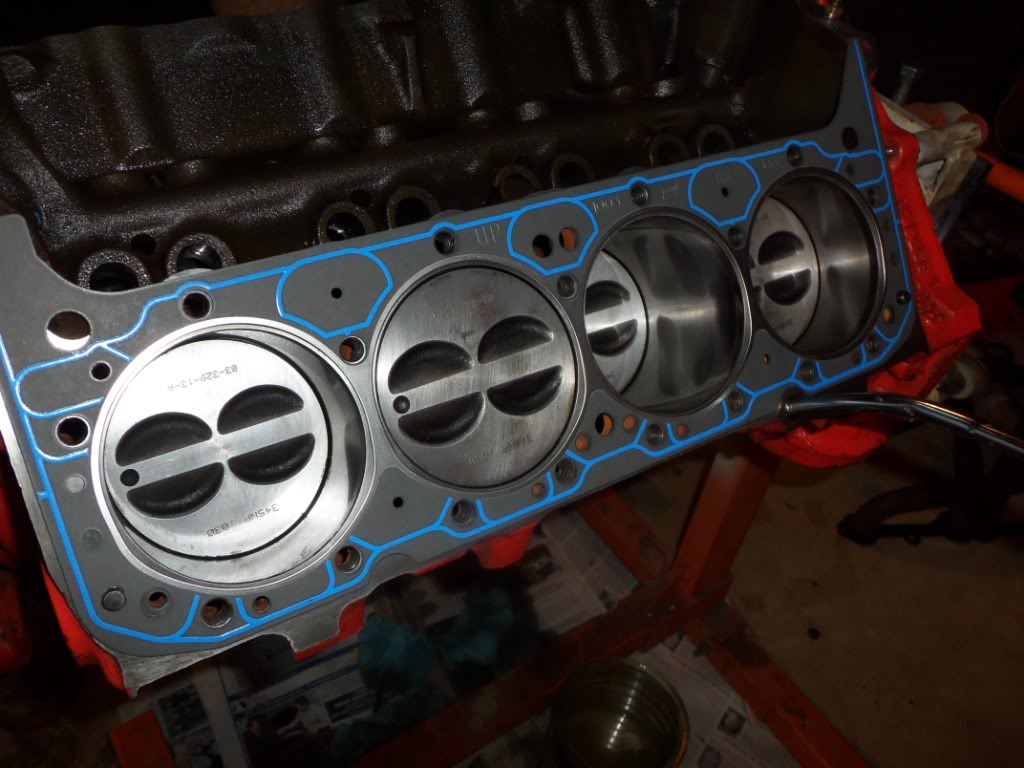
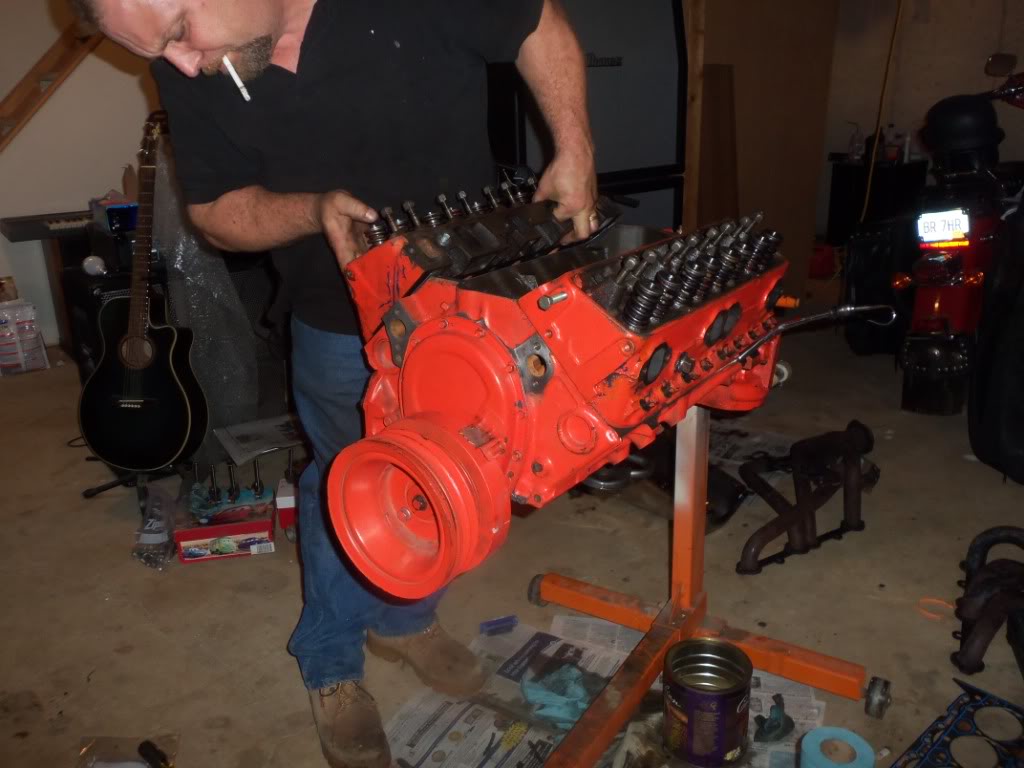
Finally on the laptop to post some pics of the 355 engine we purchased. Here we are tearing it down to inspect everything and get it ready to be repainted. Paint wasn't too bad on it when we bought it, but it had some places where the orange had rubbed off, and we wanted it fresh when it went into Baby Girl.
Then below is the progress hubby made on the rear end this week. It is out of the car, lol. Good thing we pulled that old rear end out because we found one of the mono leafs broken all the way through. Putting a 1978 Trans Am 8.5" posi rear-end under the car. Have some custom work to do to make it fit. Moving the perches 1" over for starters. The rear-end from the TA was completely rebuilt and bought it for a heck of a lot cheaper than a posi rear-end that had been rebuilt that was an original 1969. With funds limited and hubby wanting a better drive train for Baby Girl to handle that new motor and trans (being it was a 6 cycl car originally) he decided to go this route. You could tell someone had abused the original rear-end as the gears were quite worn and had lots of play along with a broken spring.
You can see all the details about the motor in a previous post. I will eventually update the garage with all this info, so I have it all in one place. Have to go now and help the hubby finish putting the motor back together. He had to get a Heli Coil kit to fix one bolt hole in the block (threads were worn) and two in the heads for the intake. I hope all goes well.