
Baby Girl Comes Home


It is a big space to heat, we plan on using wood  . I live just south of St. Louis, MO and it does get cold here in the wintertime. We know how to bundle up though so I'm sure the hubby and I will have fun even in the freezing cold, hehehe. The heat so far hasn't been too bad. We went with a white colored roof which helps to block the heat out.
The car has doors, a front clip, and trunk deck. It was all removed in order to do a frame up resto. Hubby worked on the rockers this weekend, then we will work on the underbody and pull the front and rear out of the car and redo all of that. Then we get to start putting it all back together. We do not have a motor as of yet, but we are a little ways off from needing that. The other major component missing as far as the body is the radiator support in the front.
Does anyone know the best places to get good replacement parts that fit well? I'm looking for both the radiator support (core support) and the tail light pan (all needs replaced) for the back.
Looks like you've certainly got your work cut out for ya! Not sure where you live, but are you going to need heat in there too? That's a big space to heat, especially with no insulation and metal walls. I imagine it could get pretty hot in there too.
Who cares though right LOL< you've got a fantastic space to work on your car, and it will be exciting to watch your build progress over the next year or so!
Where are the doors and the front clip and trunk deck? Did you already pull them off? What about the engine? Do you have one that your going to use, or do you need that too?
Awesome project, and it looks like fun for the whole family! Your son is going to love driving in it when it's finished!
Take lots of pictures and keep us posted!
No doubt!! I can't wait for that. I've been keeping list of our progress because it helps me to see what all we accomplish each time we work on it. Seems to help pass the time.
Smart girl buying that 69 ! Looks like a great project and one that will only go up in value. Take your time with her and have a plan. Don't get frustrated when the project takes a little longer than expected. Remember...it will all be worth it in the end. You will have a fine 69. Keep the pictures coming and good luck.
Do you have any idea what the best way is to post your progess? Should I open a new thread under projects and just keep adding to it, or should I create new threads for the progress we make?

Senior Moderator
January 2010 ROTM Winner
January 2010 ROTM Winner
Joined: Oct 2007
Posts: 18,306
From: The 'Burbs of Chicago

You're already off to a good start making this a project thread, might as well just keep adding to it.
I can move this thread to the projects section, which would make more sense.
I can move this thread to the projects section, which would make more sense.
Thanks a mil,
Jen


In the Staging Lanes
Joined: Jan 2012
Posts: 55
From: Michigan
It is a big space to heat, we plan on using wood . I live just south of St. Louis, MO and it does get cold here in the wintertime. We know how to bundle up though so I'm sure the hubby and I will have fun even in the freezing cold, hehehe. The heat so far hasn't been too bad. We went with a white colored roof which helps to block the heat out.
------------------
-----------------
I use a big roll of plastic and make a wall in the garage to divide up the big space and only heat the part you plastic off.
even use the plastic as a ceiling , your heat will all go up.. you can heat up a smaller area a lot better.
------------------
-----------------
I use a big roll of plastic and make a wall in the garage to divide up the big space and only heat the part you plastic off.
even use the plastic as a ceiling , your heat will all go up.. you can heat up a smaller area a lot better.
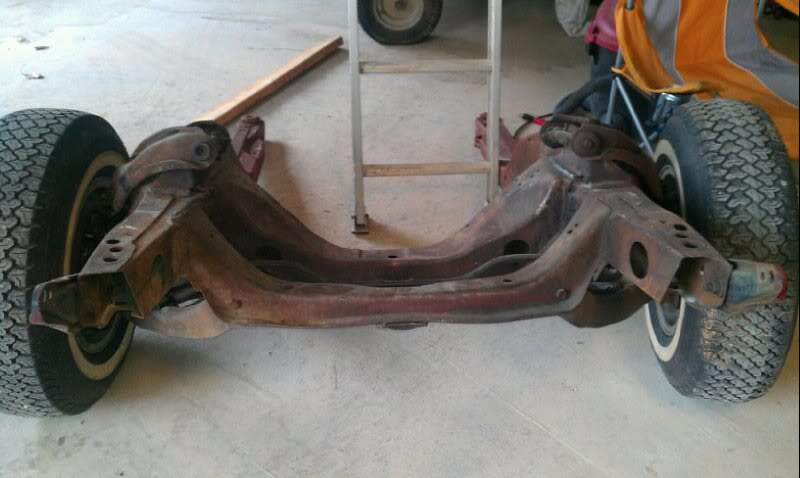
We finally pulled the entire front end out of the car, took a lot of pictures (so we can put  it back together, lol), took it apart, cleaned up all the parts and started painting.
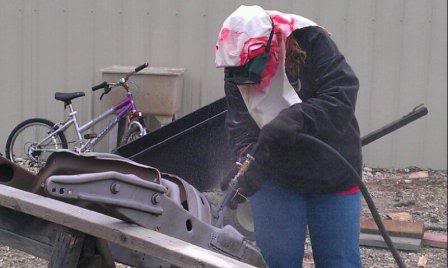
Yep, that is me (a woman) sand blasting. Tons of fun!!!
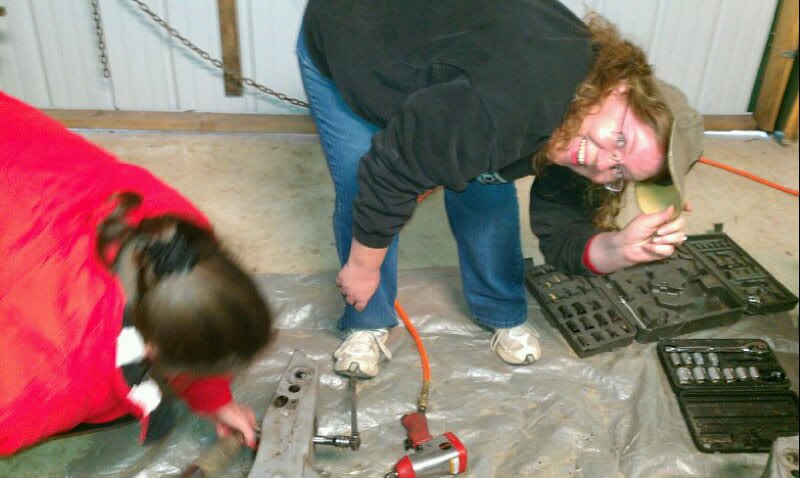
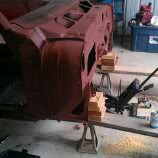
and above is me and a girlfriend taking the bumper brackets off the frame. She busted a knuckle (ouch). Those things were rusted on and hard to get off.
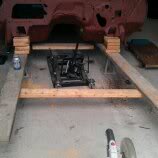
Ohh, and I can't forget to show you my husband's homemade stand for the front end of the car. We can actually pick it up and move it around the garage.
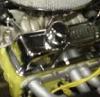
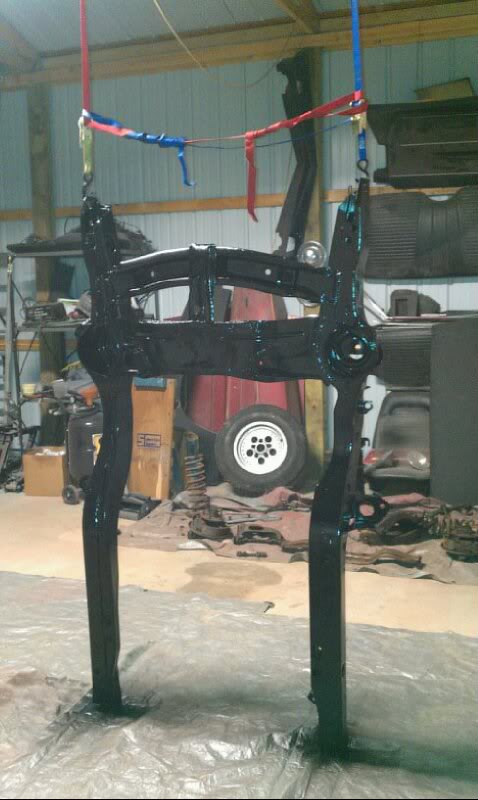
And then here is part of the finished product. Pretty, huh???
I decided to play with one of the fenders too!!

We are still working on putting the front end back together. The A-arms have all been blasted and painted and all new bushings and ball joints installed. We actually had to take two of the ball joints to the machine shop and have them pressed in as it took 4 tons of pressure to get them in their new resting spot.
Hubby also started working on replacing the tail pan. Does anyone have any advice on how to line up the trunk lid? We are having an issue with the drivers side back corner by the hinges sitting above the body of the car. Since the trunk lid hinges are not adjustable, what is the best fix to get the trunk lid to line up with the body properly.
Thanks for viewing and I will update again soon!!
Jennifer
Yep, that is me (a woman) sand blasting. Tons of fun!!!
and above is me and a girlfriend taking the bumper brackets off the frame. She busted a knuckle (ouch). Those things were rusted on and hard to get off.
Ohh, and I can't forget to show you my husband's homemade stand for the front end of the car. We can actually pick it up and move it around the garage.
And then here is part of the finished product. Pretty, huh???
I decided to play with one of the fenders too!!
We are still working on putting the front end back together. The A-arms have all been blasted and painted and all new bushings and ball joints installed. We actually had to take two of the ball joints to the machine shop and have them pressed in as it took 4 tons of pressure to get them in their new resting spot.
Hubby also started working on replacing the tail pan. Does anyone have any advice on how to line up the trunk lid? We are having an issue with the drivers side back corner by the hinges sitting above the body of the car. Since the trunk lid hinges are not adjustable, what is the best fix to get the trunk lid to line up with the body properly.
Thanks for viewing and I will update again soon!!
Jennifer
Last edited by JenRich69; Feb 19, 2012 at 05:05 PM.