
Sofie's Official Engine Rebuild Thread!


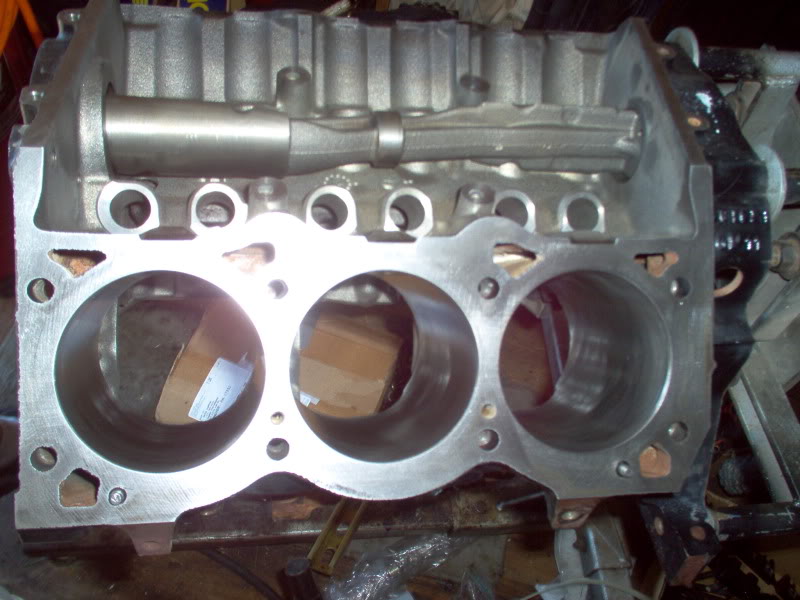
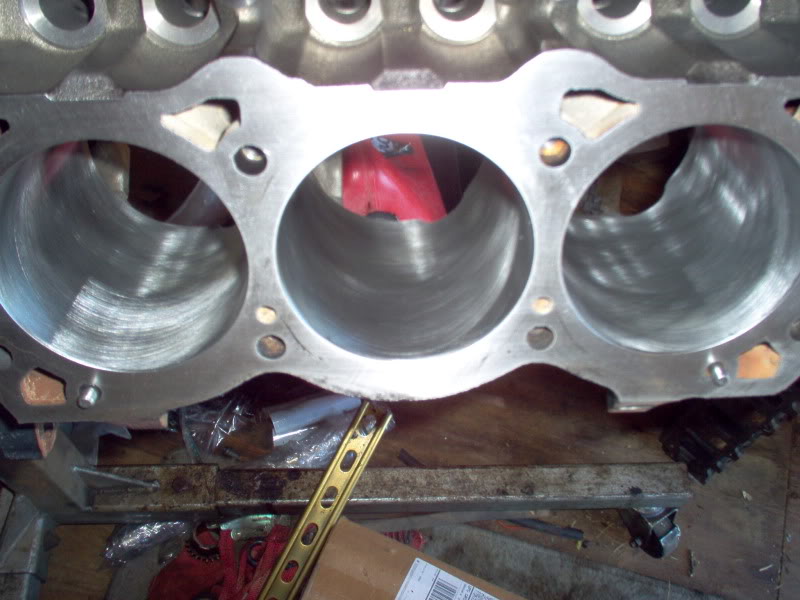
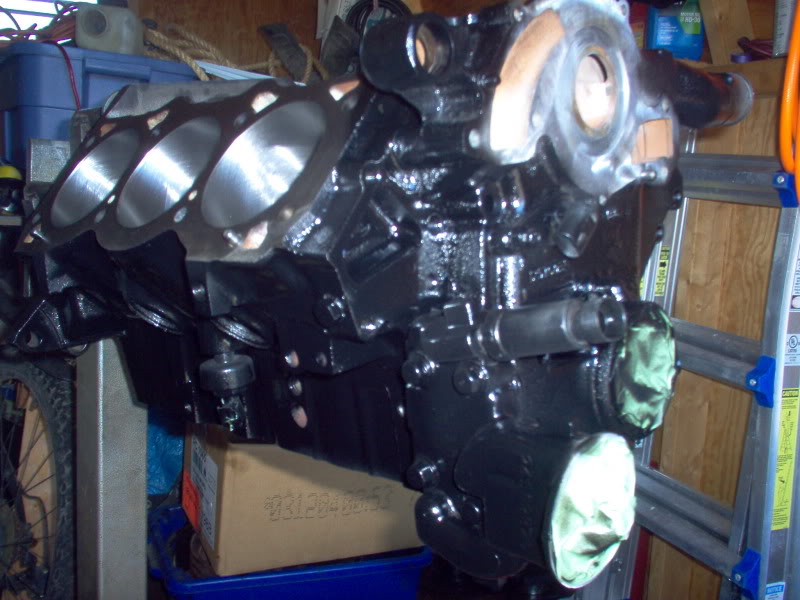
also, they cleaned up the heads a bit during the disassembly. most of the valve springs are blued from heat on both heads and would have probably failed when tested for seat pressure and free height. chances are it would have cost just as much or more to rebuild the one good head than both of the reman heads, not to mention they will match machine work wise. ive got everything back now, have the new rings on the pistons. everything is going to get painted first before it gets soaked in oil during reassembly. now i need to find the special tool for the rear main seal and decipher how im supposed to install it because the directions for the rms and rear cover gasket contridict themselves

Oh awesome. More good news. I'm not sure how much 'good' news I can handle after everything this week...


1st Gear Member
Joined: Jul 2009
Posts: 269
From: Ms Gulf Coast
Nice job ! I buy most of my parts from Advance Auto, and they are pretty good so far. Just reframe from AutoZone, no luck with them. Have your Man to double checK everything and use new head bolts. Good Luck. Nice Ride !

April 2011 ROTM

Joined: Mar 2009
Posts: 22,016
From: Tokeland, Washington
ROTM Winner's Club
also, they cleaned up the heads a bit during the disassembly. most of the valve springs are blued from heat on both heads and would have probably failed when tested for seat pressure and free height. chances are it would have cost just as much or more to rebuild the one good head than both of the reman heads, not to mention they will match machine work wise. ive got everything back now, have the new rings on the pistons. everything is going to get painted first before it gets soaked in oil during reassembly. now i need to find the special tool for the rear main seal and decipher how im supposed to install it because the directions for the rms and rear cover gasket contridict themselves
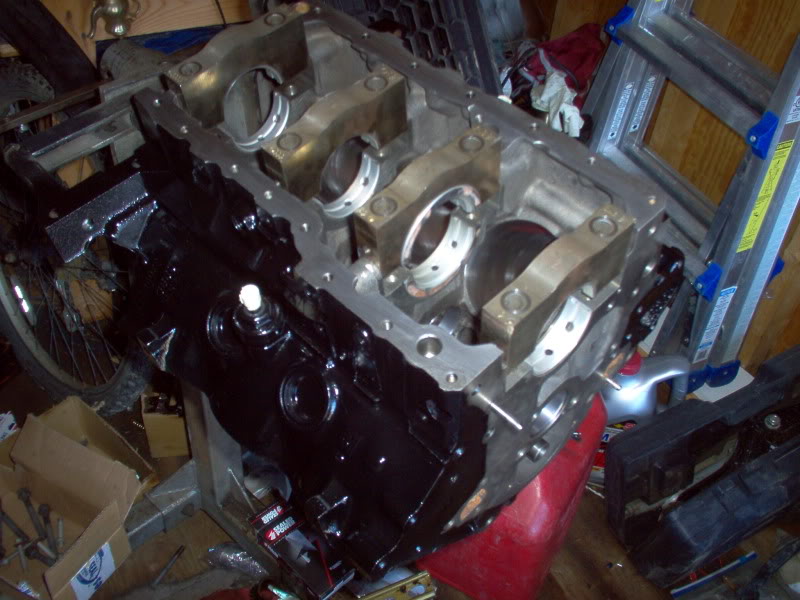
make sure you change the rear cover gasket while you have the trans out. 9 times out of 10 its the rear cover gasket leaking not the rear main. But the rear main inserts into the rear cover so it's kind of pointless to do one with out the other. the rear cover gasket is normally 6-10 dollars. make sure you have a paper one with the silicone bean impregnated in to it. I normally get them from the dealer because they are so cost effective.
When installing the rear cover is slotted, so leave the rear cover bolts loose, lube up the rear main and then install the rear main. part way through rotate the crank some and continue tapping it in. once the rear main is seated then torque the rear cover down.
__________________
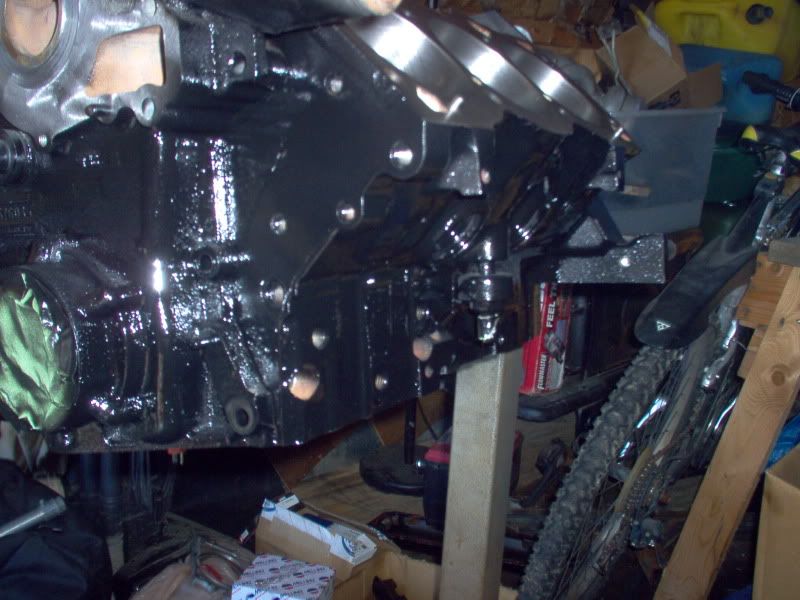
we got all the gaskets crabby. the rear main and rear cover werent leaking, but why not replace them while its out? if i could figure out the installed depth i'd be ok. i think ill just take a close look at the crank and see how far the seal has to go it, theres nothing at all for it to bottom out on. i have a general idea though how deep it has to be. the haynes manual said it ok to use a pipe or socket to drive it in

I think he might have done some today, but I'm going over Tuesday with some parts that he needs that I still have and I'm going to help (if I can) to assemble more of it.

